Creating a basic app
Overview
In this example, we will be building a minimal app in Appspotr 3 by following these four key steps:
-
Create Three Views: Start by setting up the basic structure of the app by creating three different views, which will serve as the screens or pages in the application.
-
Add a Dataset: Incorporate a dataset to store and manage the data that the app will use. This step is crucial for making the app dynamic and interactive.
-
Connect Everything as Patches: Use Appspotr’s patching system to connect the views and the dataset together. This process will enable interactions and data flow between different parts of the app.
-
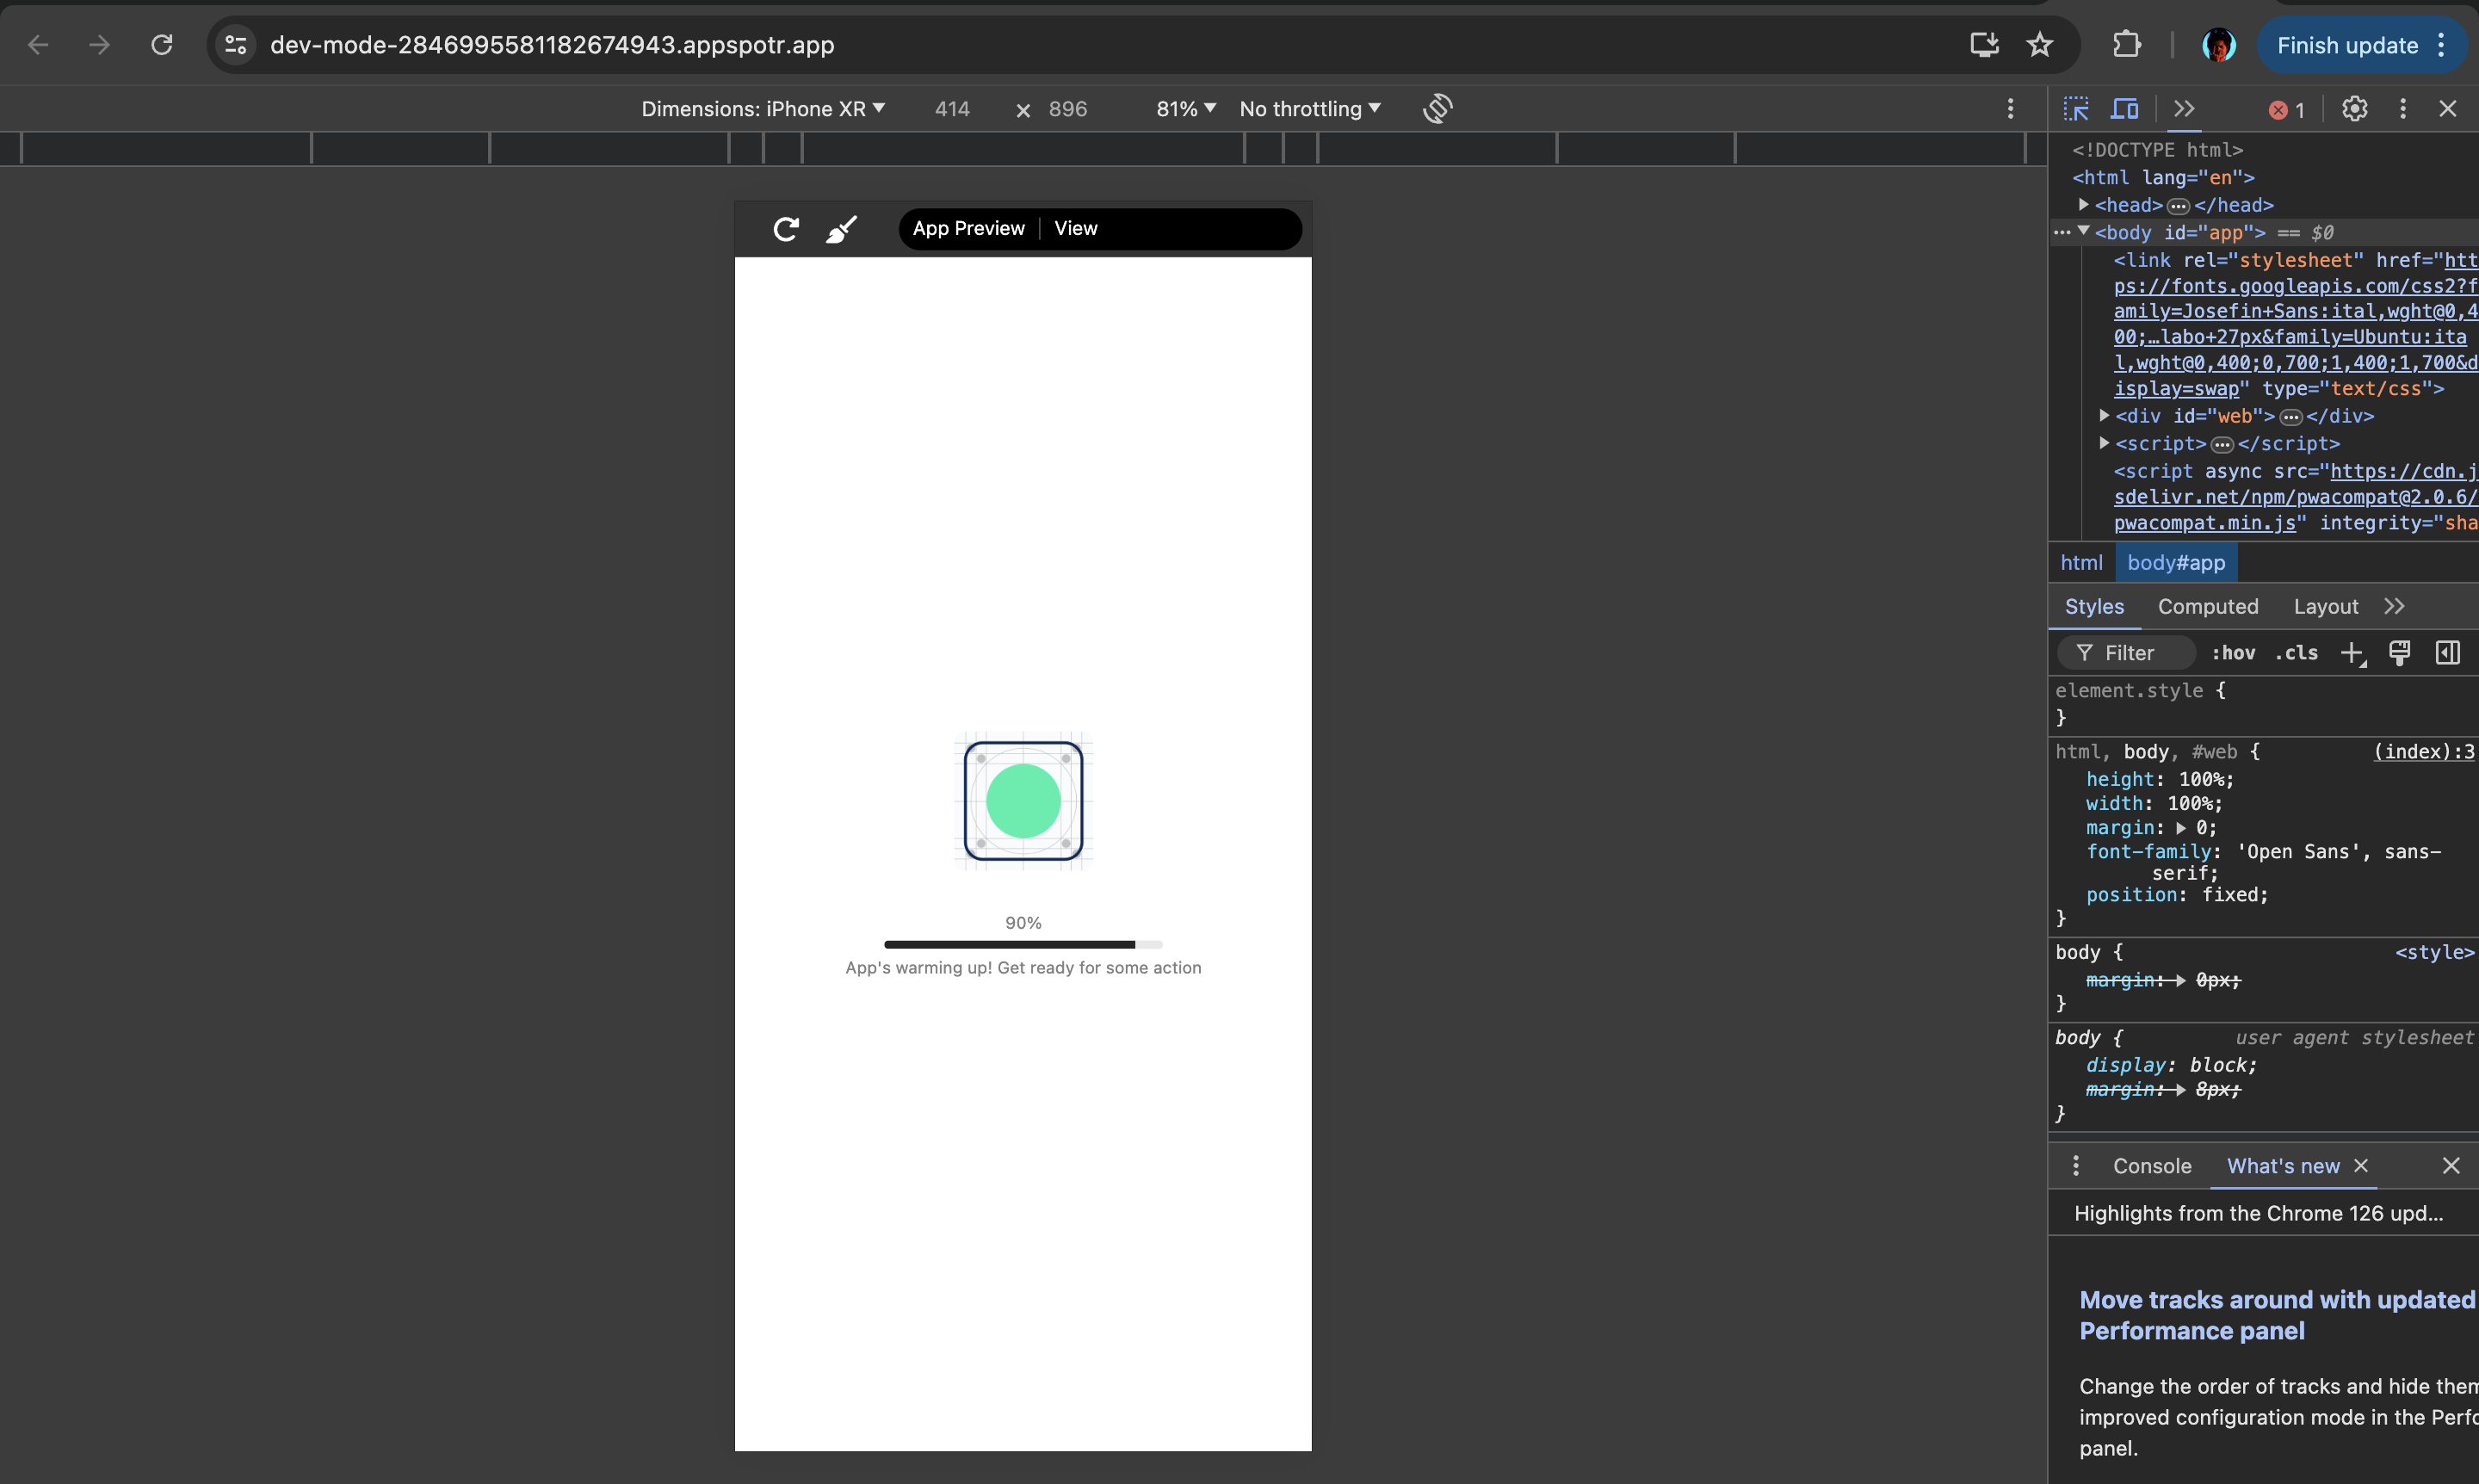
Test the Finished App: Once everything is in place, test the app to ensure it functions as intended and all connections are working properly.
By completing these steps, you will have created a functional, minimal app that demonstrates the capabilities of Appspotr 3.
Now let’s begin creating the app
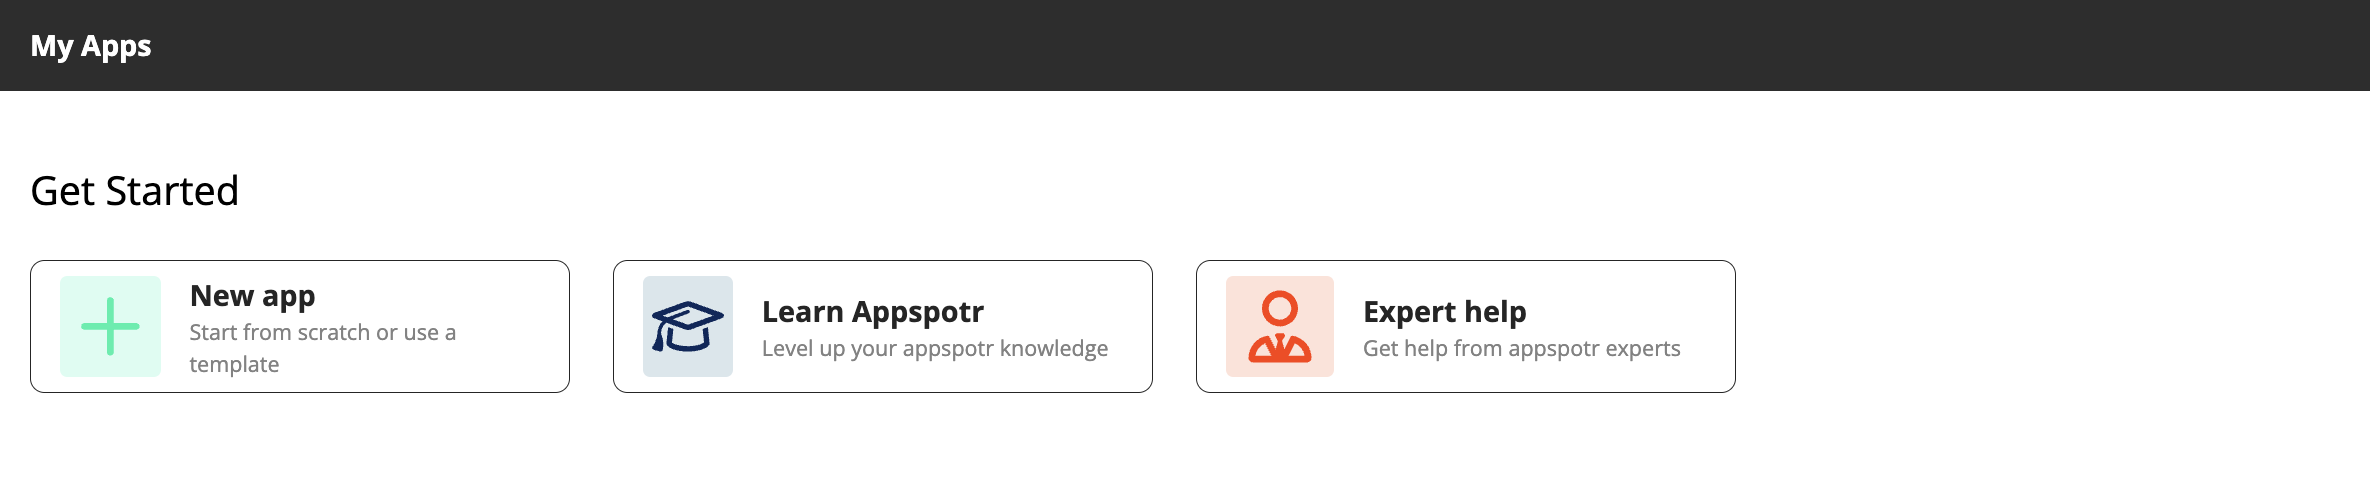
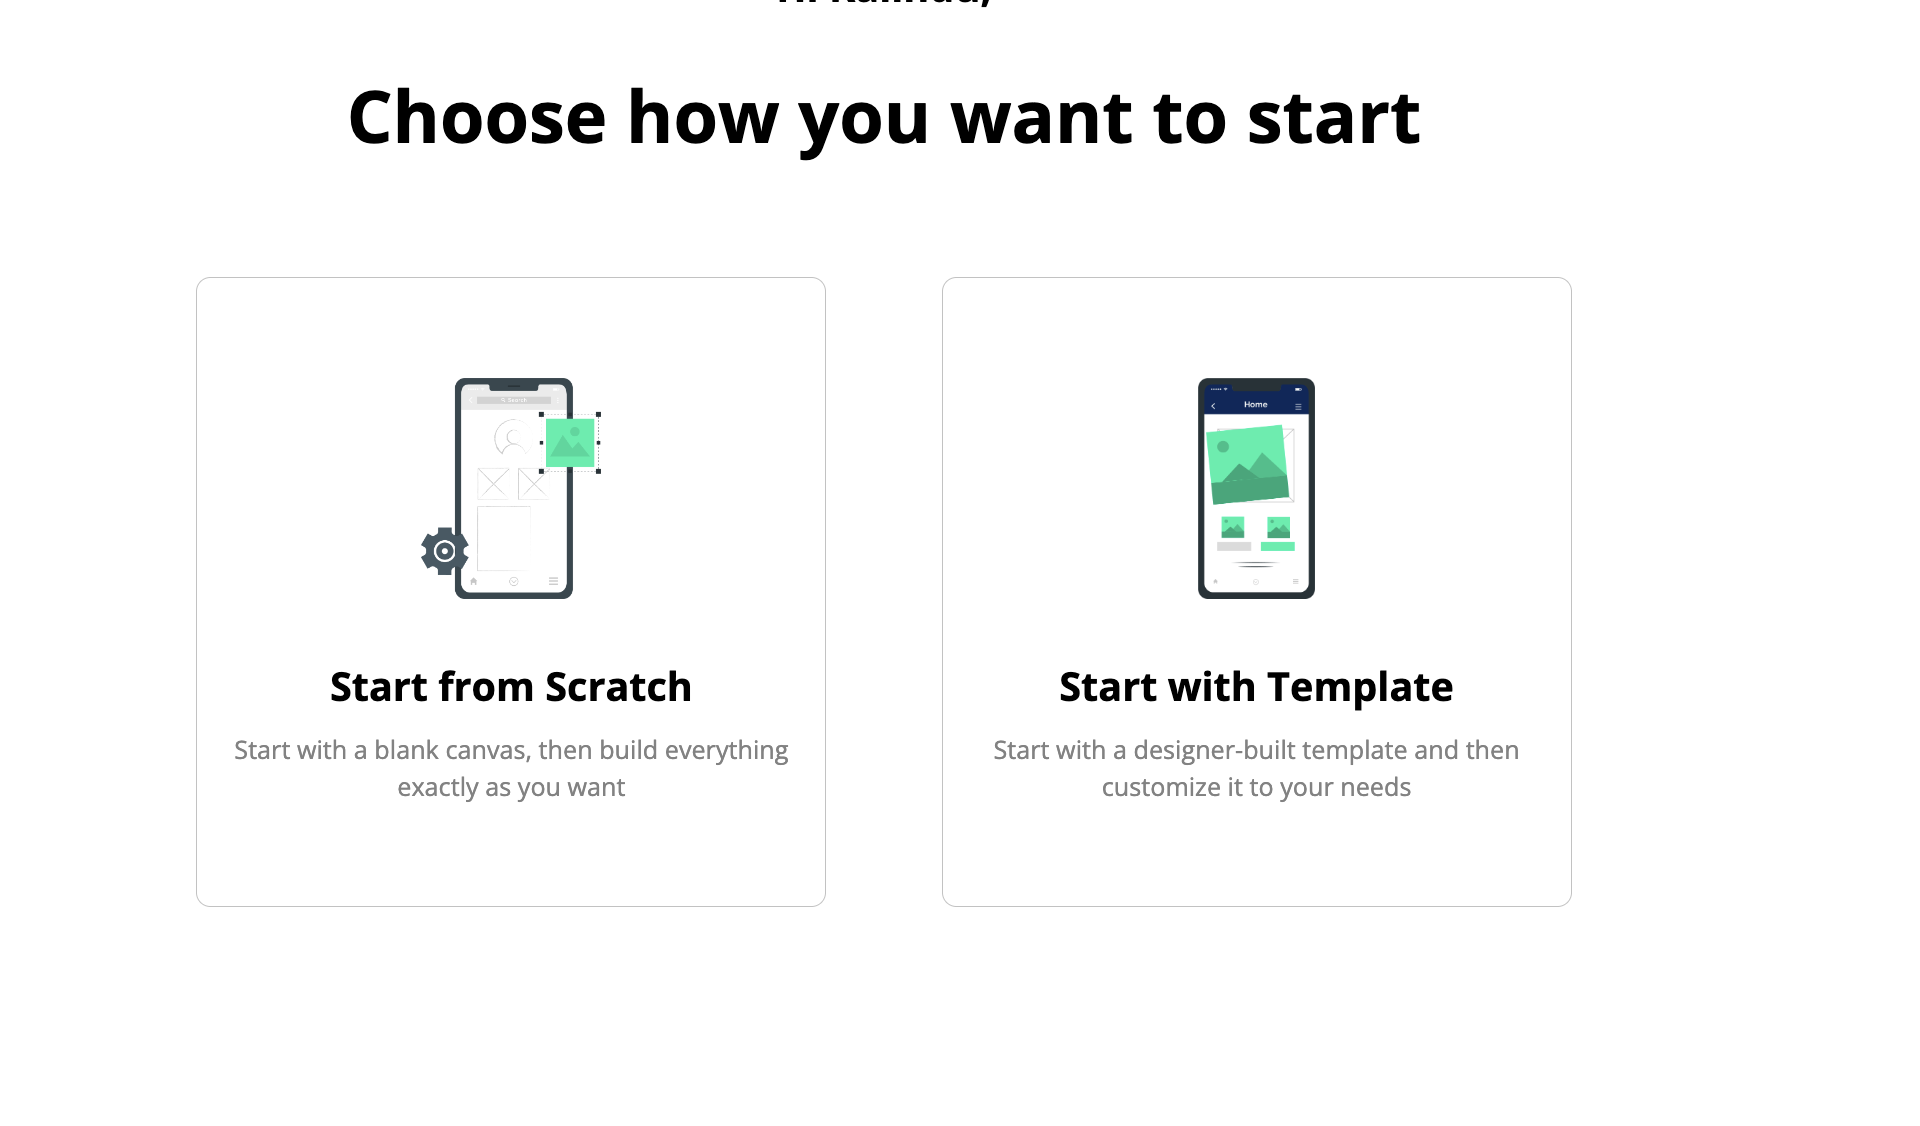
Open your organization and click on New App.
For this guide we will be building the app from the scratch
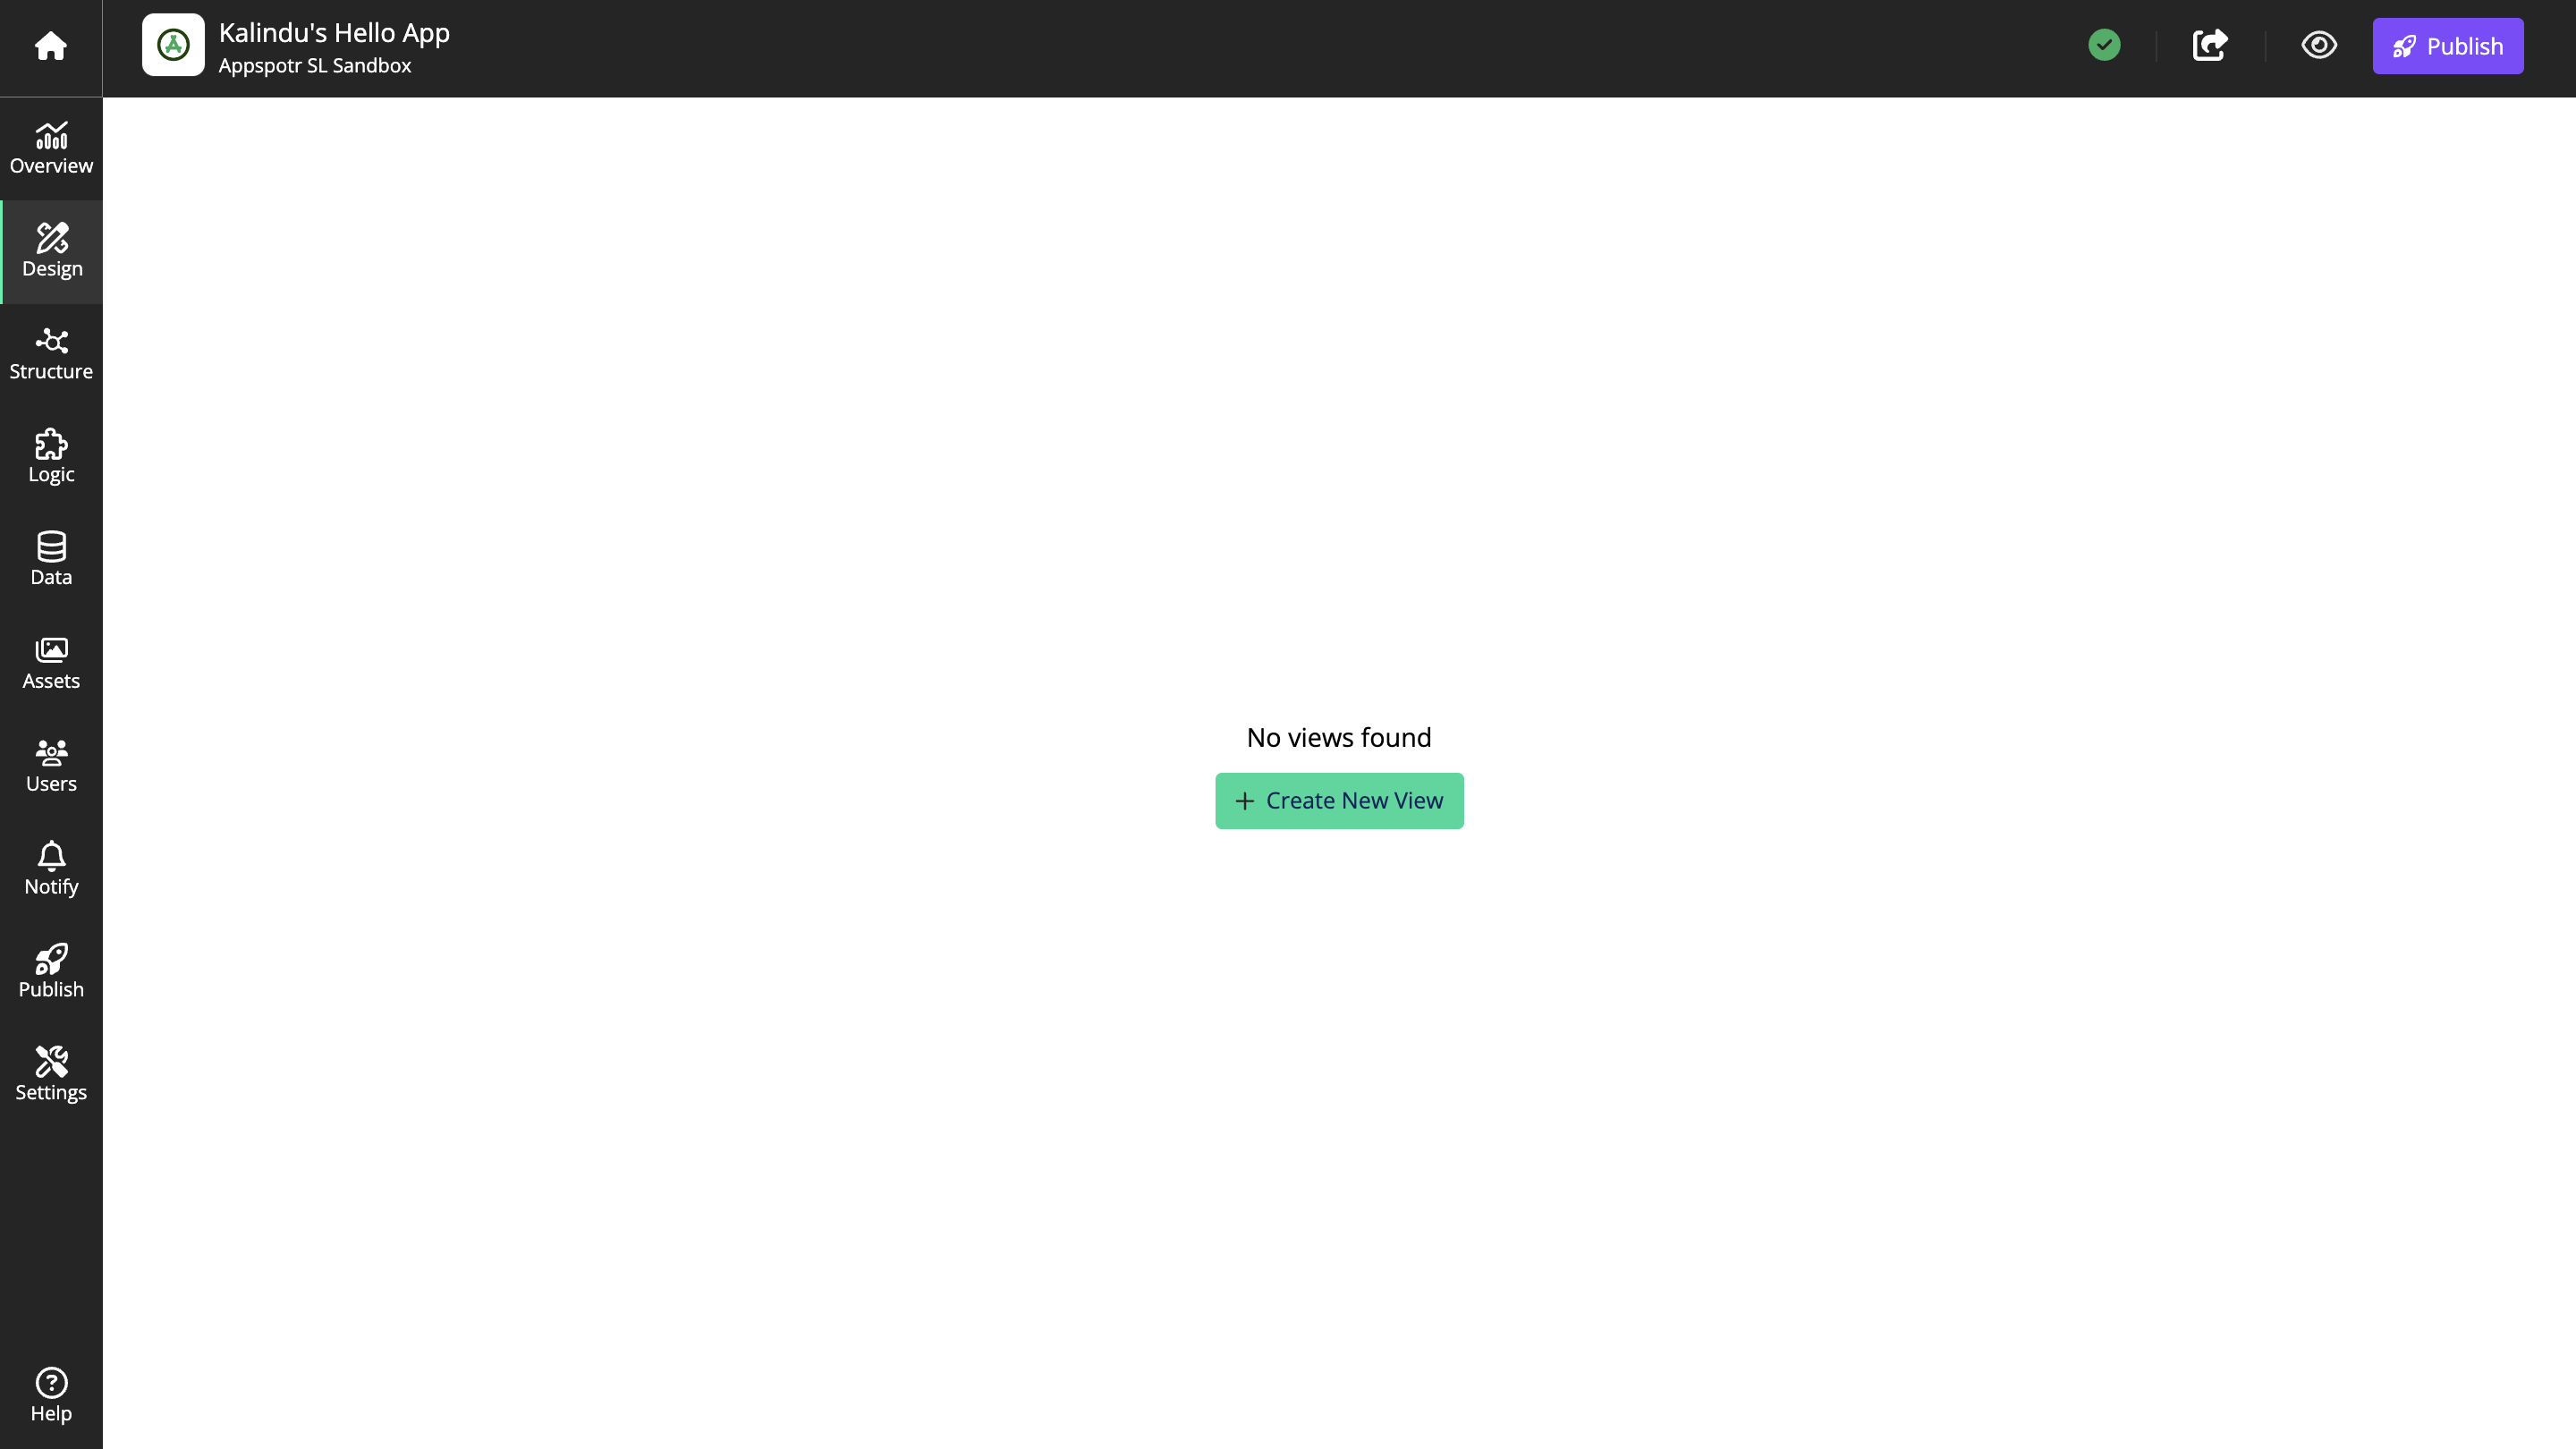
Now you are at the Overview view of the app.
Configuring the Design Tab
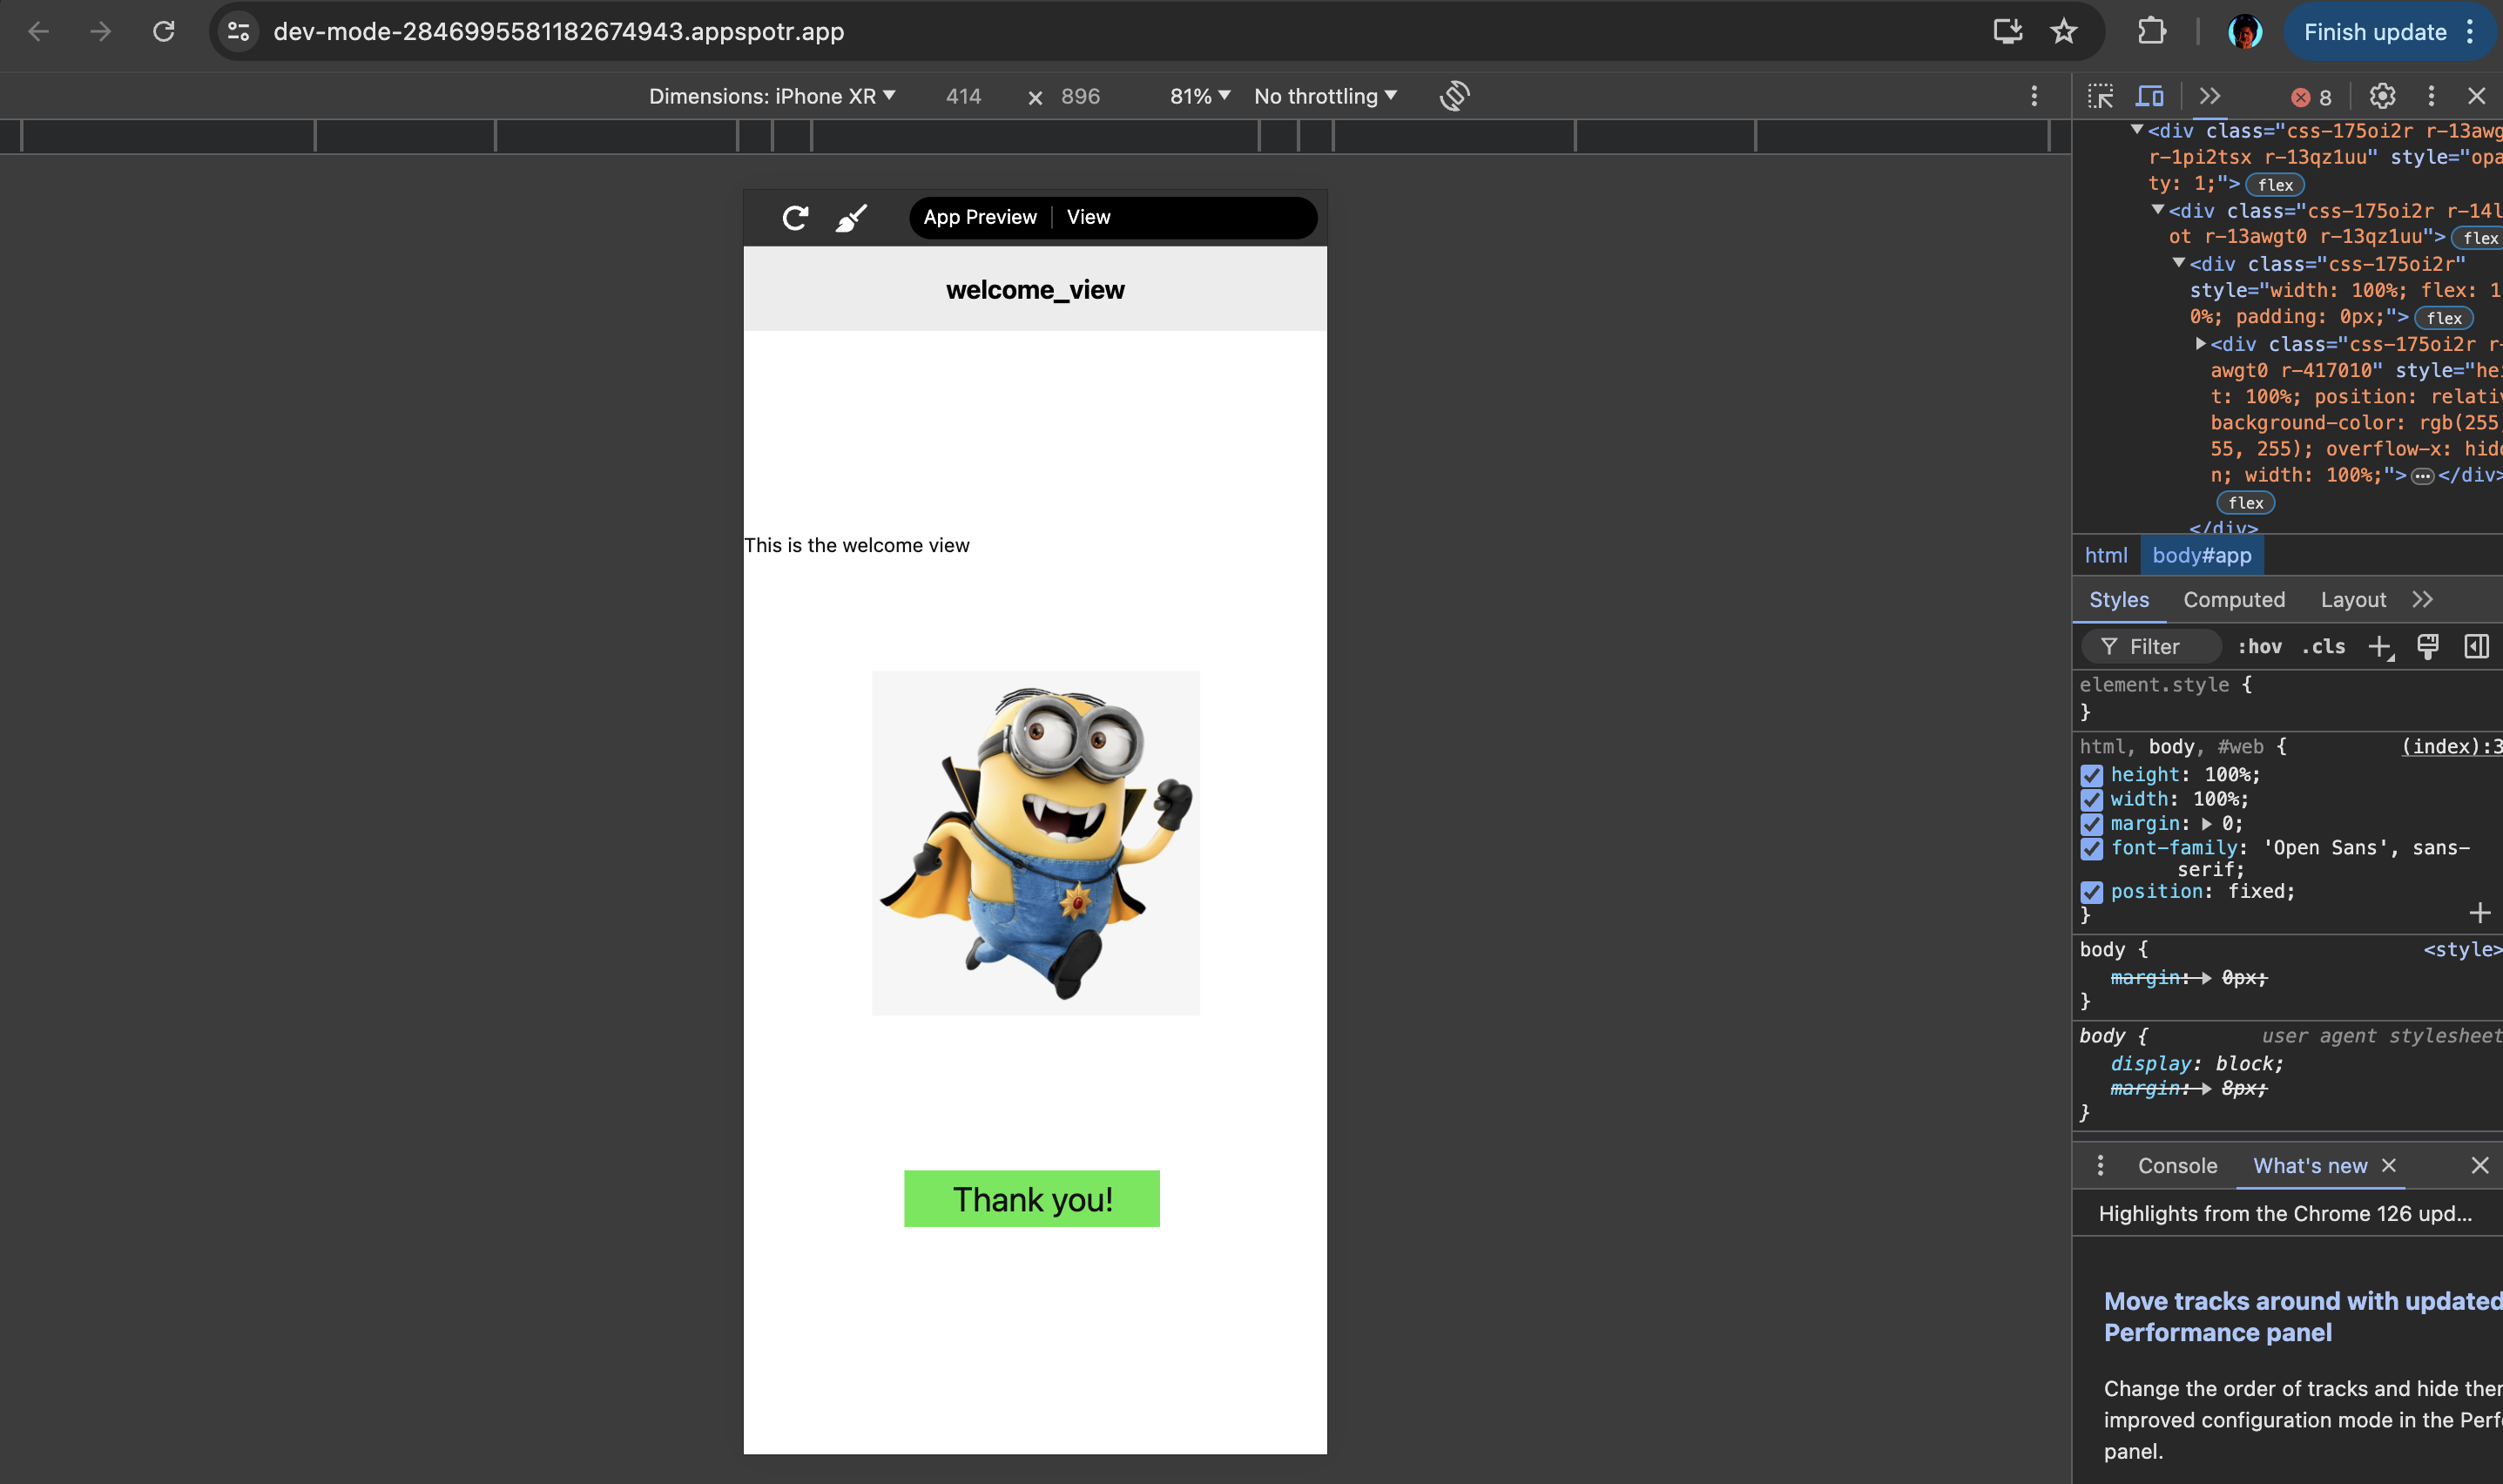
View 1 - welcome_view
We have to create a view with an image, a button and a text box.
Create View 1
Click on +Create New View
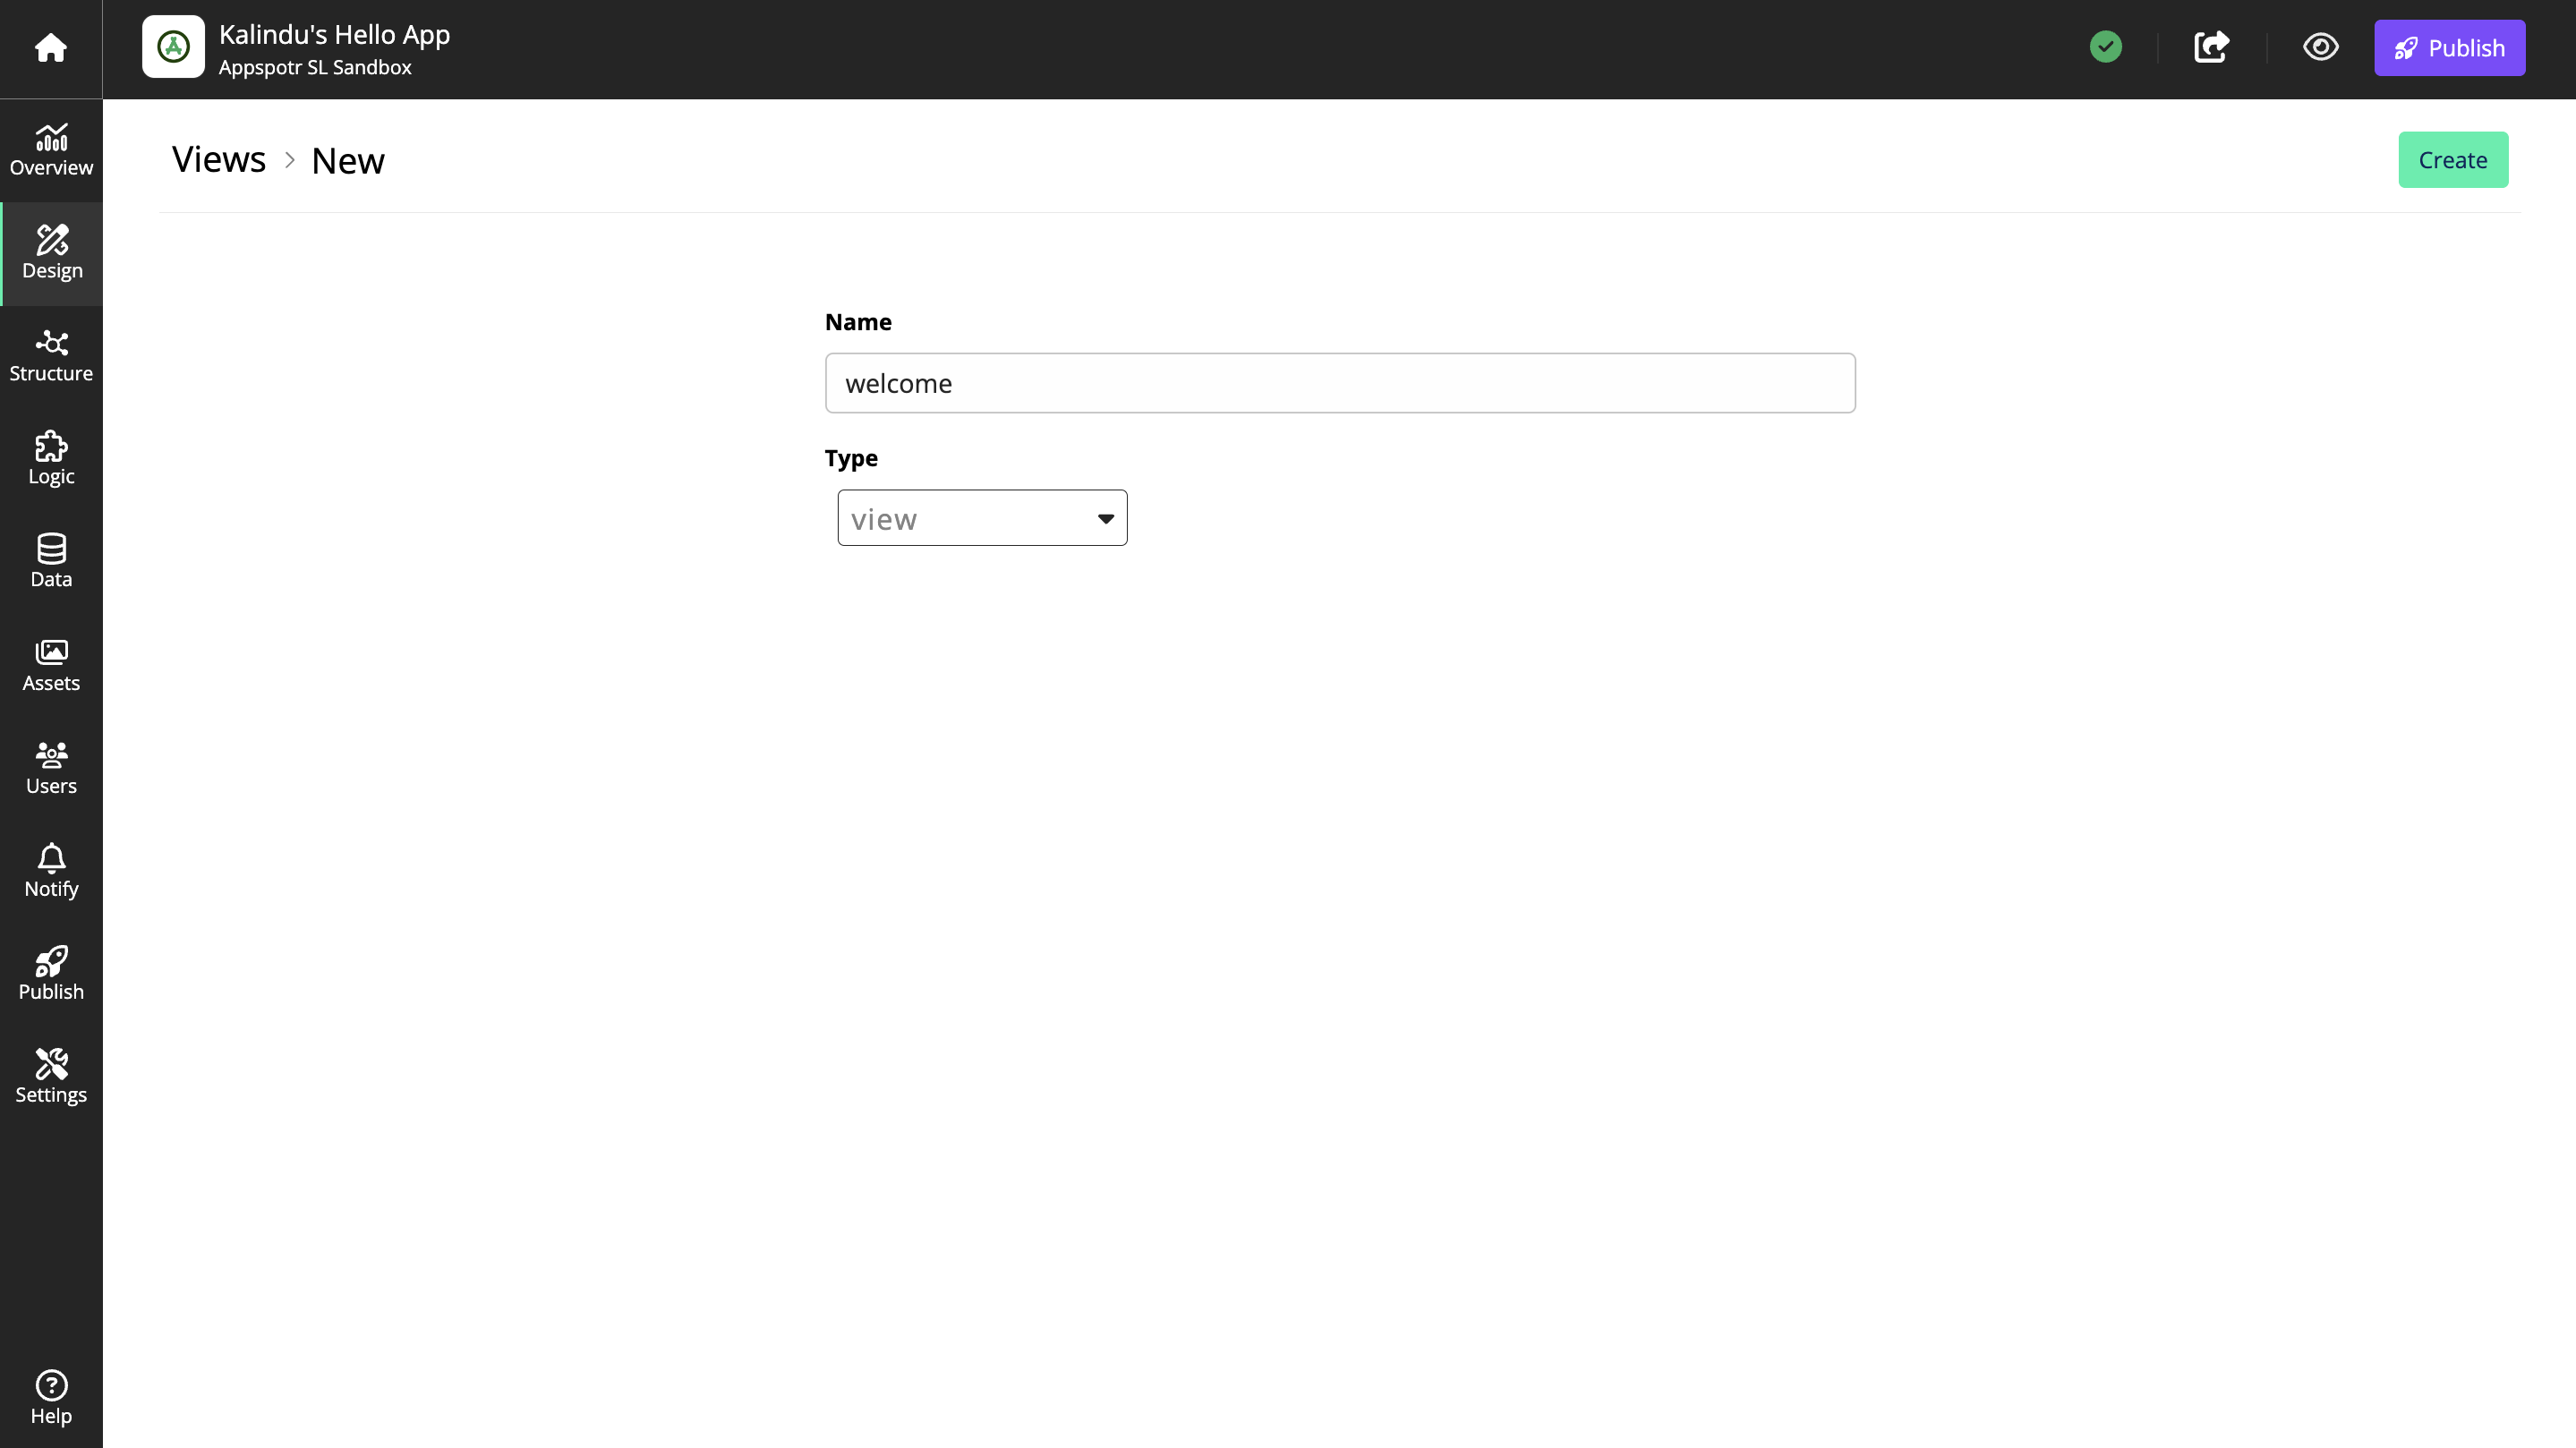
Provide a Name for the view and click Create
Add Image
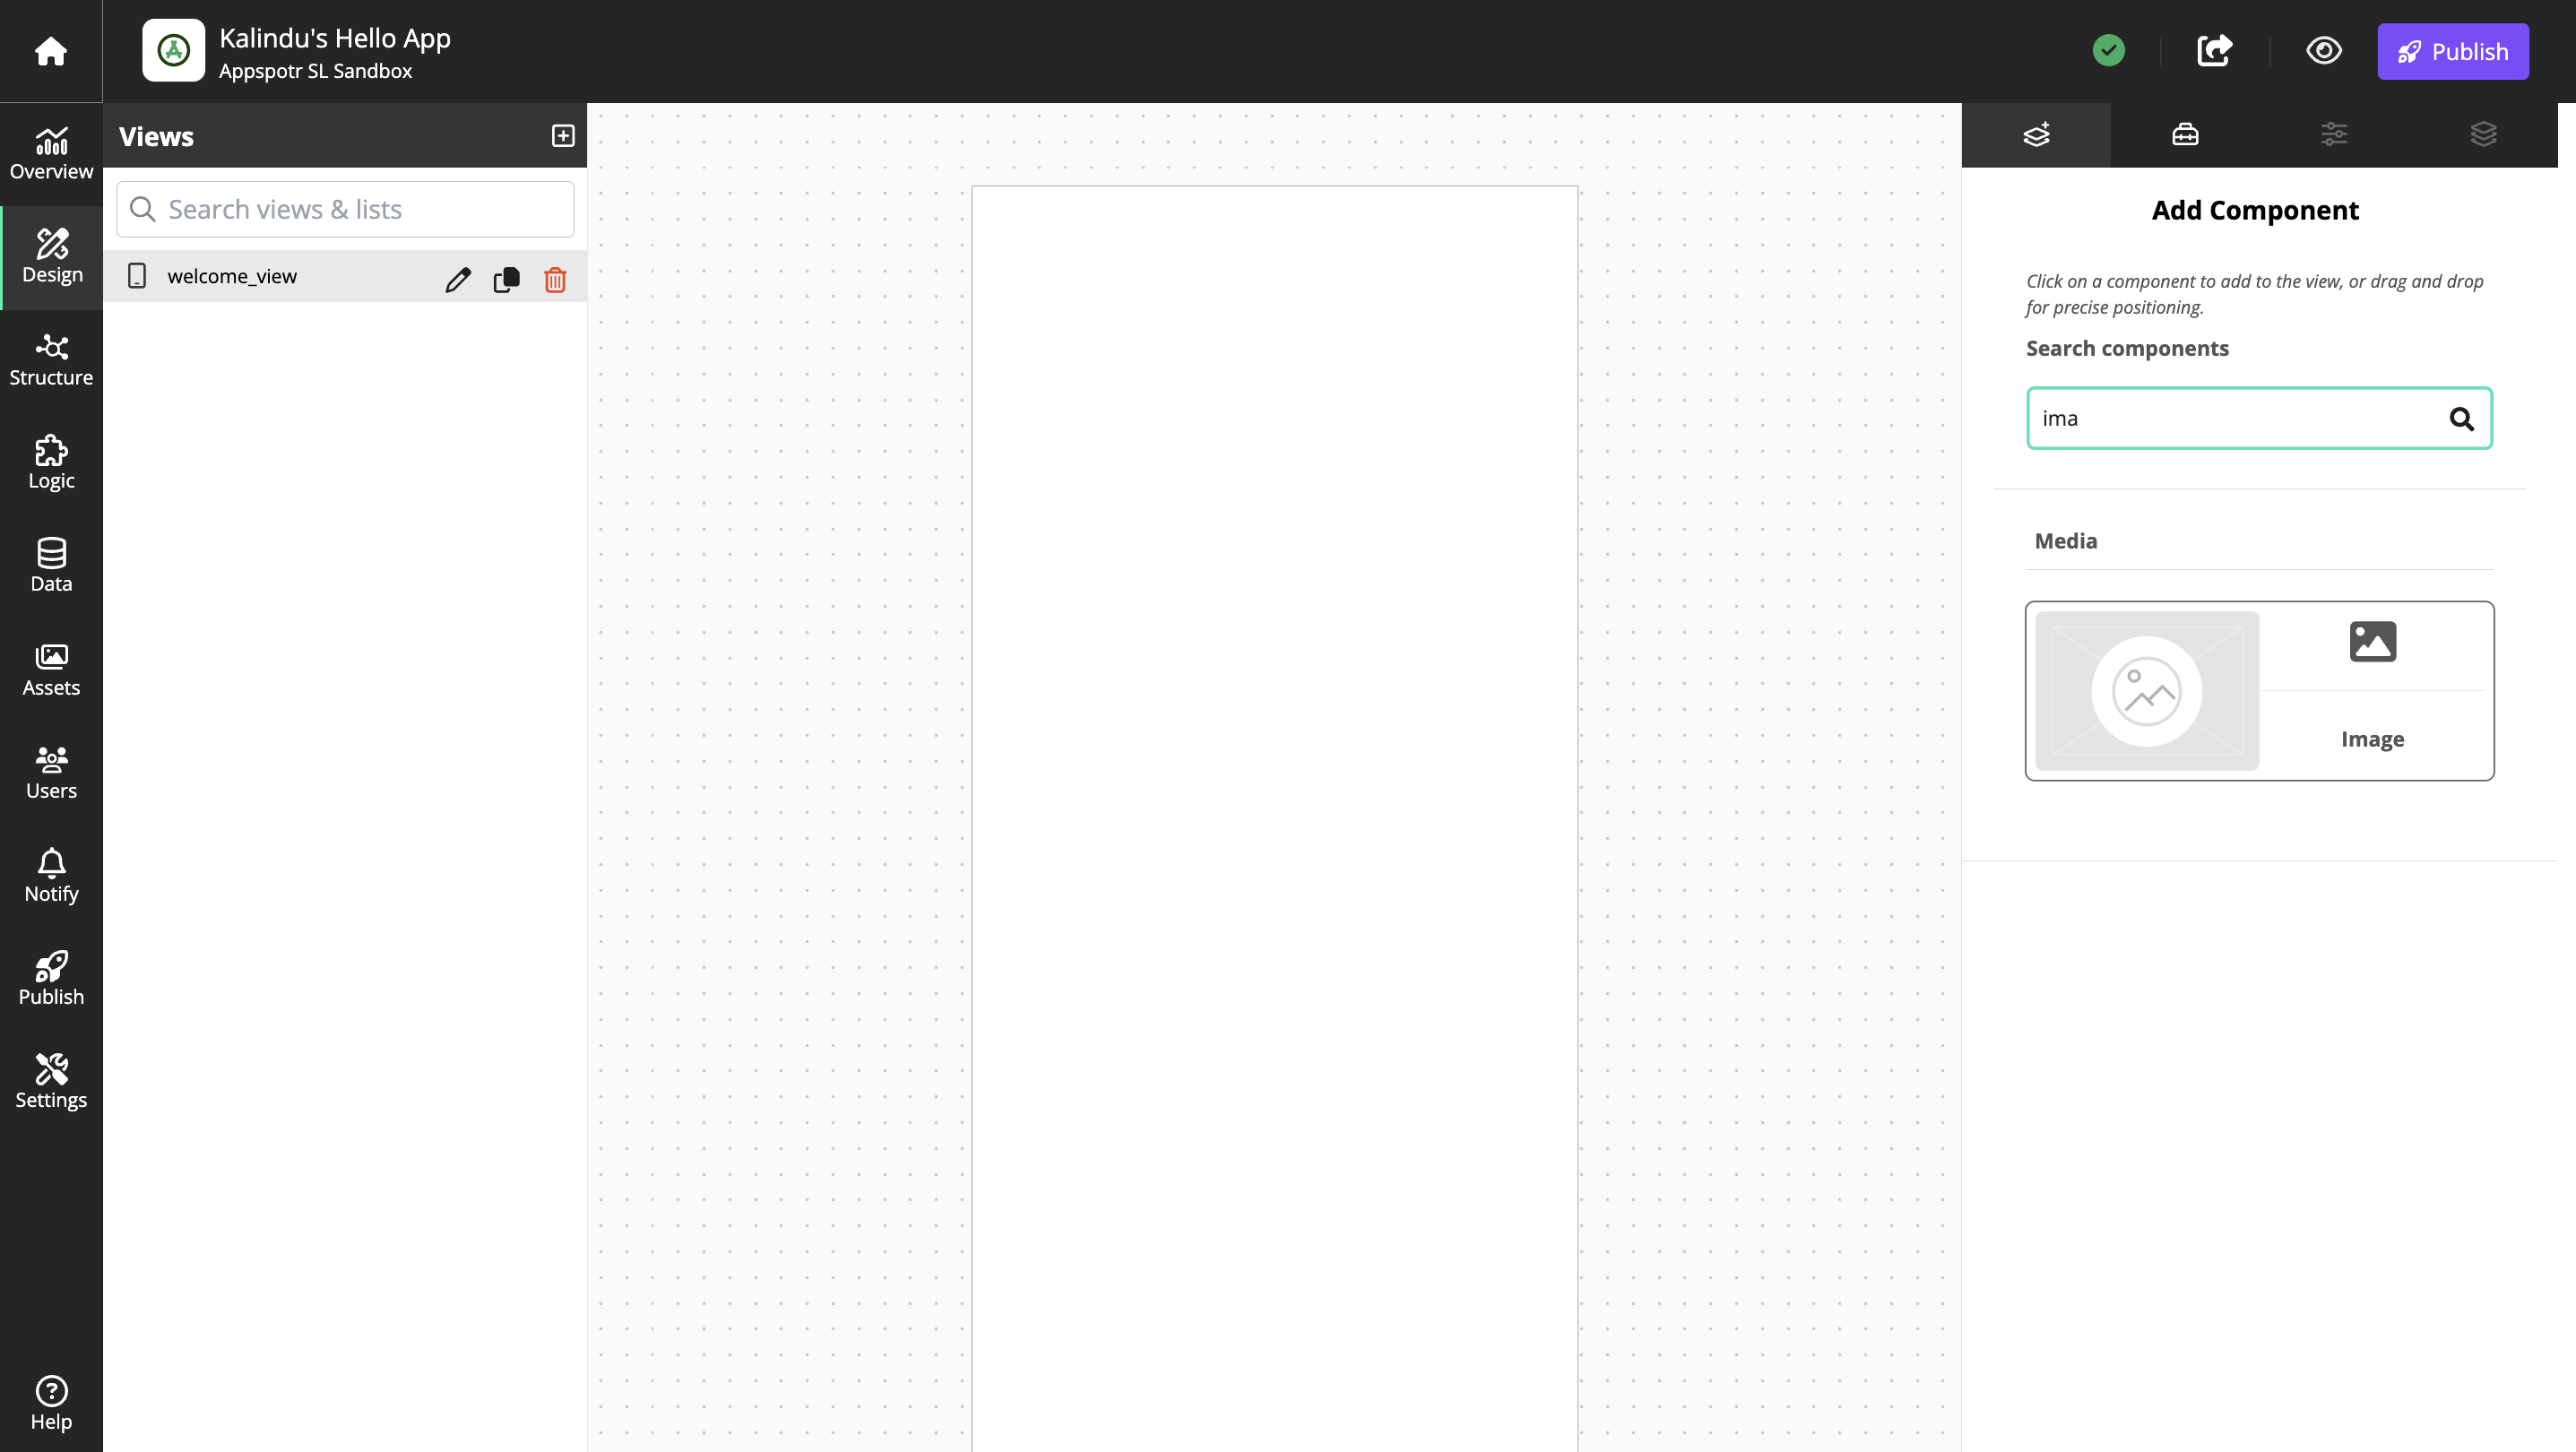
Click on Add Component Tab
Add an Image component to the view
Click the image on the canvas
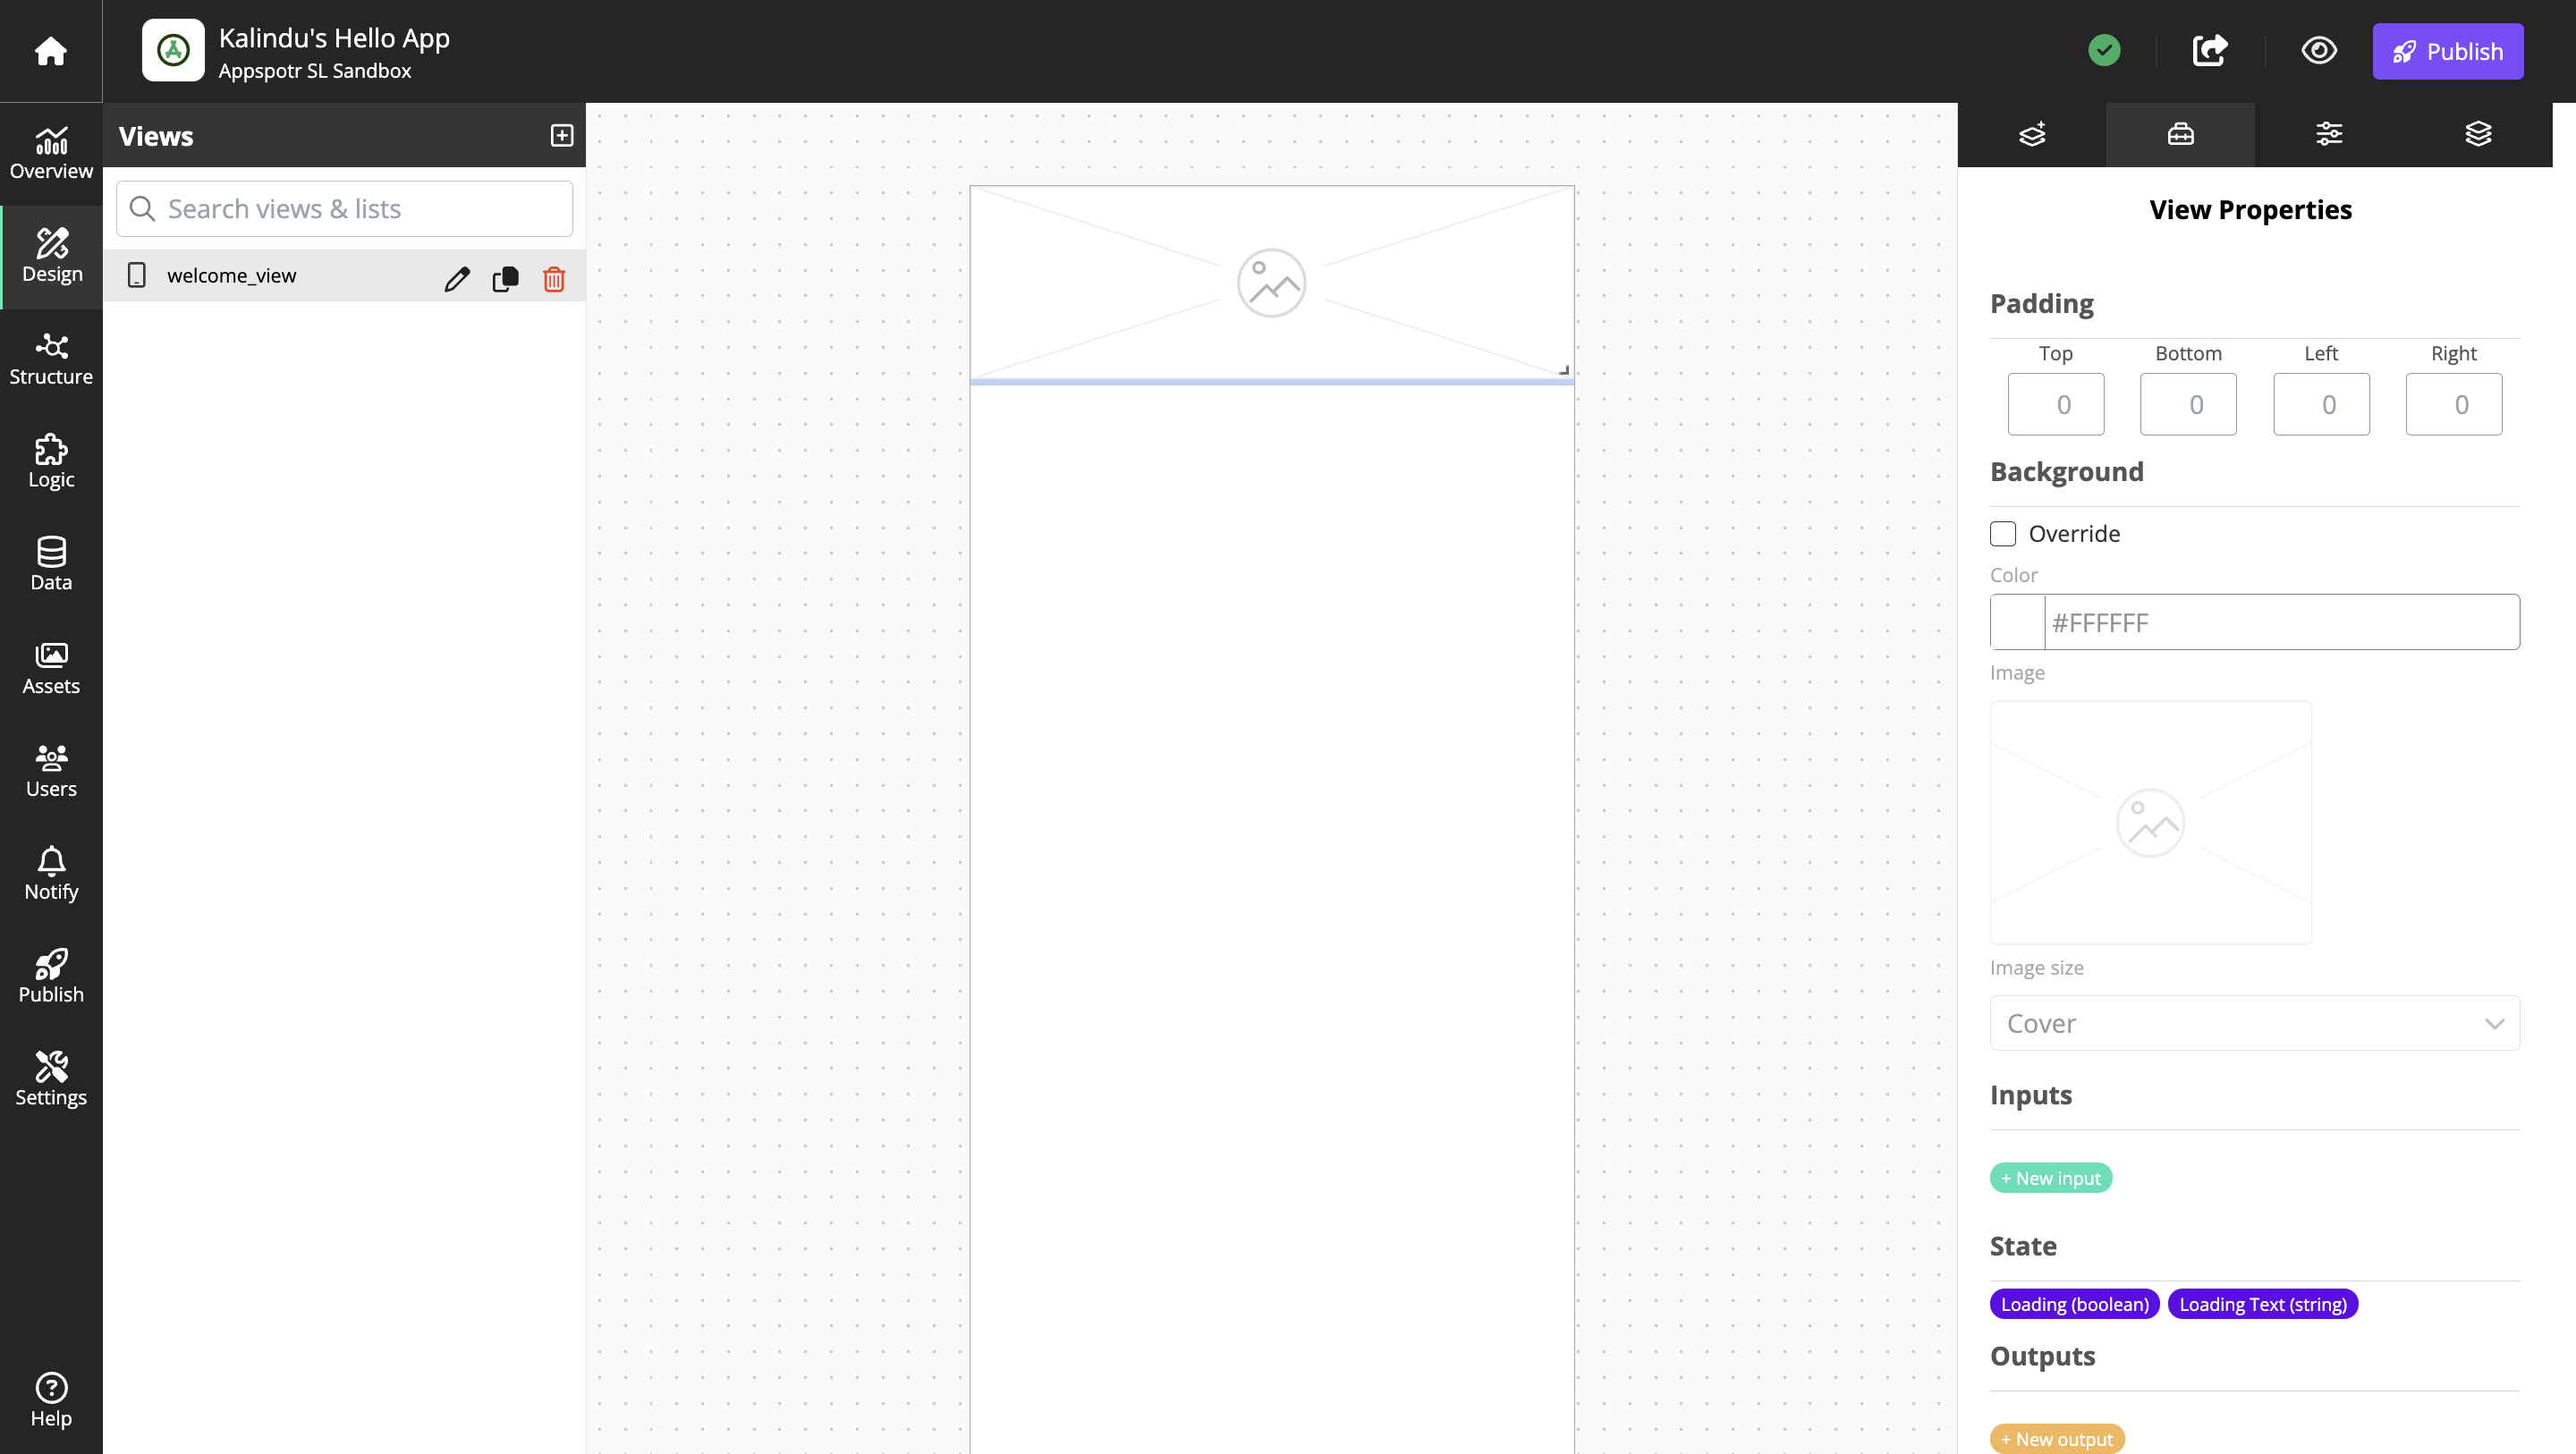
Open the Component Properties tab
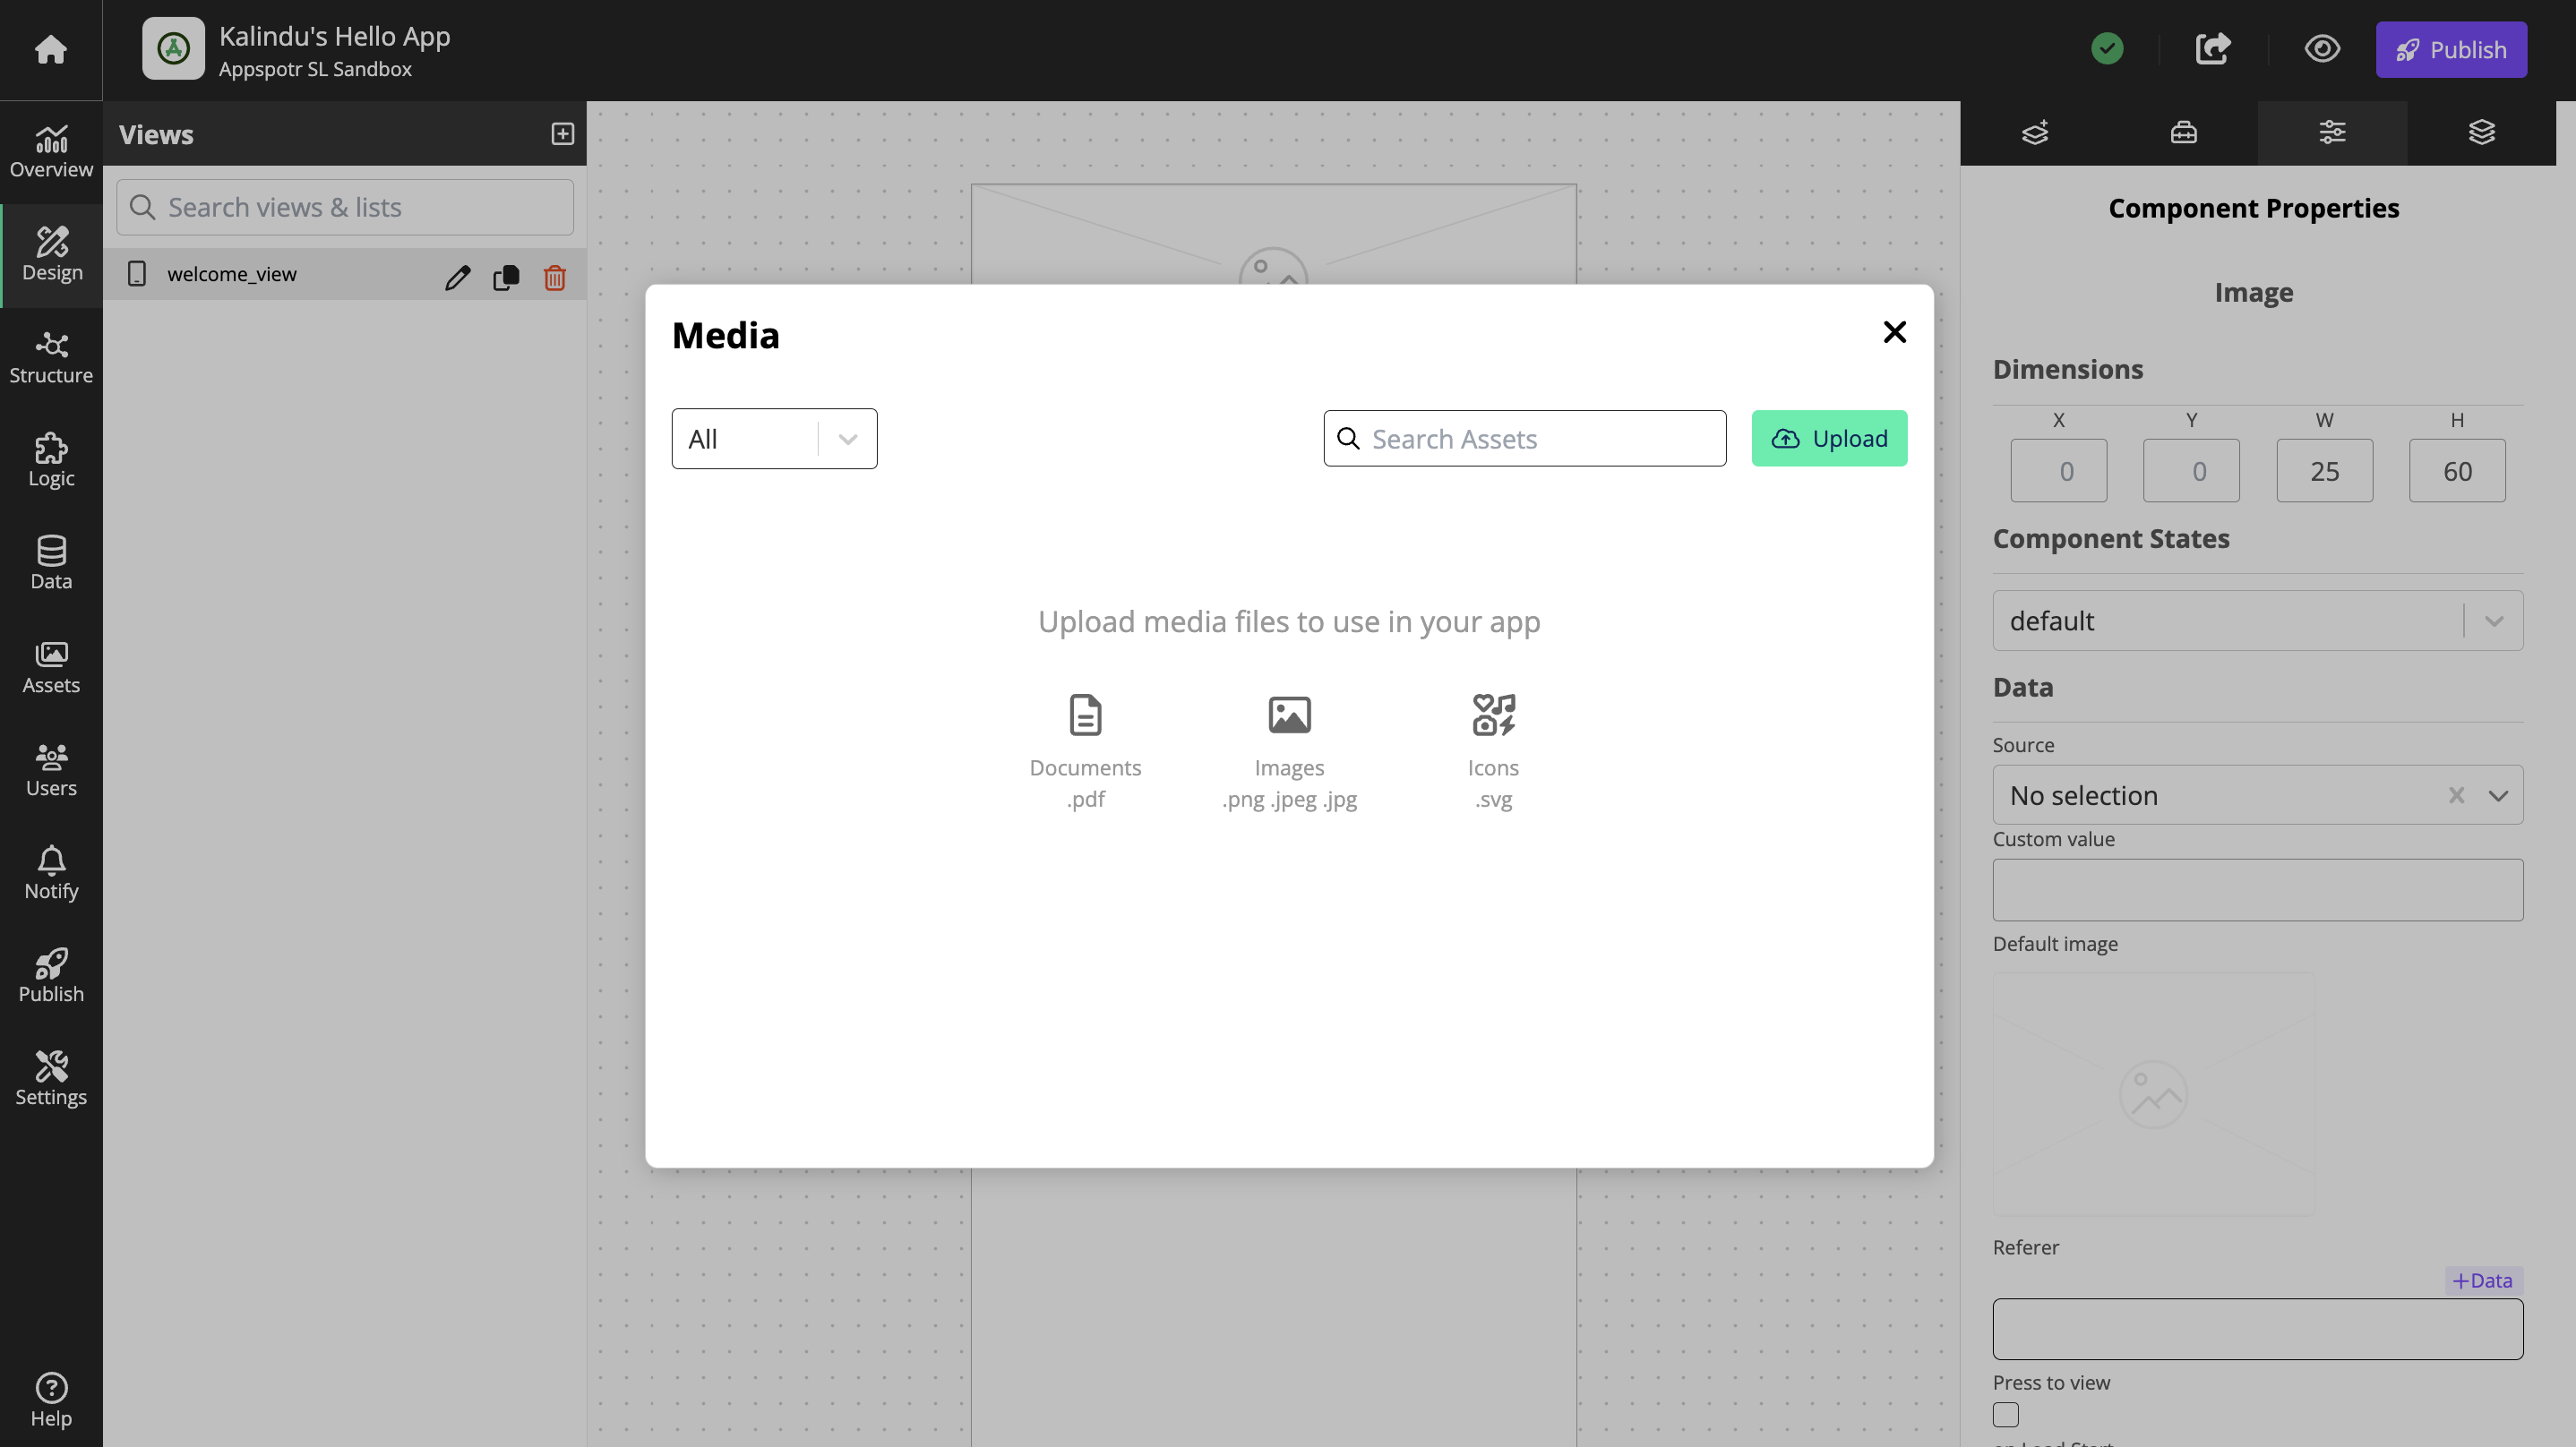
Click Default Image
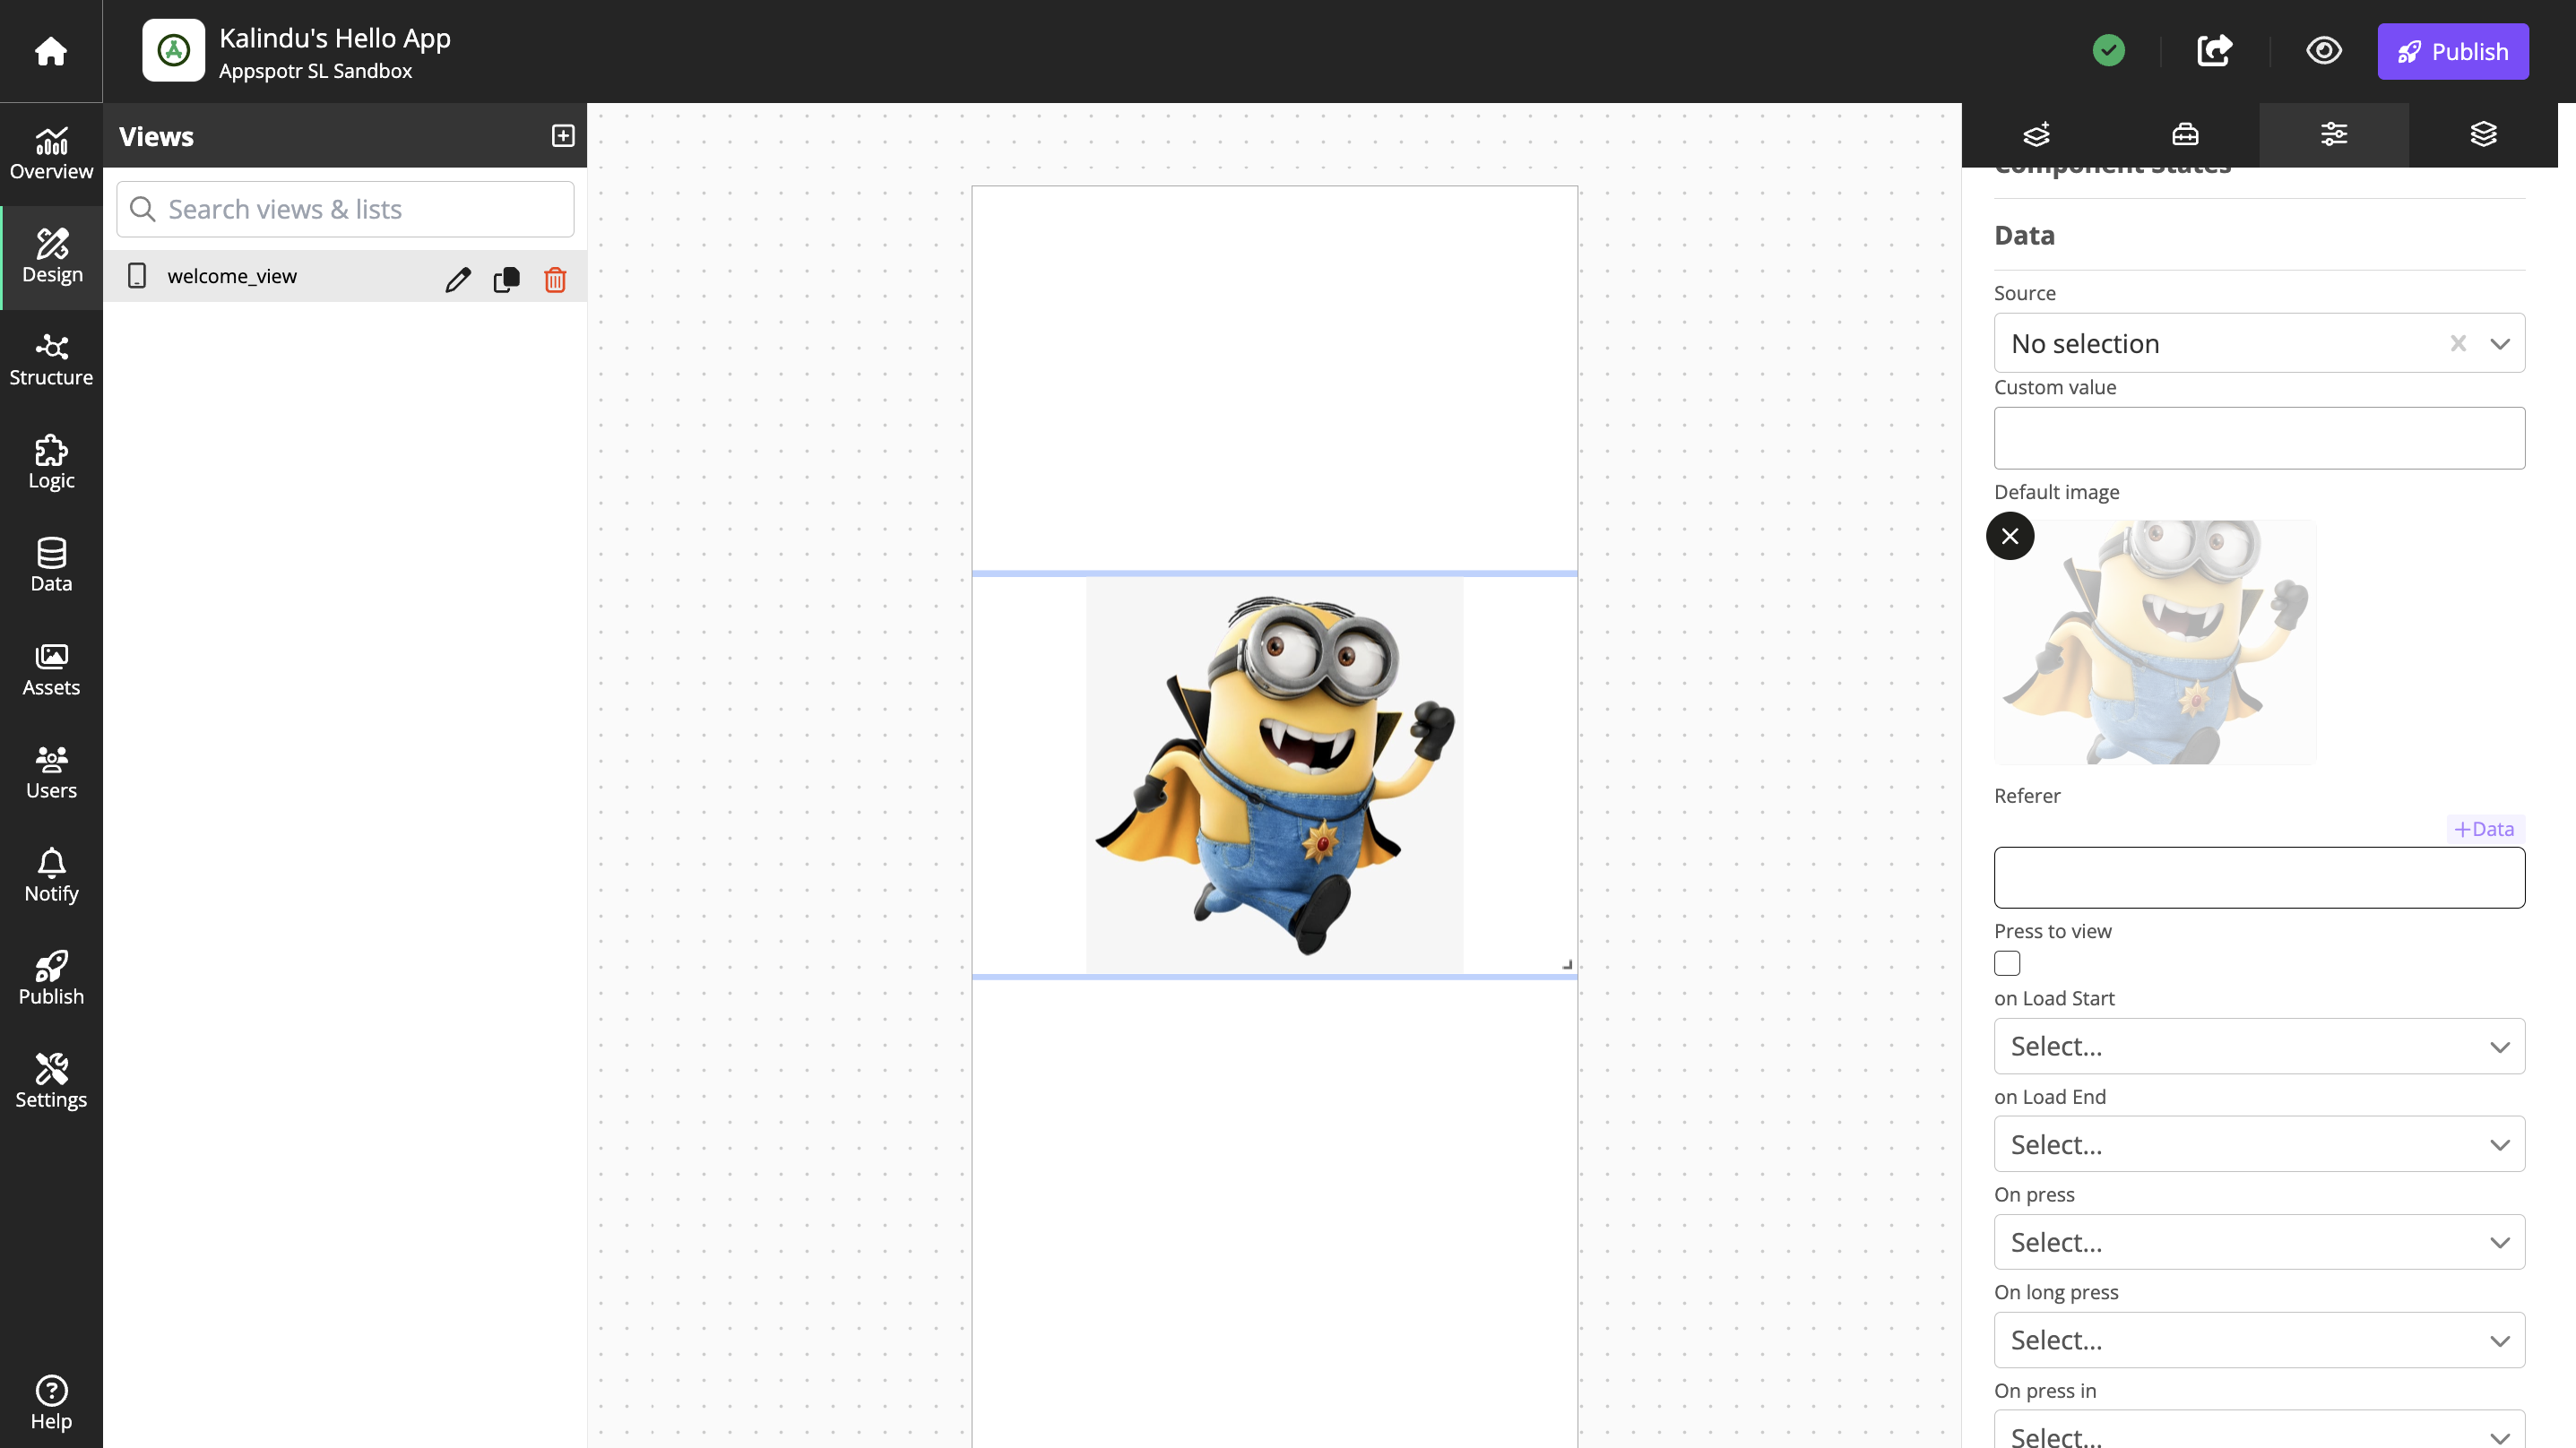
Upload an image from your computer
Add Text Box
Click the Add Component tab
Add a Text Box
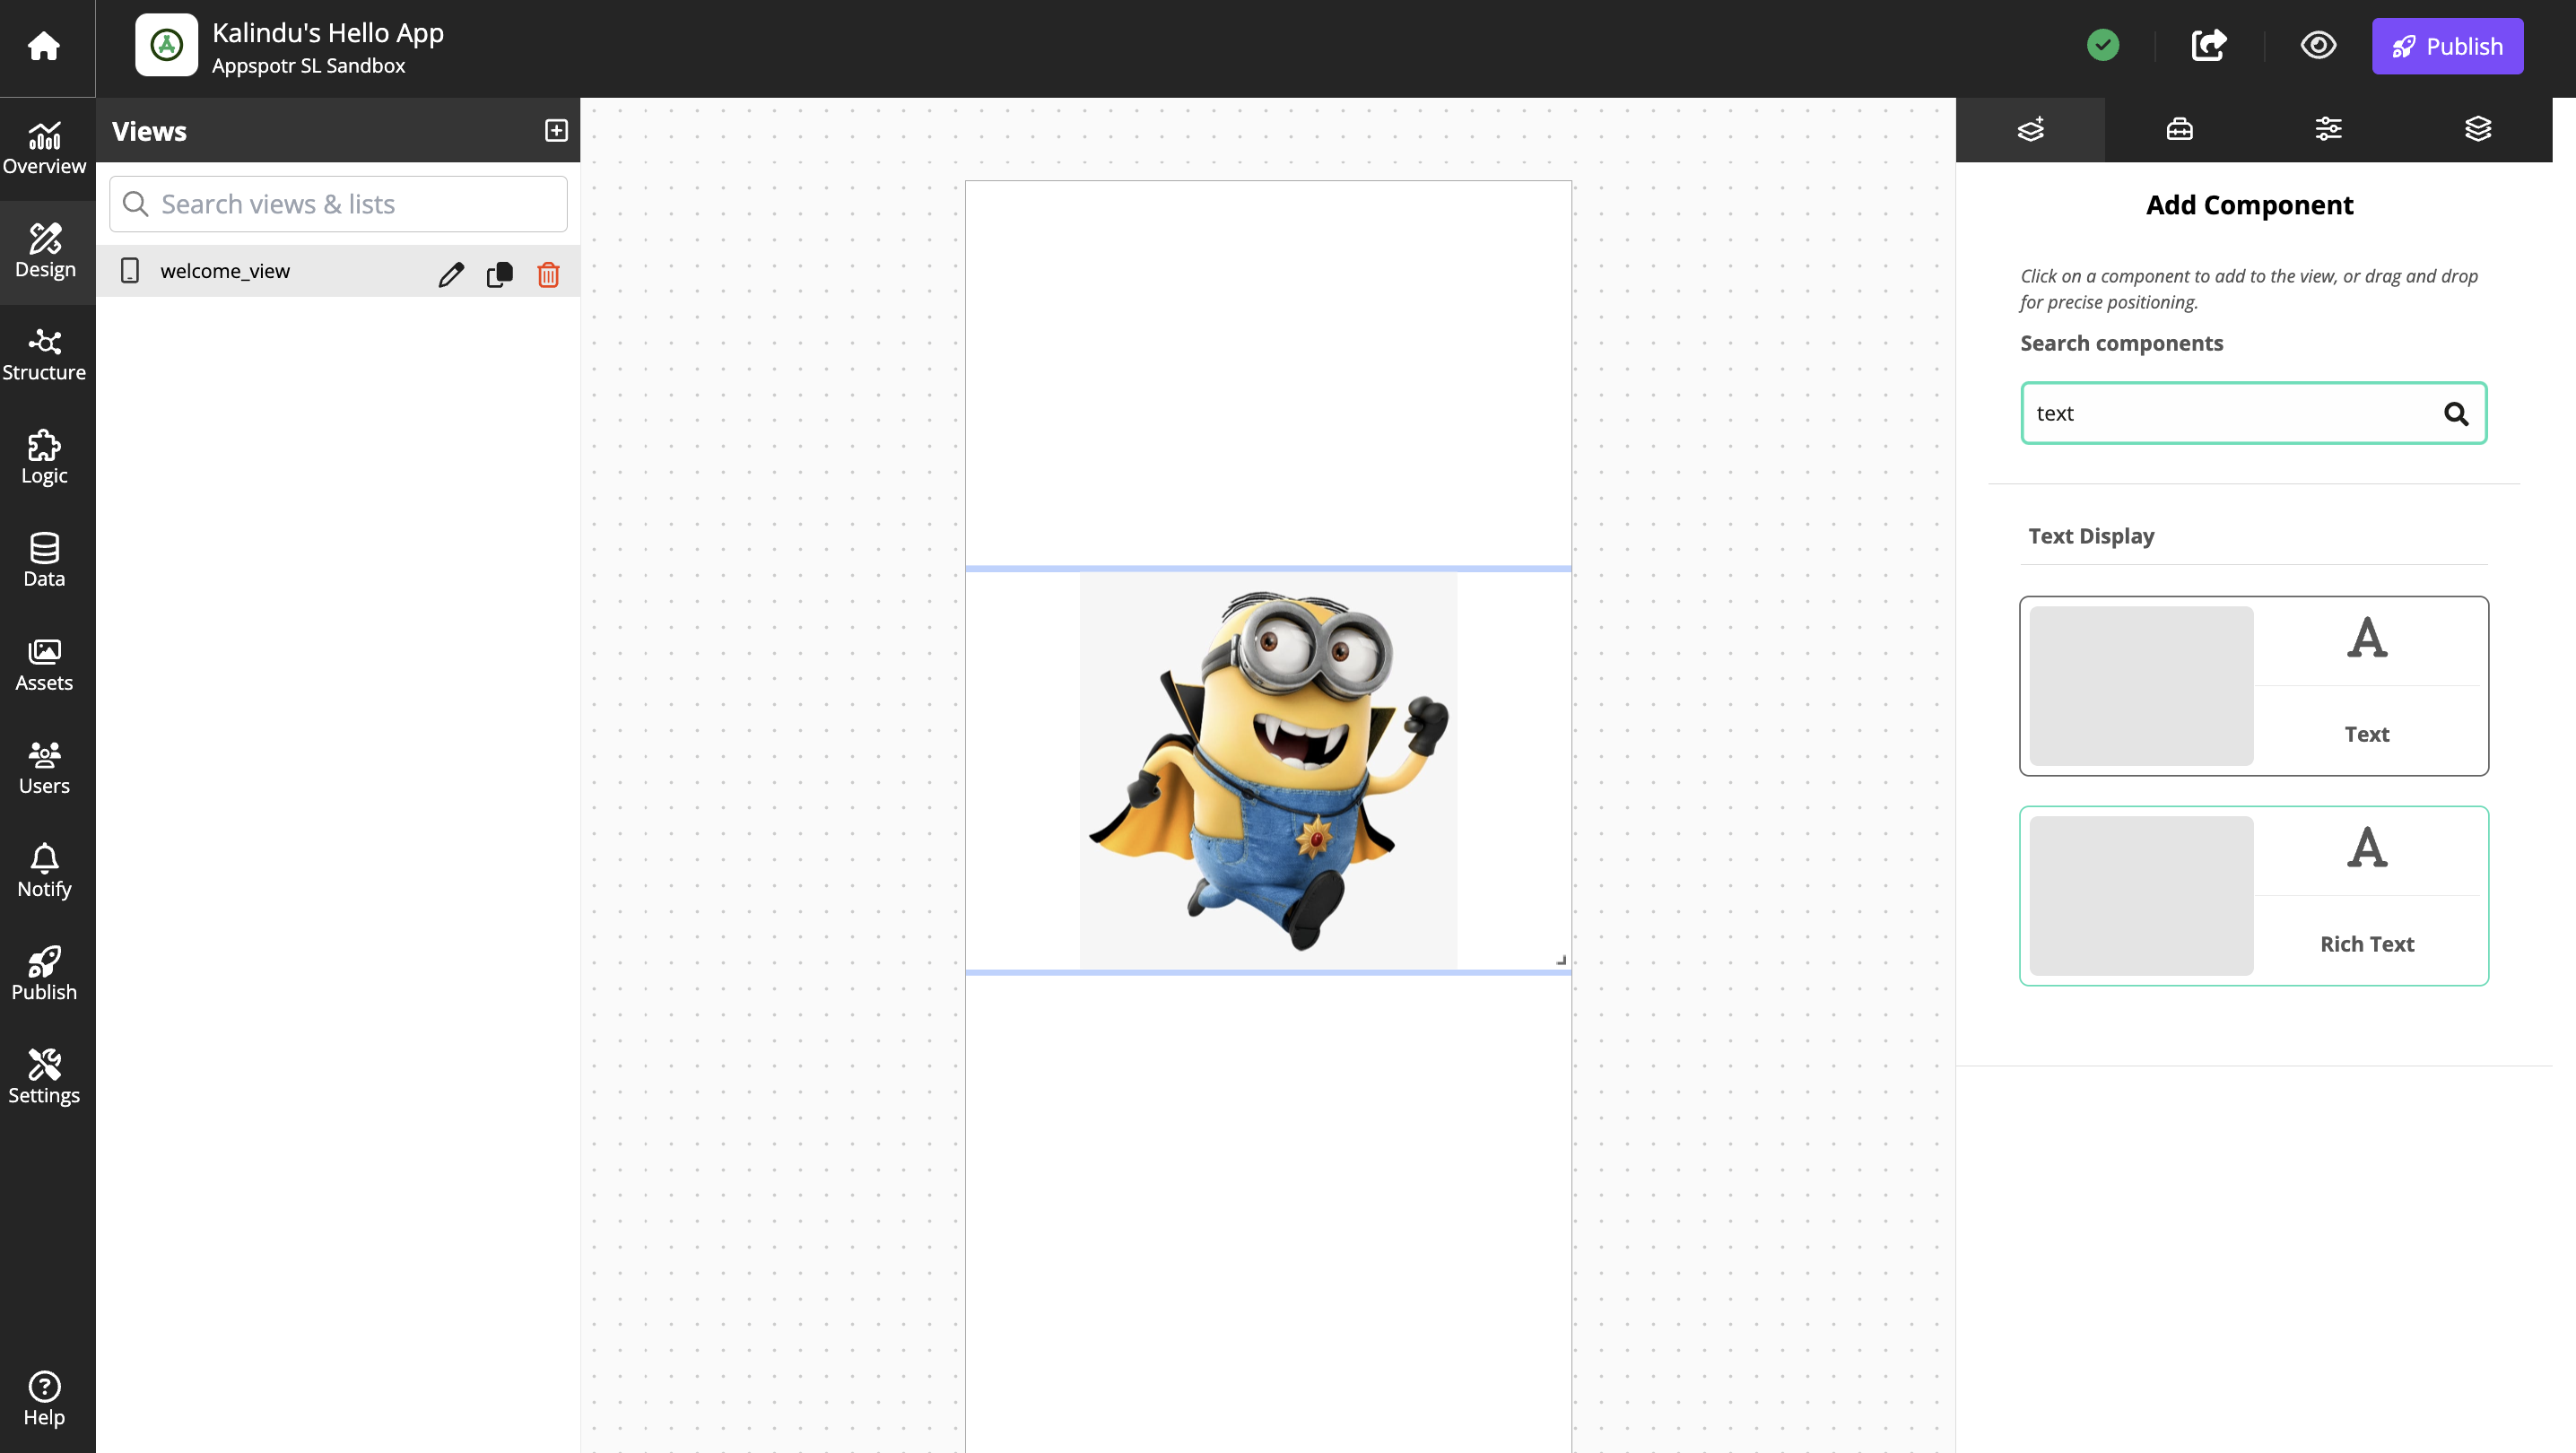
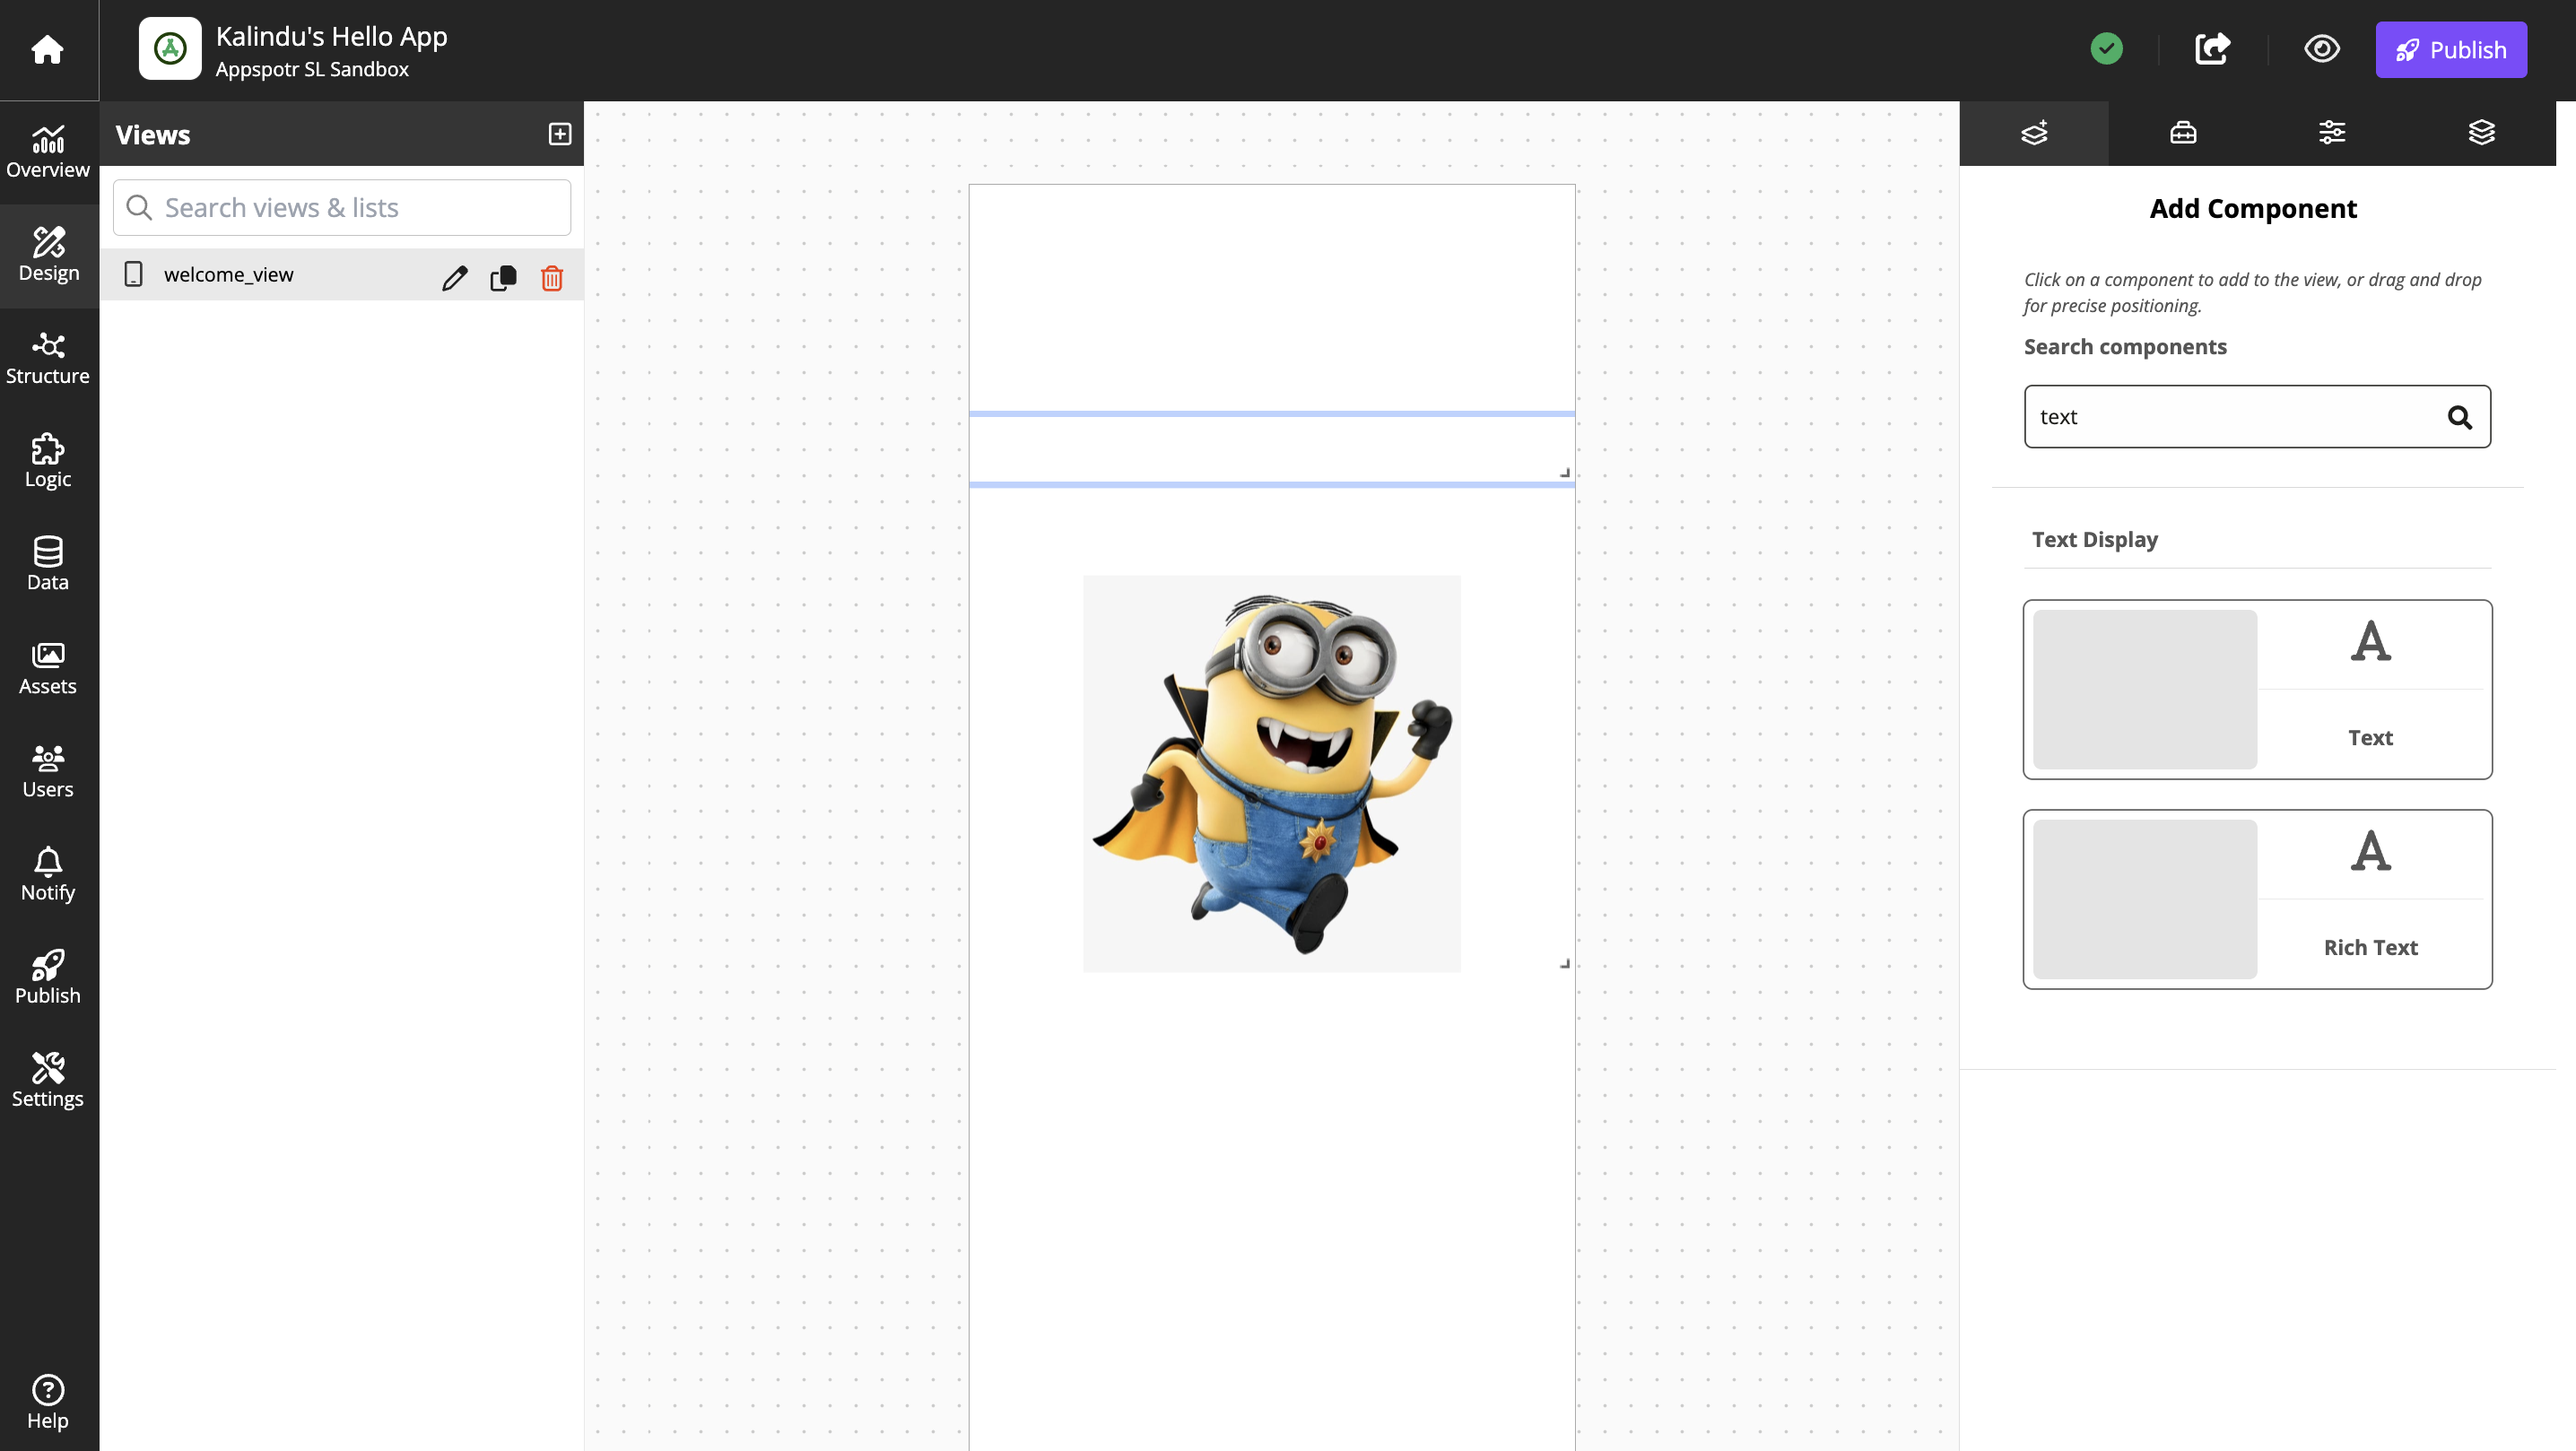
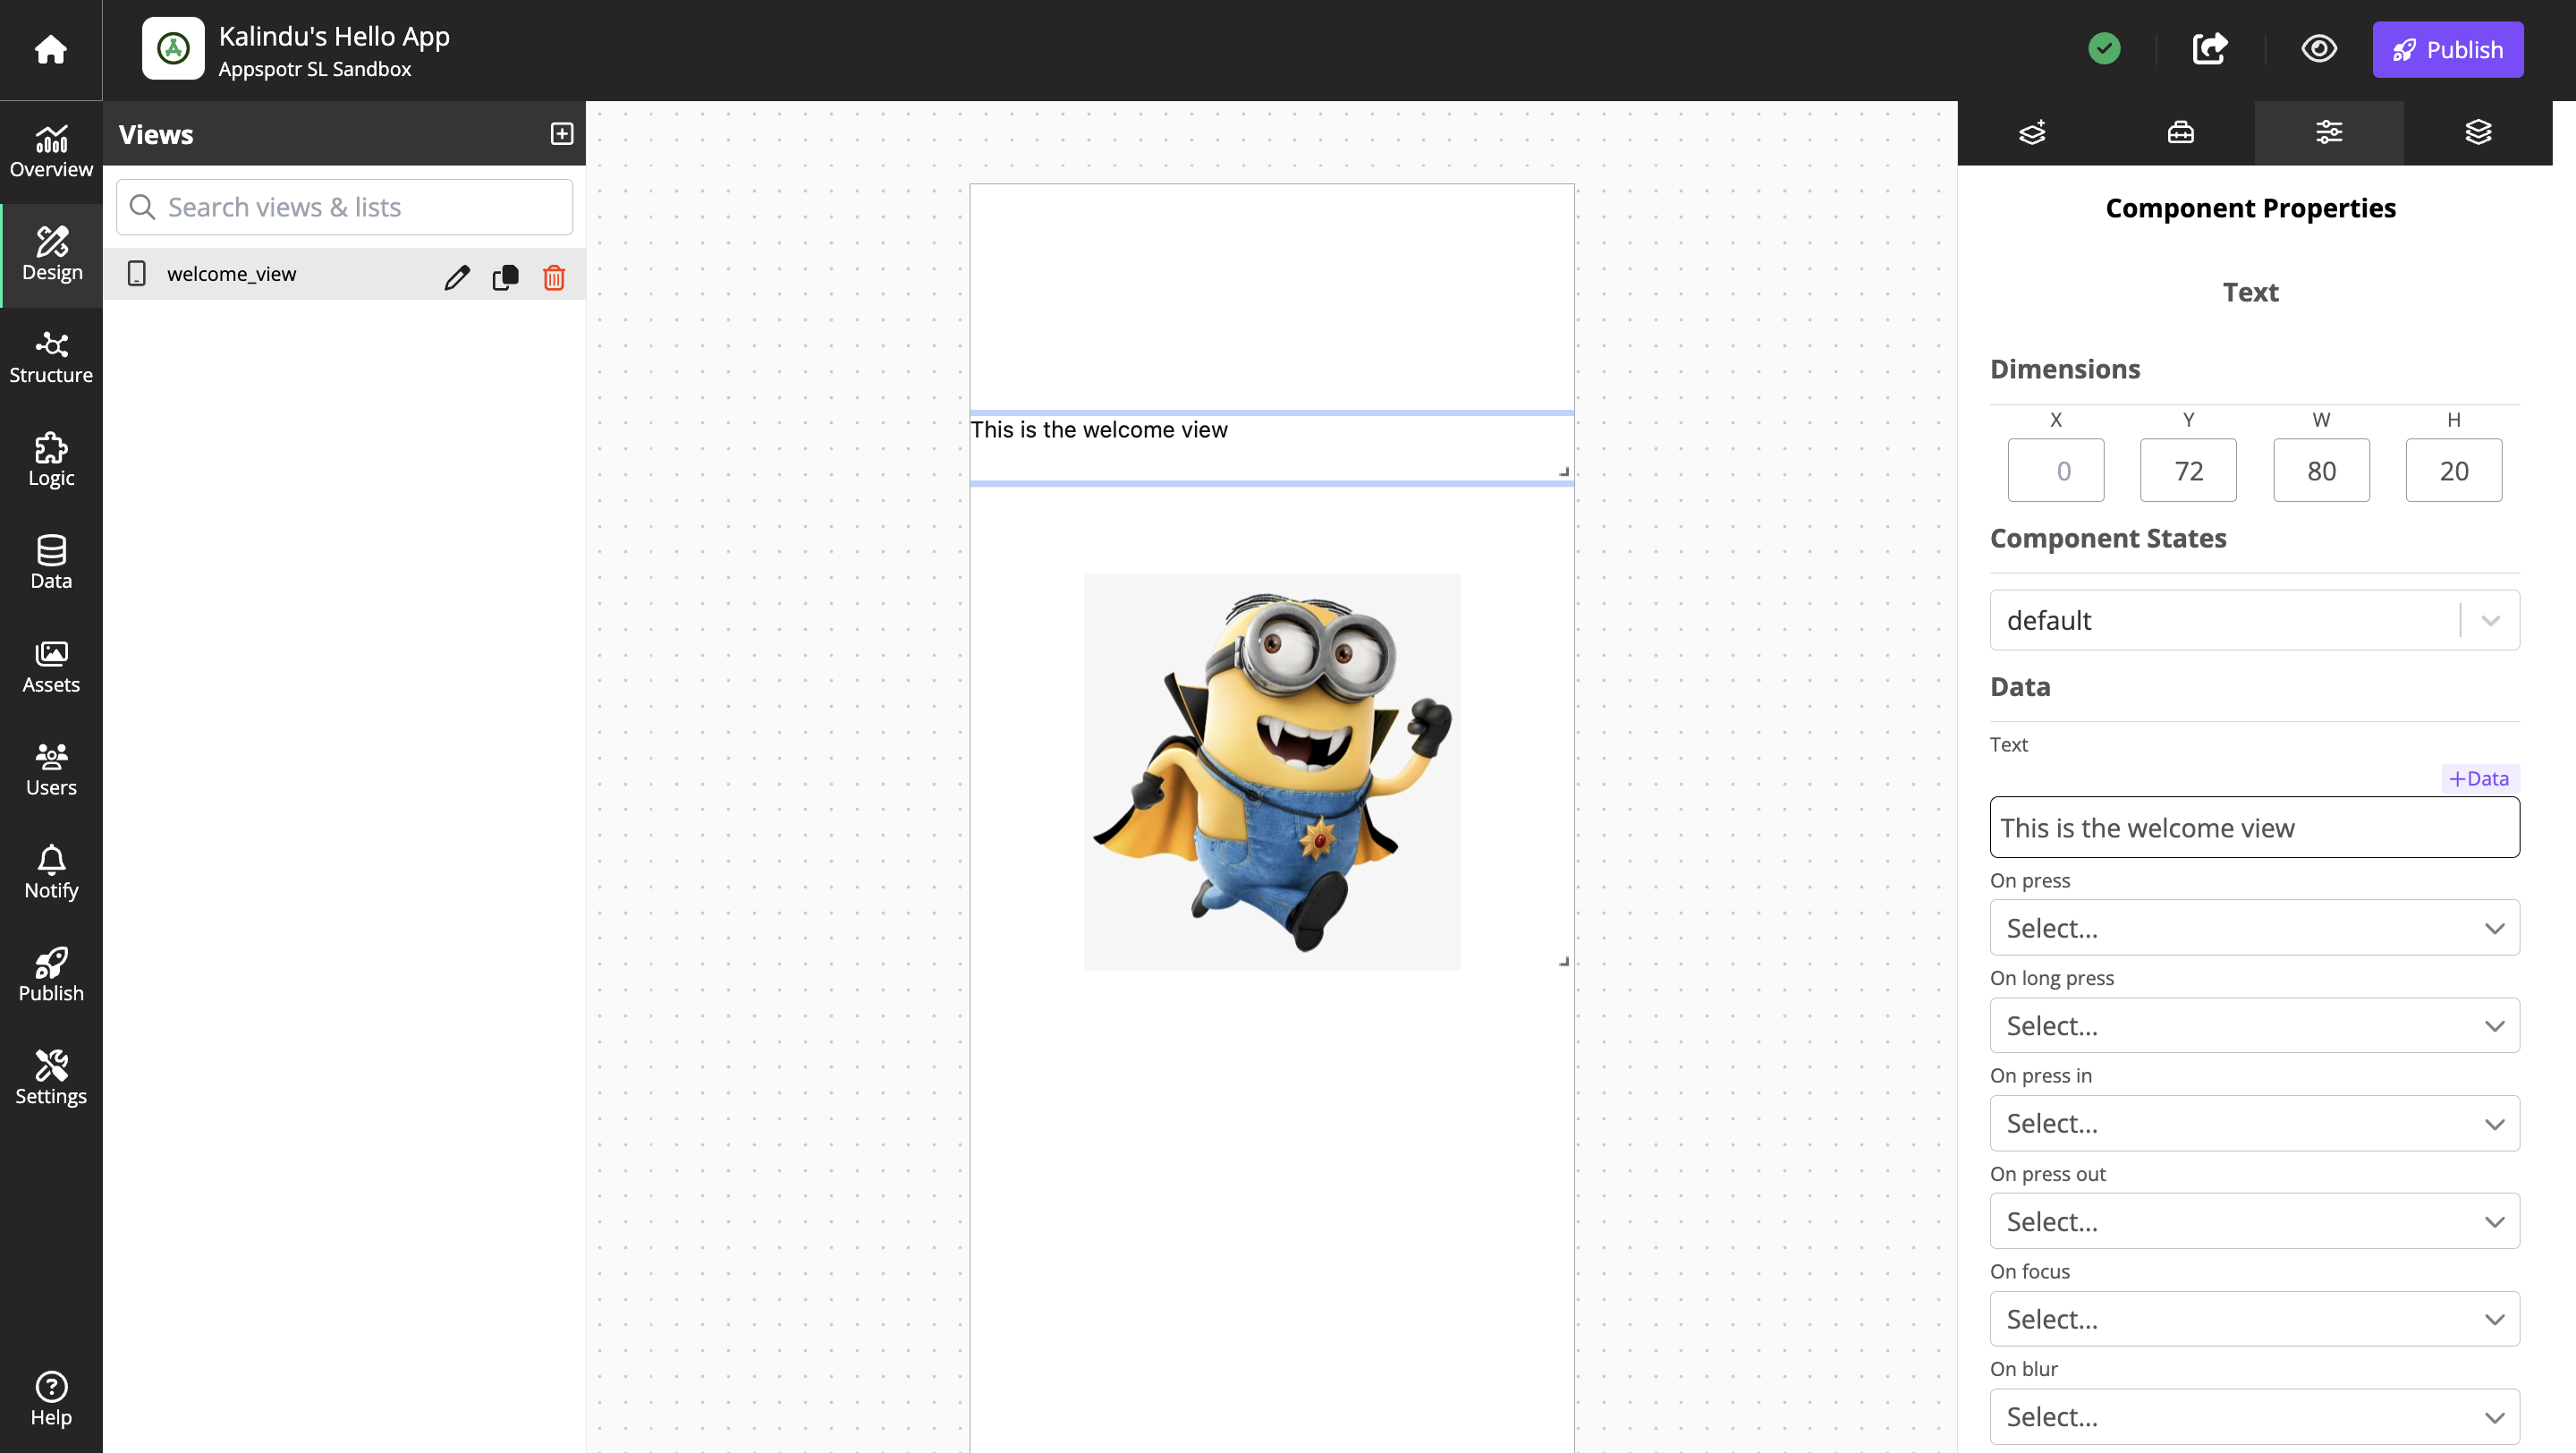
Click the text display on the canvas, and open the Component Properties tab
Open the Component Properties tab and add some text, for instance This is the welcome view
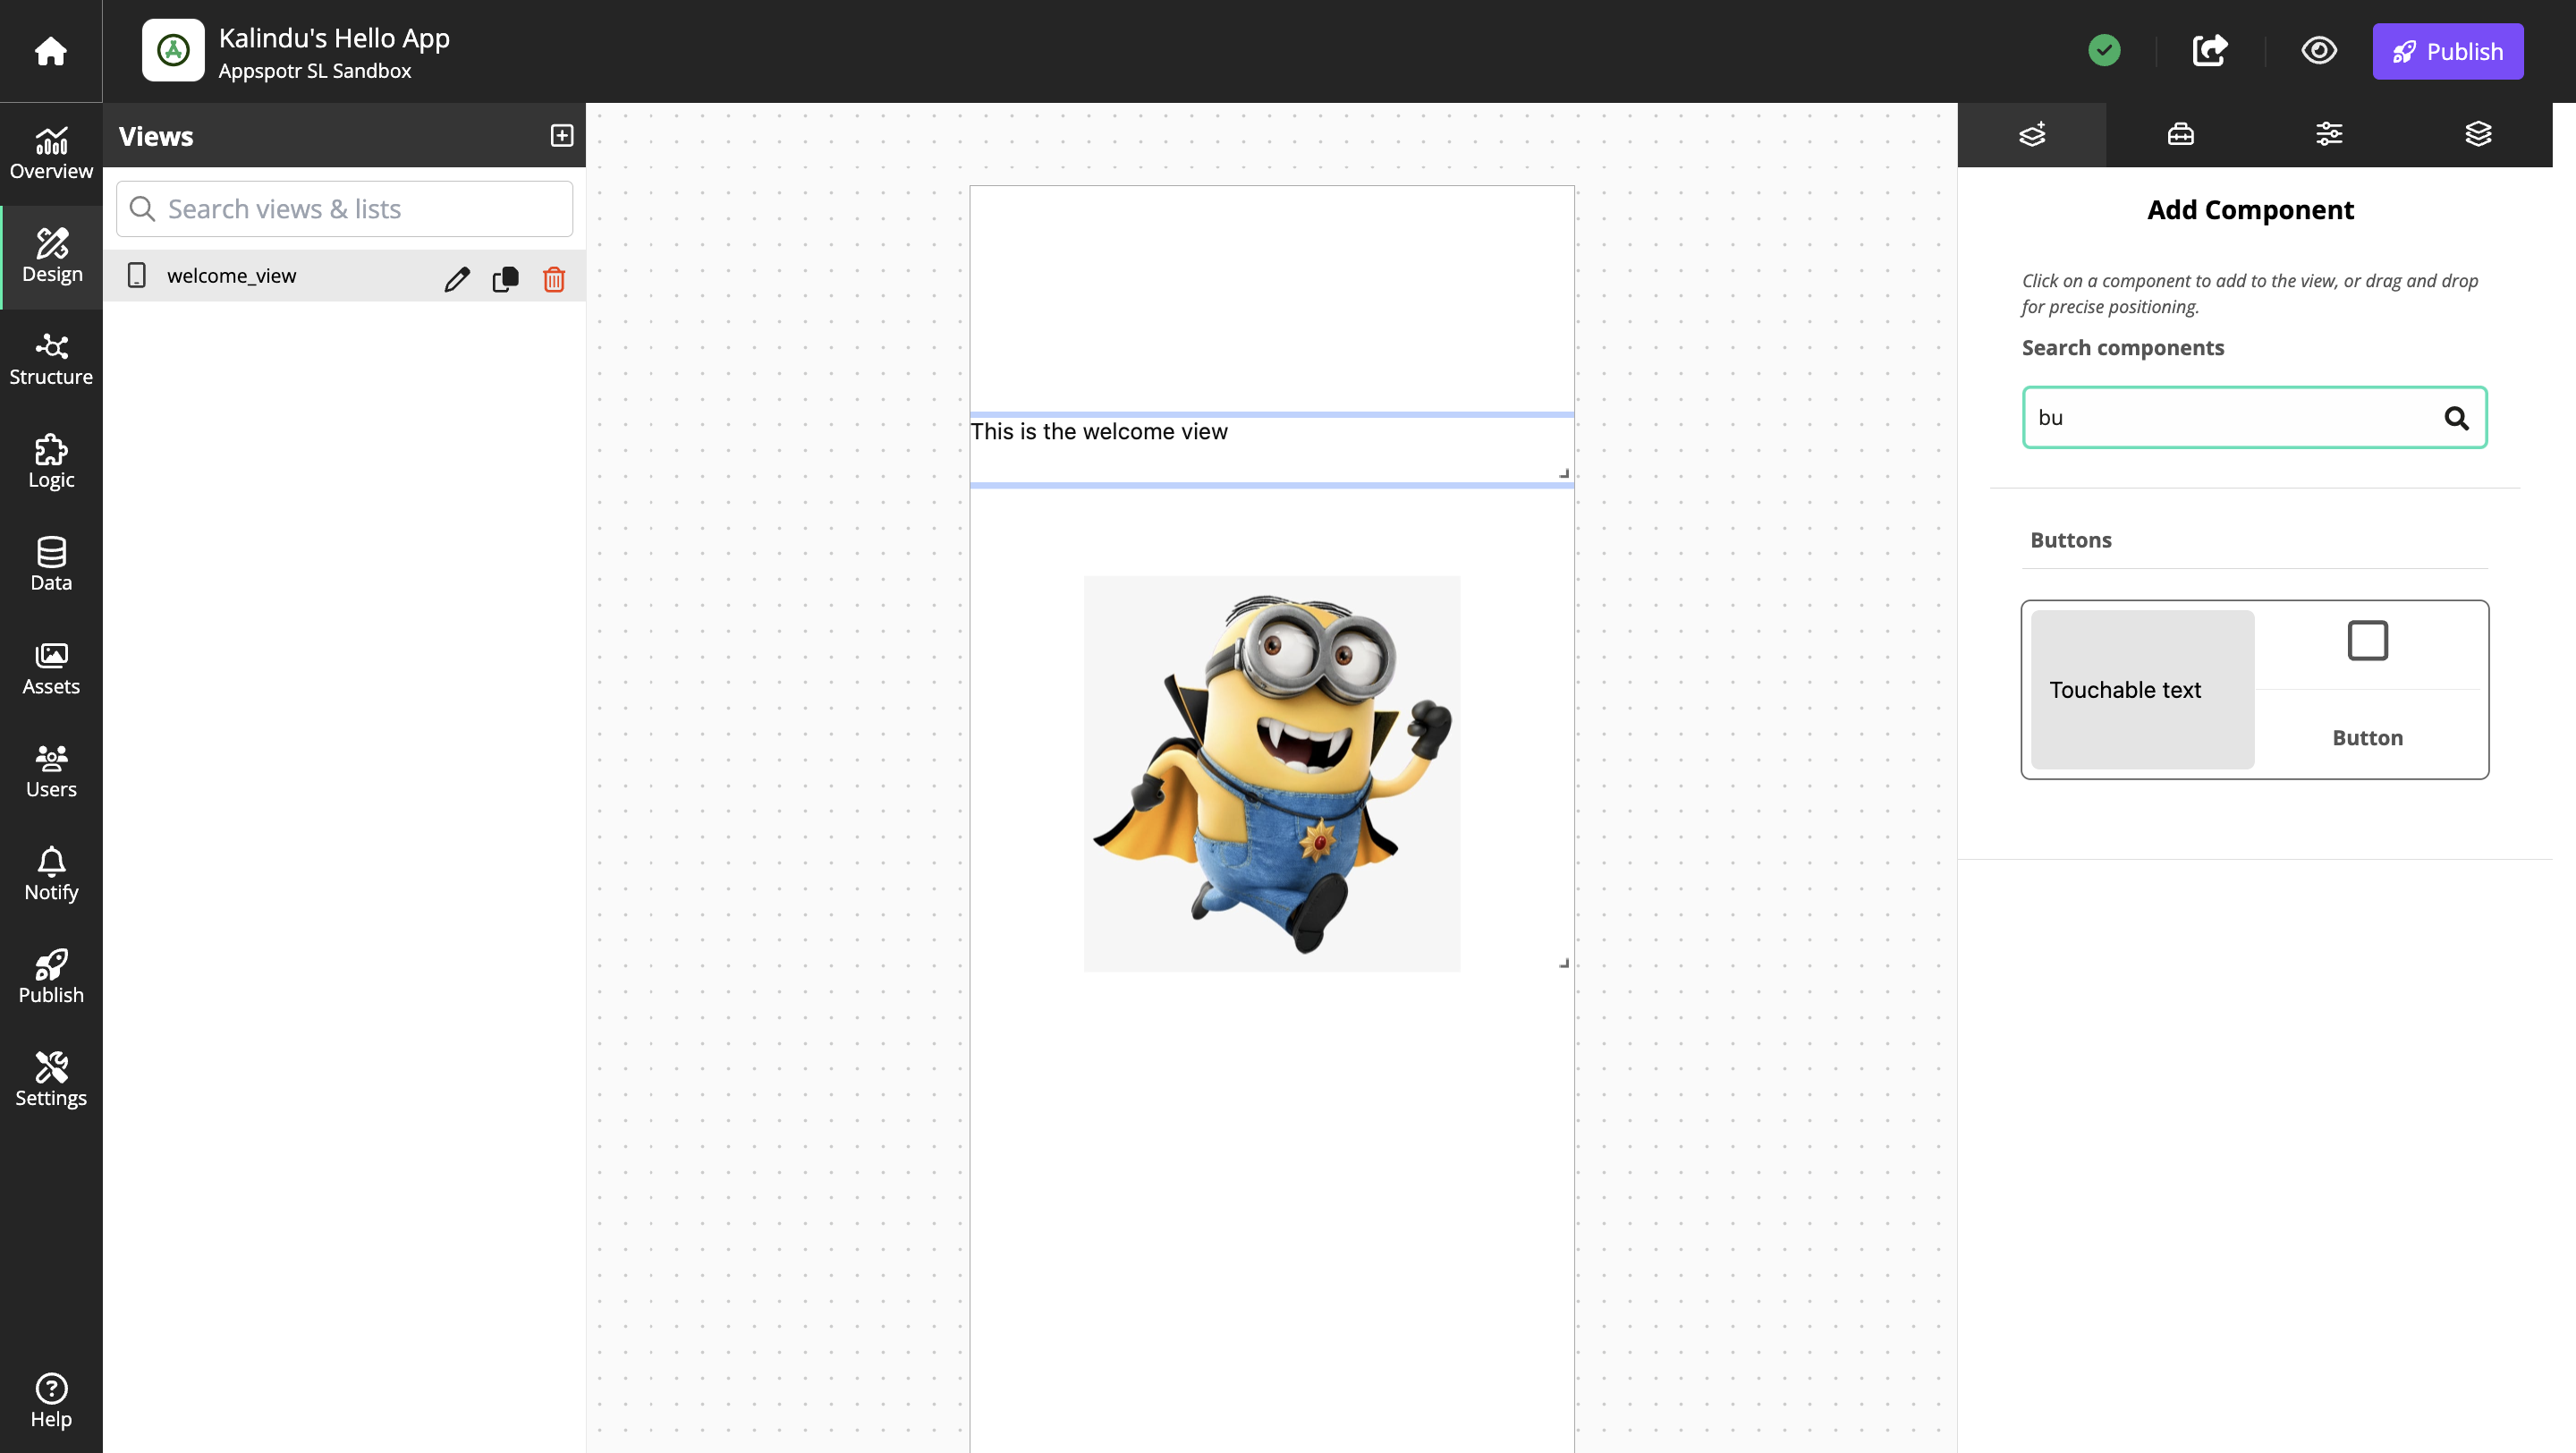
Add Button
Open the Add Component tab and add the button to the view.
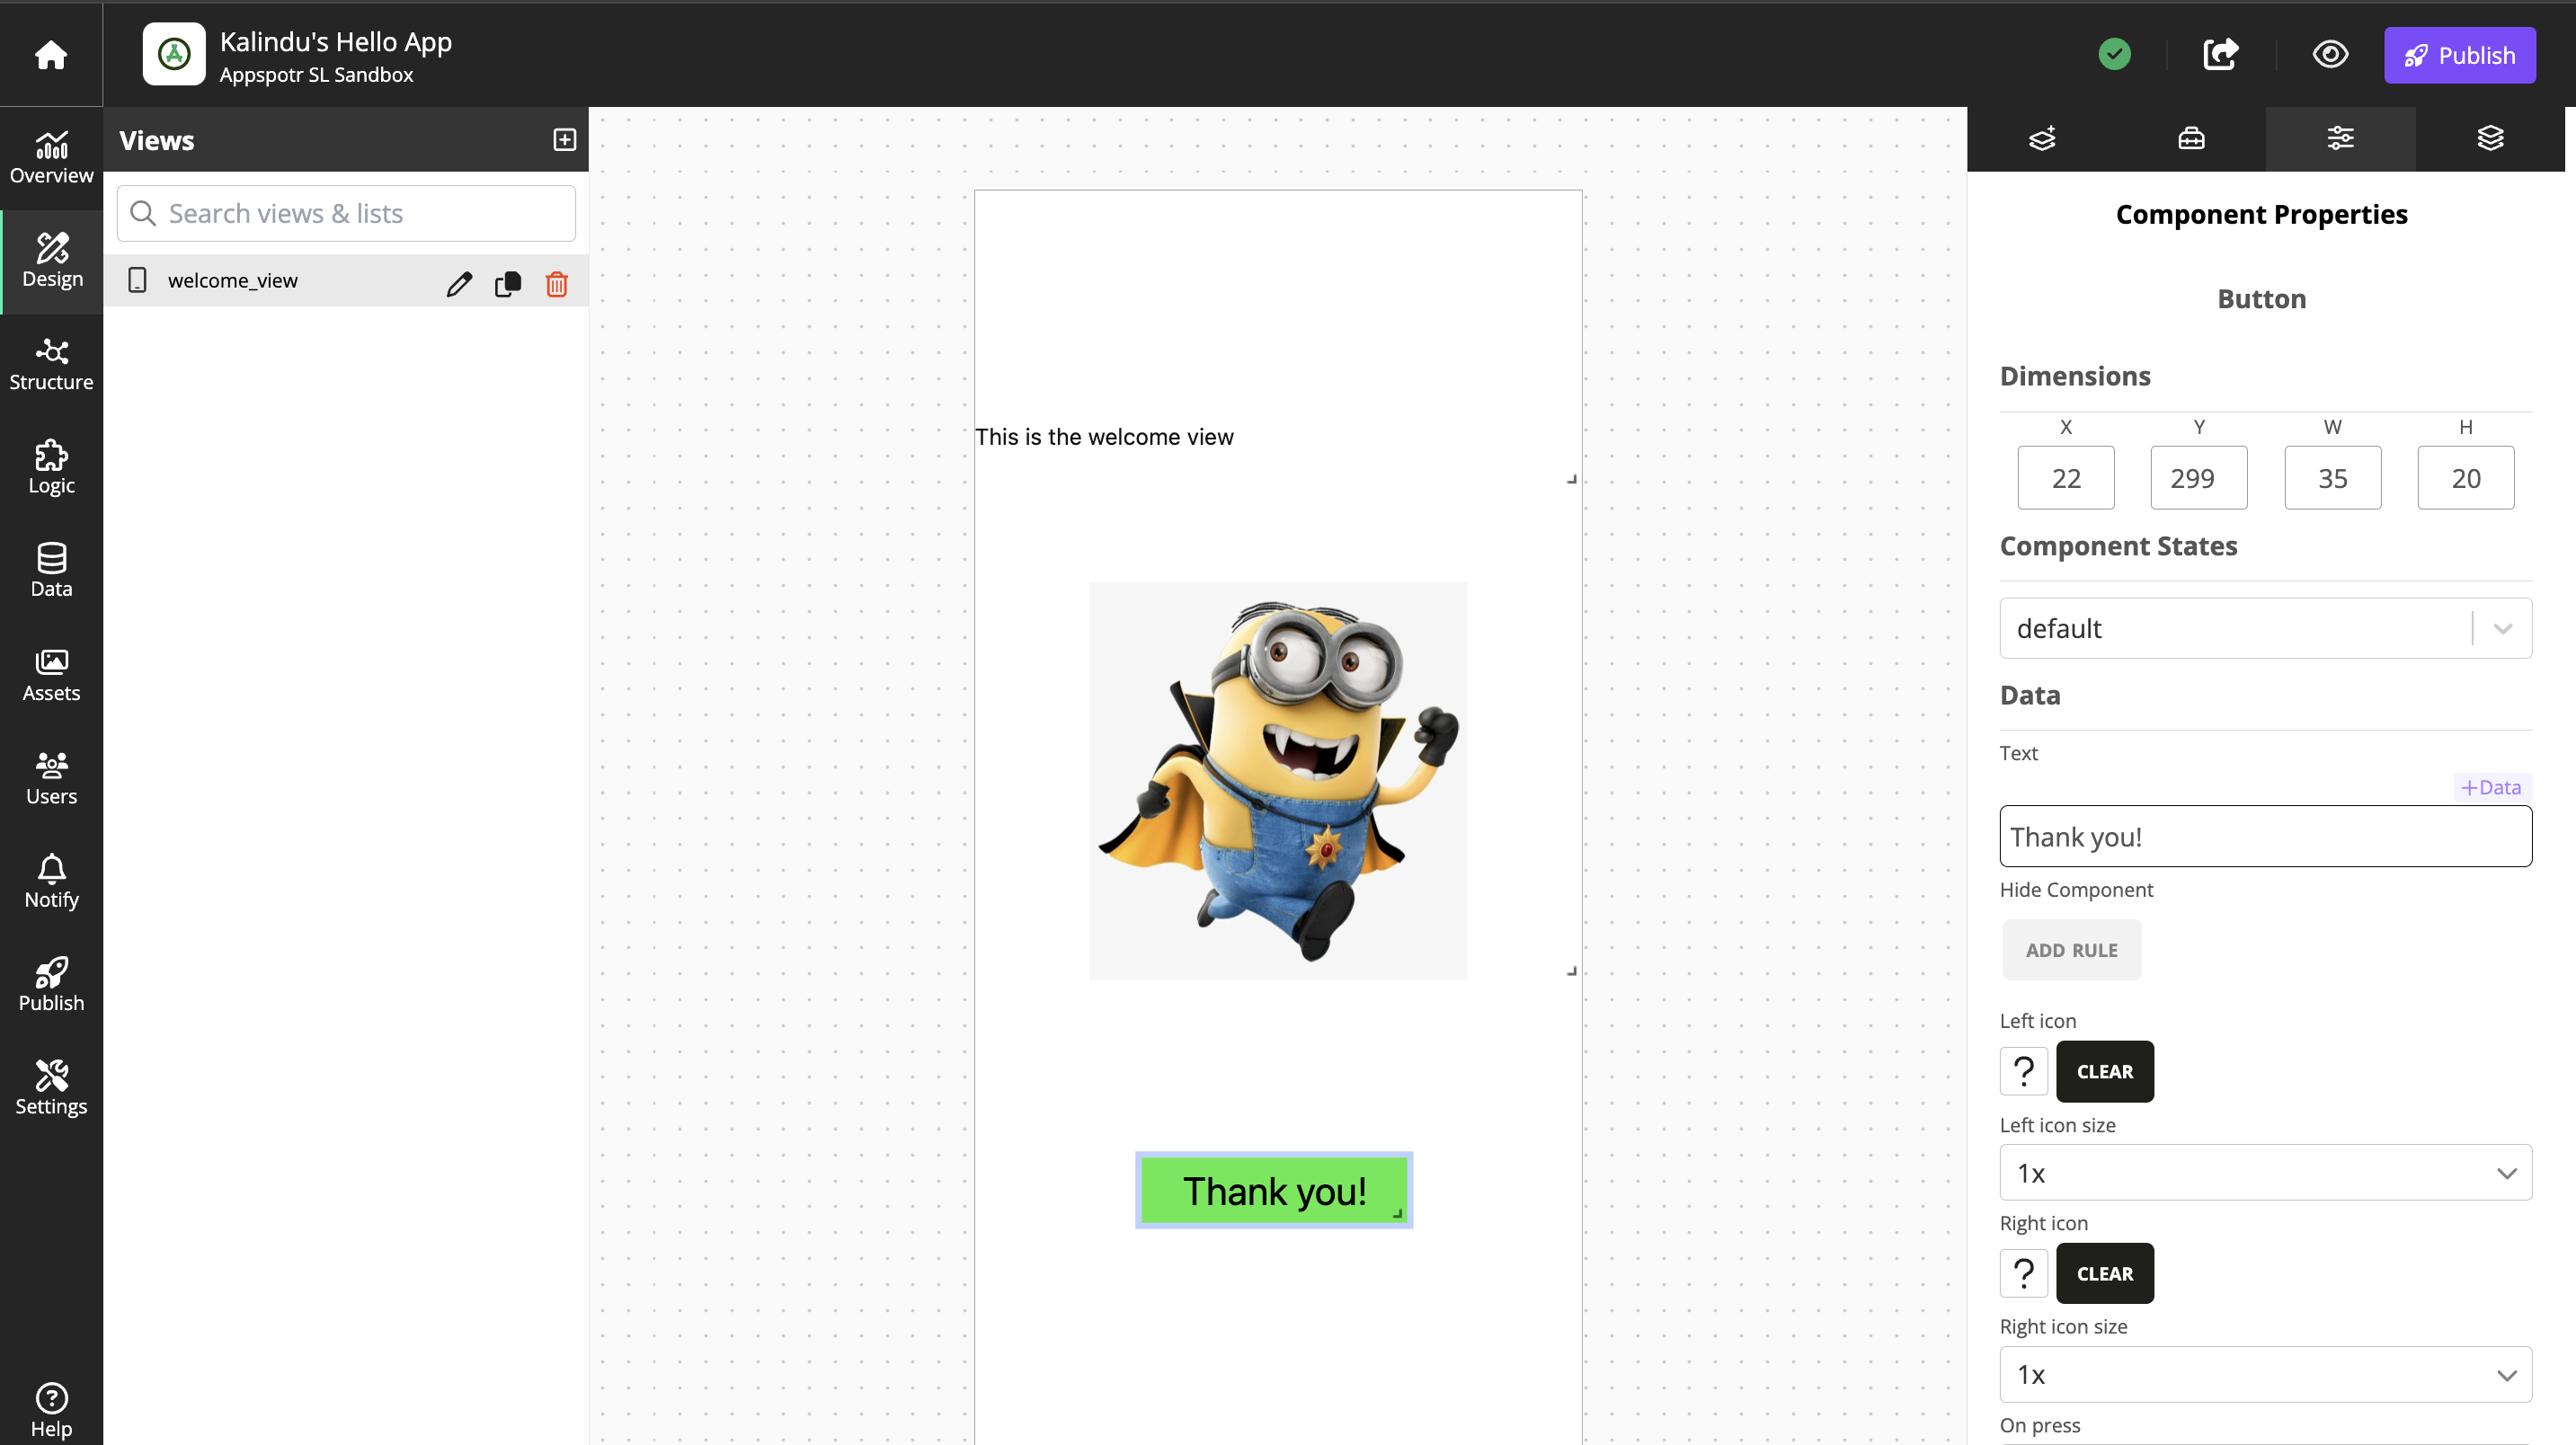
Click the button on the canvas, and Open the Component Properties tab
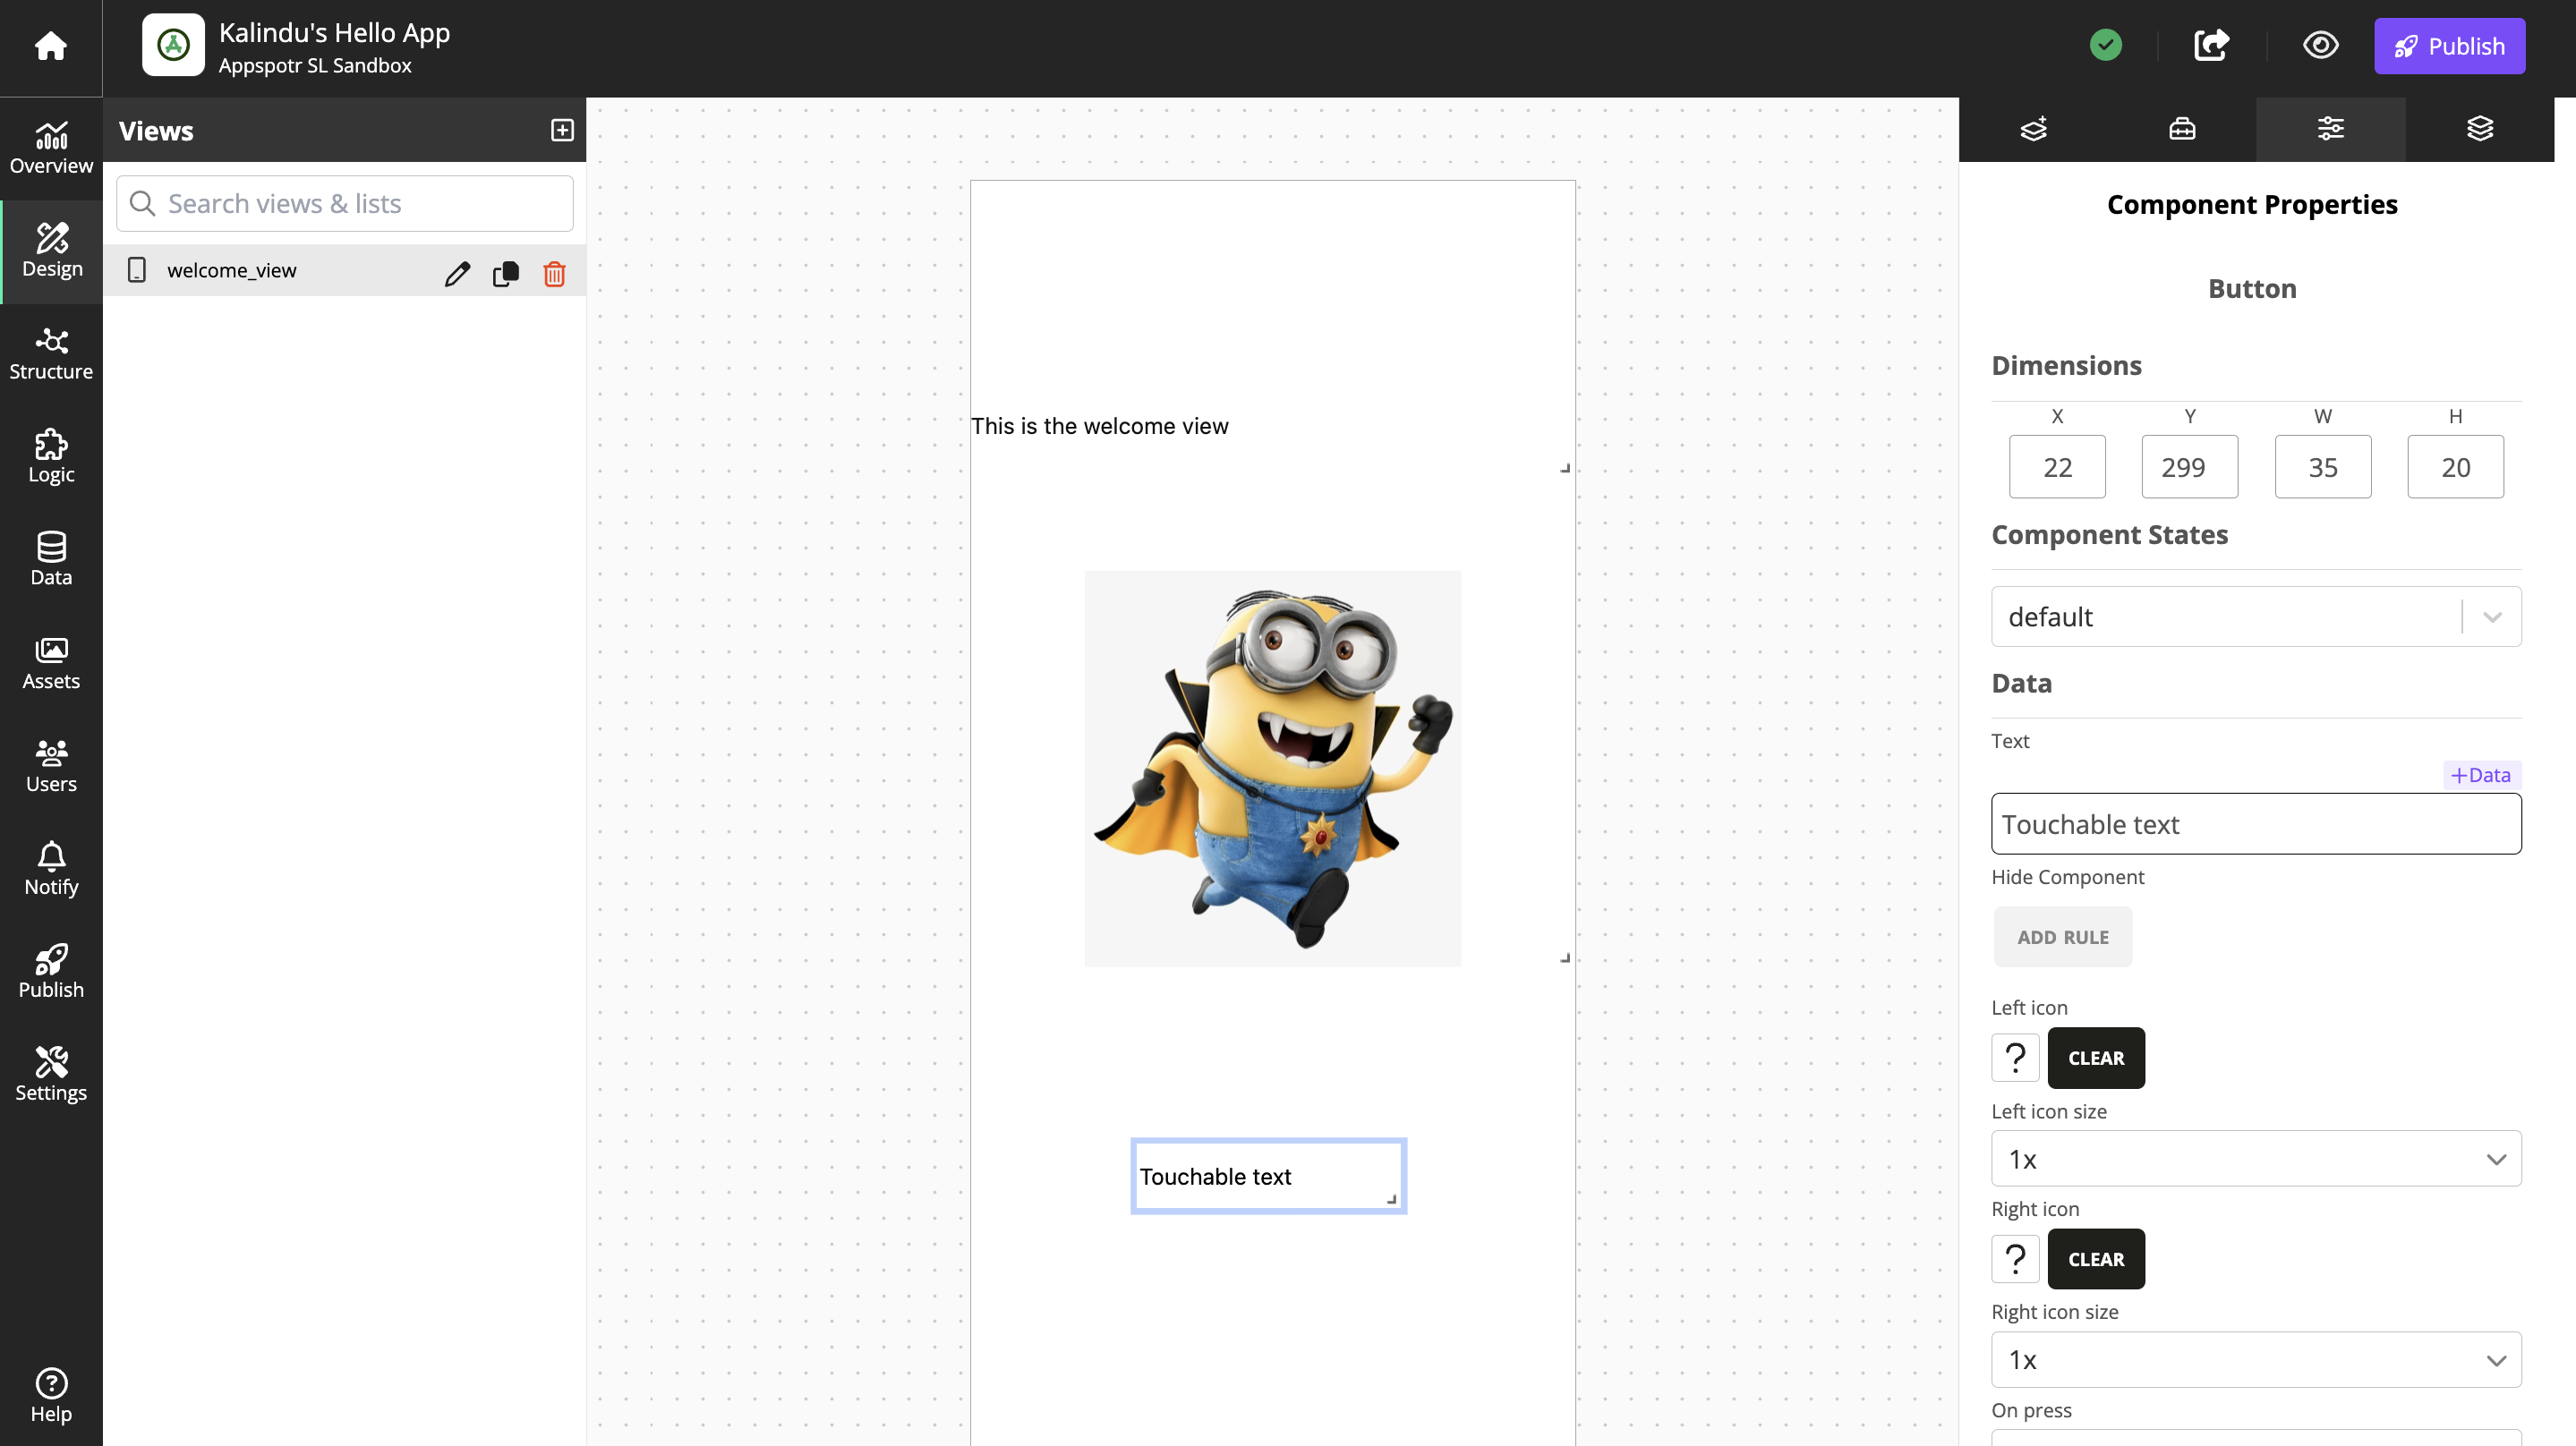
Under Data properties, change the text of the button to Thank you!

Scroll to Styling and check the Override box
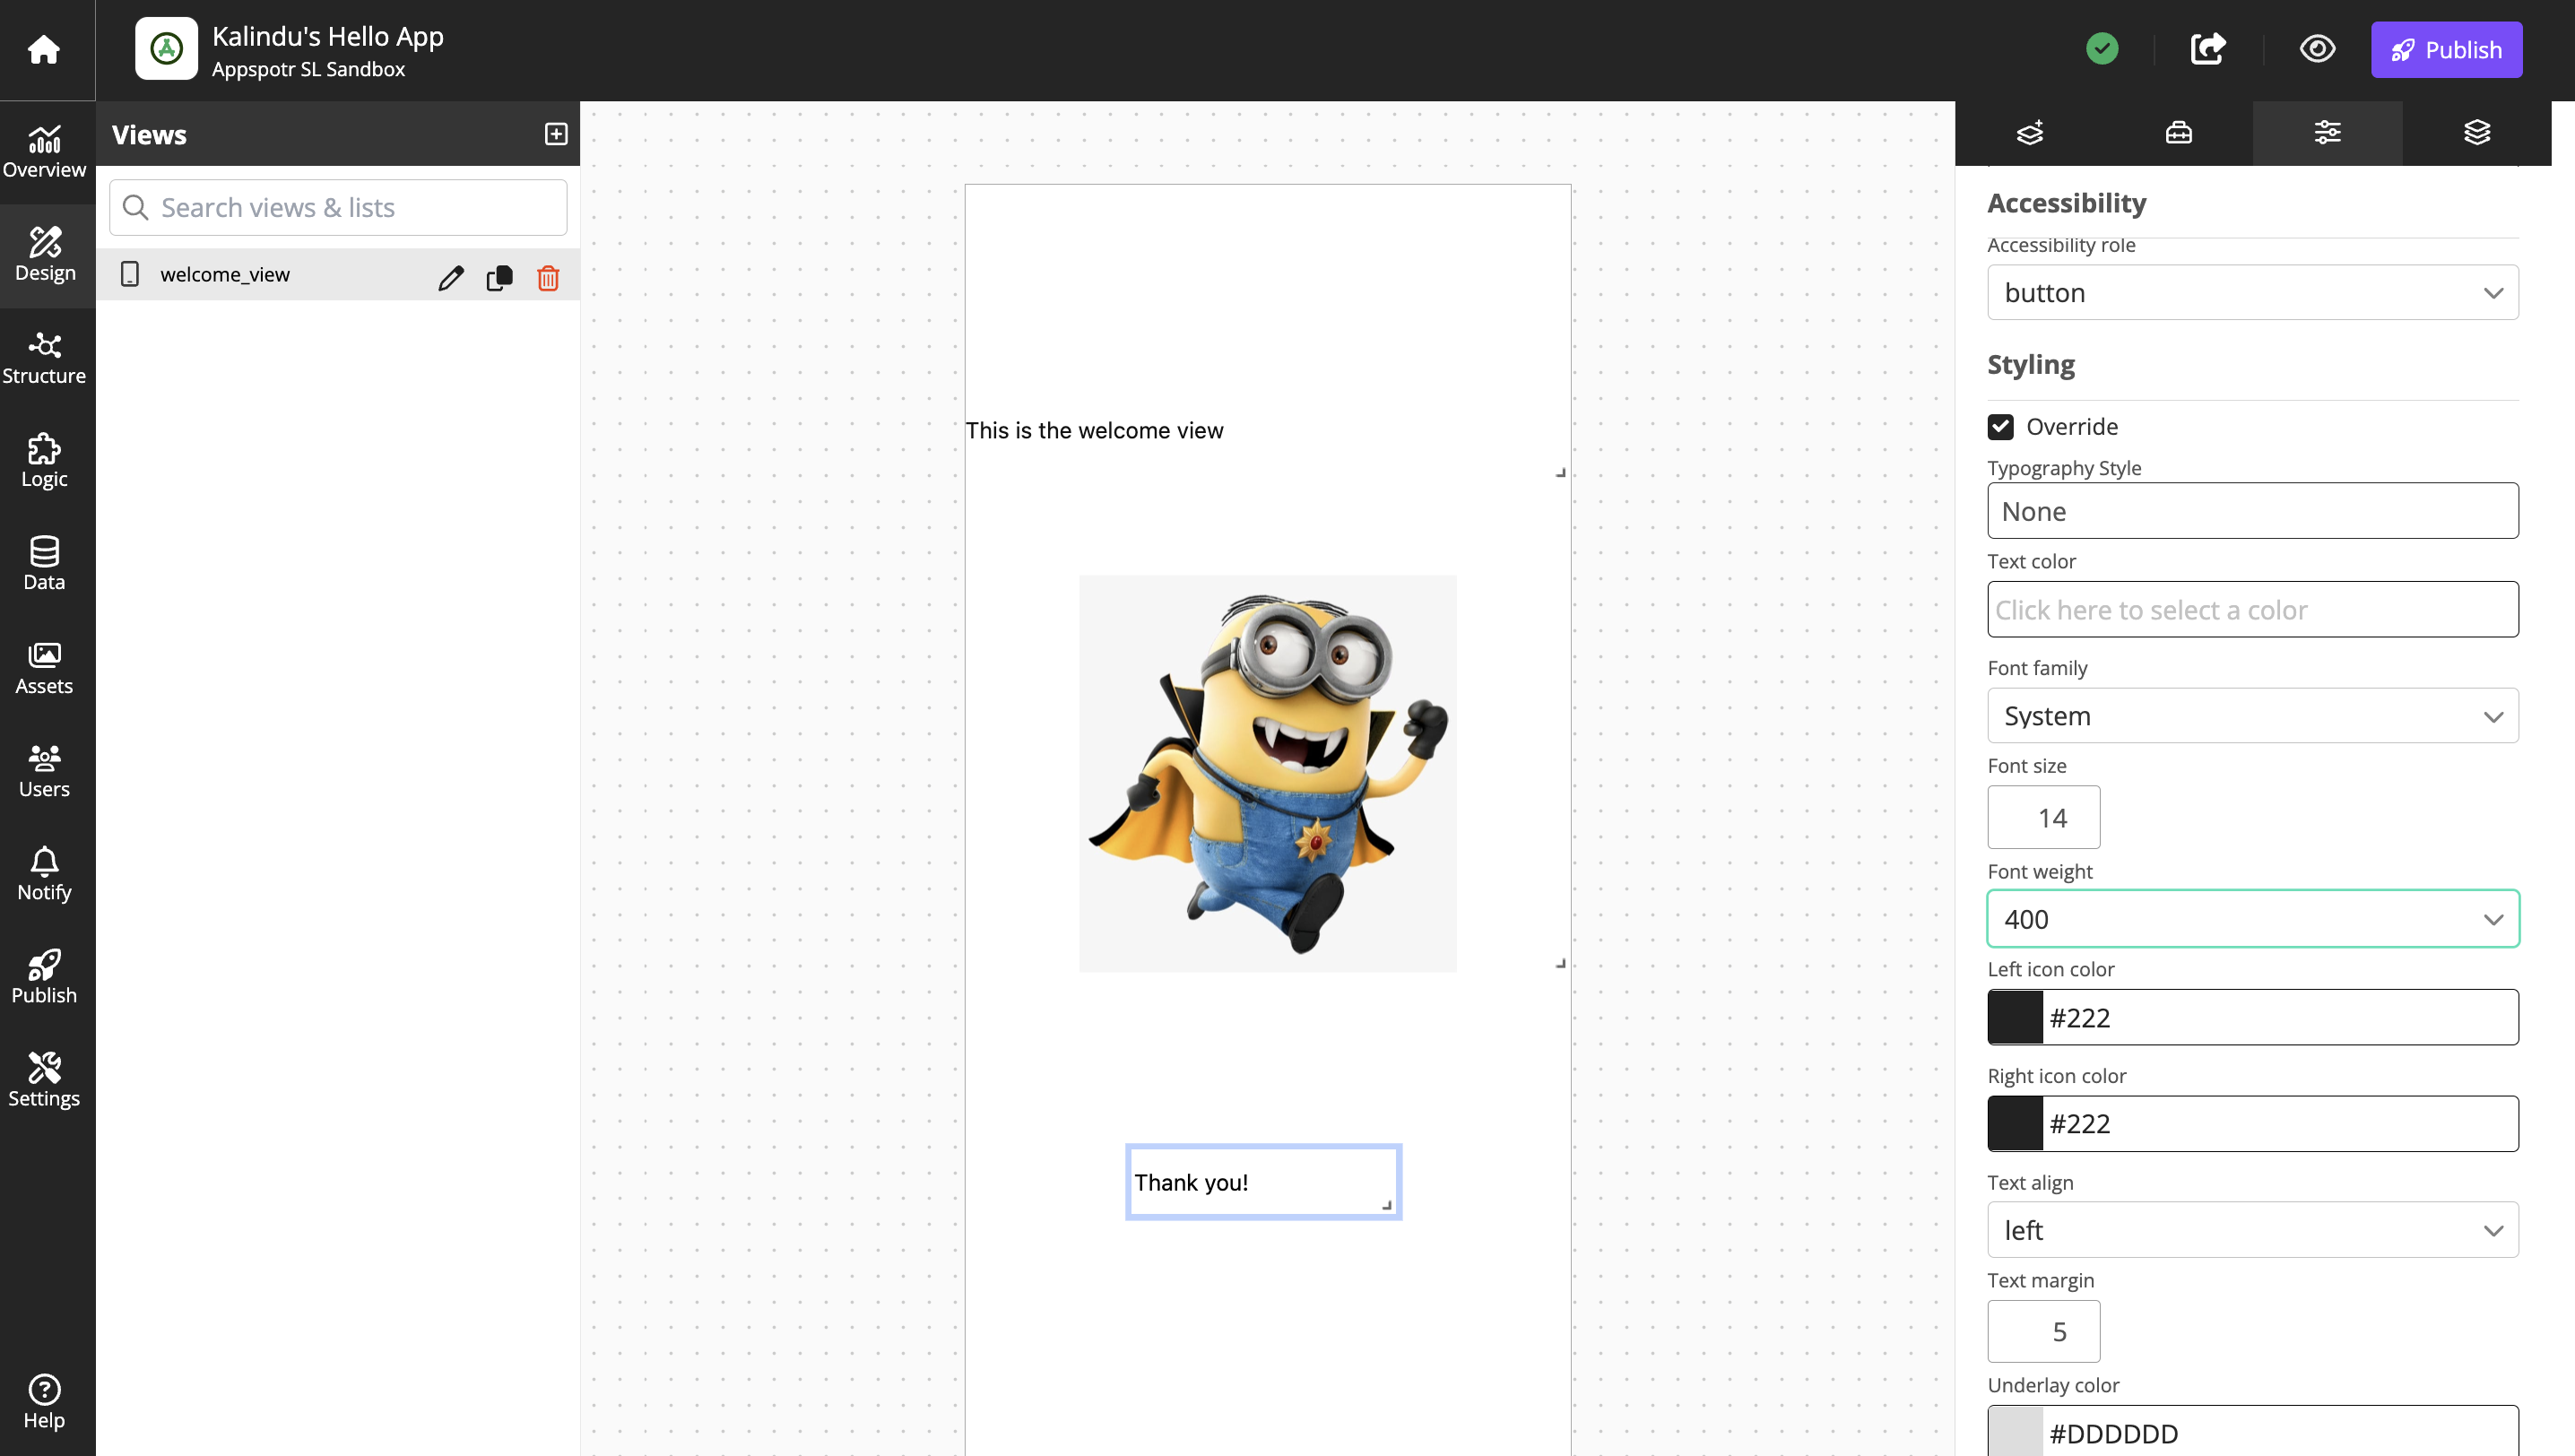
This disables the Styles for the view, and allows you to change how things look manually.
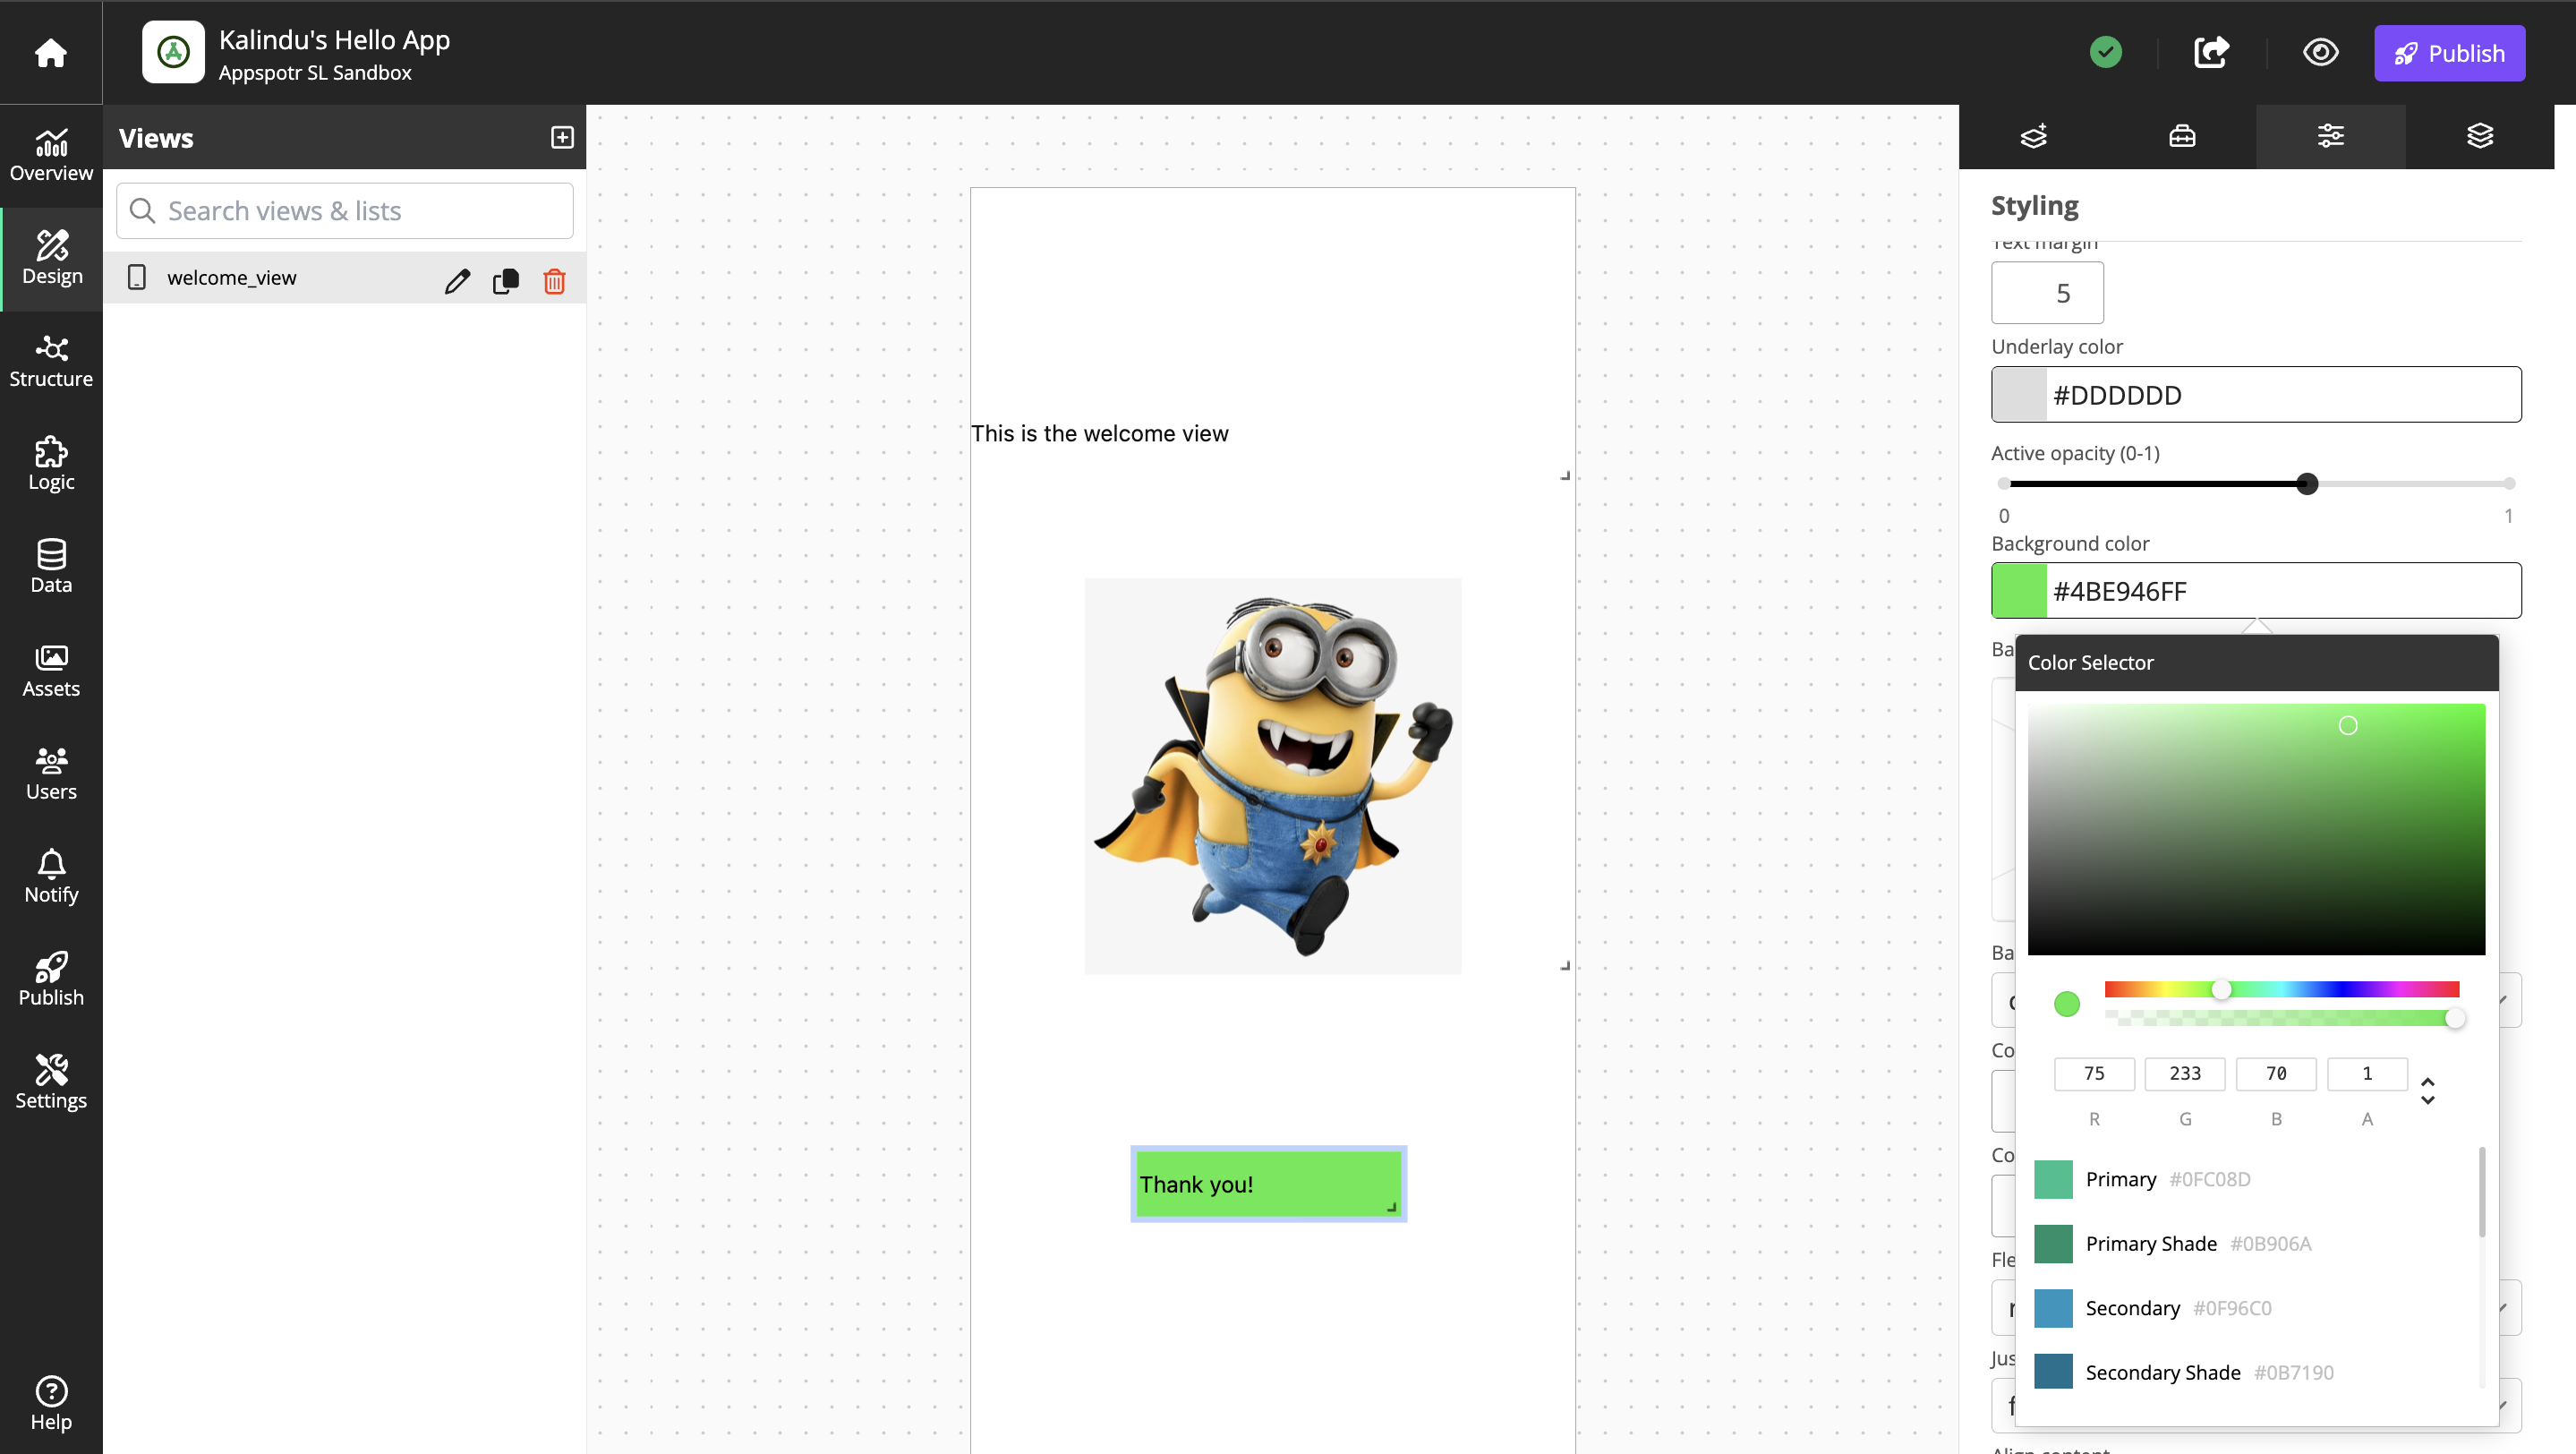
Scroll to Background Color and select a color with the color picker (We are adding a background color, so the button stands out from the other components in the view)
Find Text Align and set that to Center
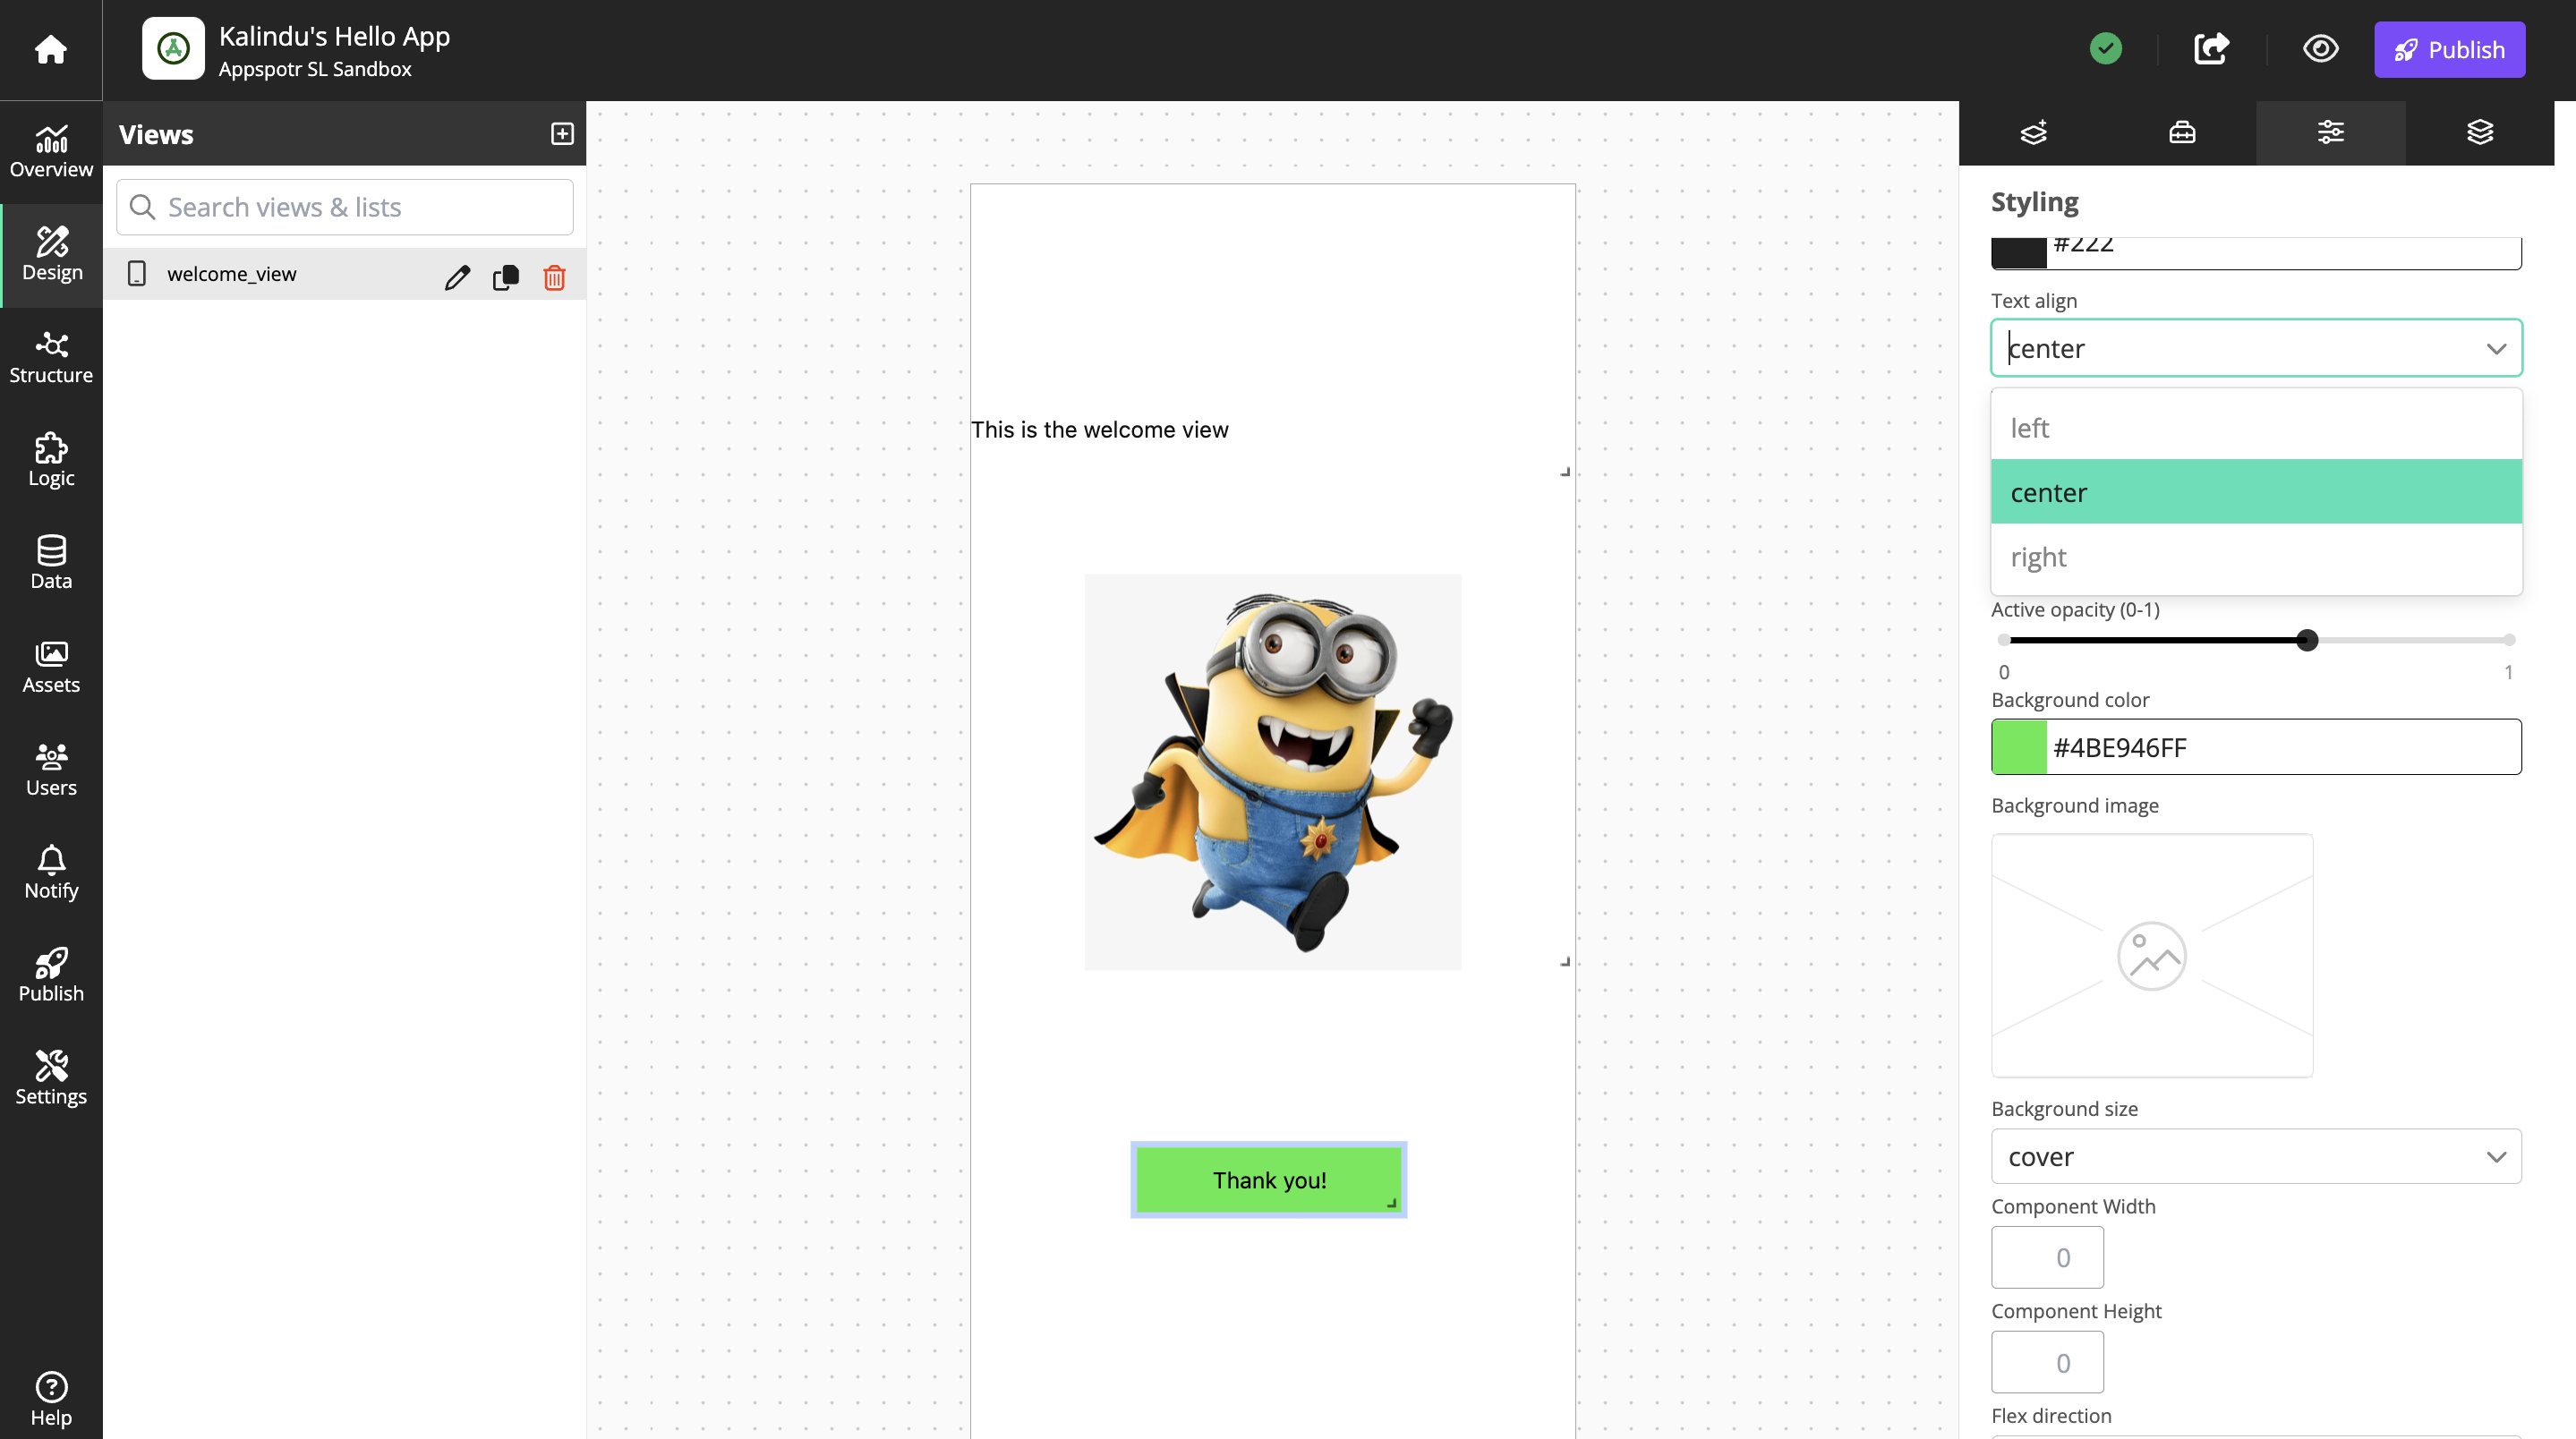
Find Font Size and set that to a higher value, like 24
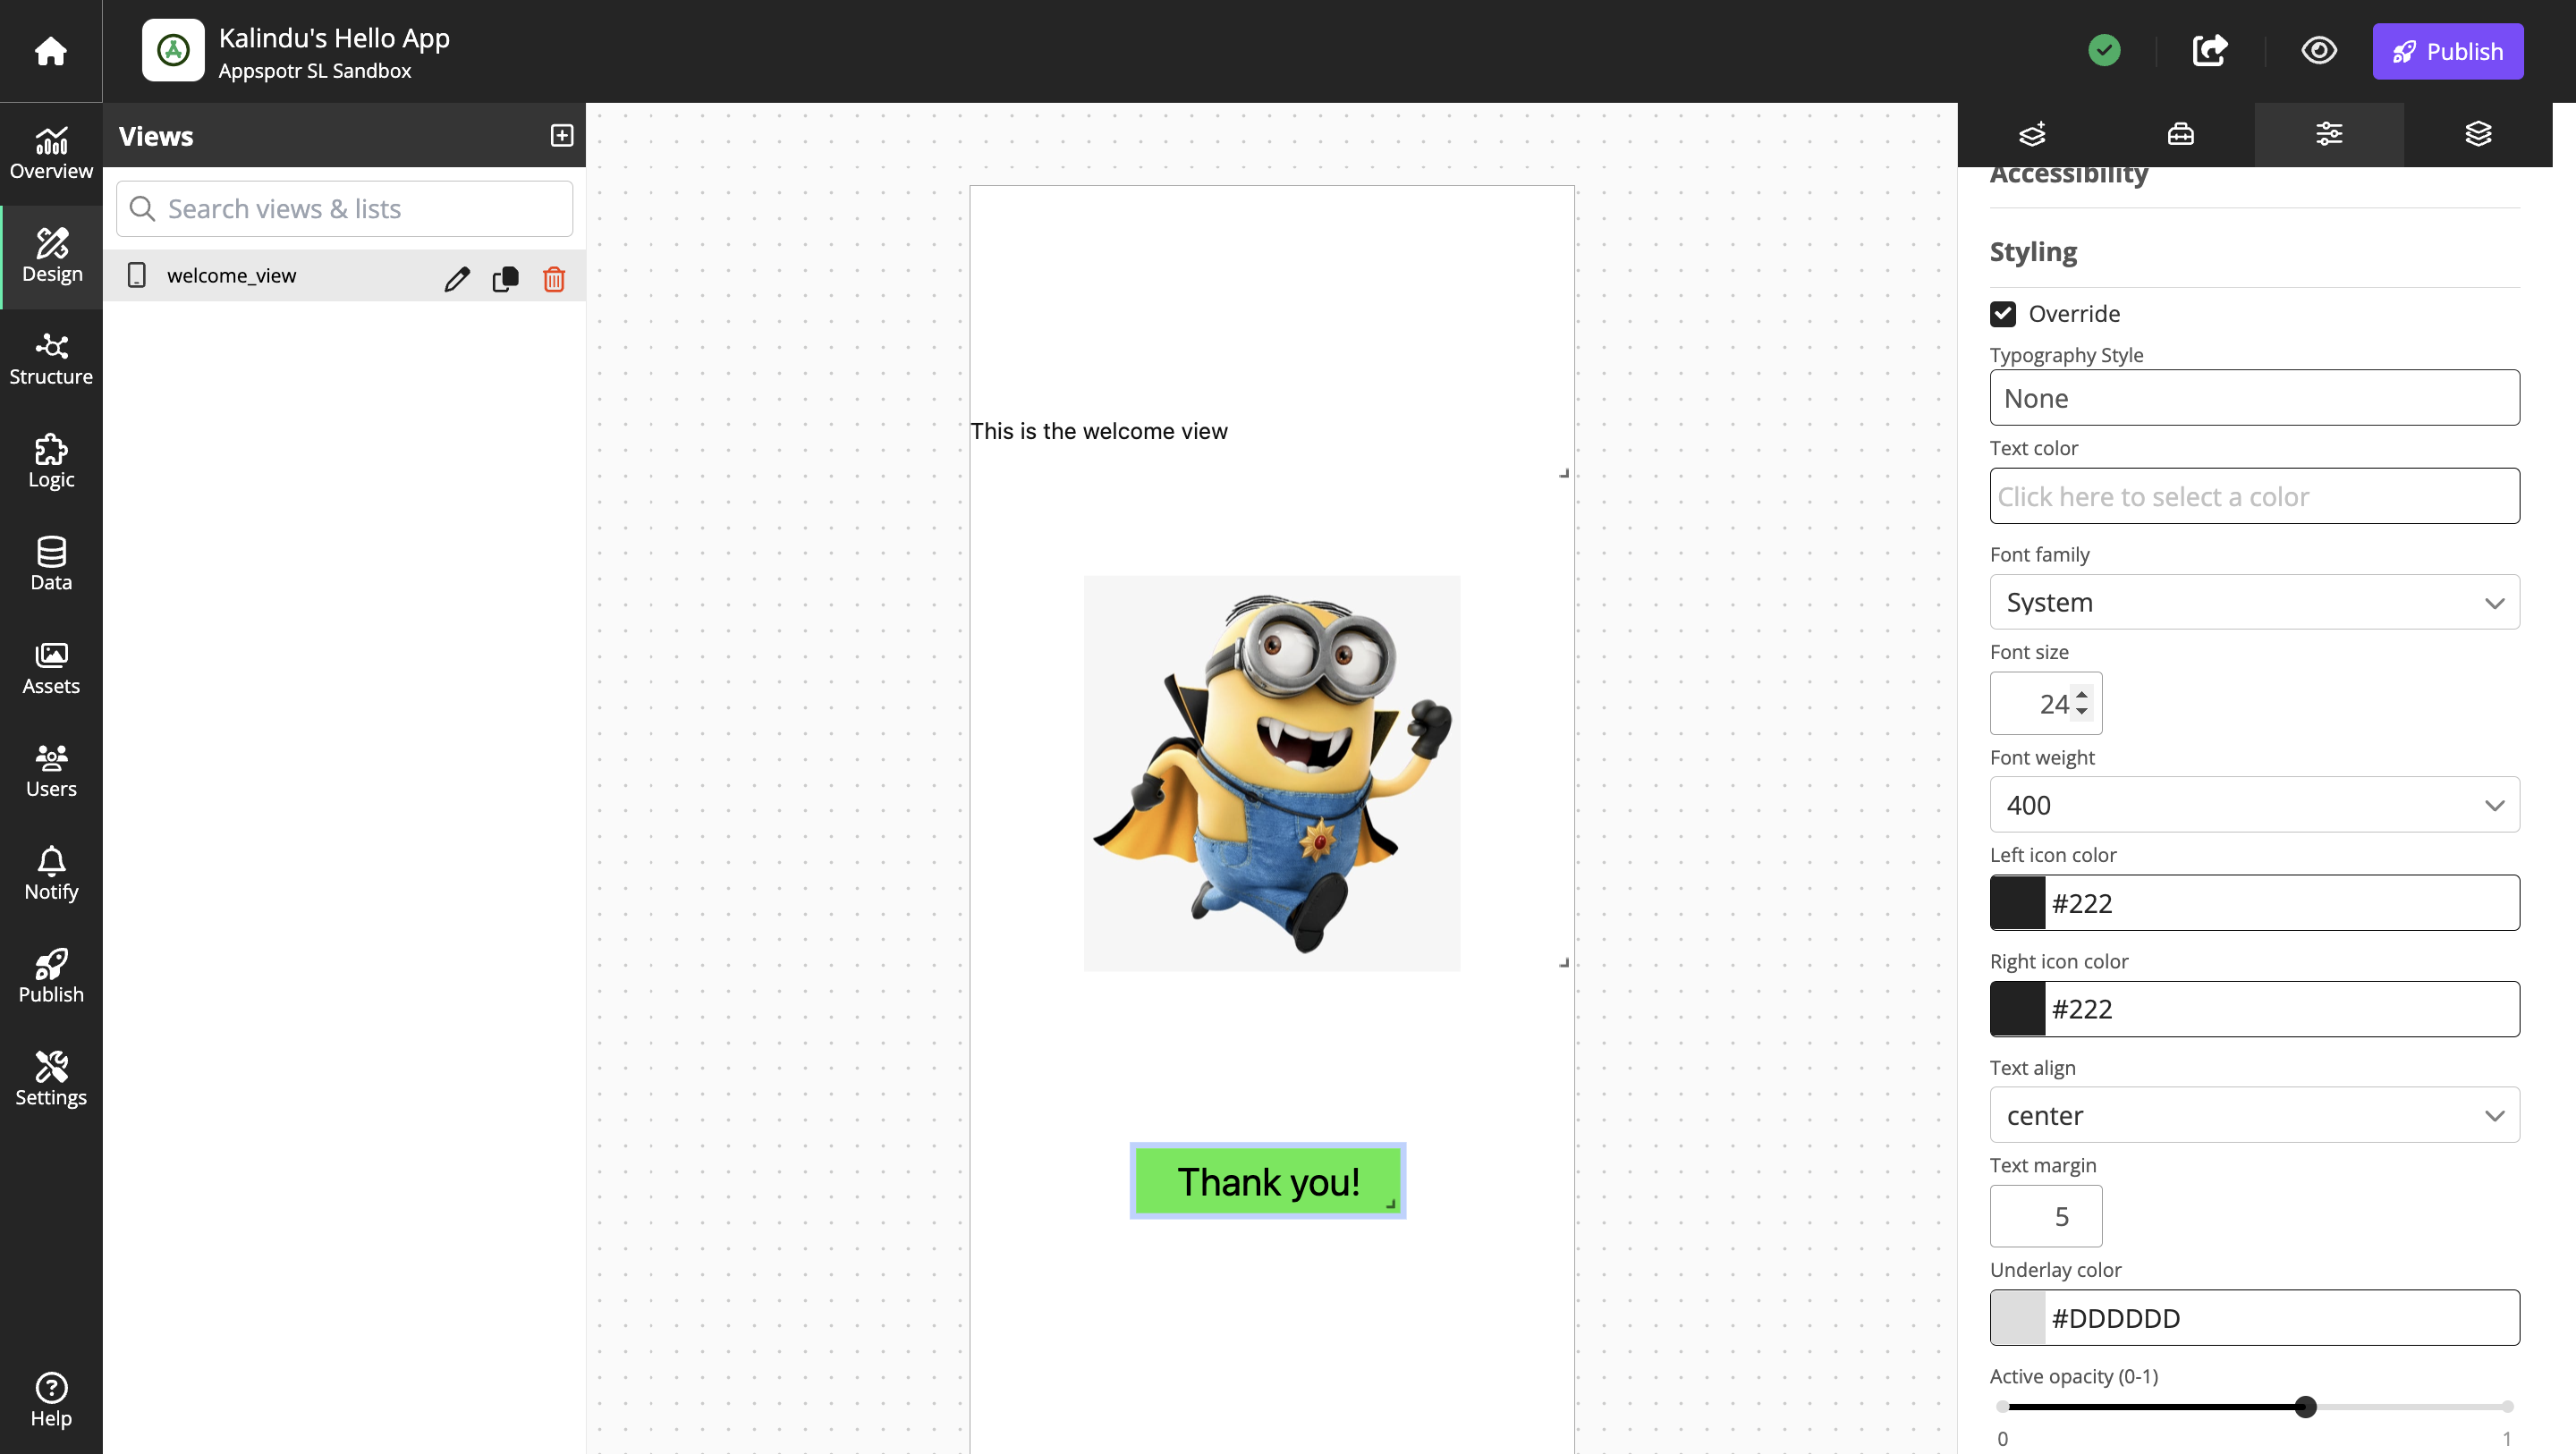
You now have three components in your view, welcome_view.
Now let’s make the button work
The welcome_view button needs an event to work
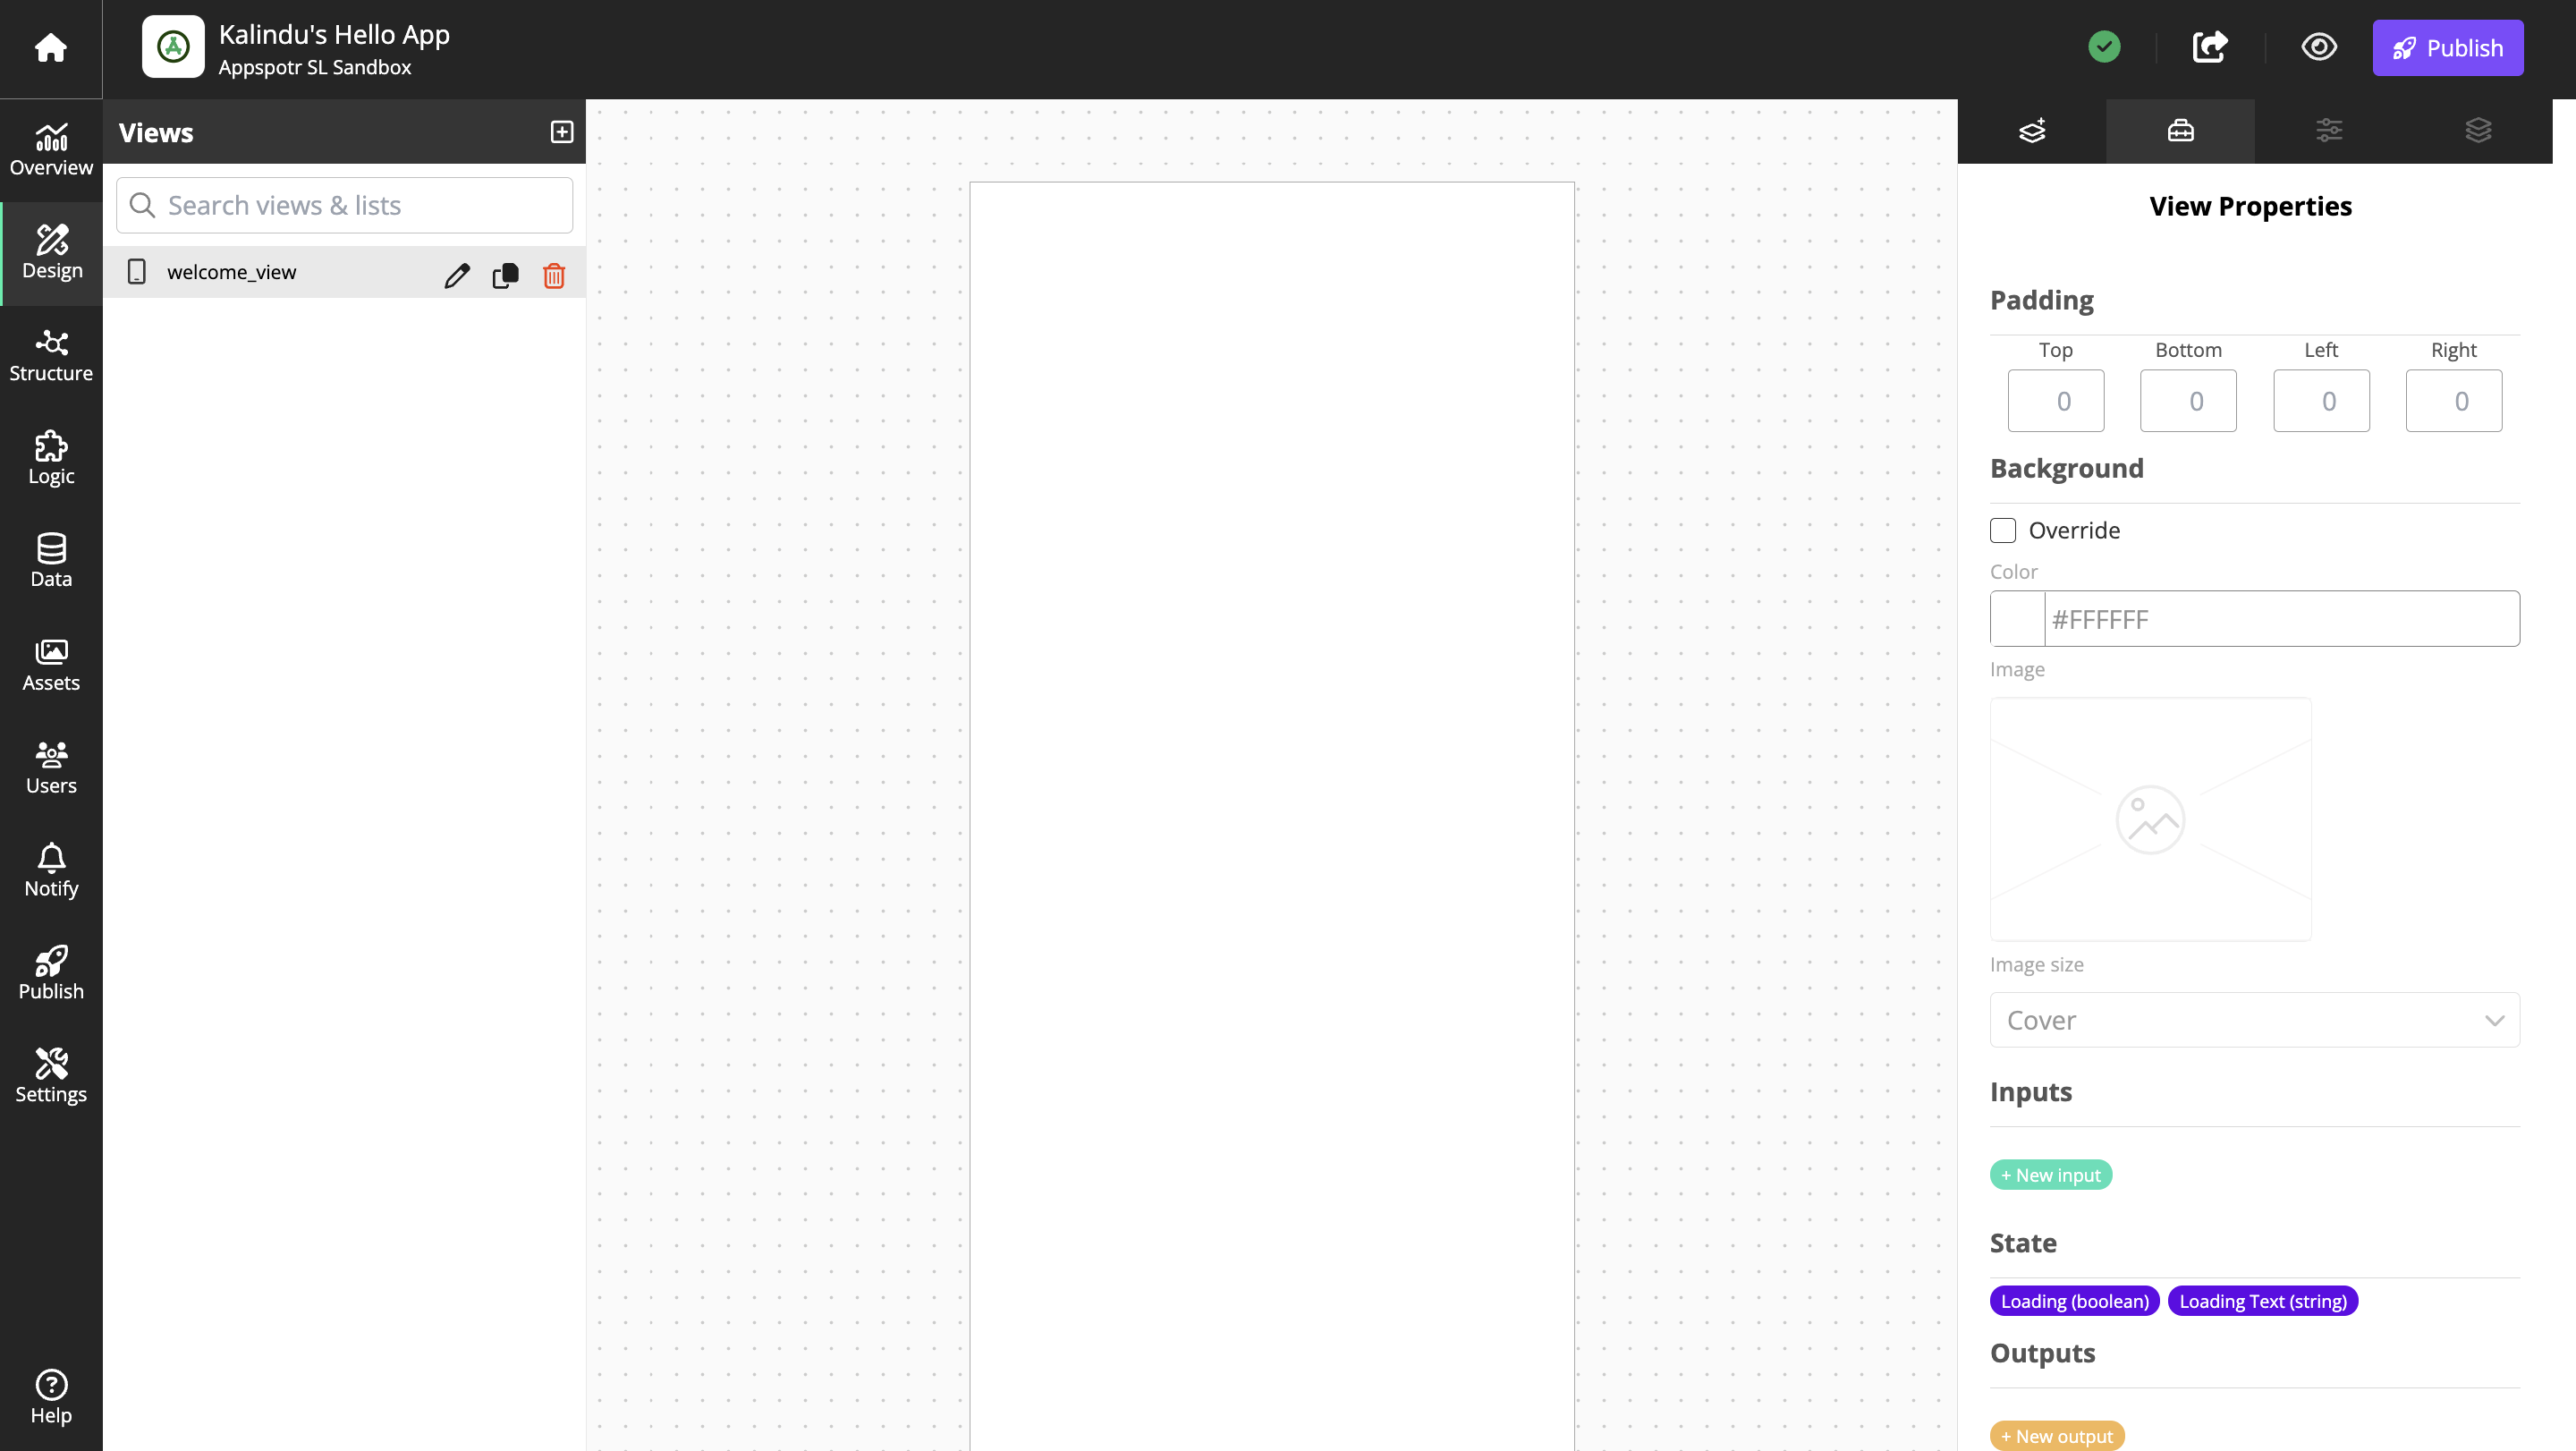
Open the View Properties tab
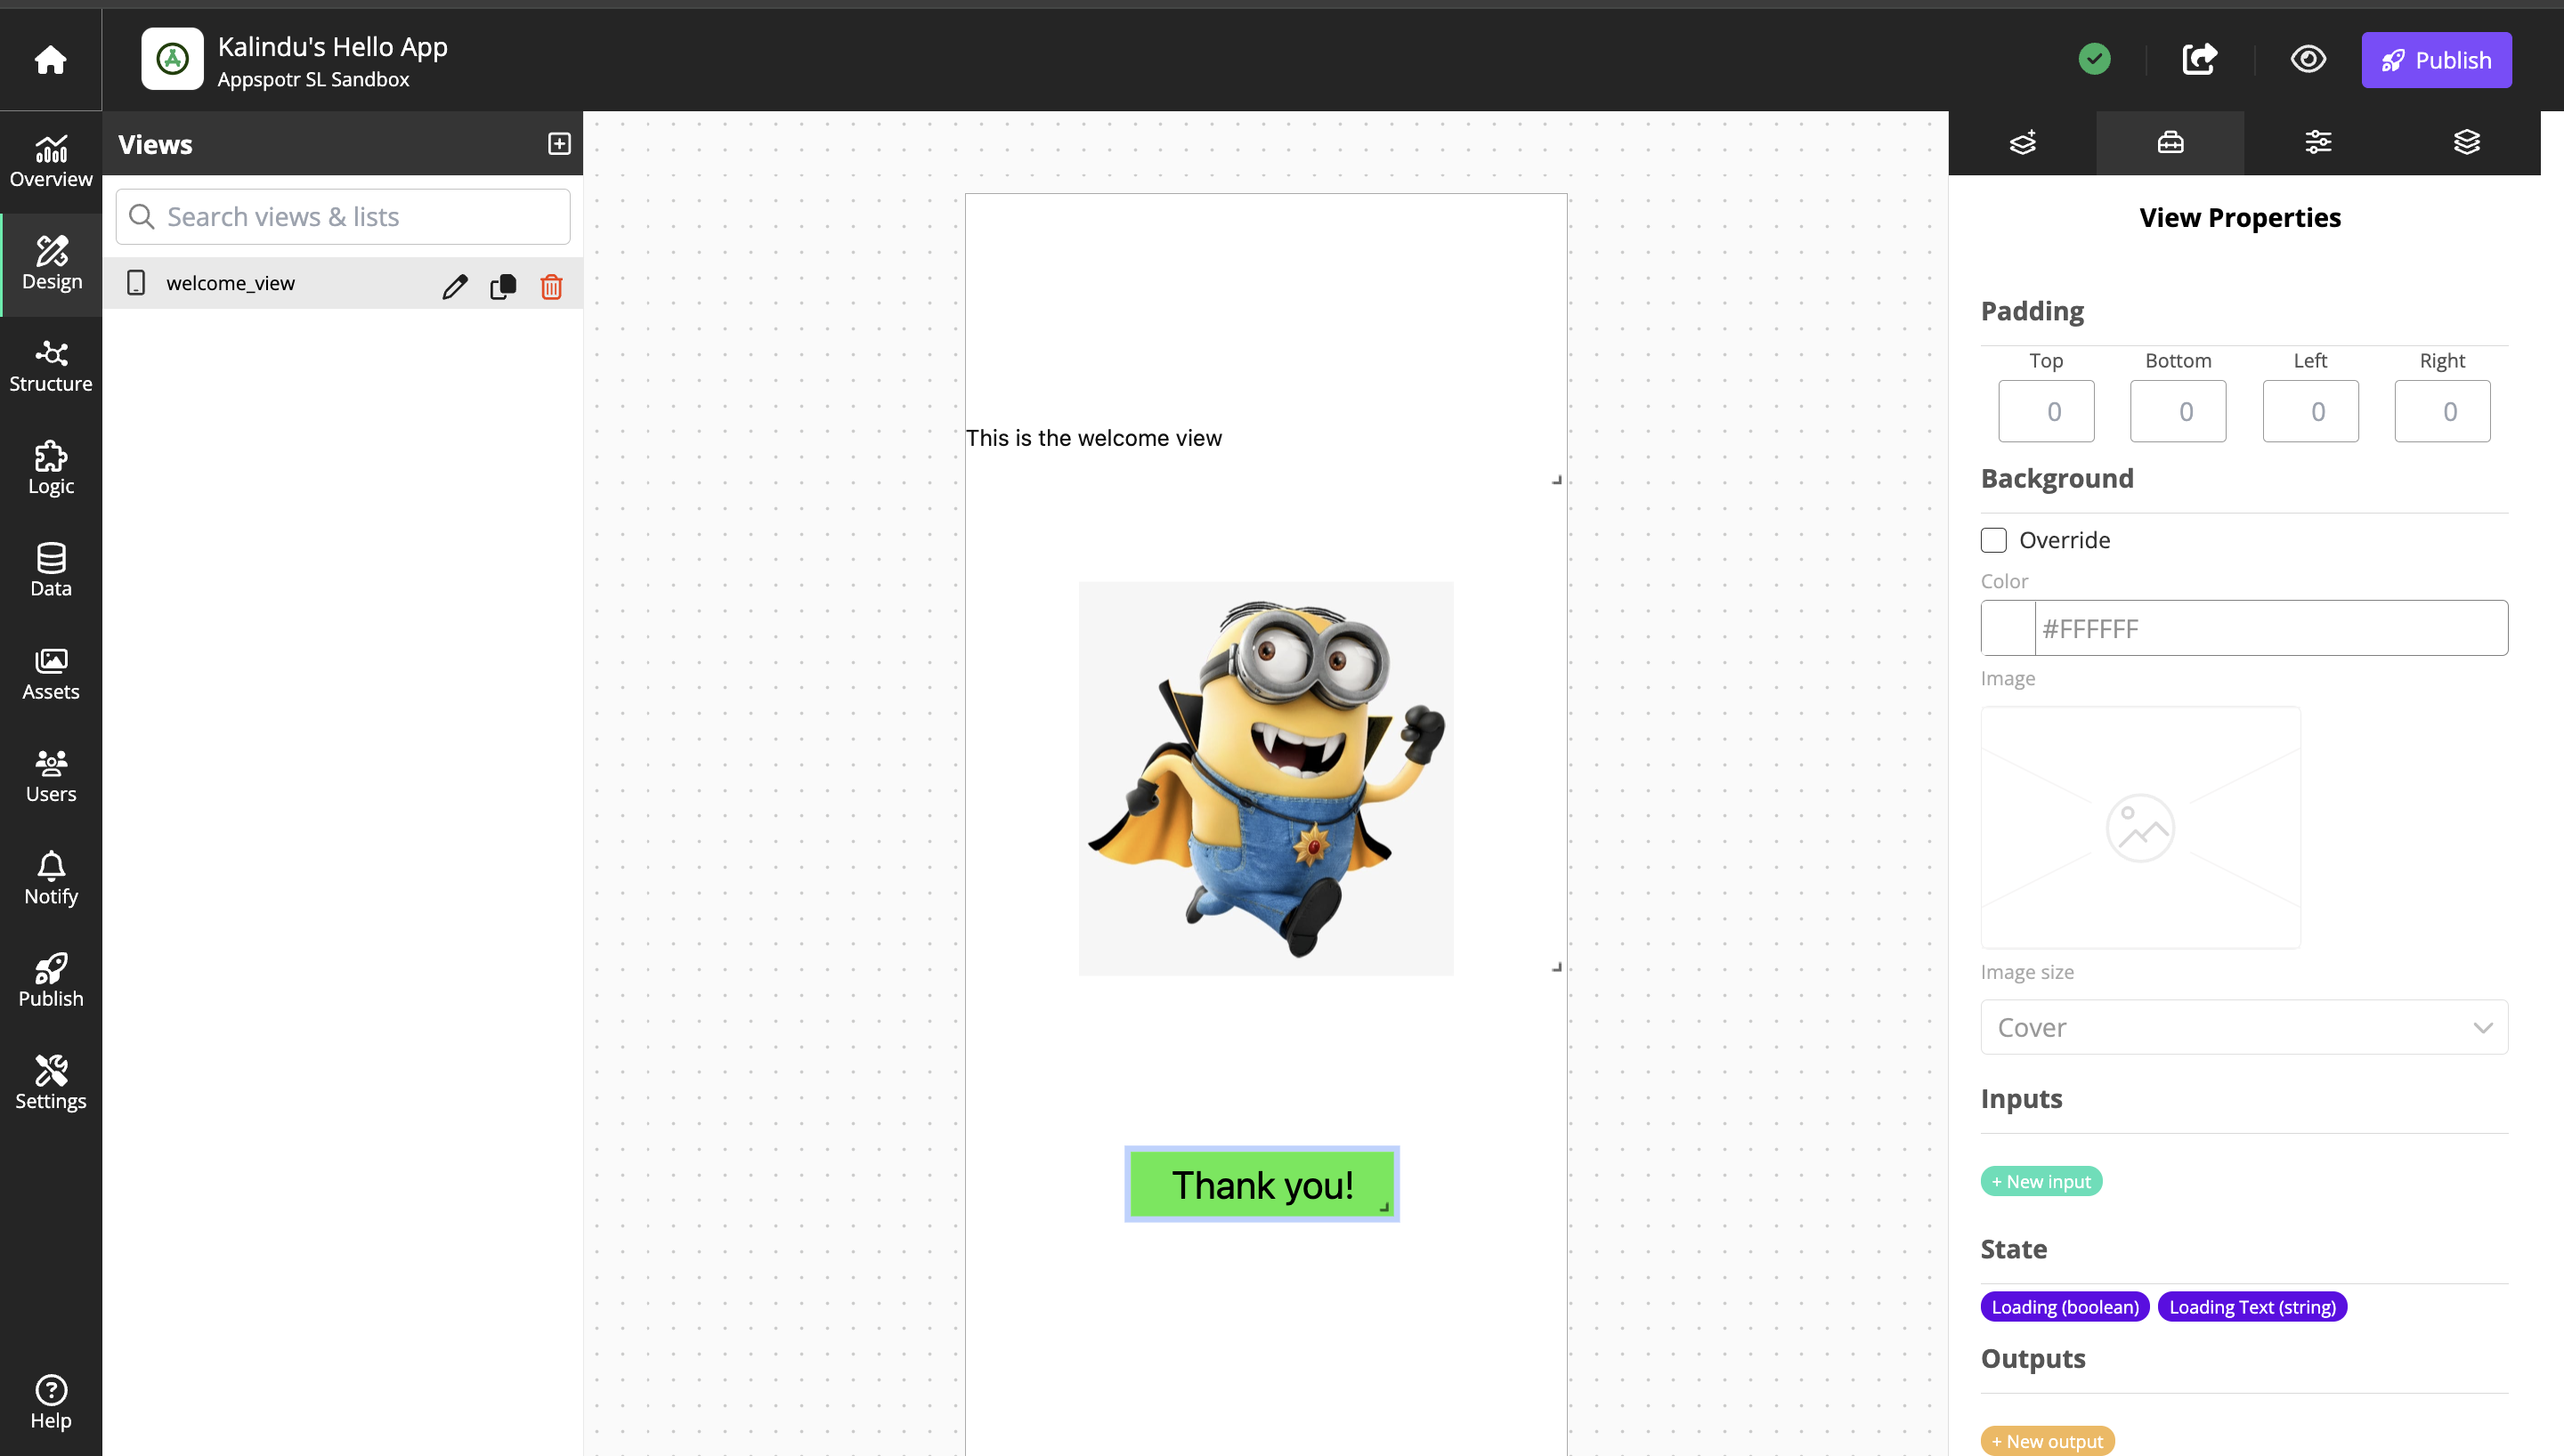
Find Outputs and click New Output
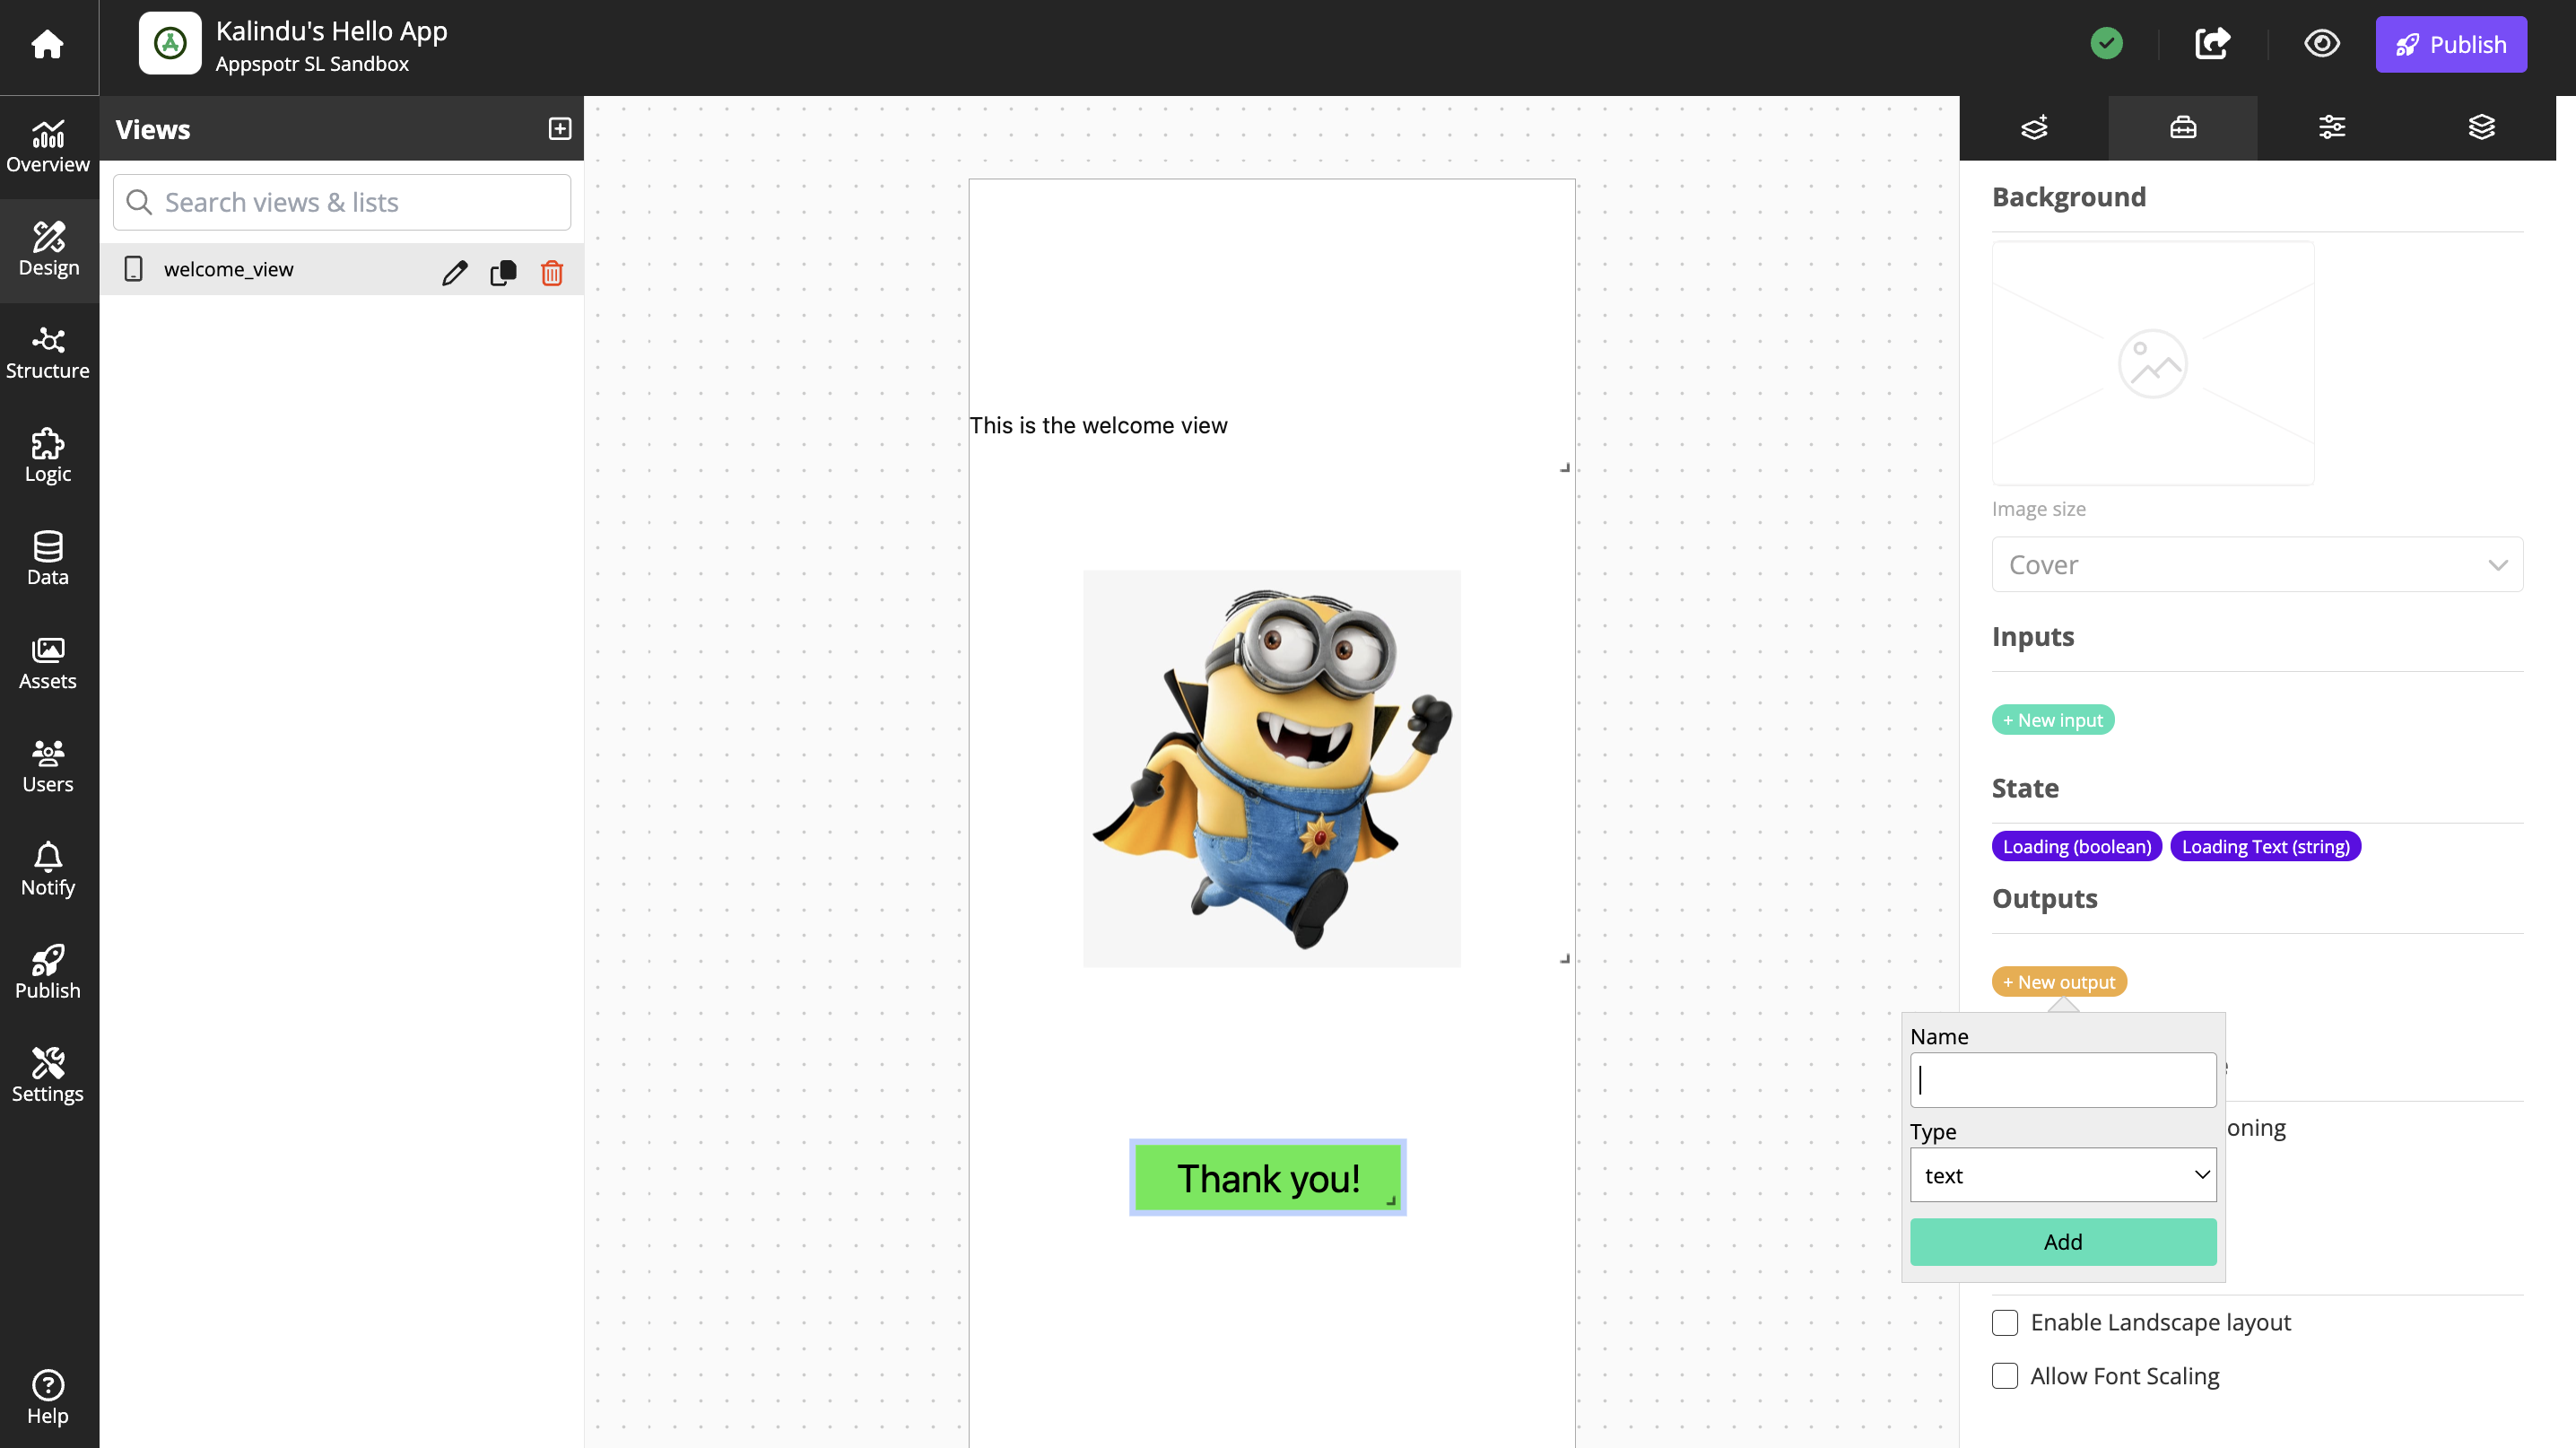
Name the output buttonClick and select type Event and click on Add
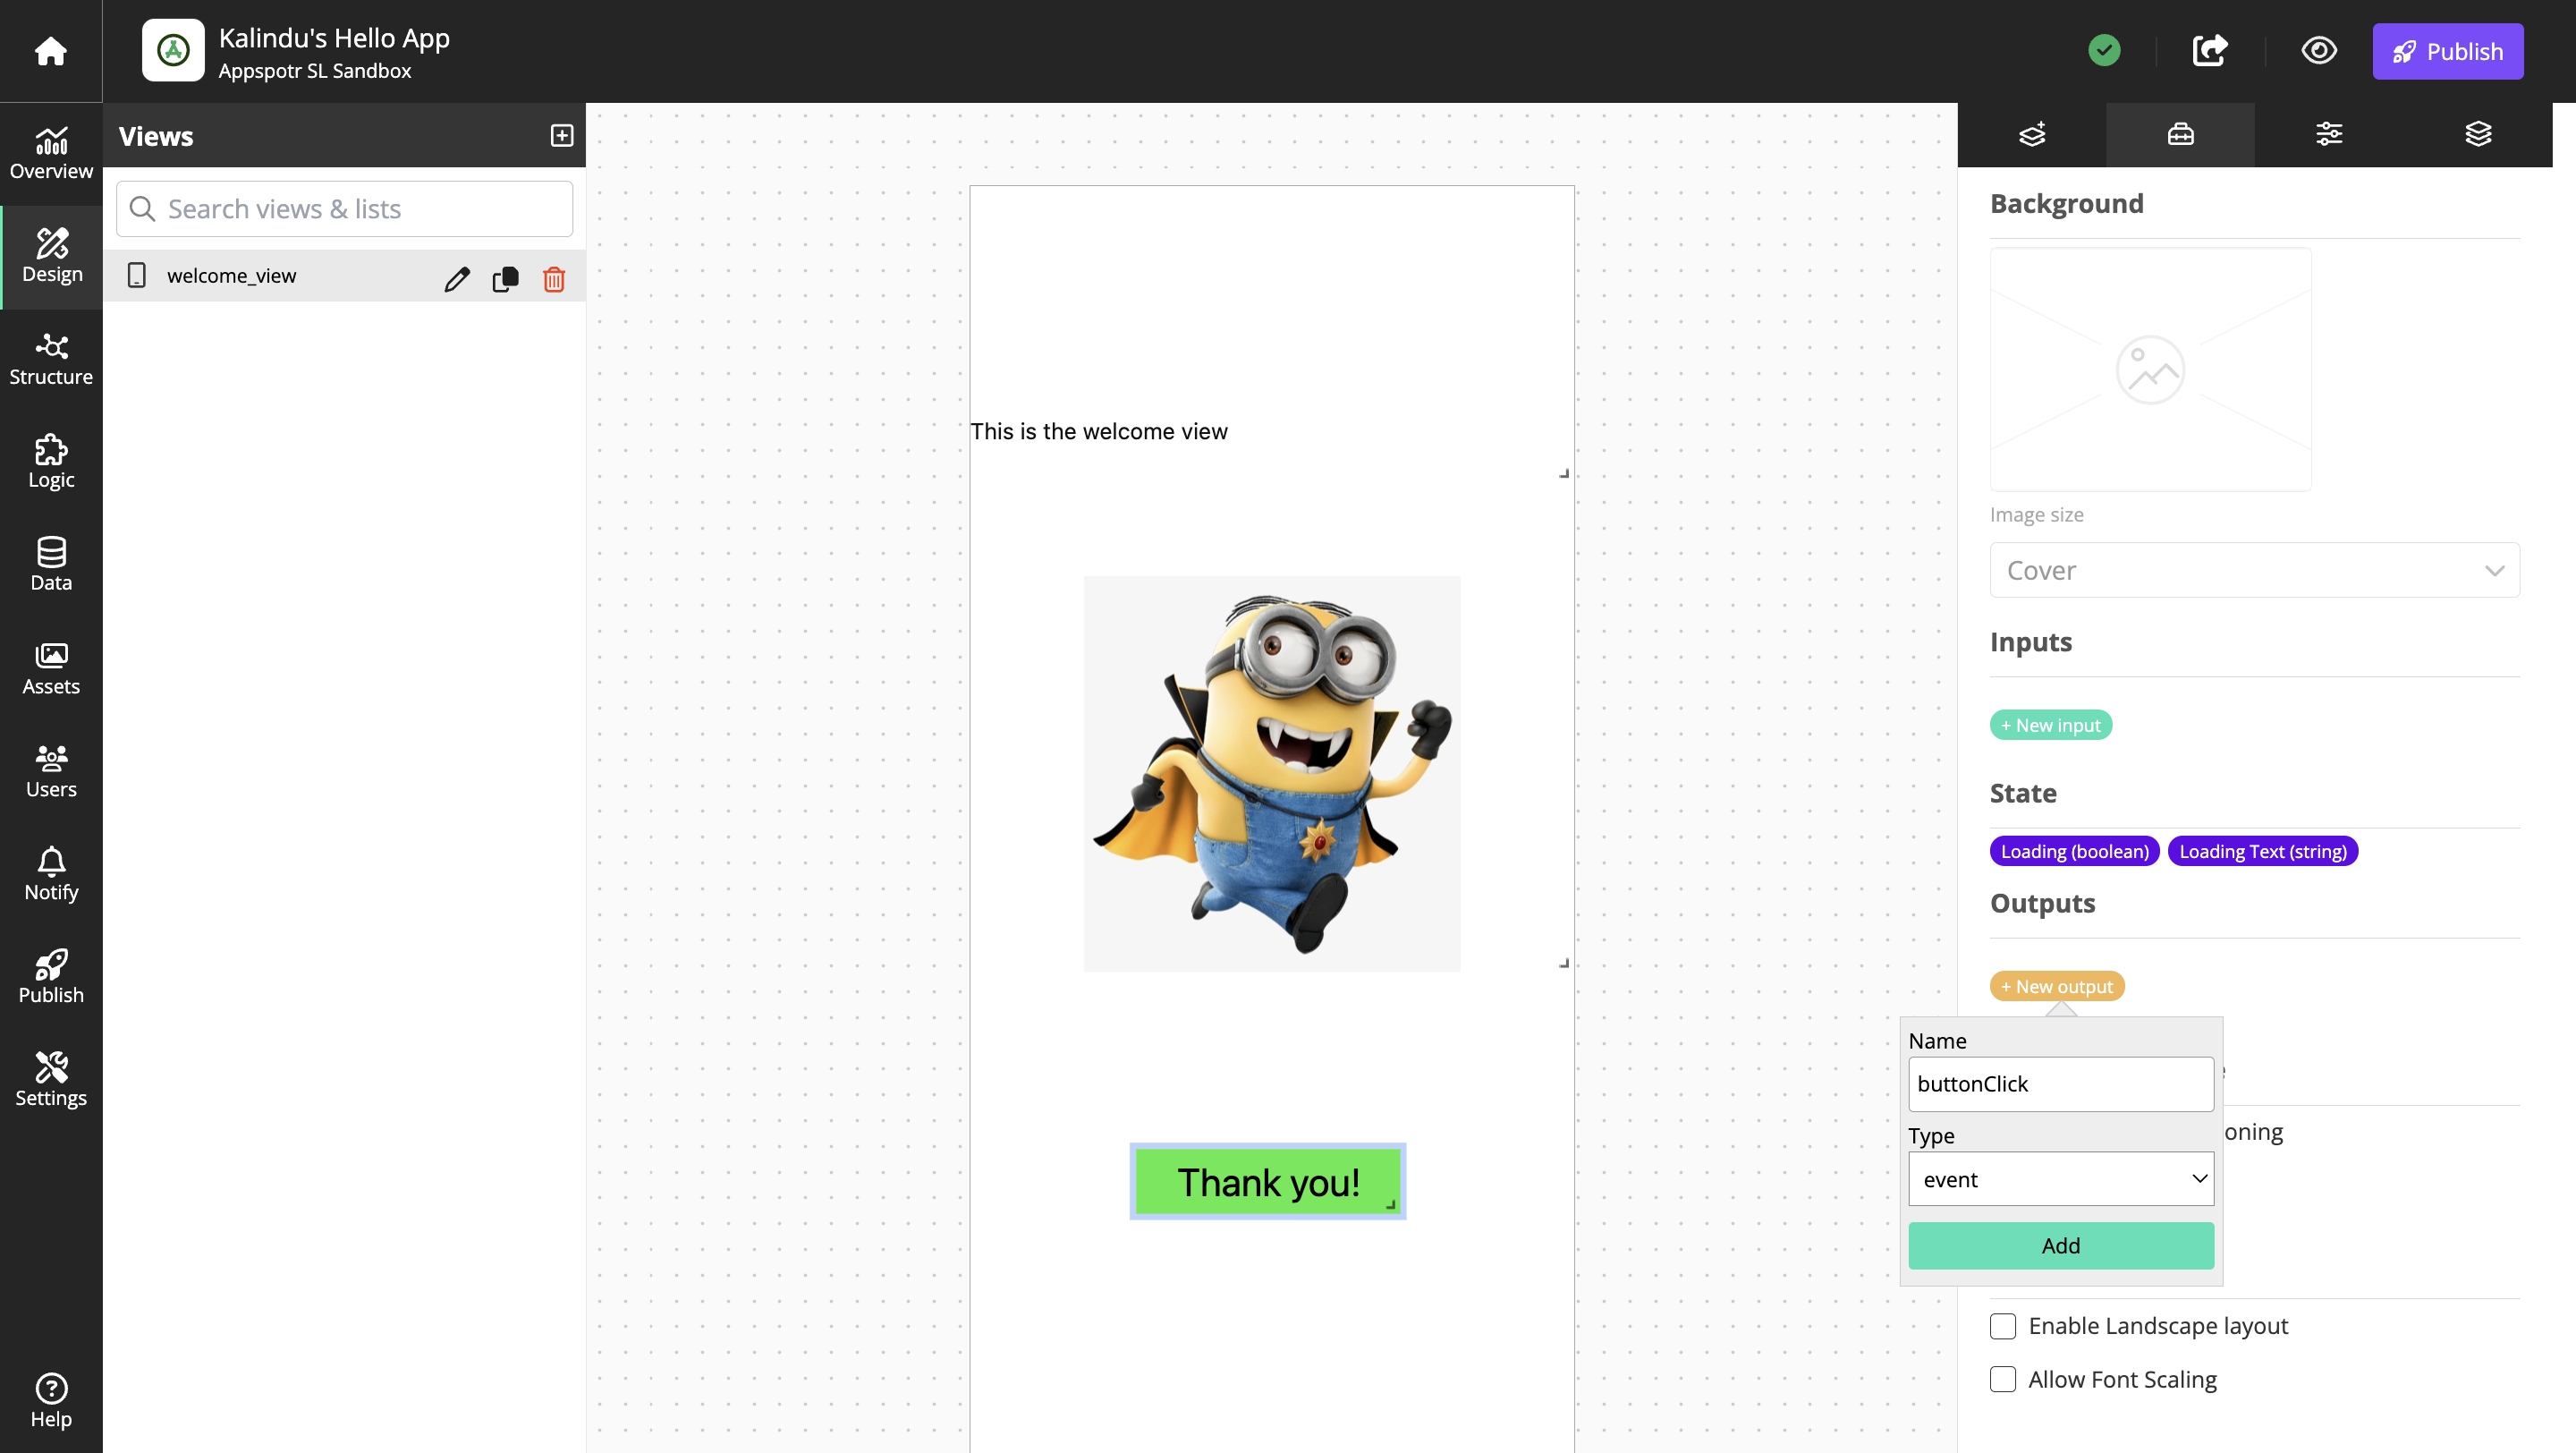
Click the button component on the canvas and open the Component Properties tab.
Find On Press and Select buttonClick in the drop down list
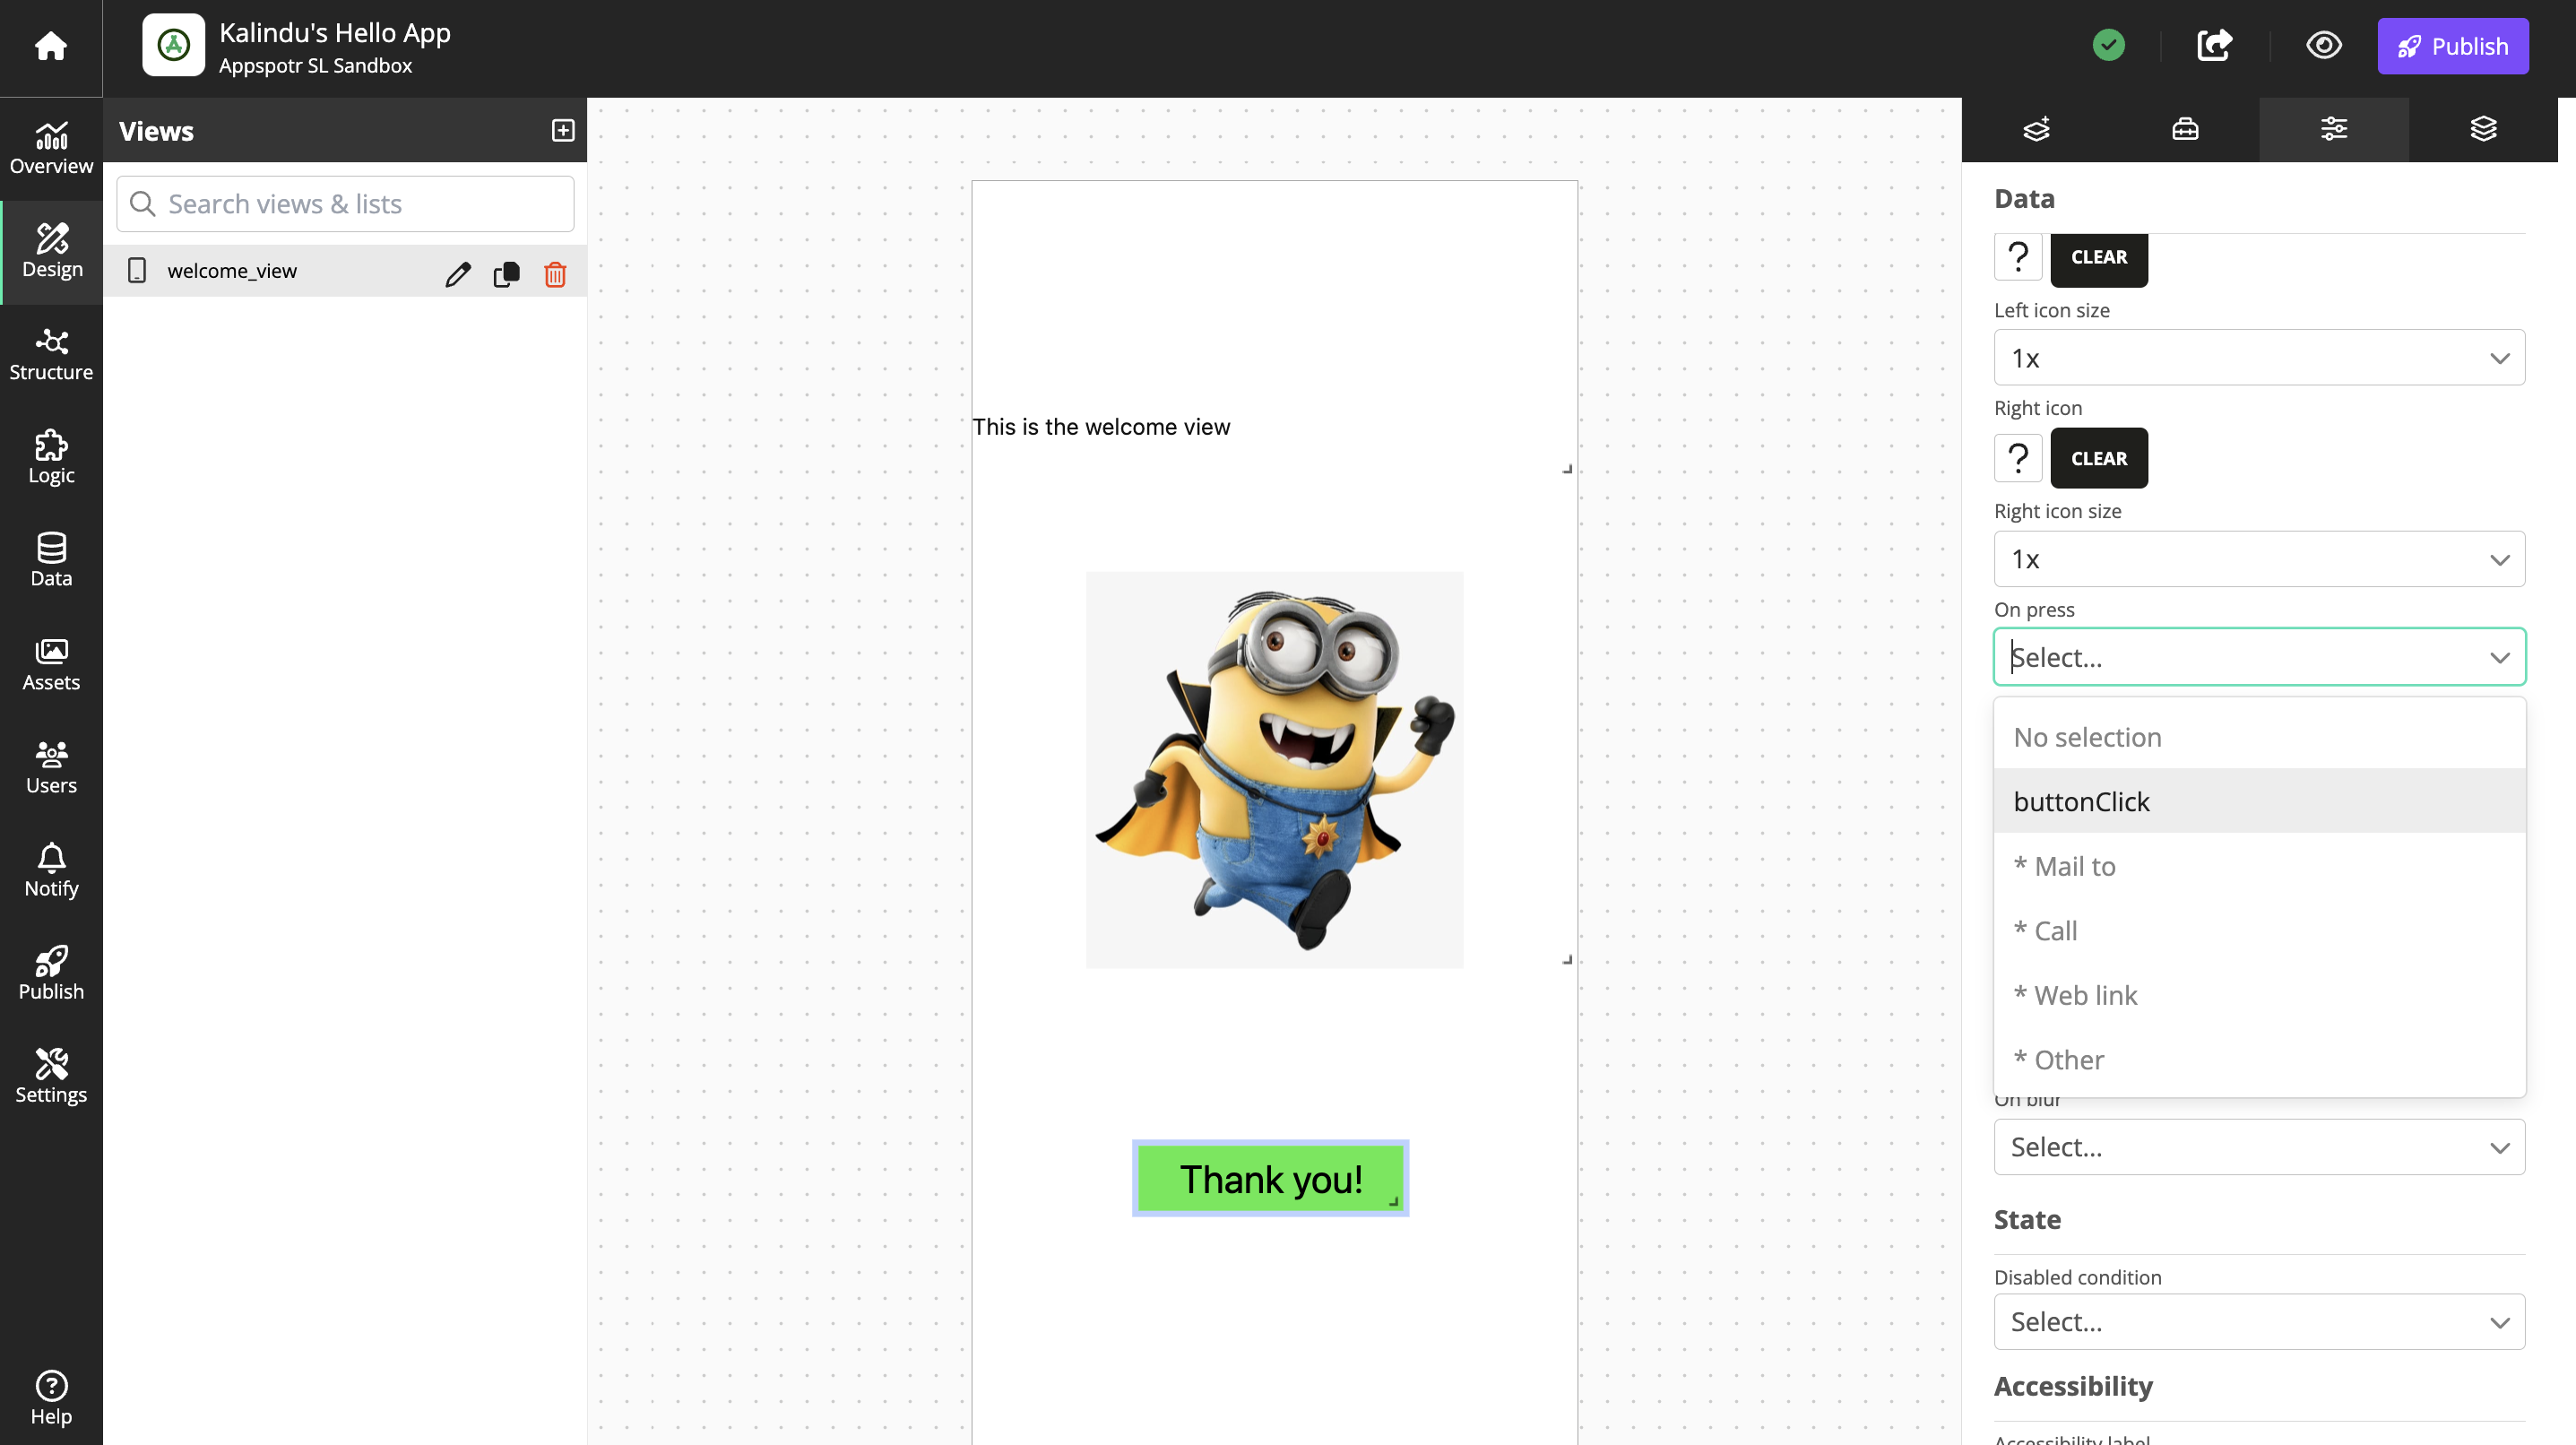
The button will now trigger an output event that can be connected to other things.
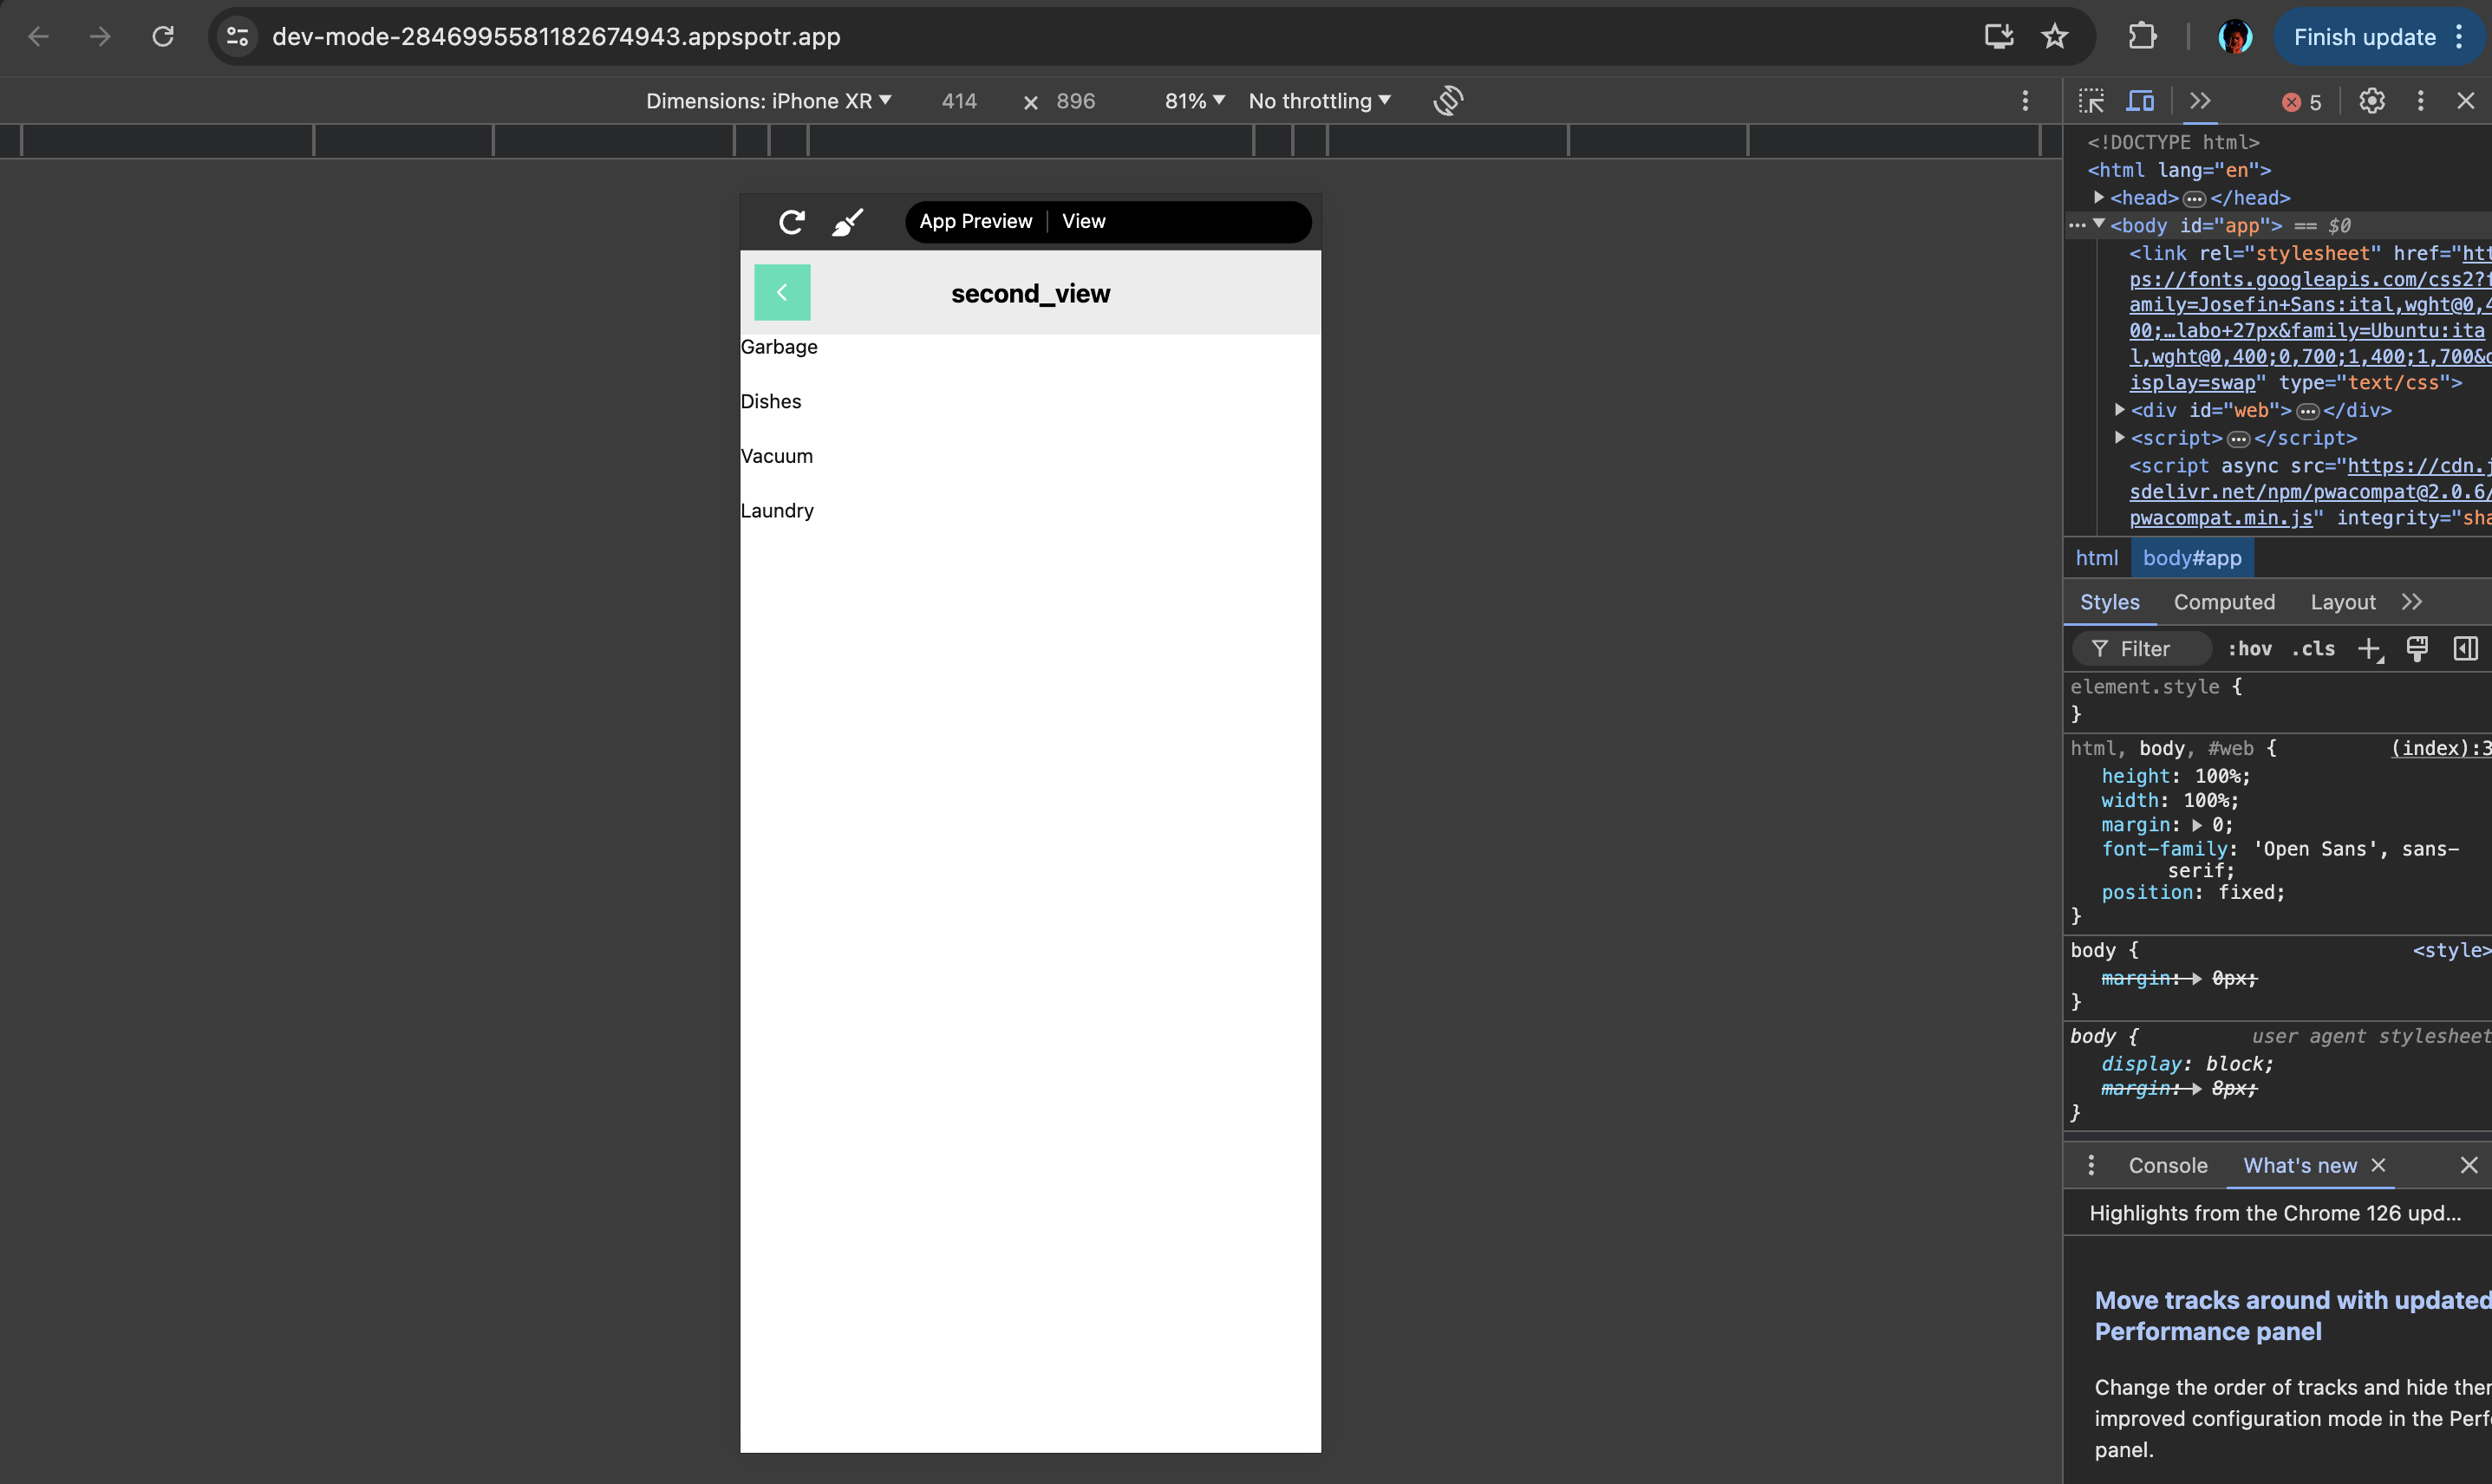
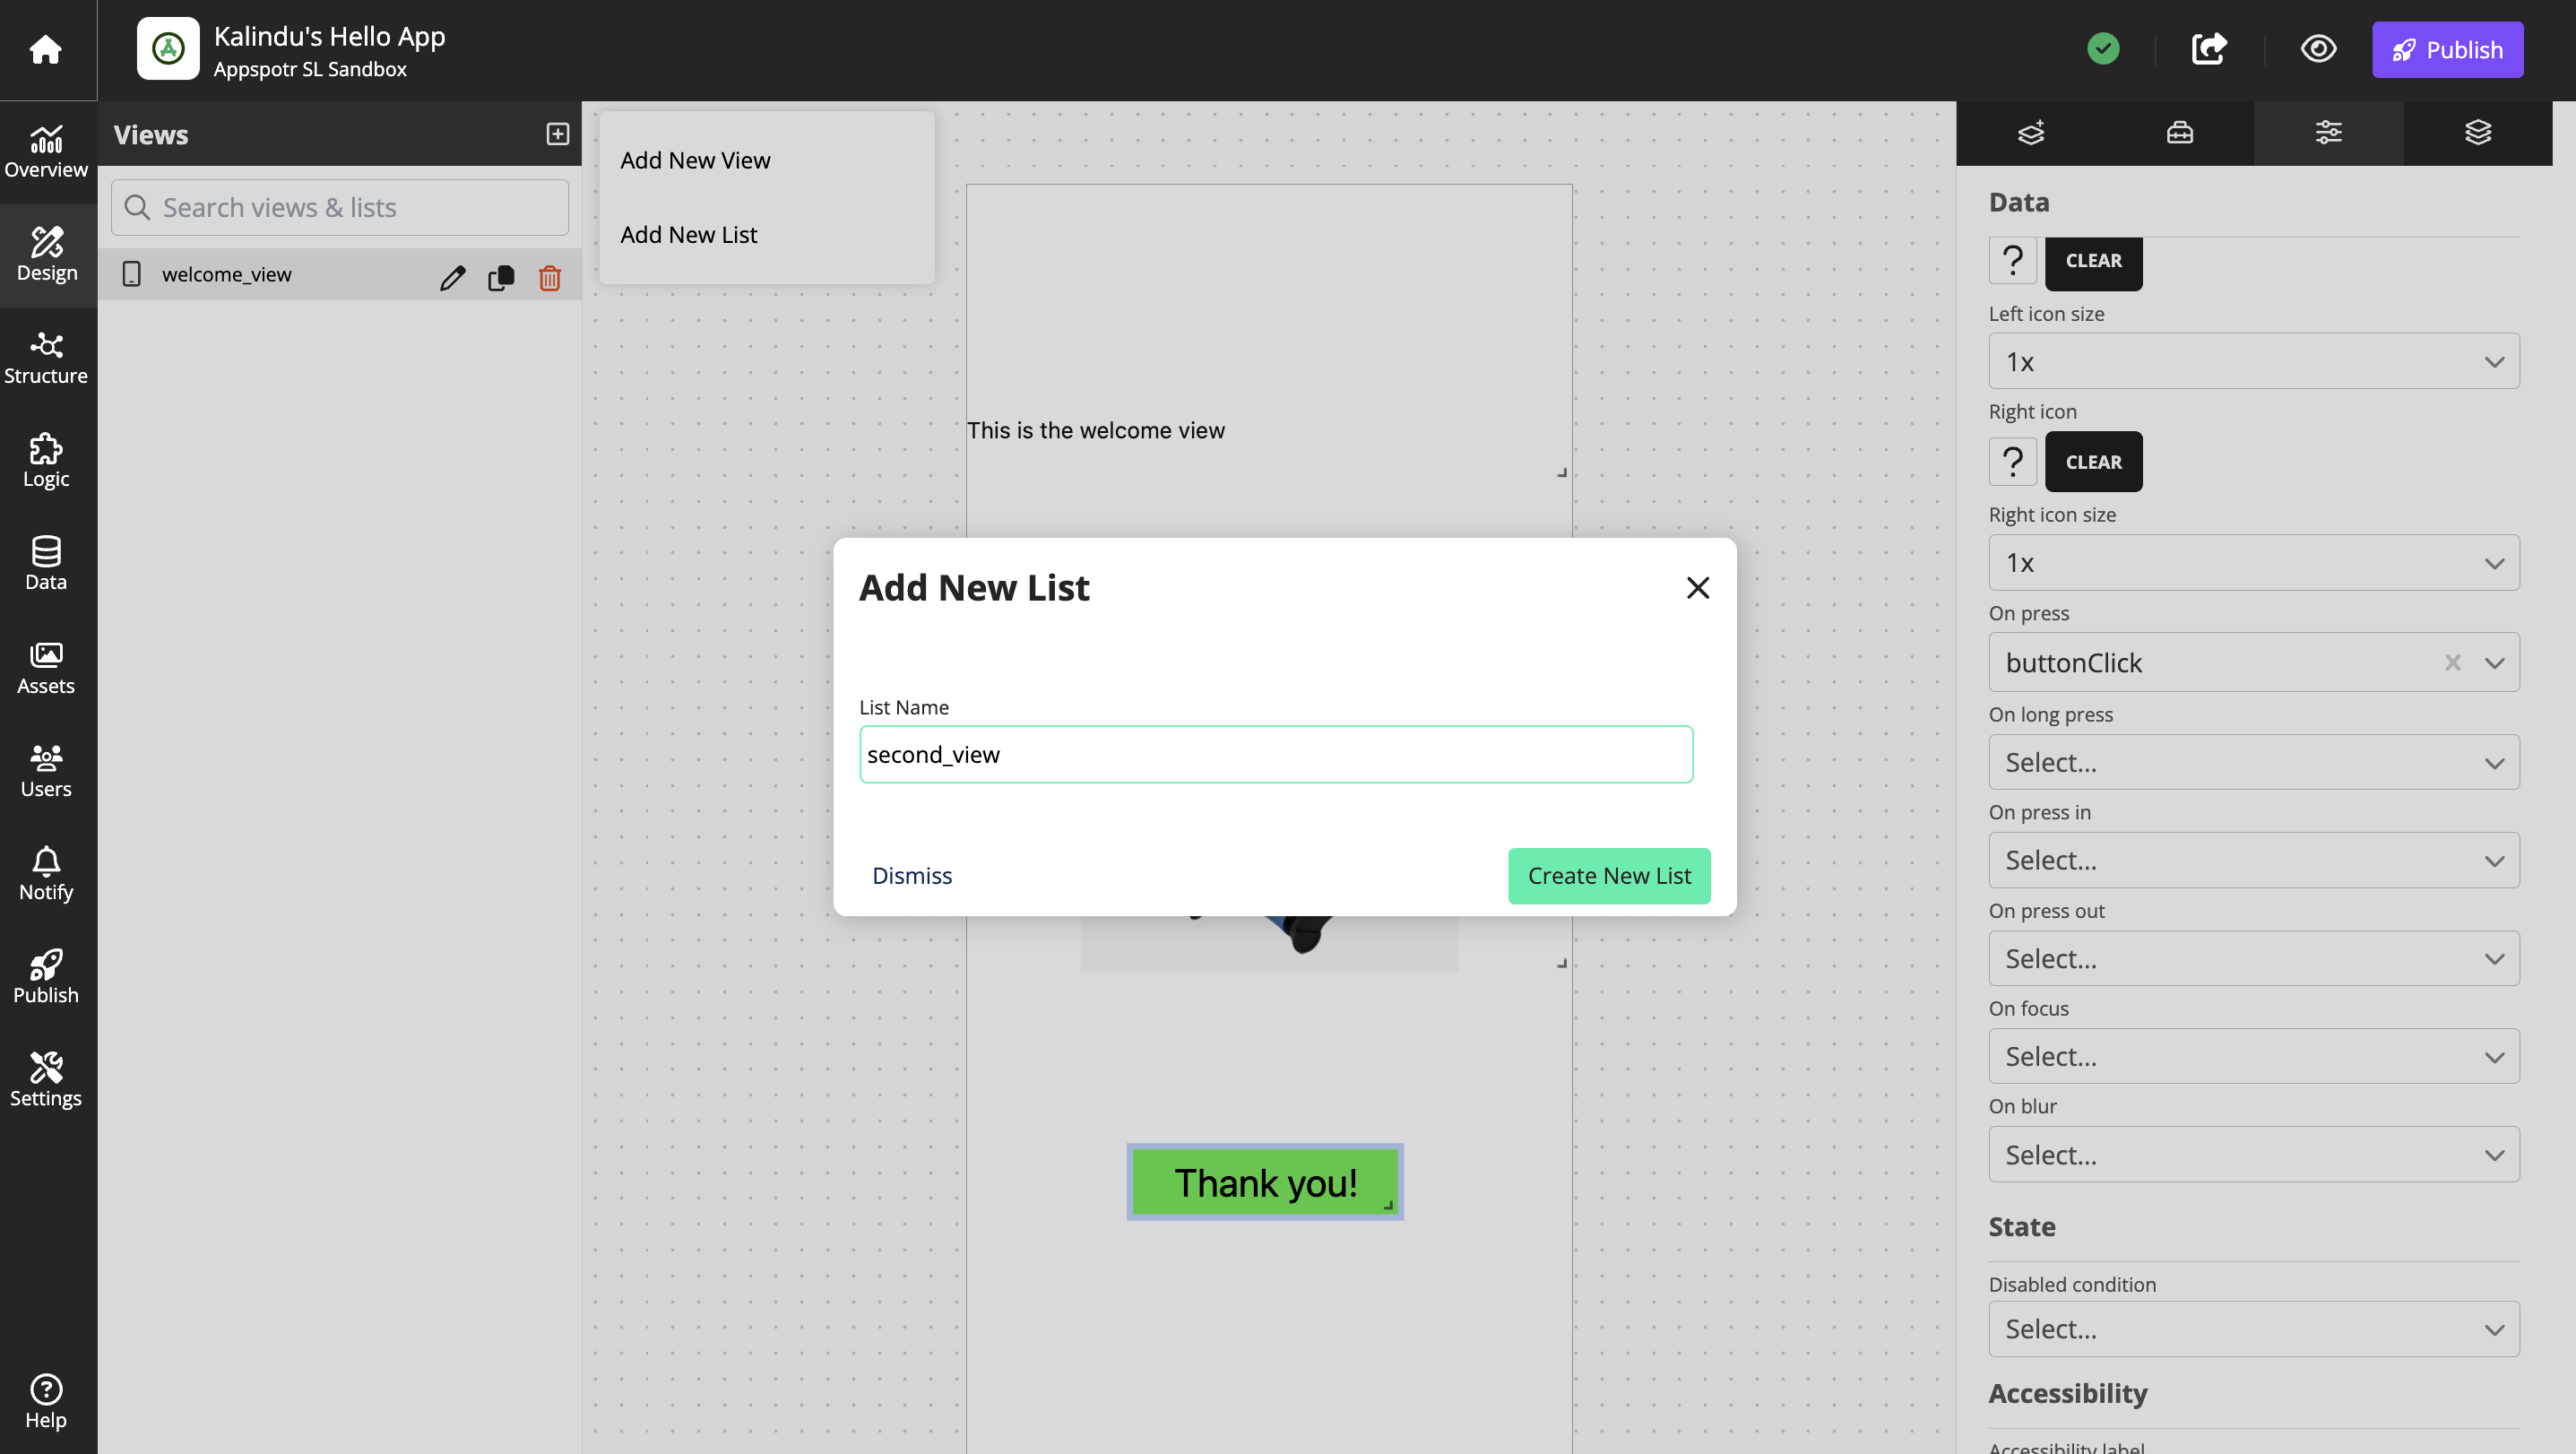
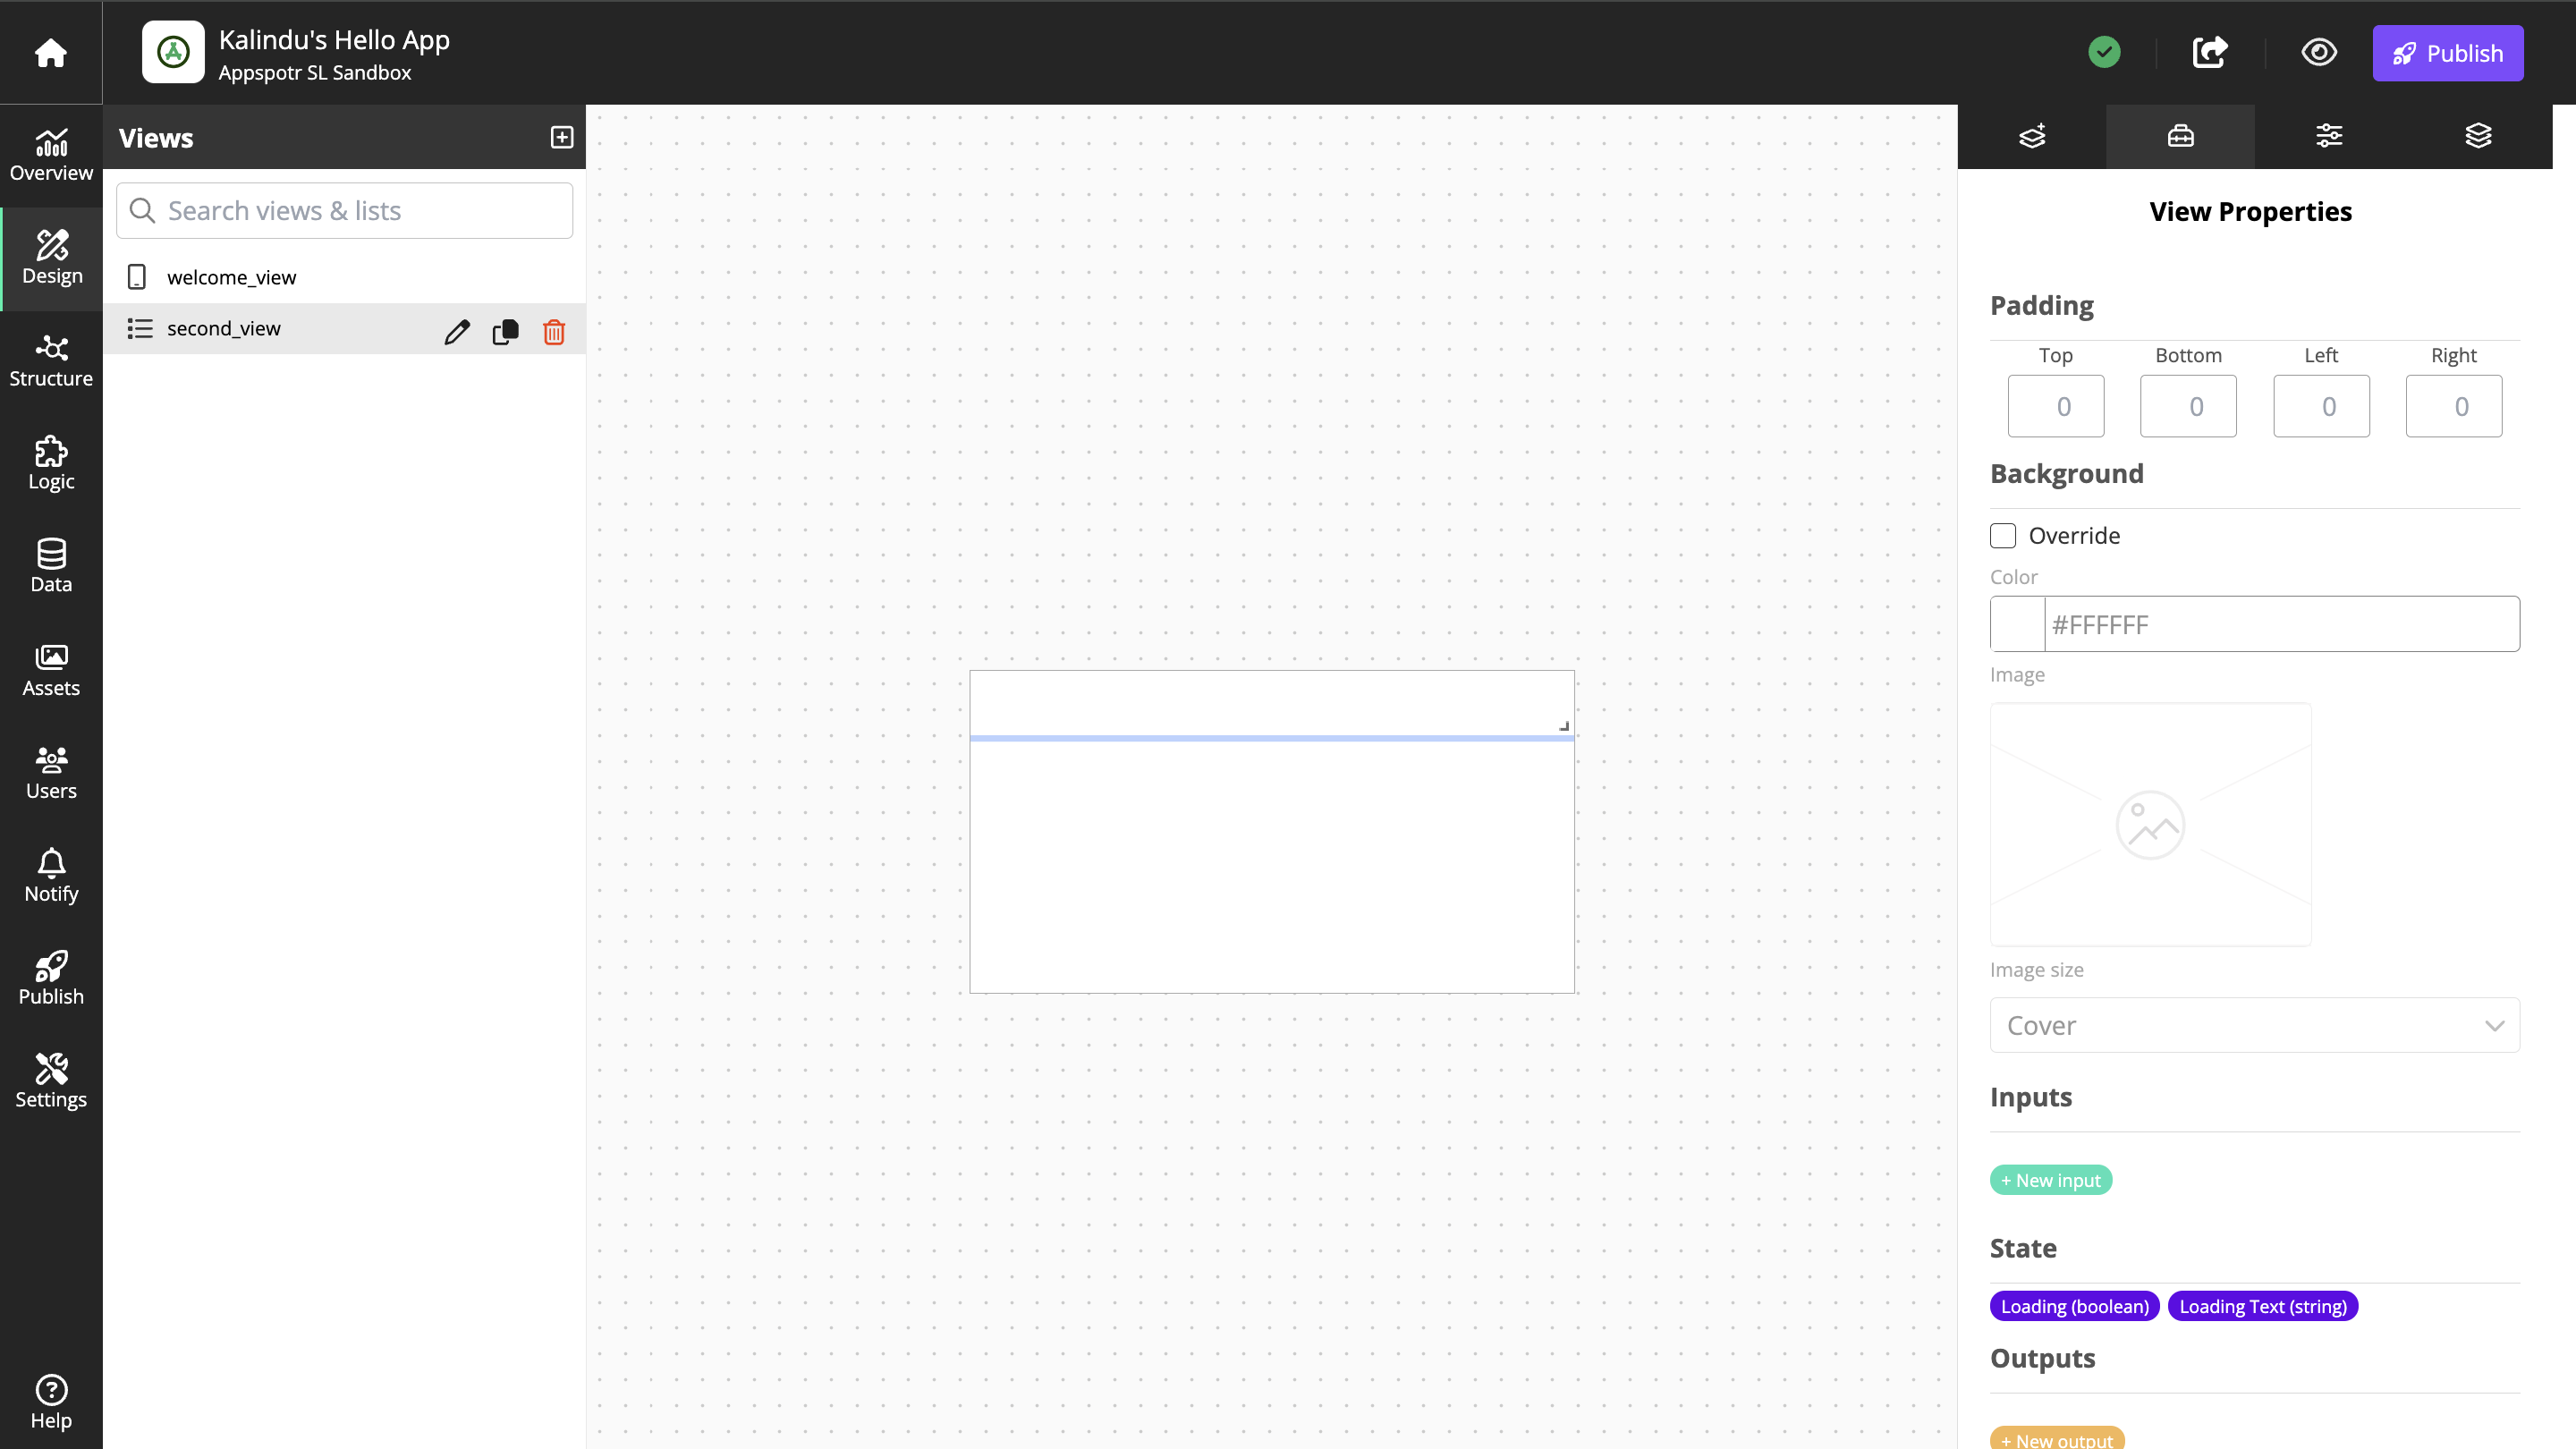
View 2 - second_view
Now we are going to create a view(second_view), This view contains a list with data from chores
(Chores is the dataset that we’ll be creating for this app)
Click on + to create the view view and provide the name as second_view and the type as list.
Check Free Positioning under View Layout Mode in the View Properties tab to enable resizing of the components and to move them around the canvas.
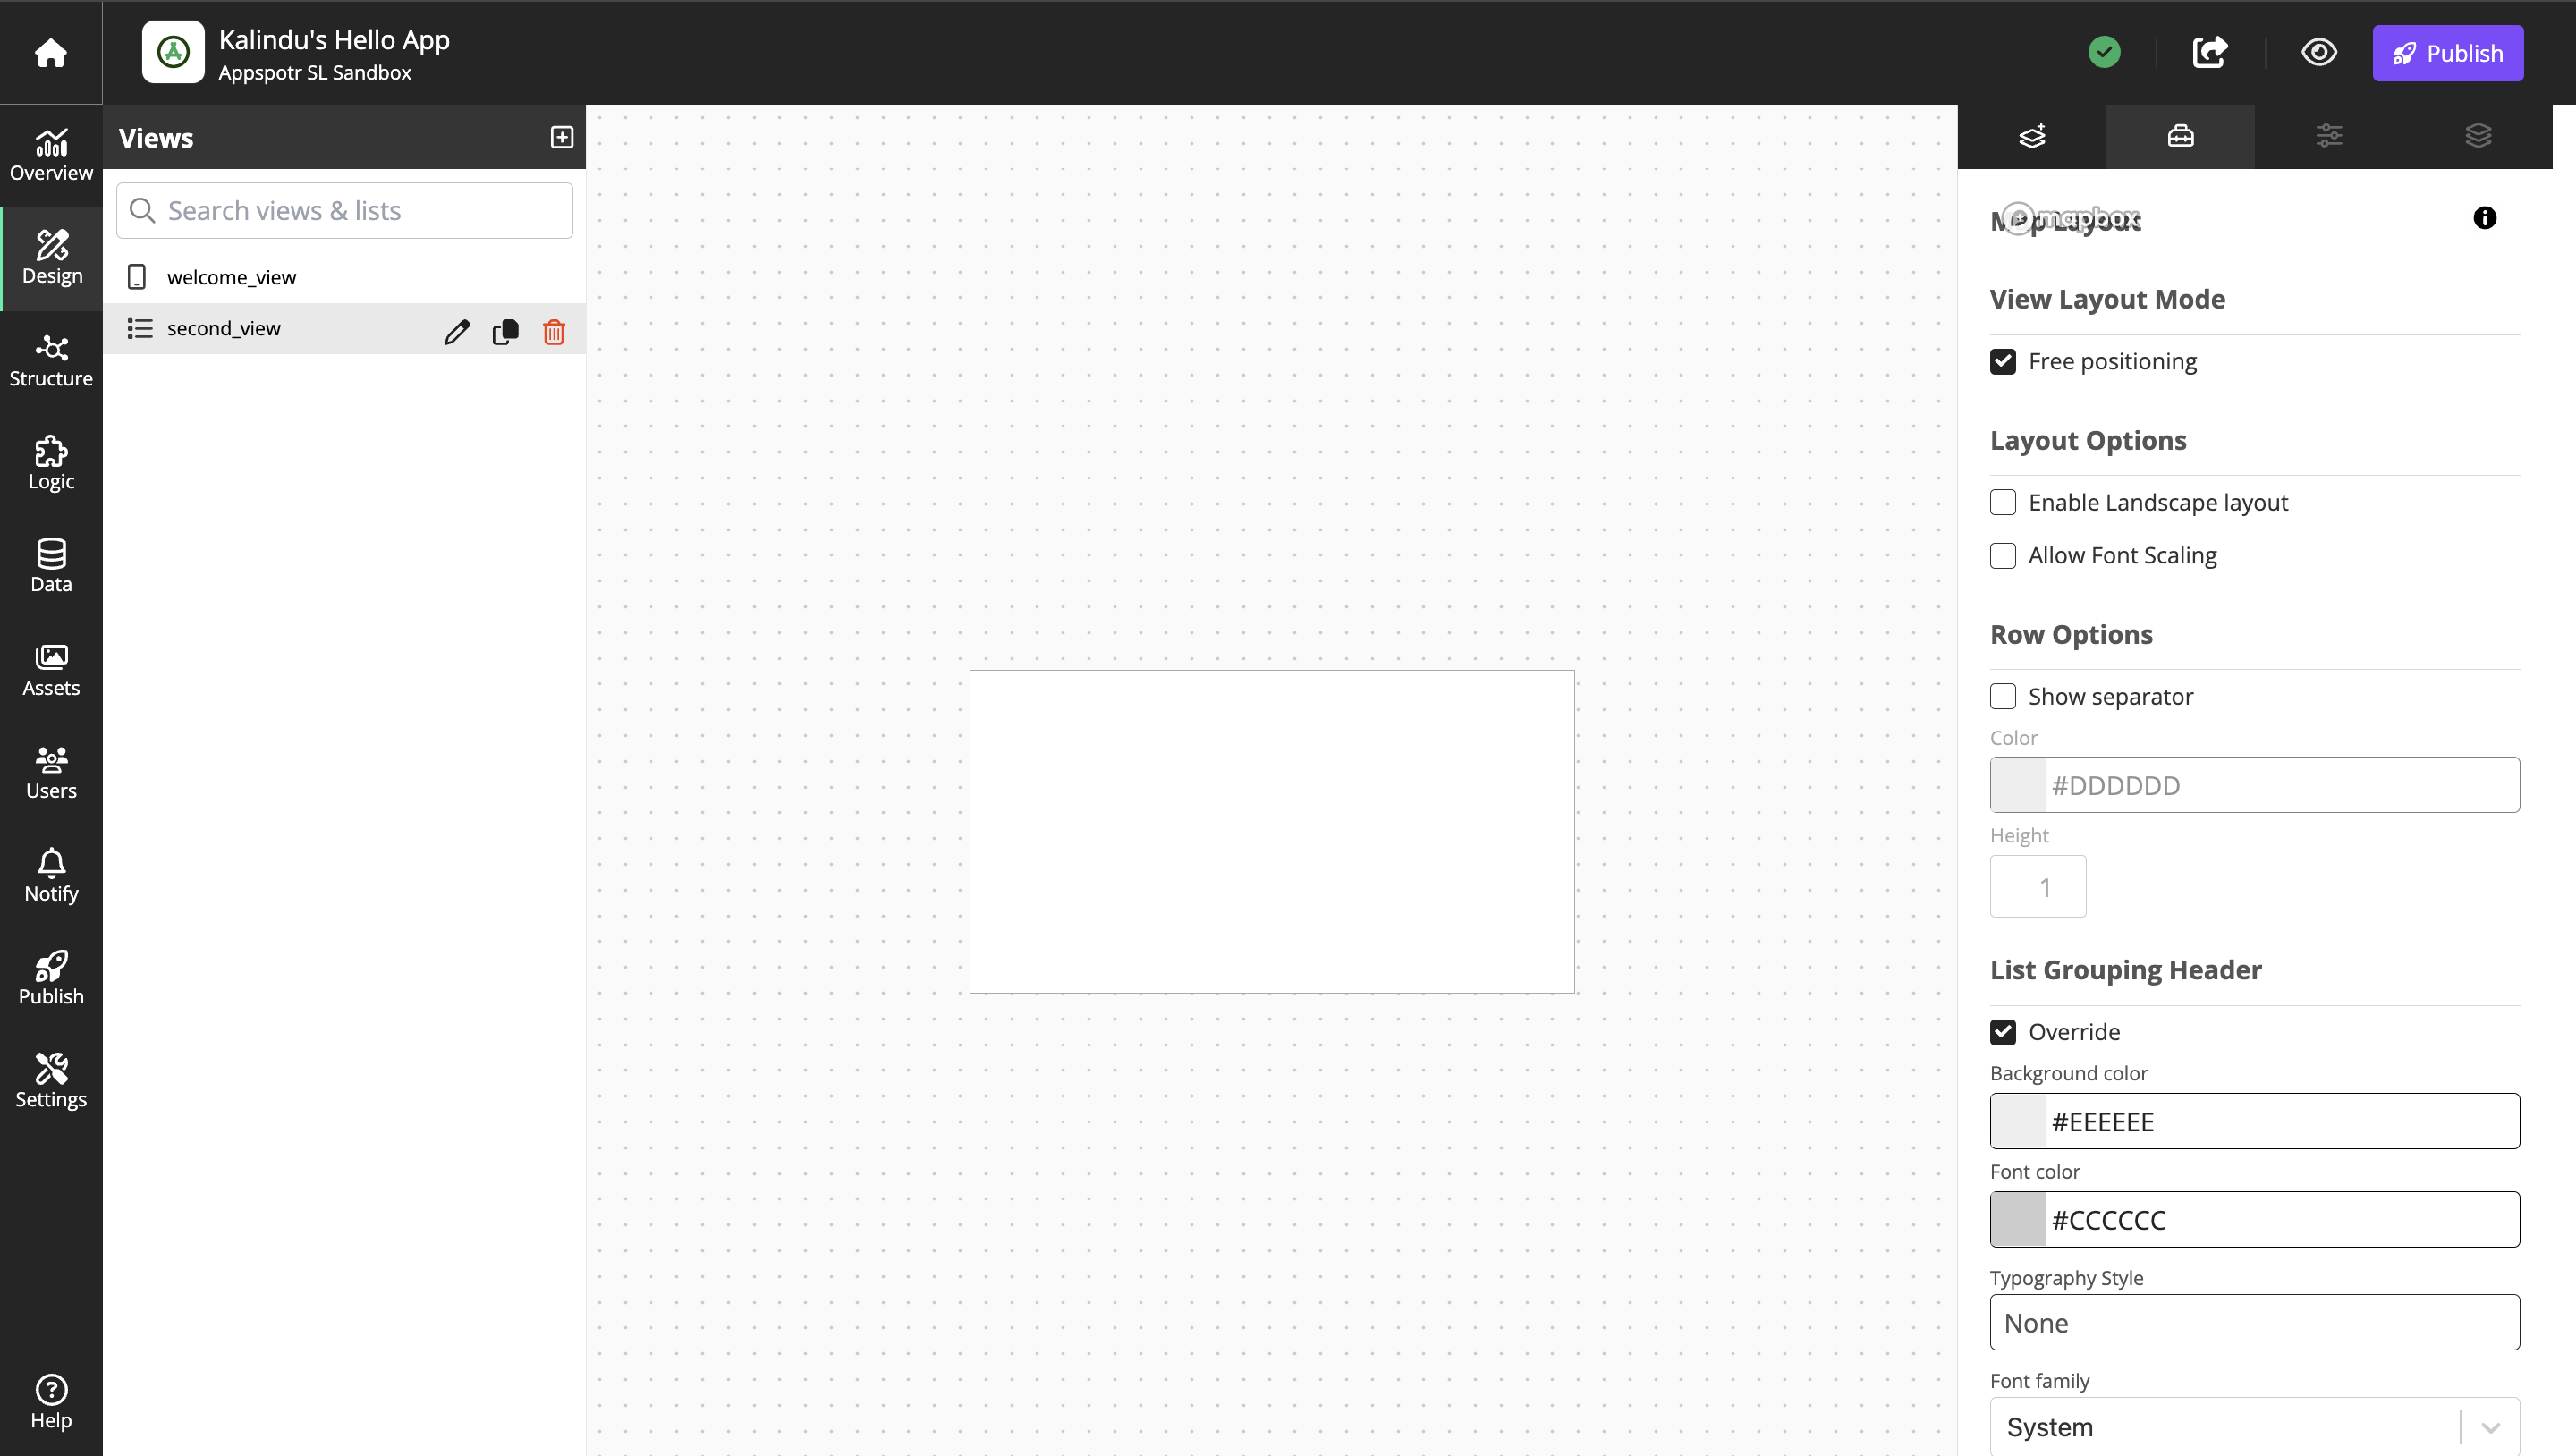
Add a text box
Go to Add component and add a Text Box
That’s it for now. This view will later be connected to a list an populated with data.
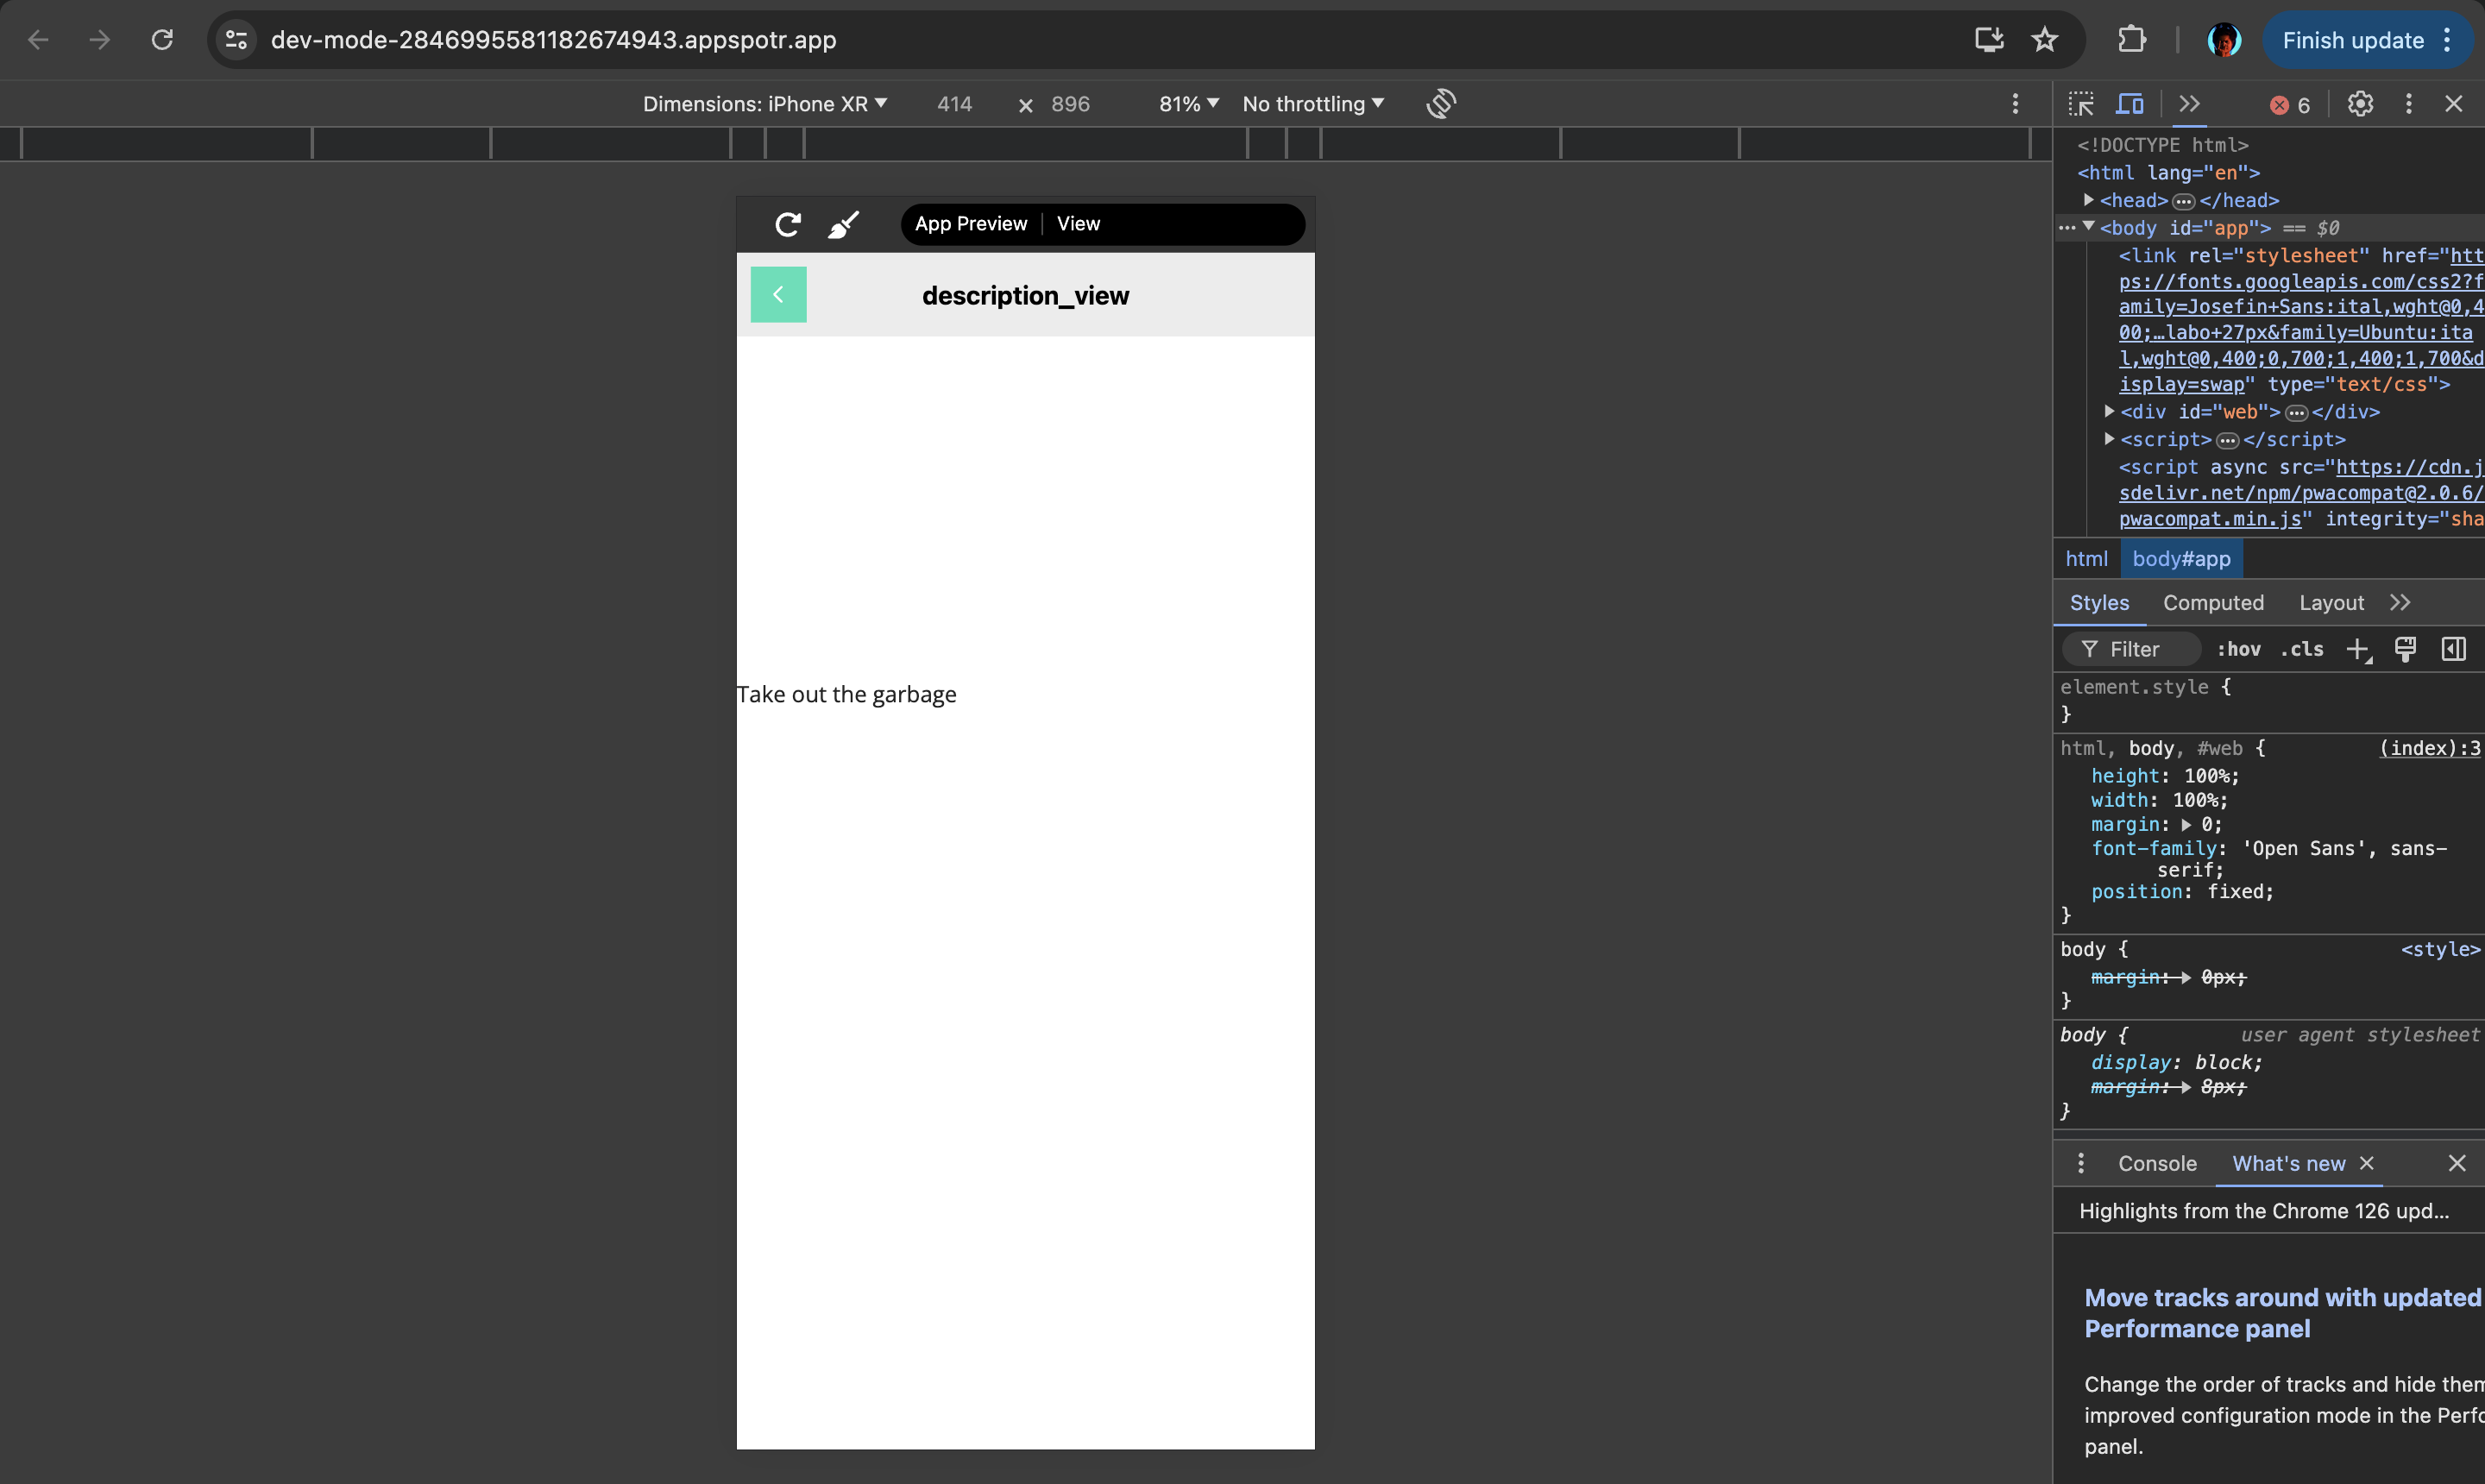
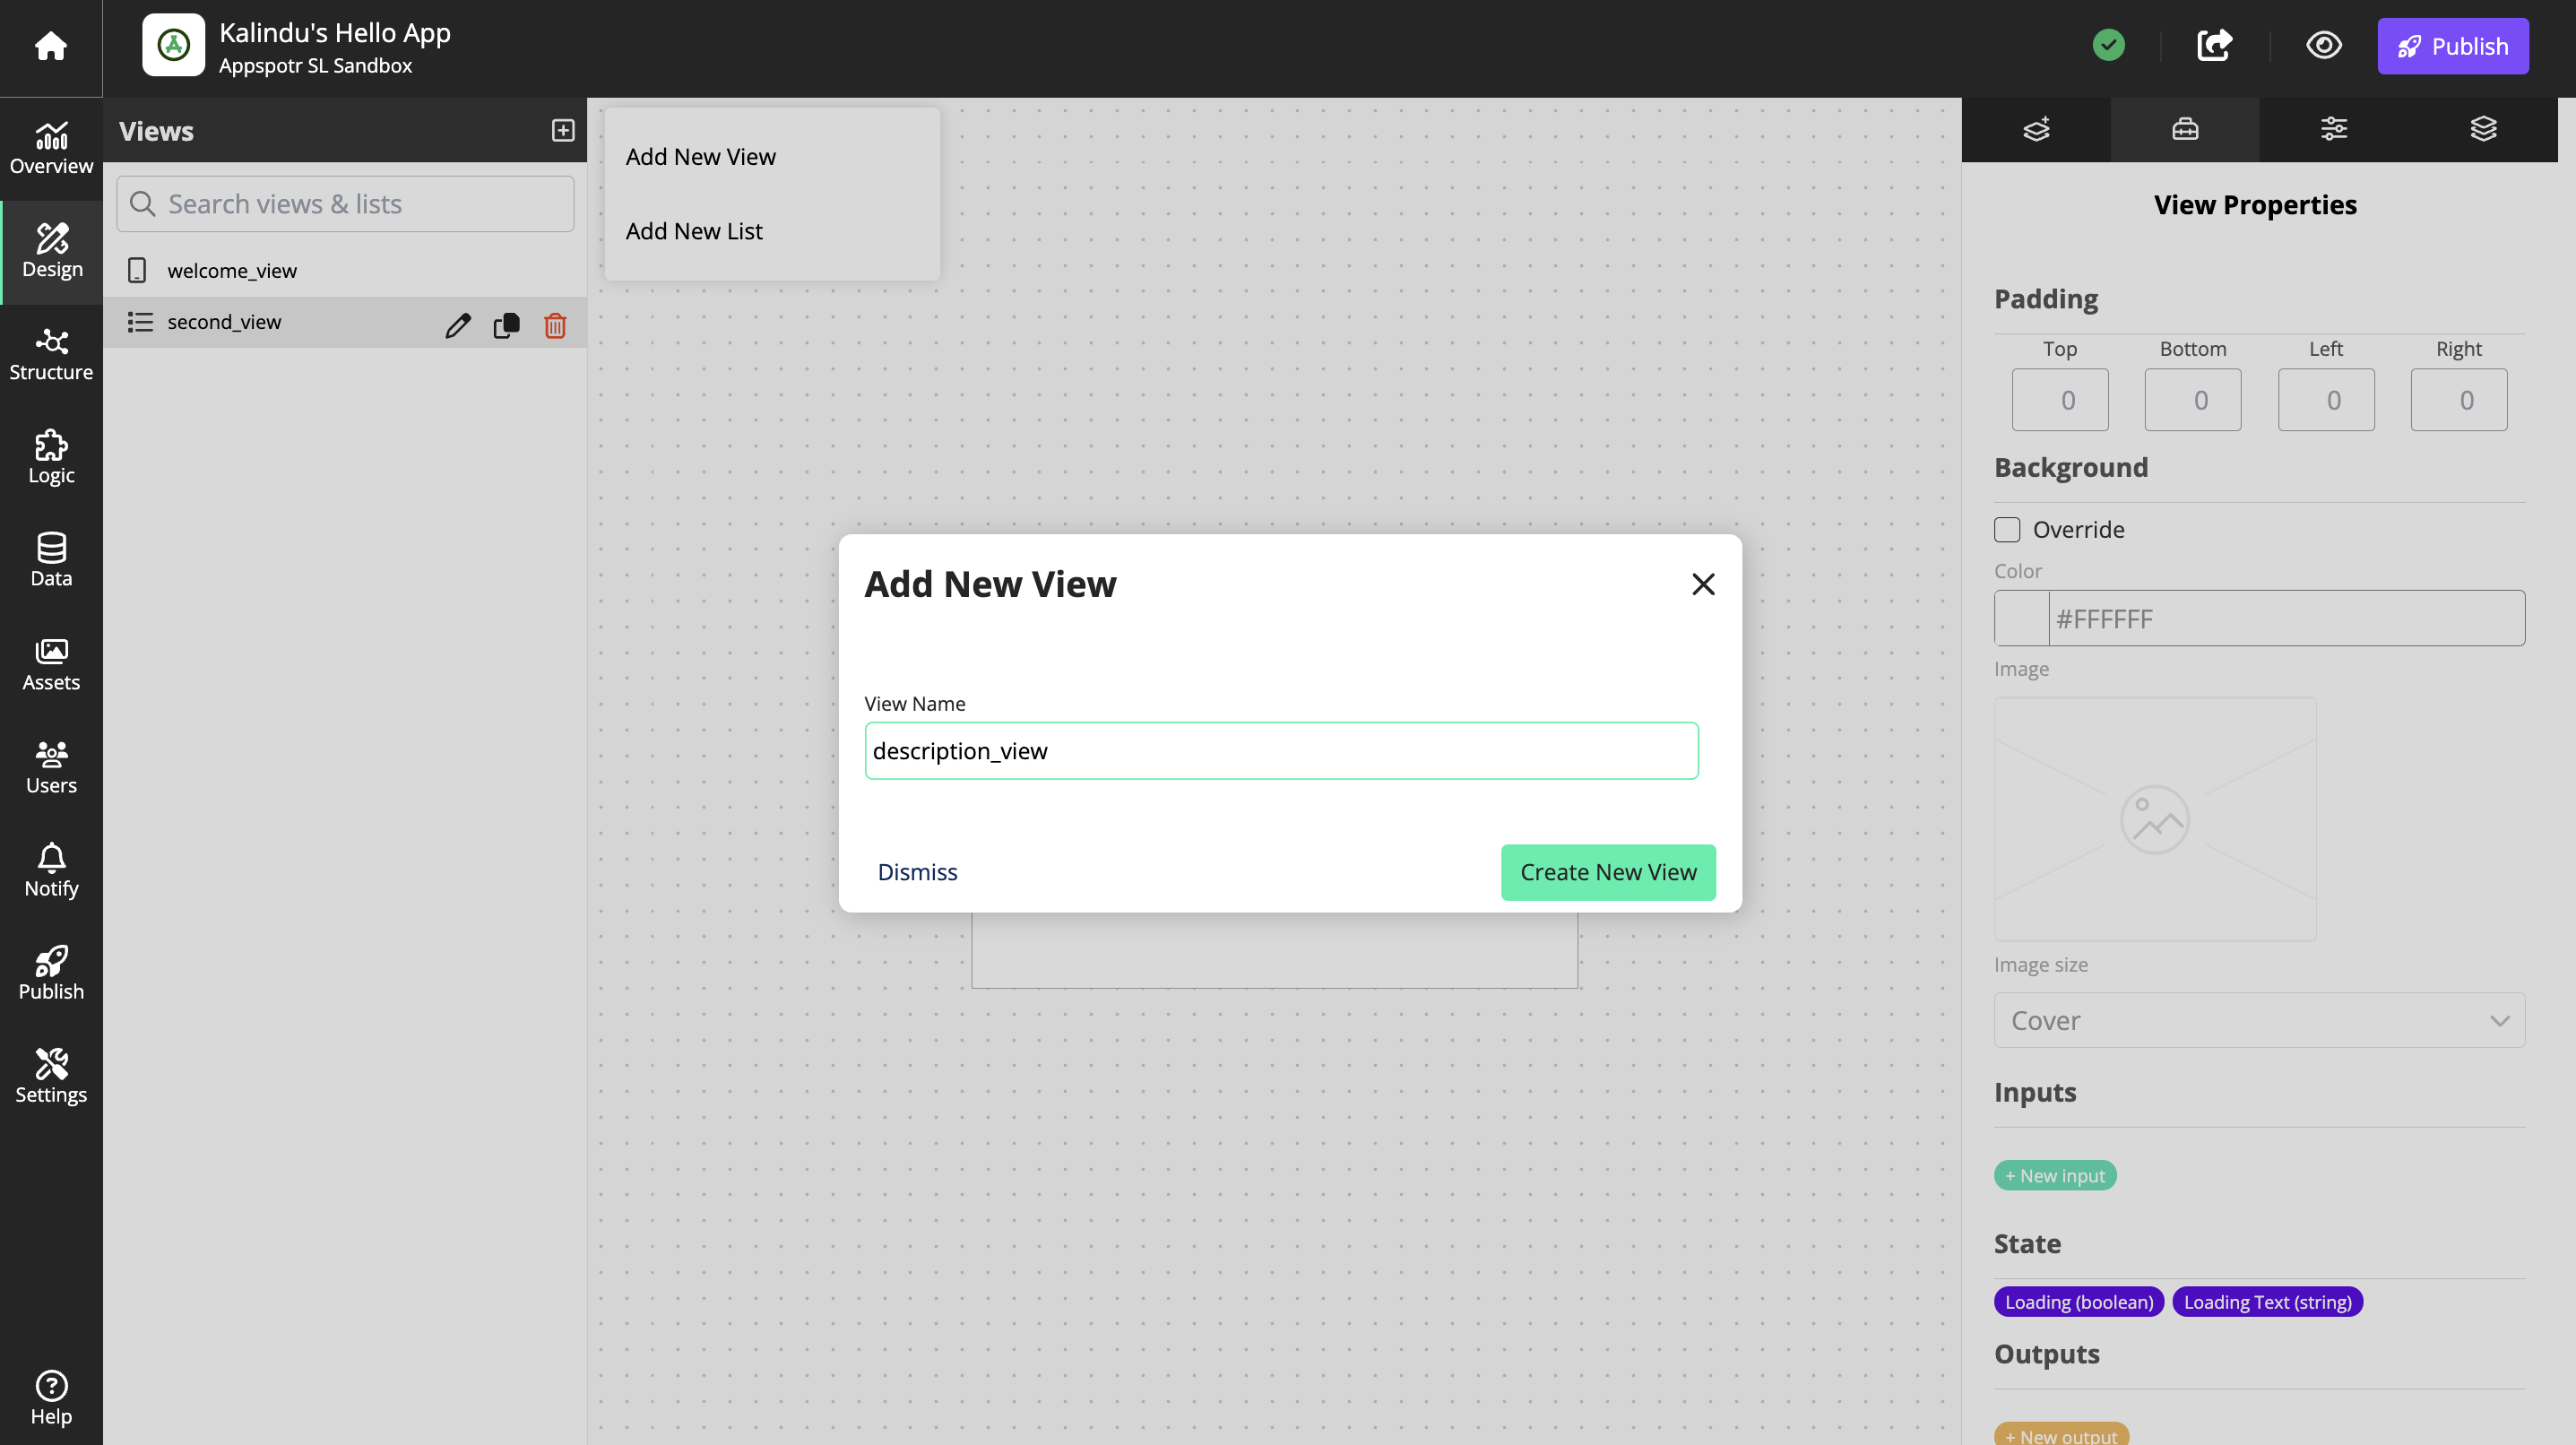
View 3 - description_view
The dataset chores contains 2 columns with data. So far we’ve only displayed 1 column, the name. Let’s display the description in a separate view.
Go to Views again and click New to create the third view for this example. Name the view description_view, this time select type View and click Create.
In the Views Properties tab, set View Layout Mode to Free Positioning so we can place components where we want them.
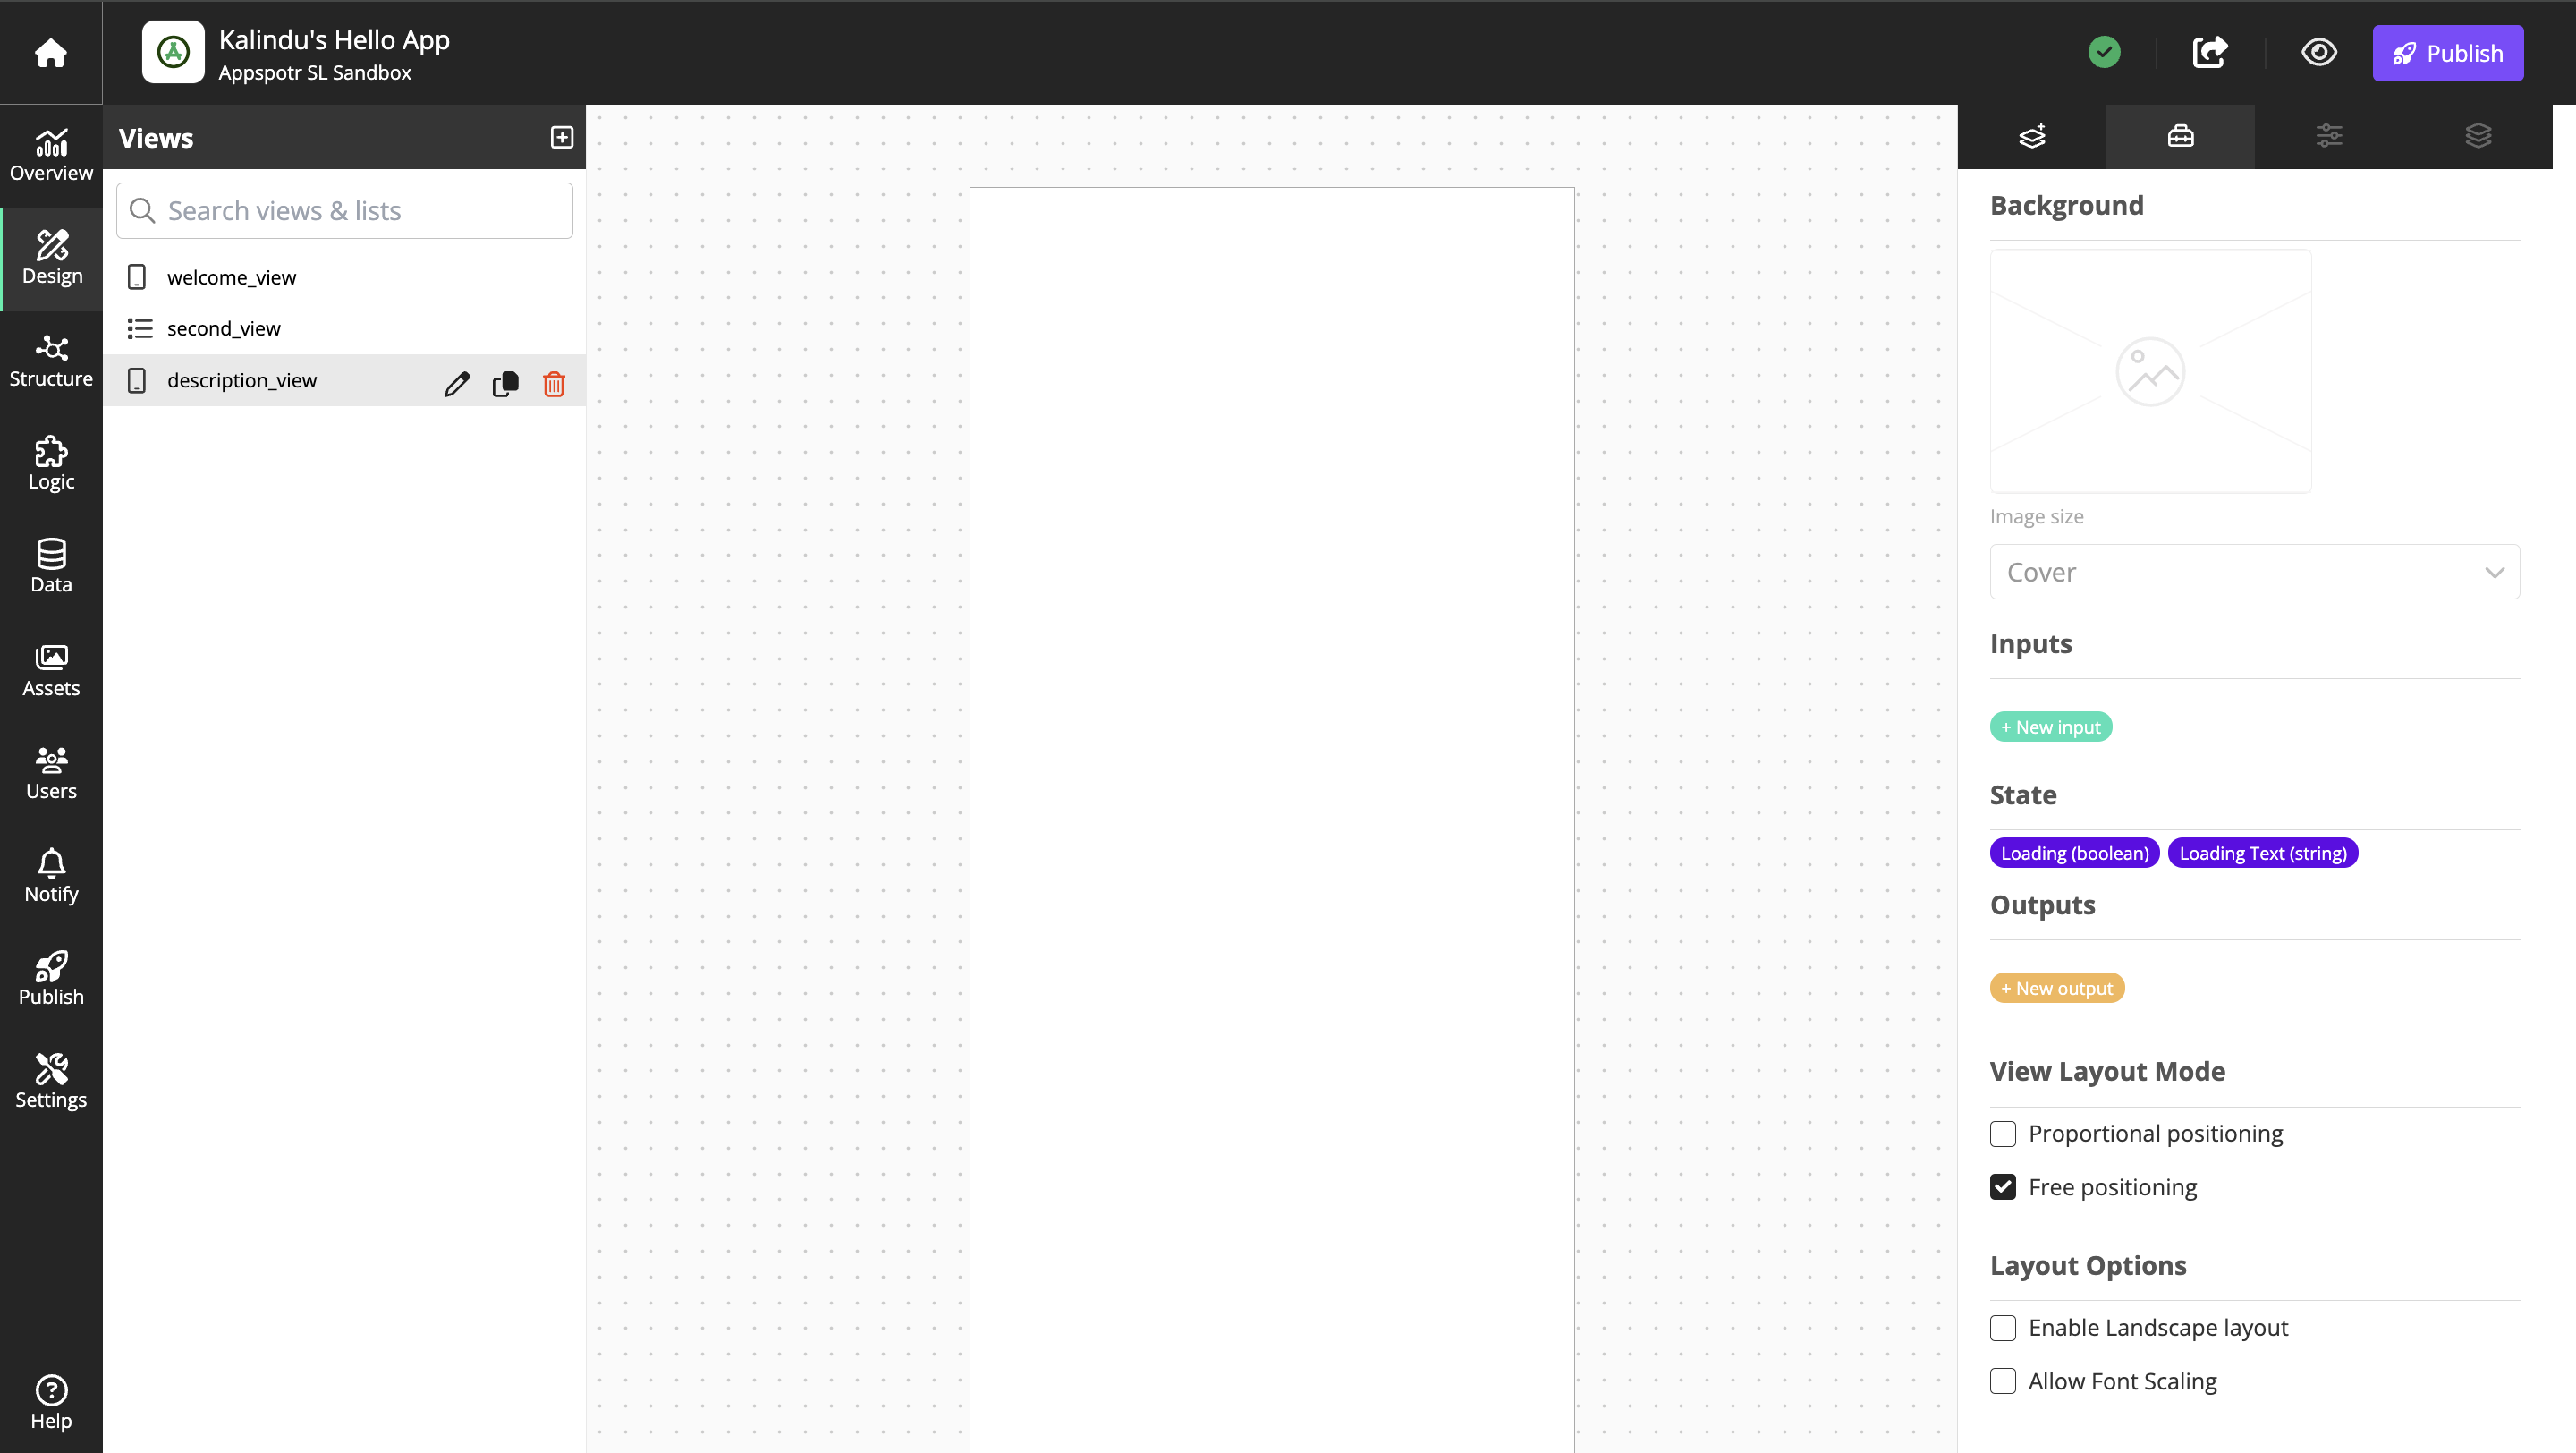
In the Views Properties tab, set View Layout Mode to Free Positioning so we can place components where we want them.
Add a Rich Text Display component to the view, and move it to the middle of the canvas and resize it to your liking.
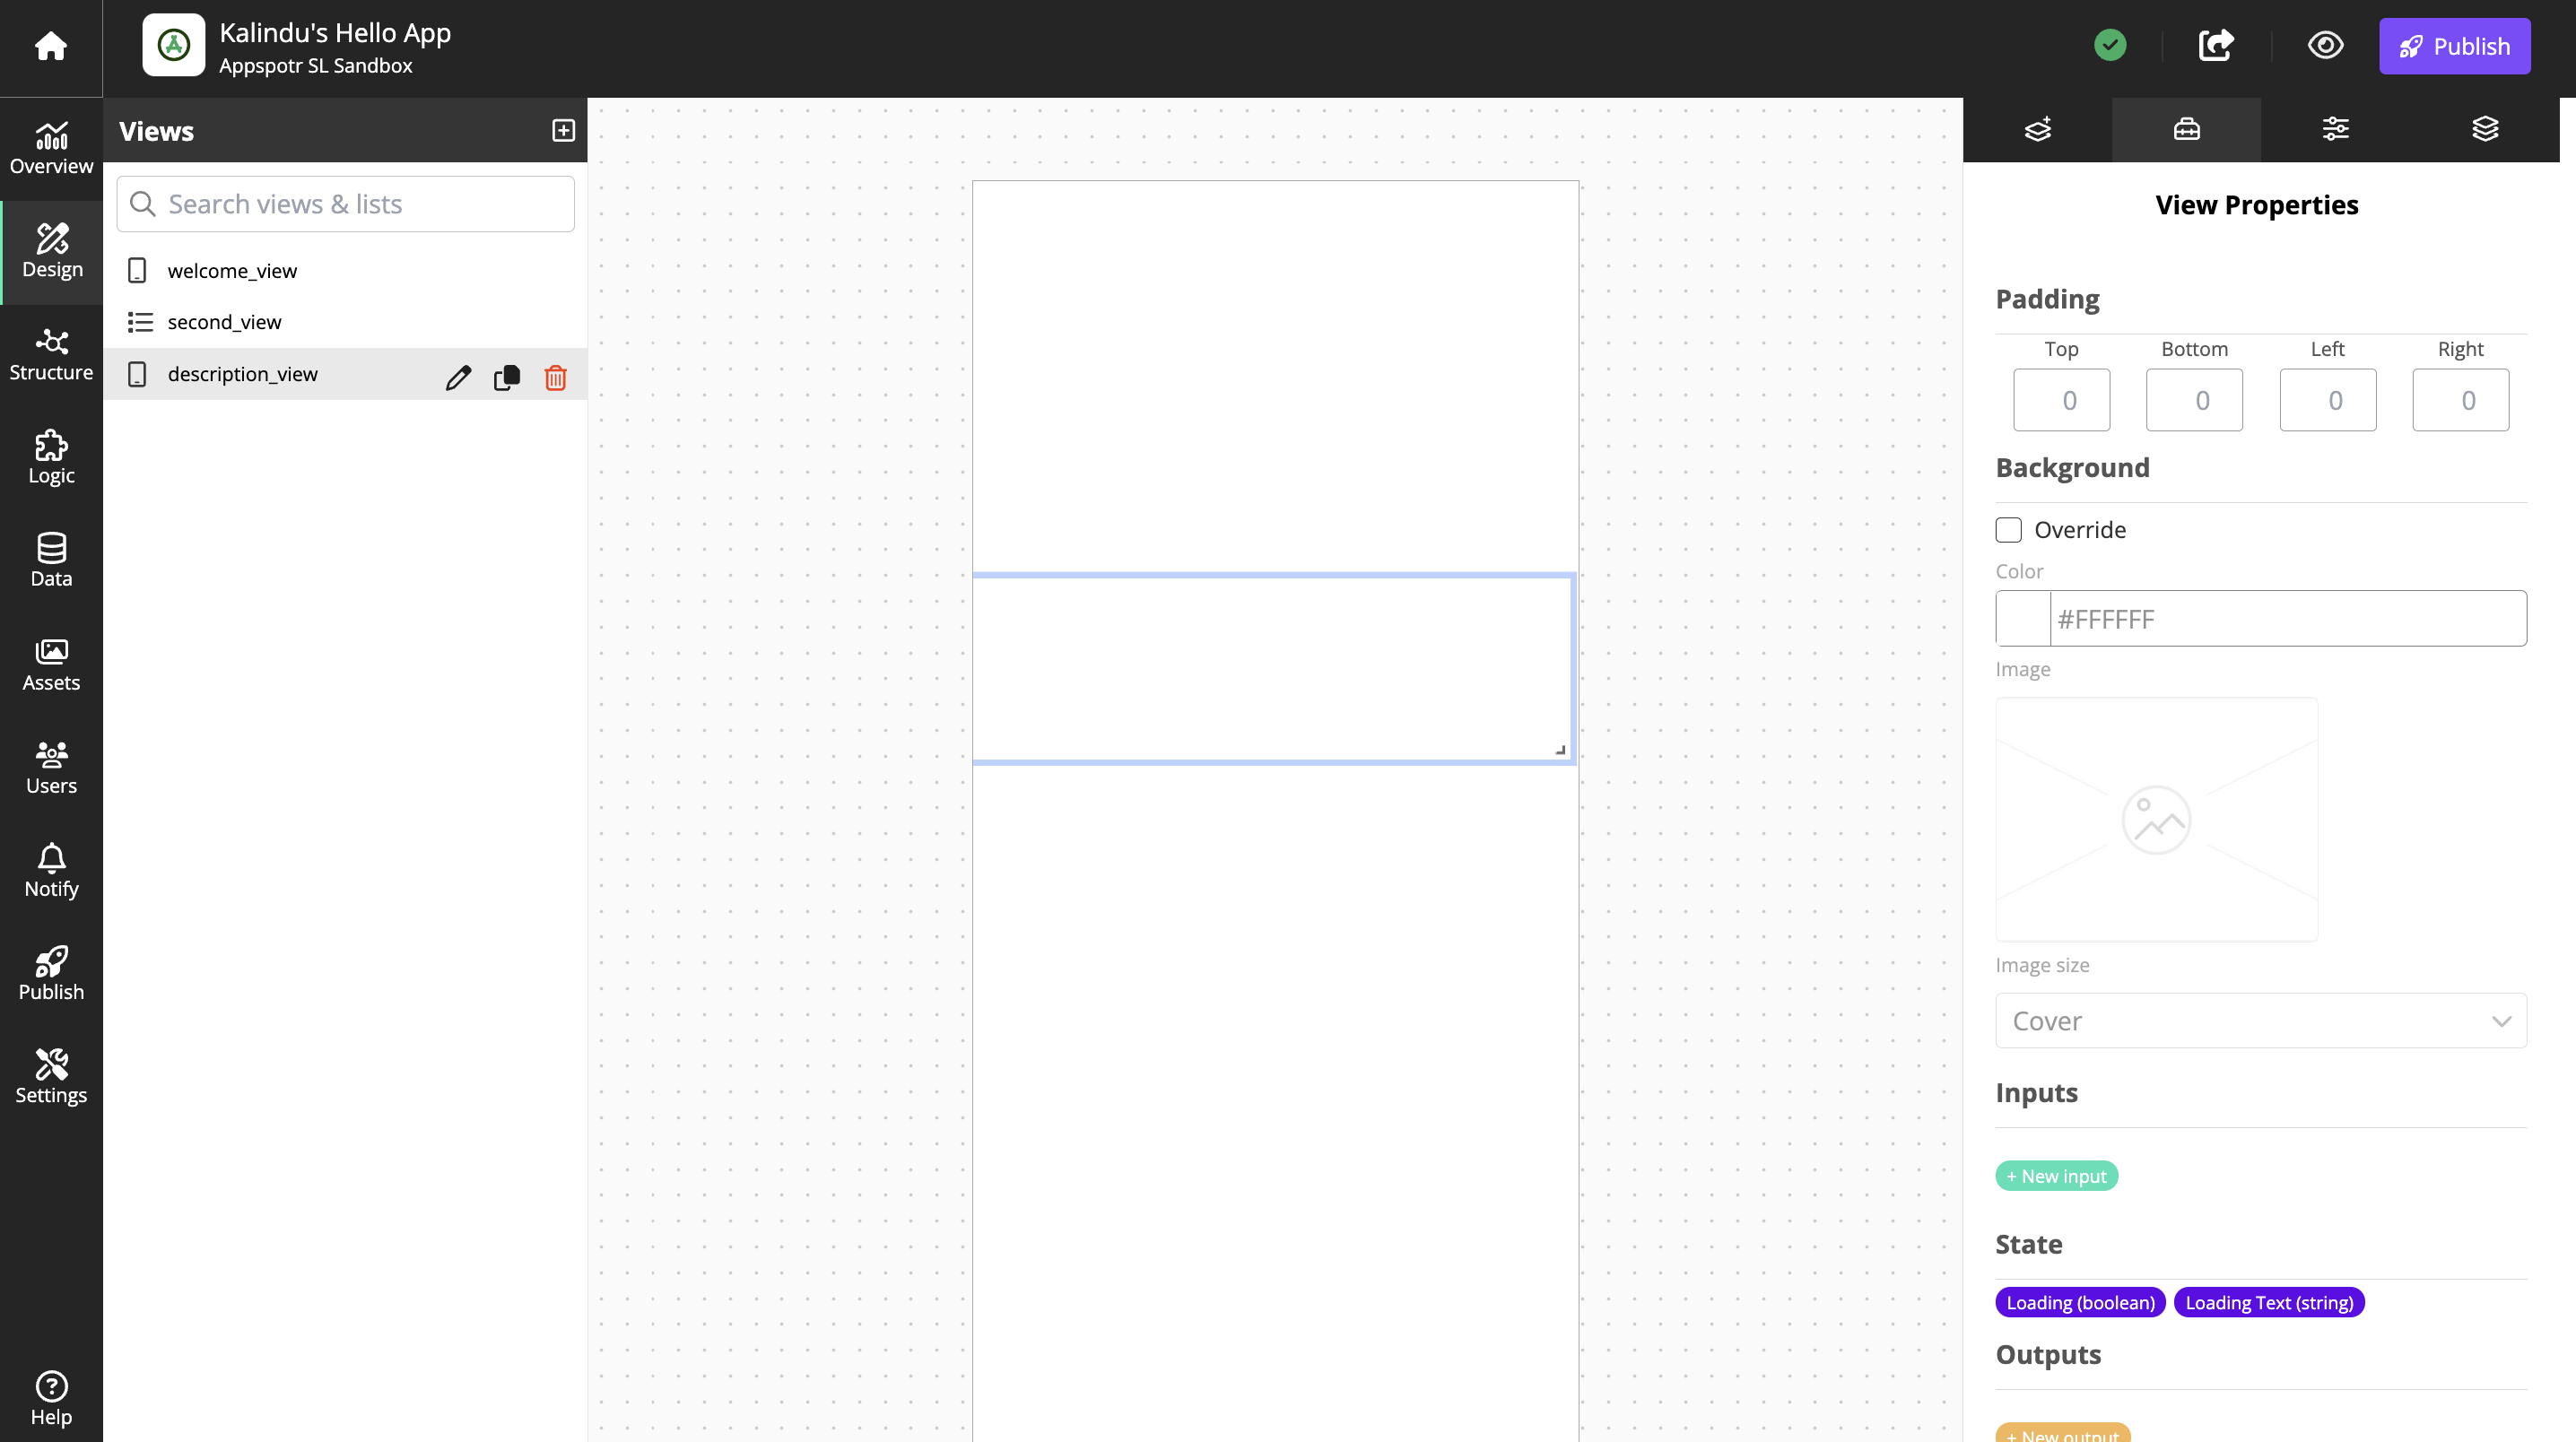
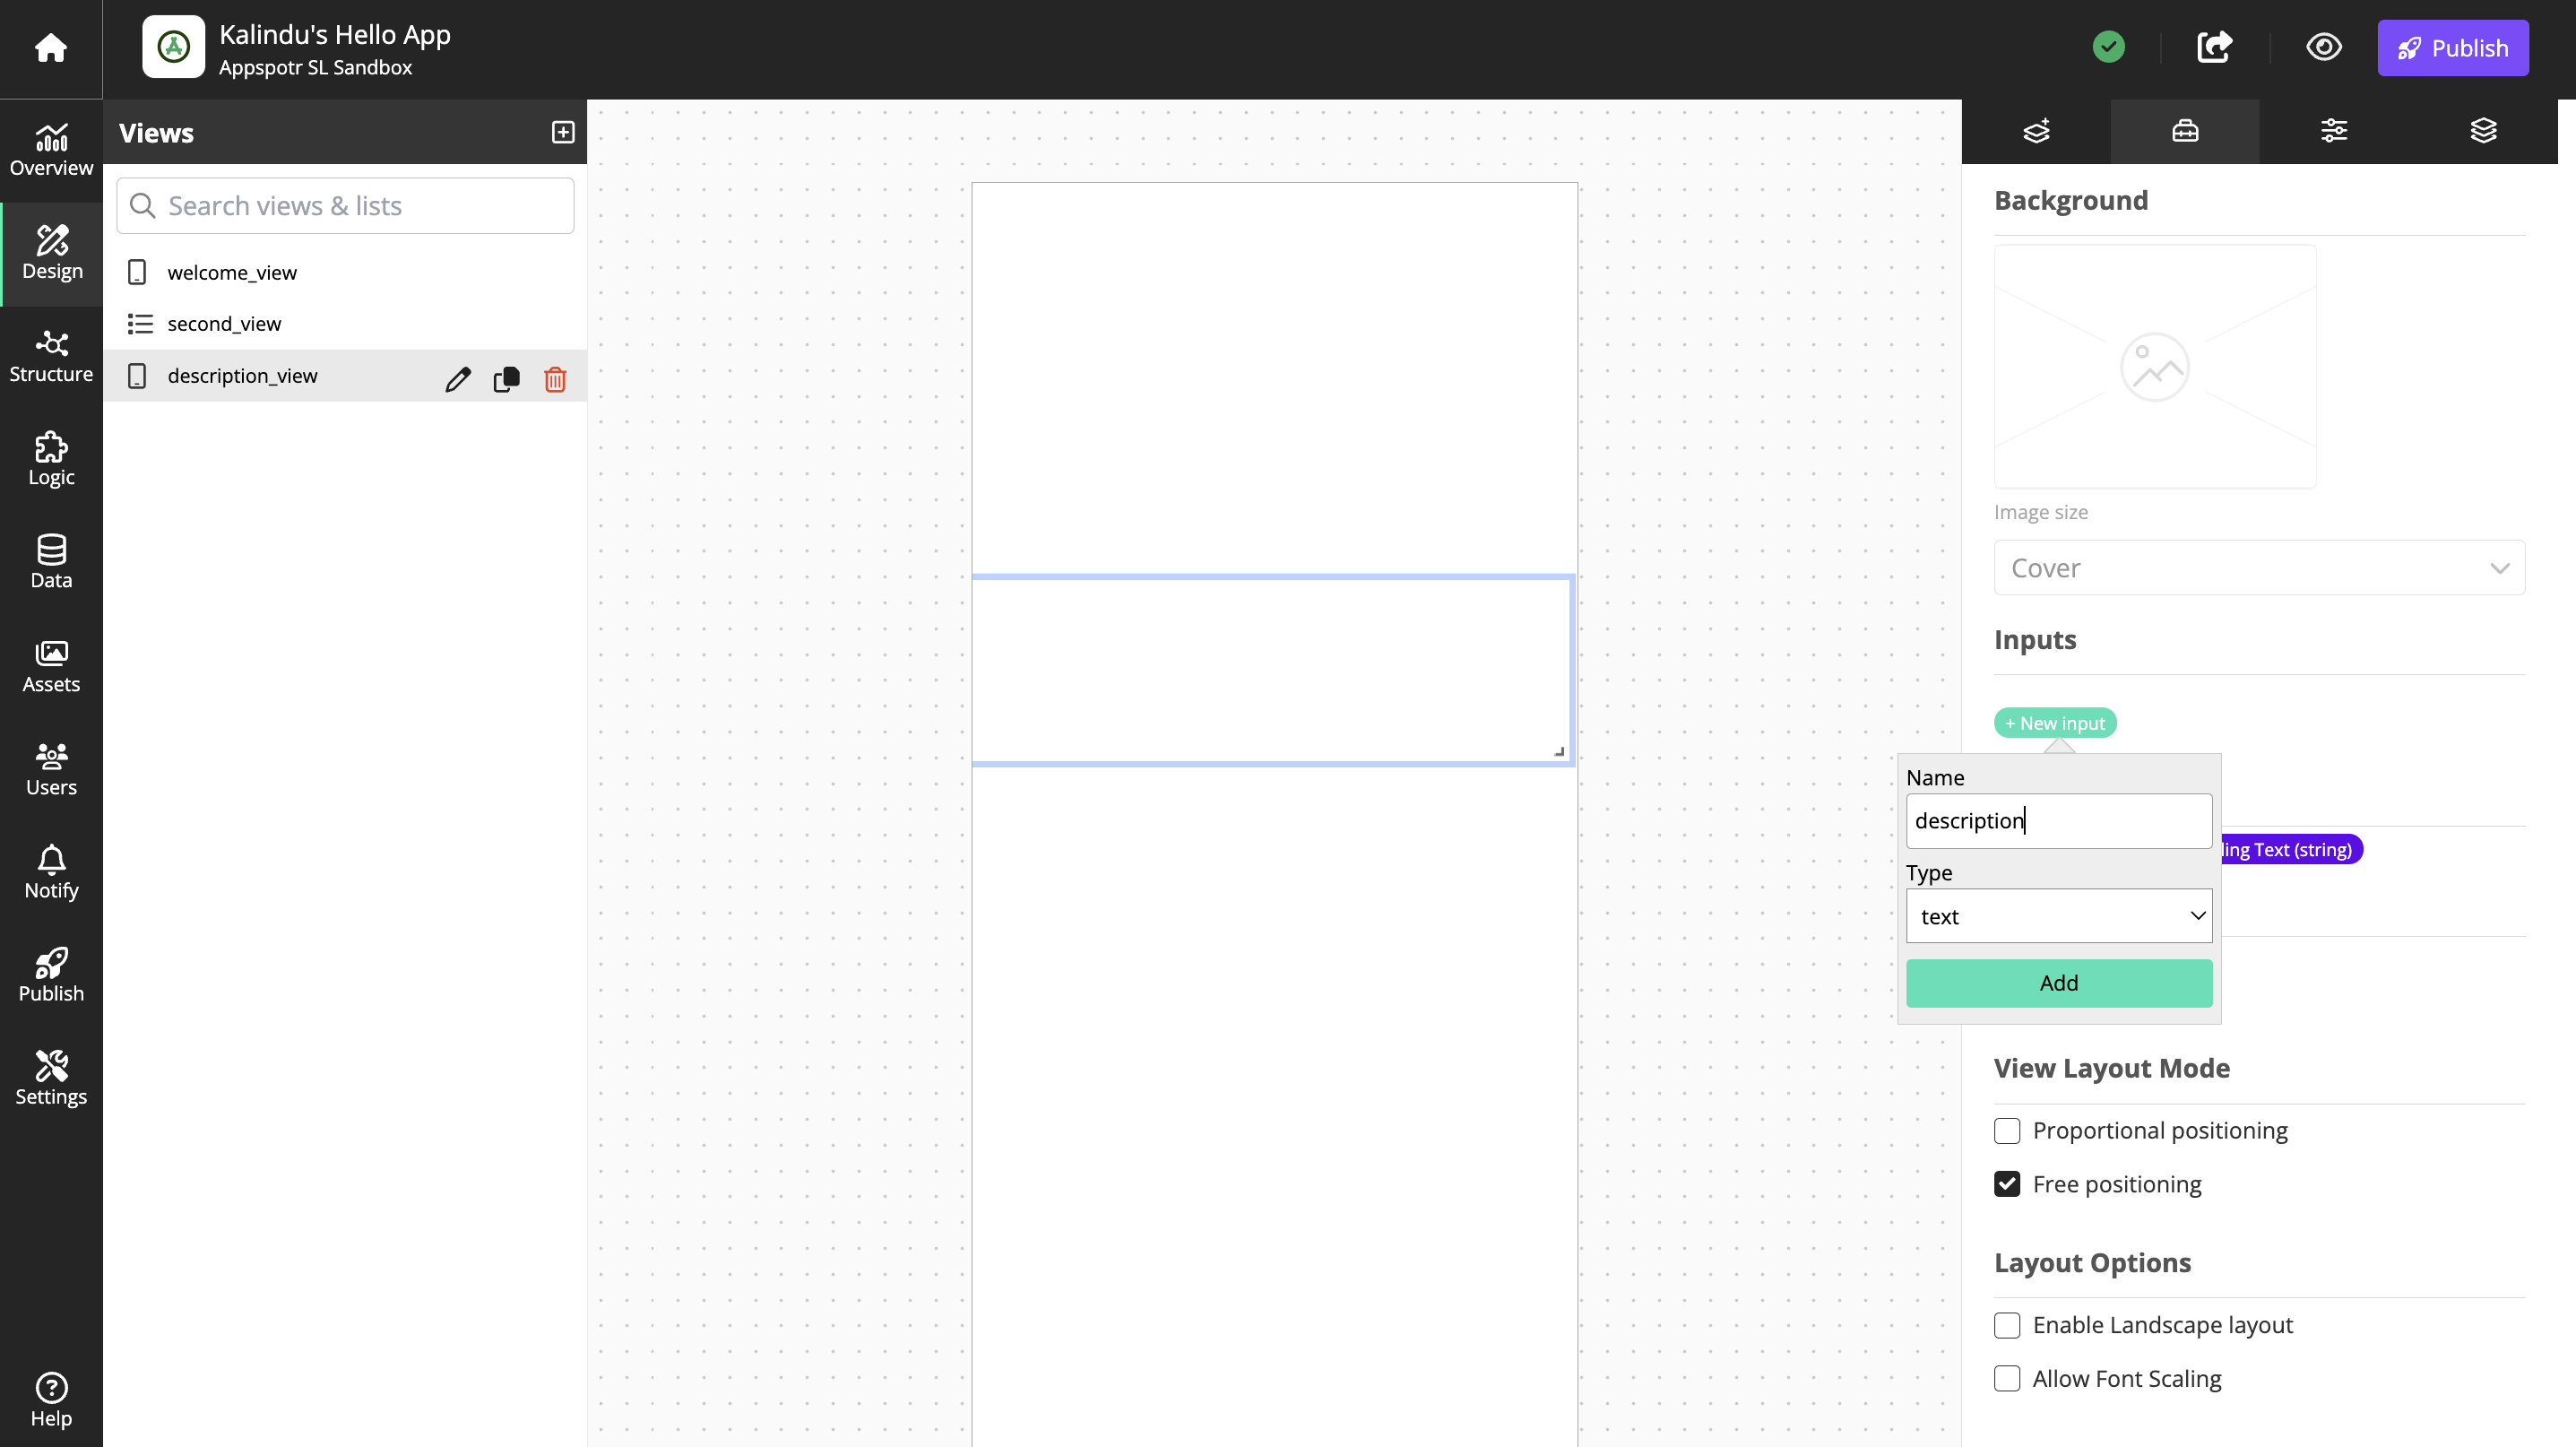
Under the View Properties tab, scroll down to Inputs and click New Input.

Give the input the same name as the dataset column it should display,in this case description.
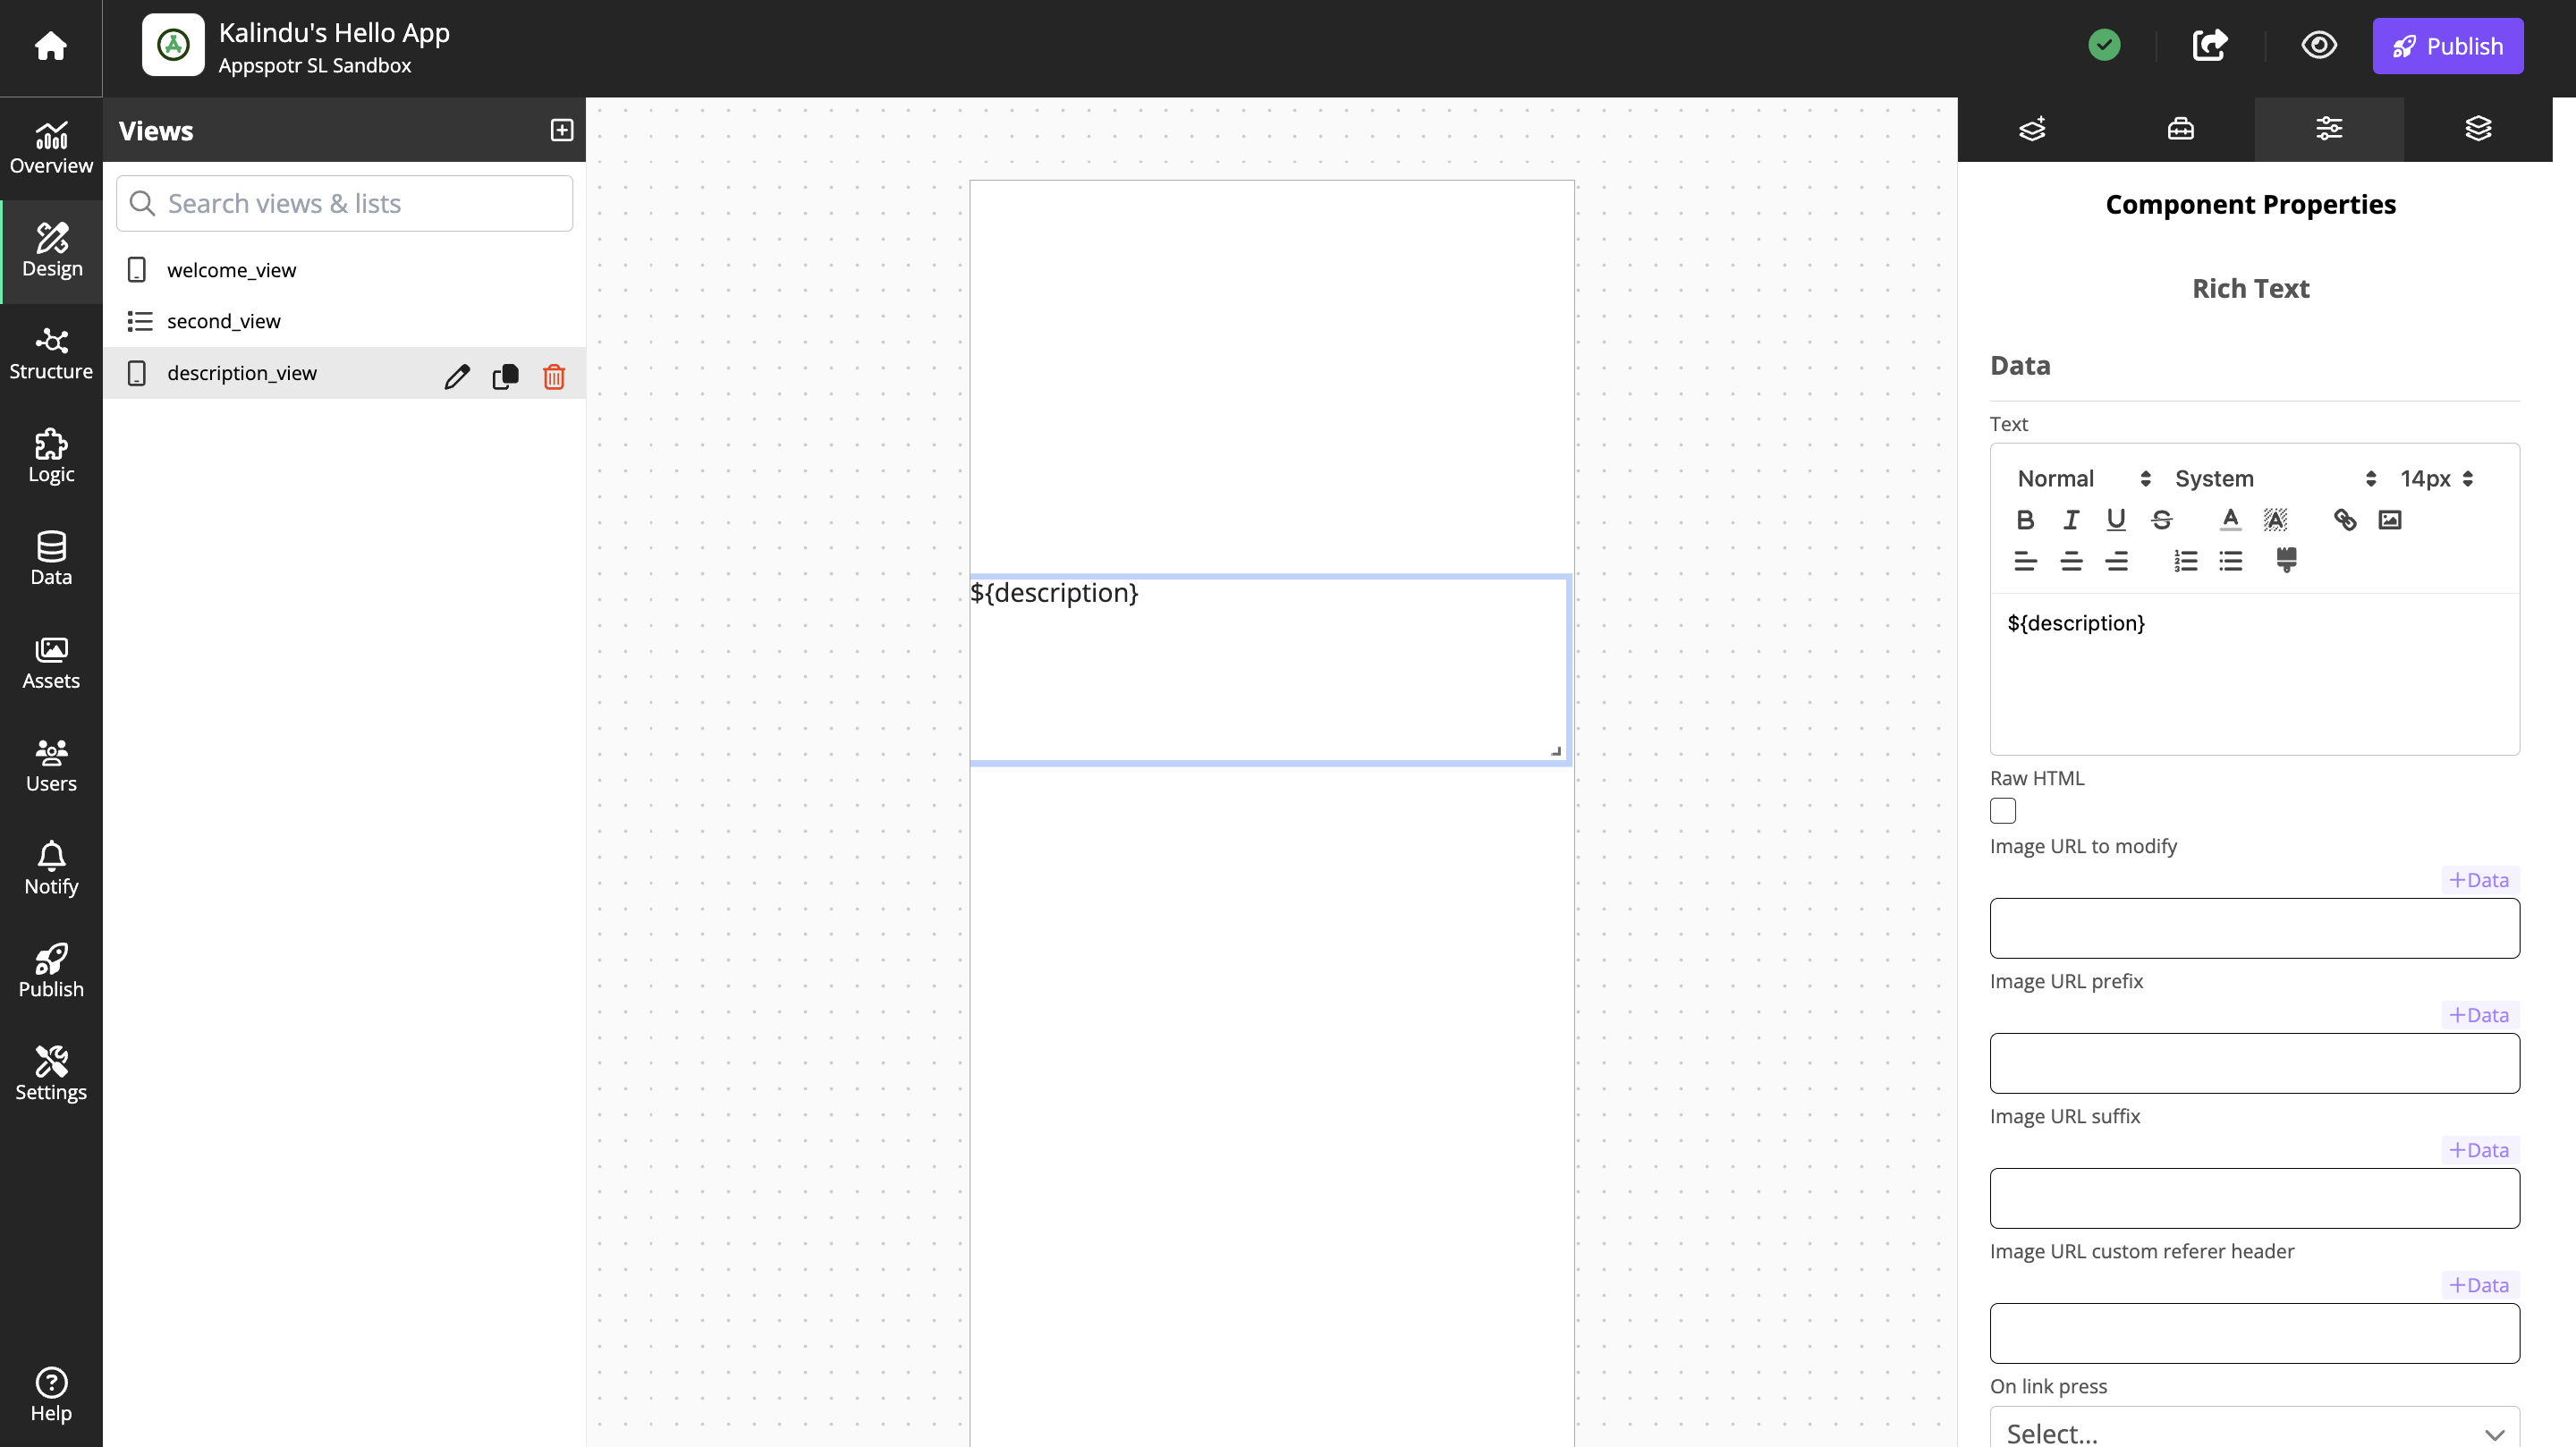
Select the rich text display on the canvas, and open the Component Properties tab.
Under Data, write $getting-started, create-app in the field Text. This instructs the rich text display to get it’s content from the input called description.
Back-navigation
The last thing we will do is to add events so when we click the description in the Rich Text component, we navigate back to the second_view or the welcome_view.
In Views select the description_view.
Normal click
-
Select the View Properties tab.
Find Outputs and click New Output.
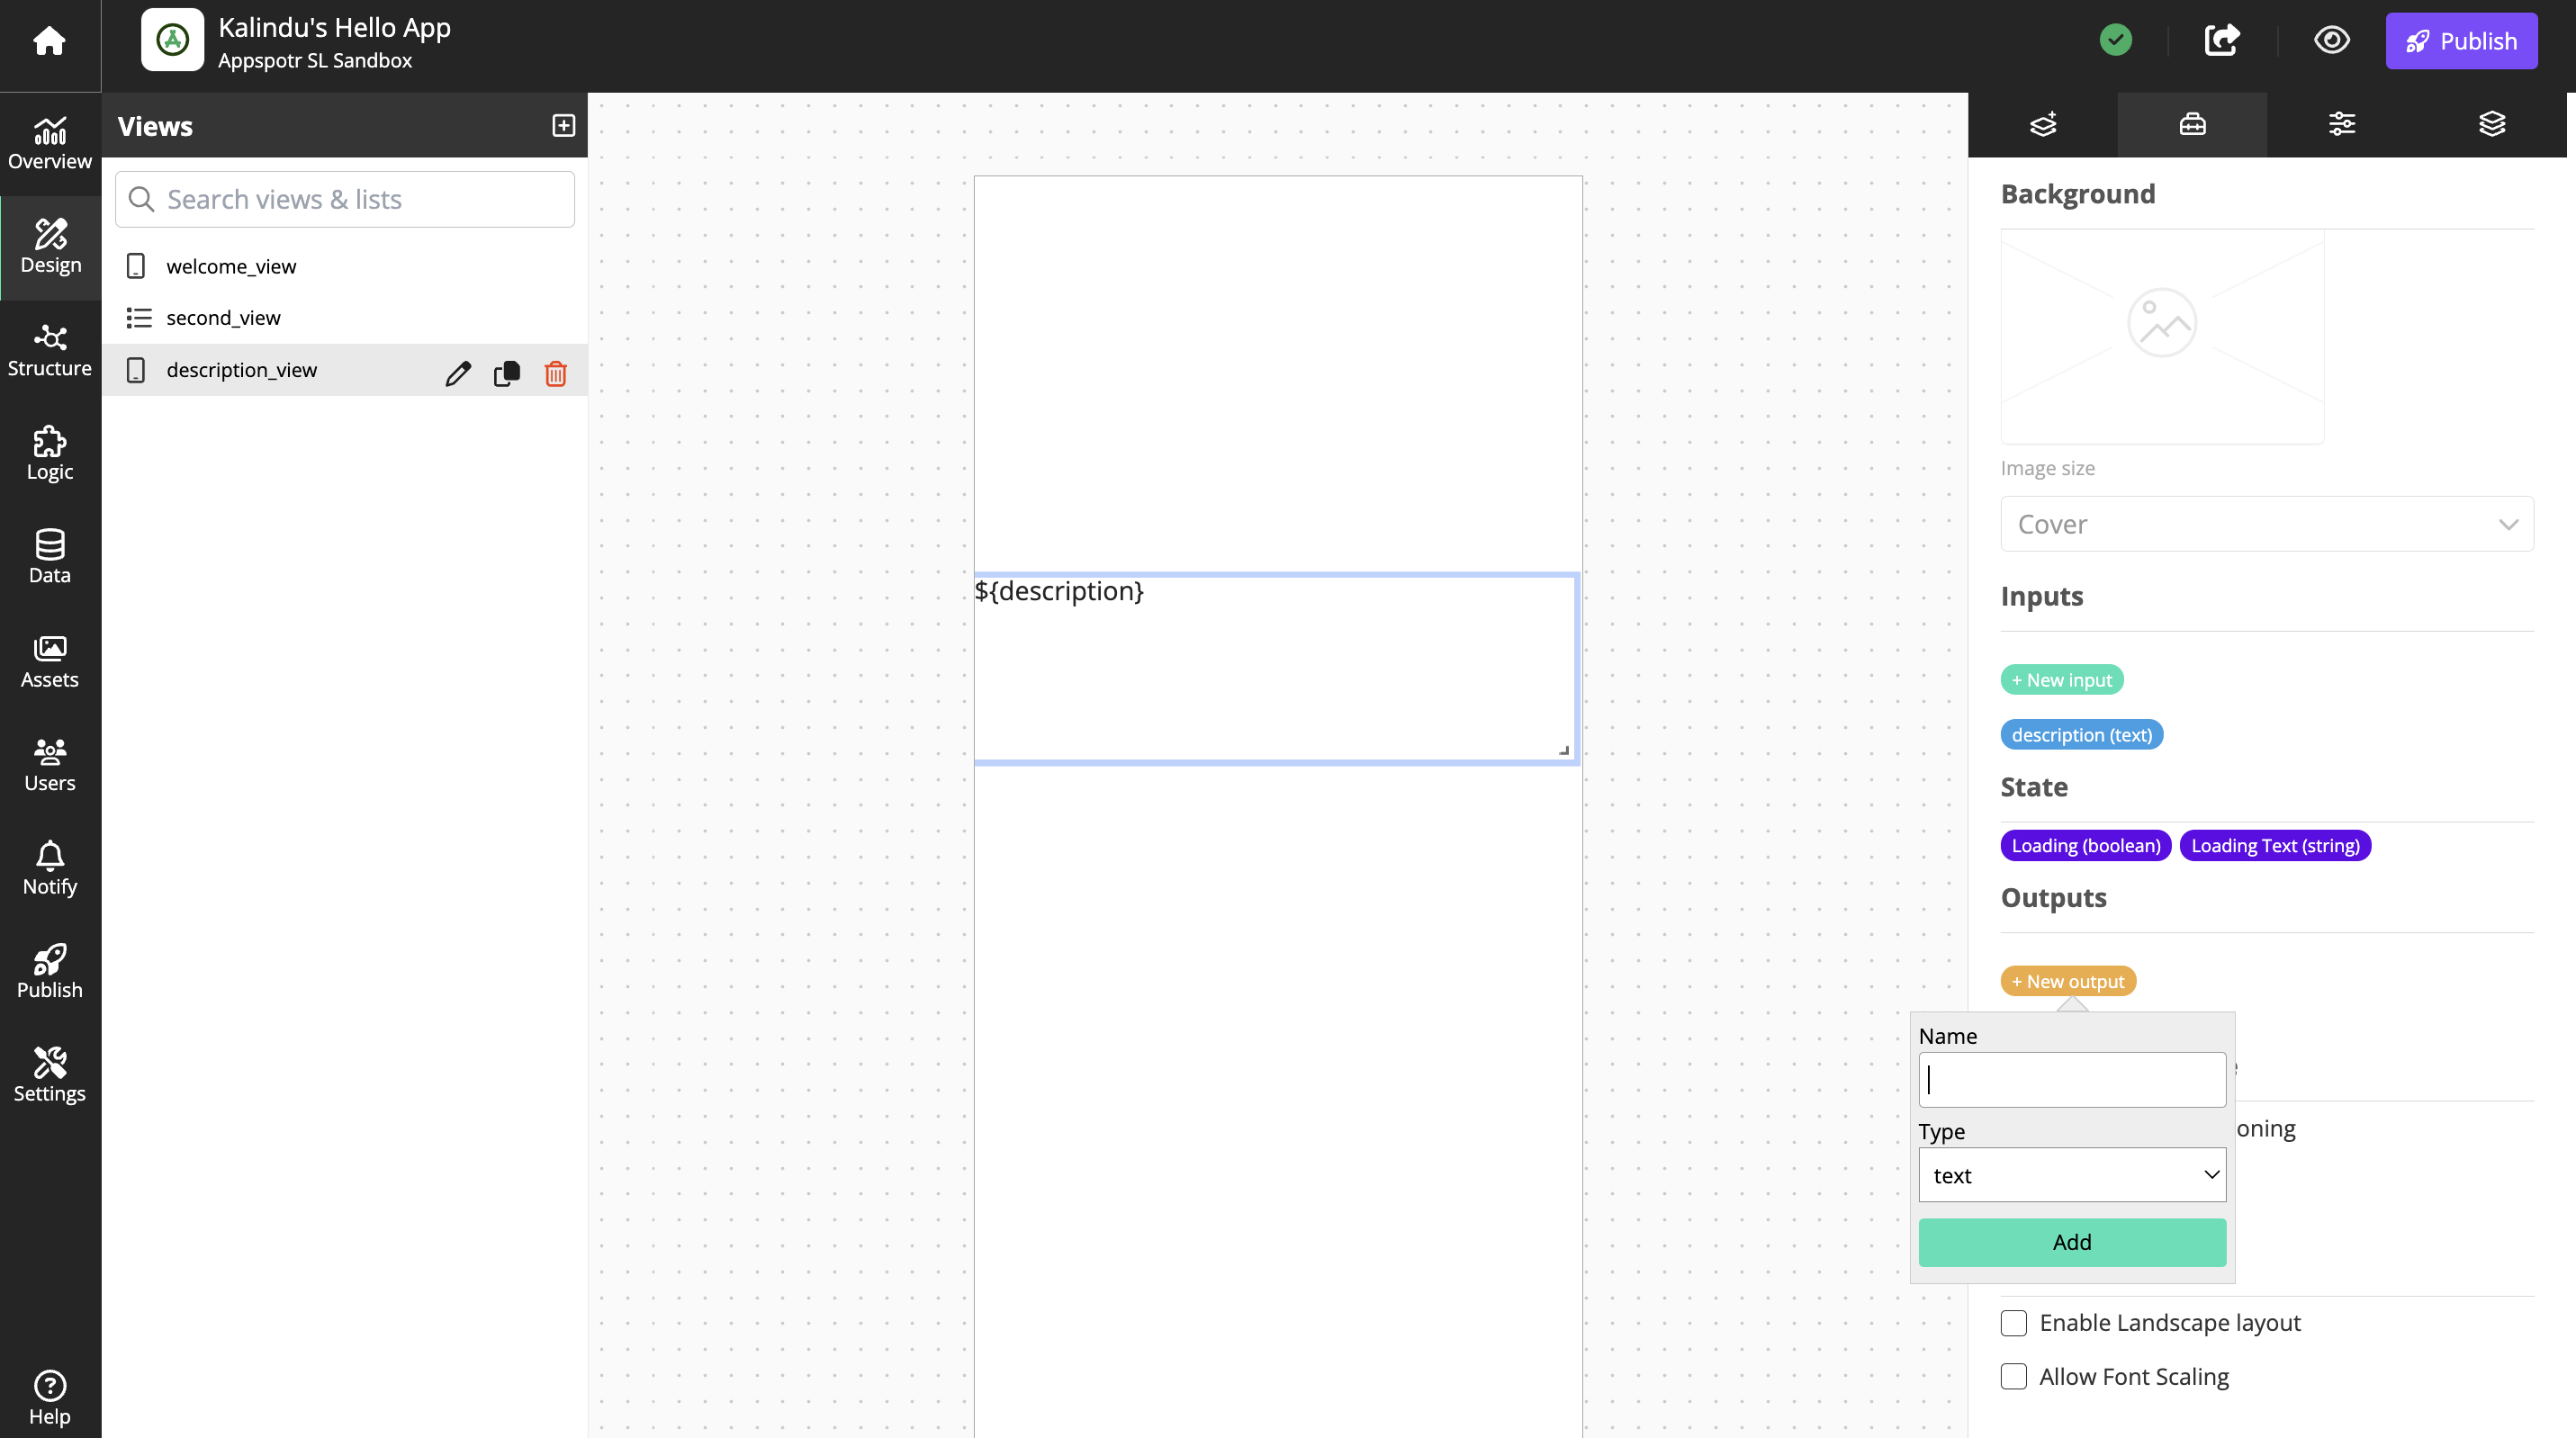
Name the output richTextClick and select type Event, and click on Add
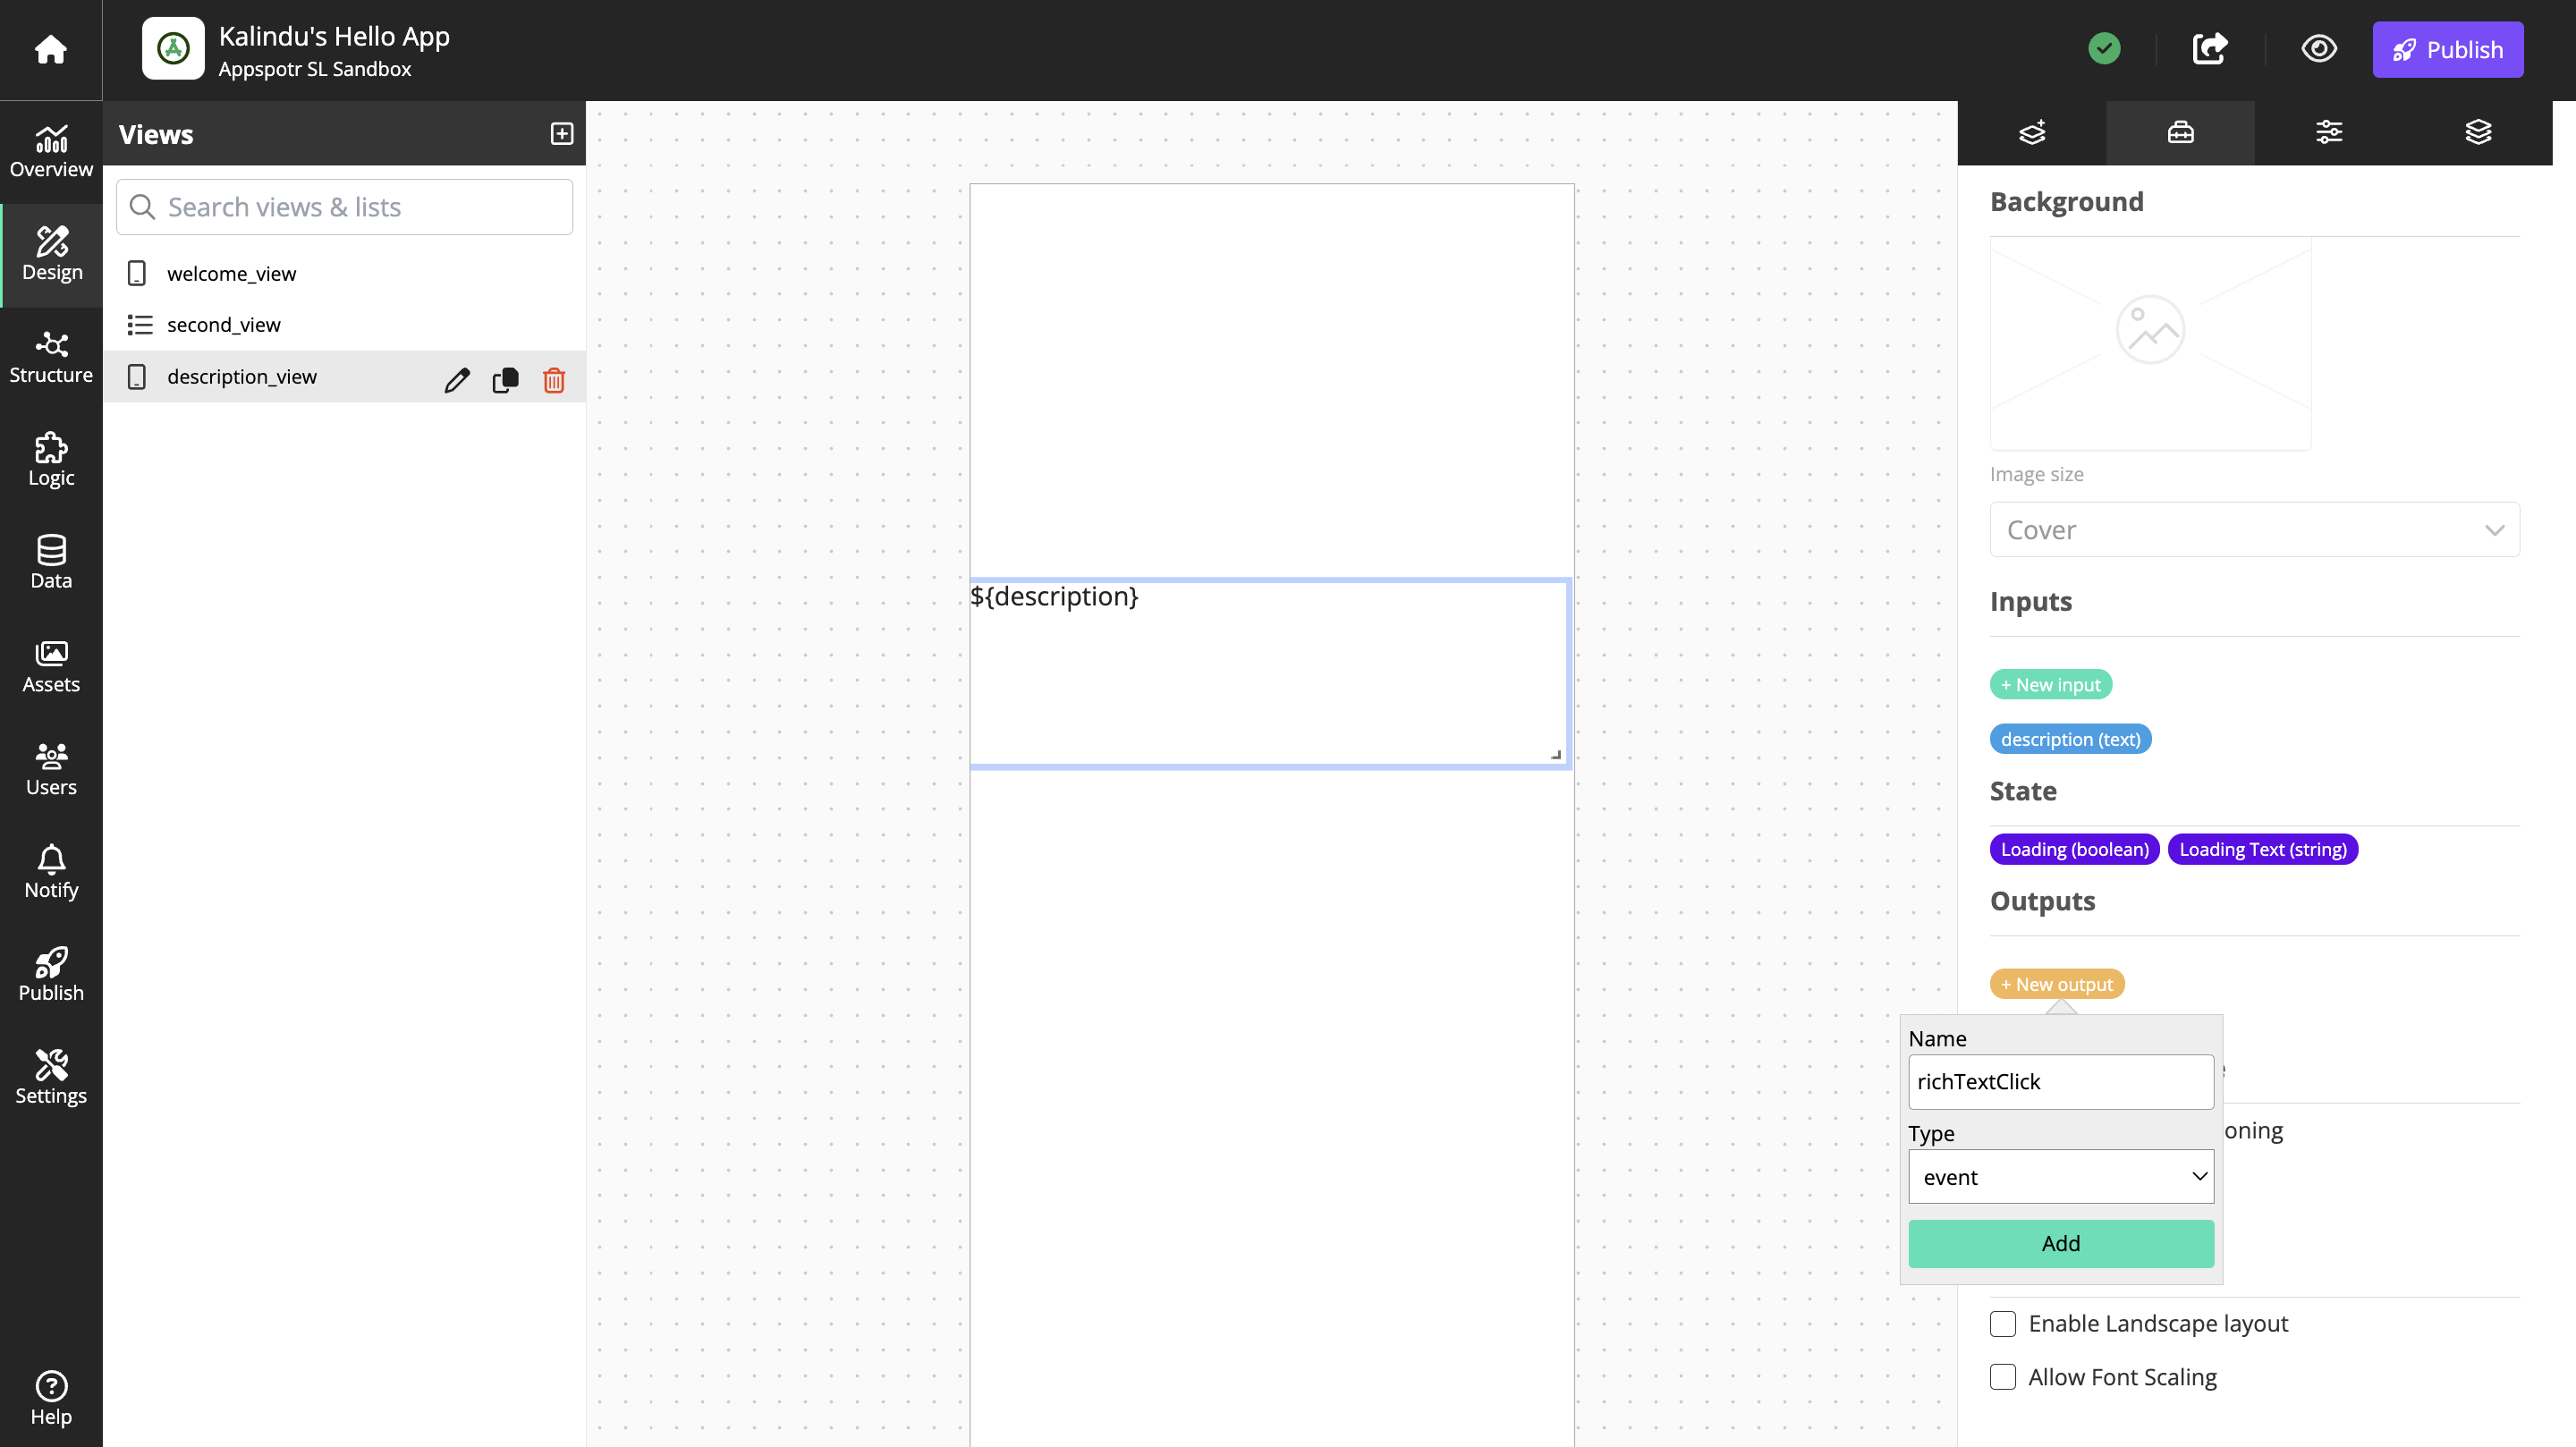
Select the rich text component on the canvas and open the Component Properties tab.
Find On Press and select richTextClick in the drop down list.

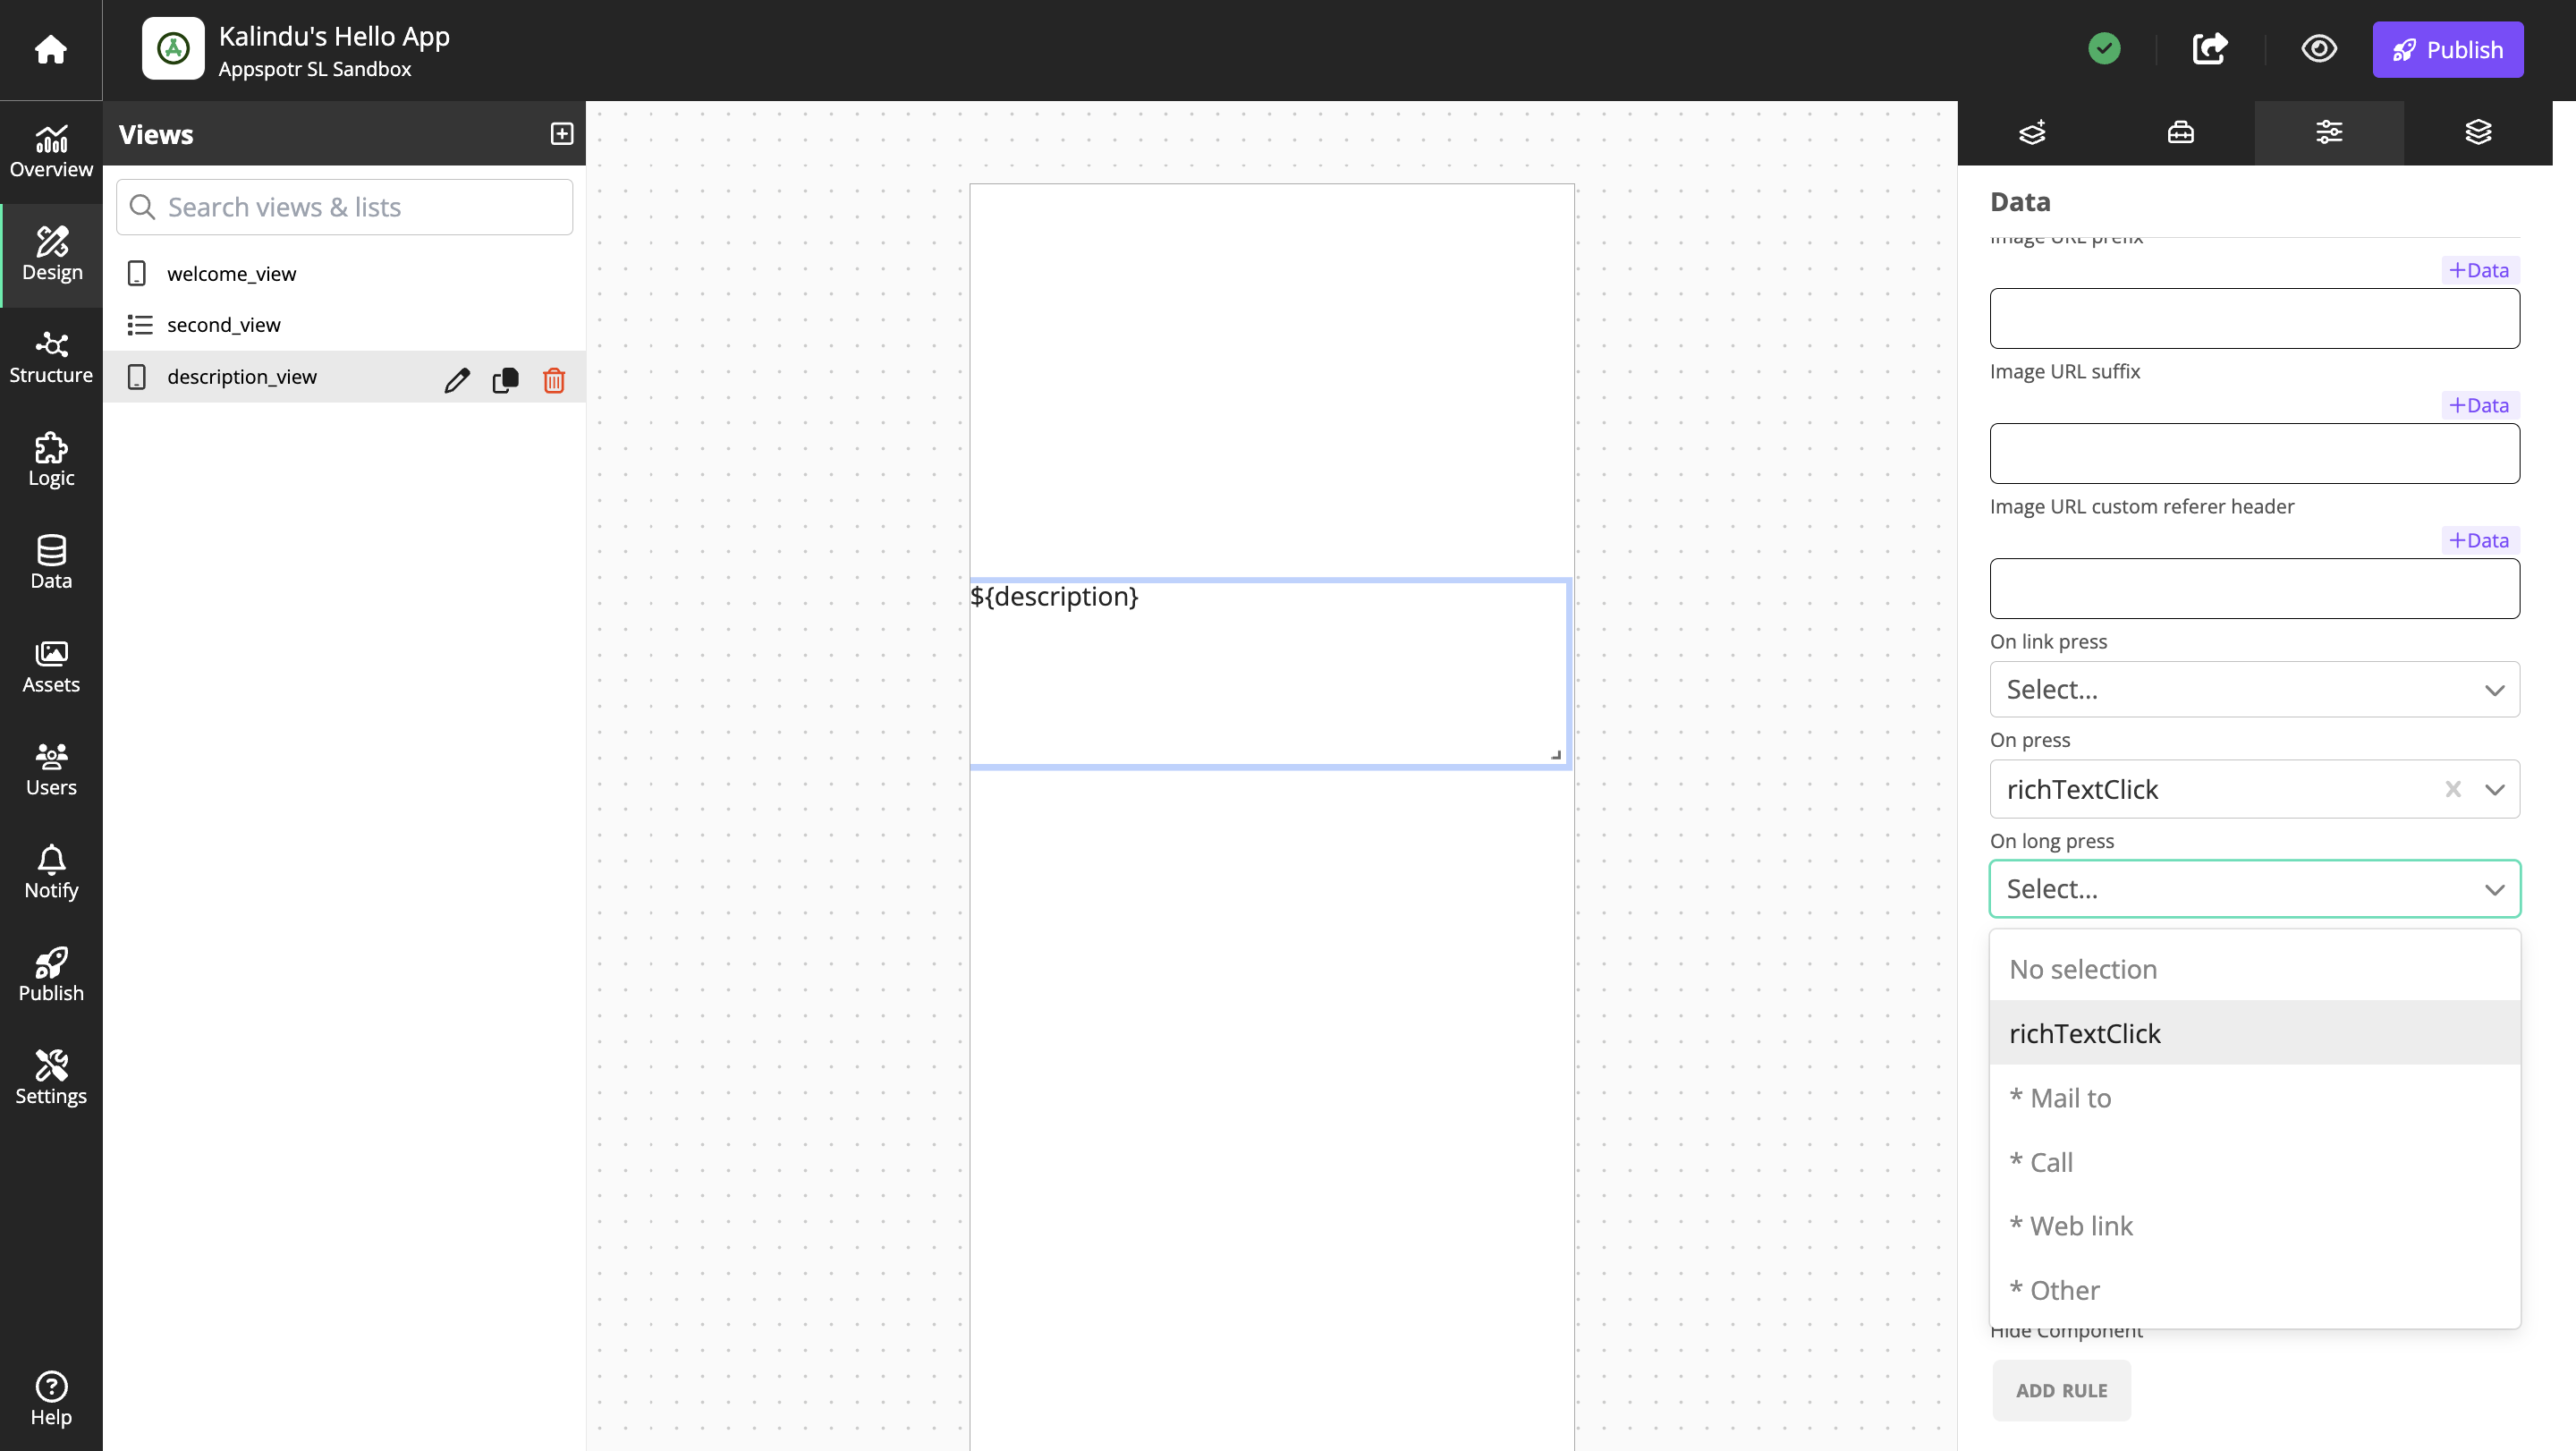
Long click
In the View properties tab, go to Outputs and click new Output. Name the output richTextLongClick and select type Event, and click on Add.

Now, select the rich text component on the canvas.
Select the Component Properties tab.
Find On Long Press and select richTextLongClick in the drop down list.
Configuring Data Tab
Now we are going to add data to your app.
Go to Data > Datasets.
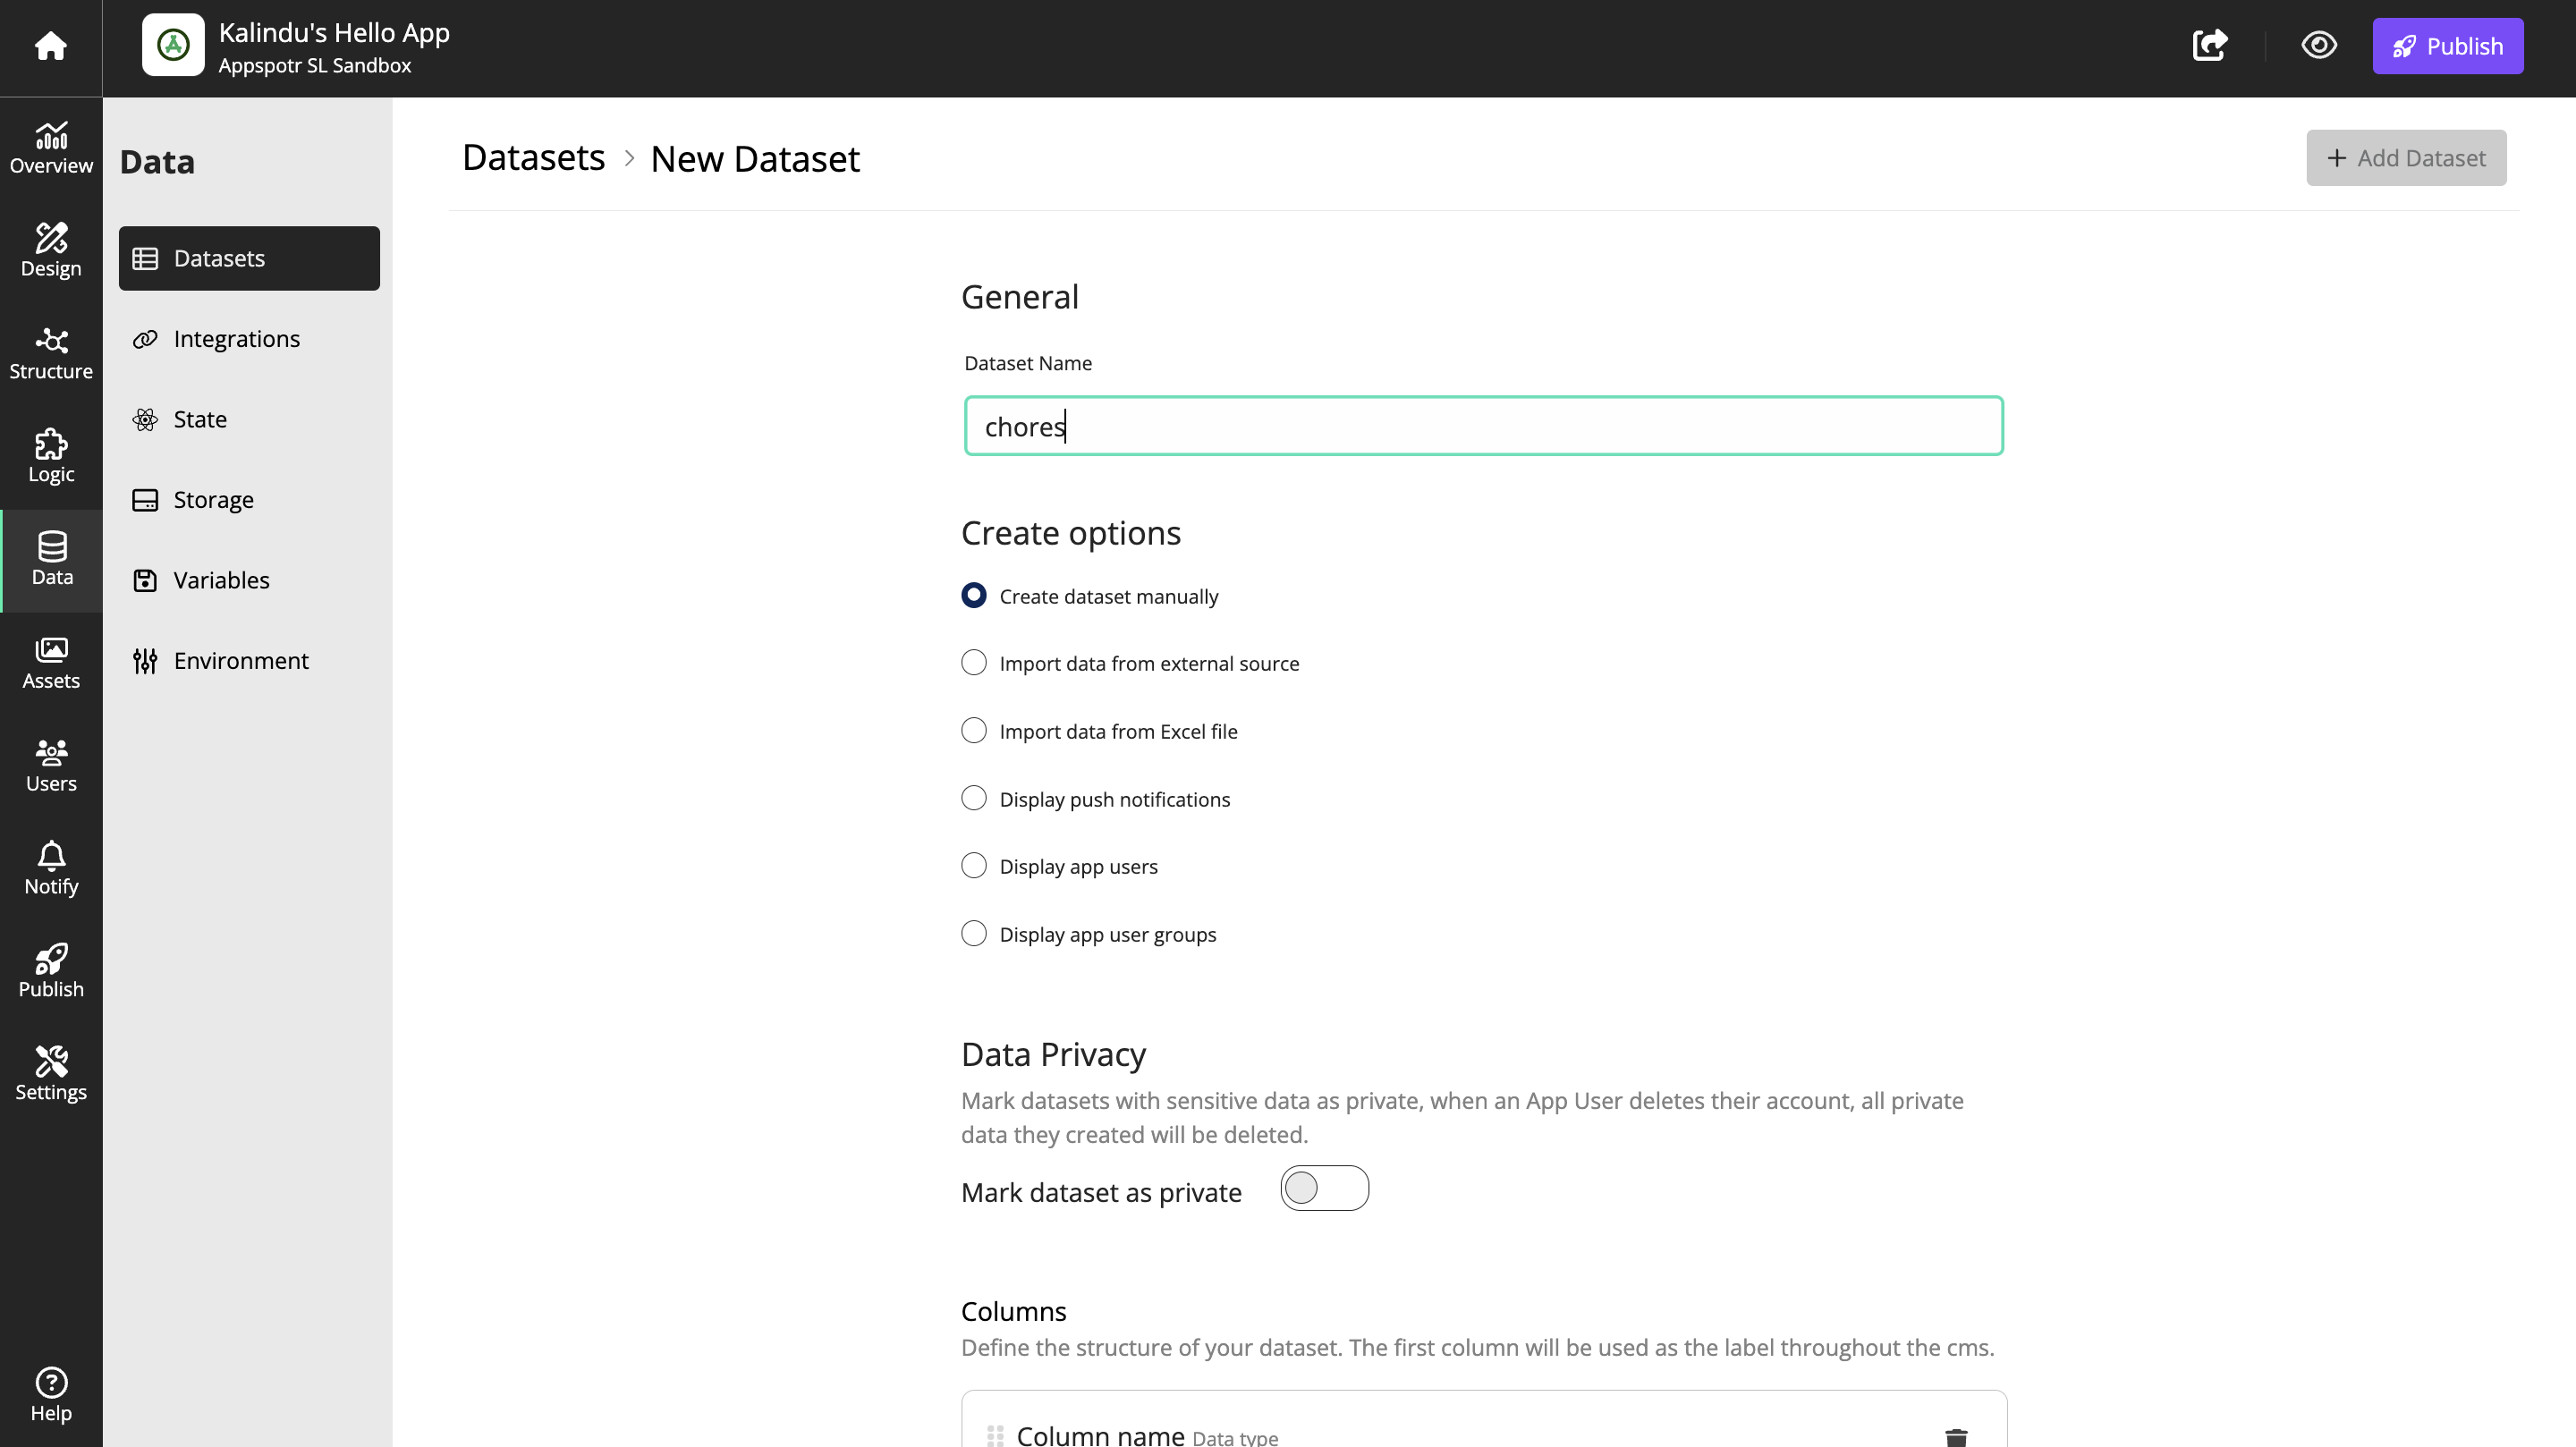
There are several options available when creating a dataset. In this case we will create a basic dataset manually, which will contain a list of household chores for our housekeeping app.
Create a dataset
Click on + New Dataset

Give the dataset the name chores
We are going to need two columns of data:
-
Chore name
-
Details about the chore
Add the column names and data types.
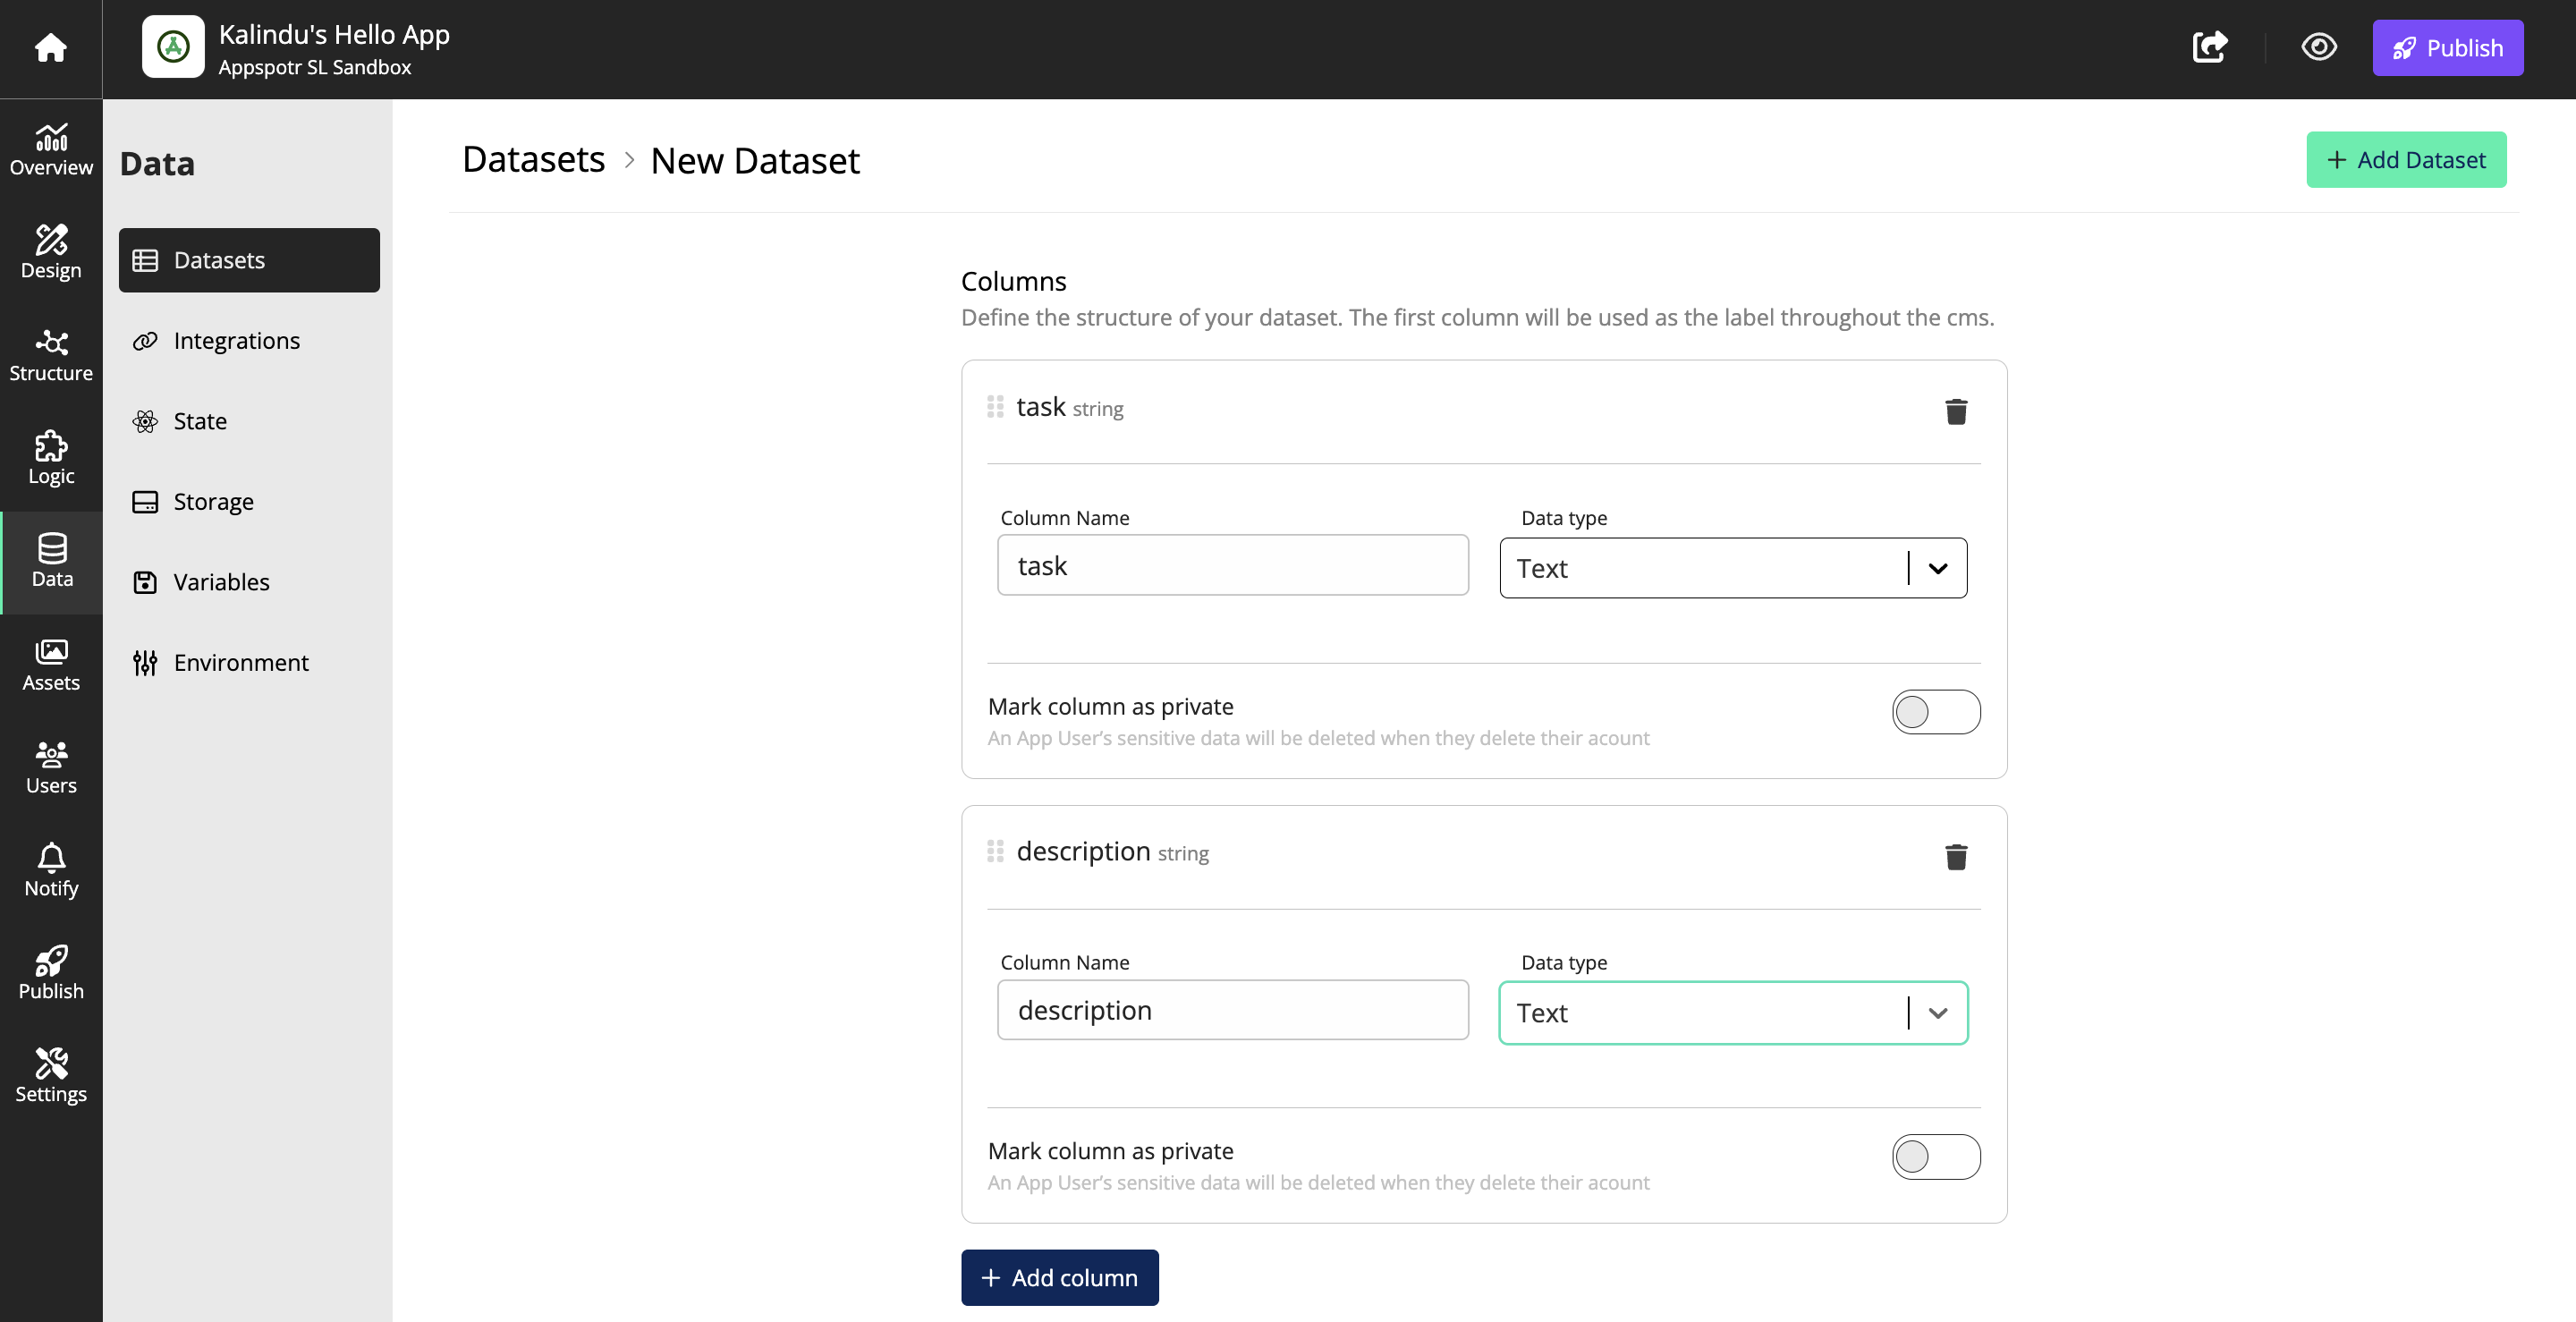
Click Add Dataset to save save the structure and data
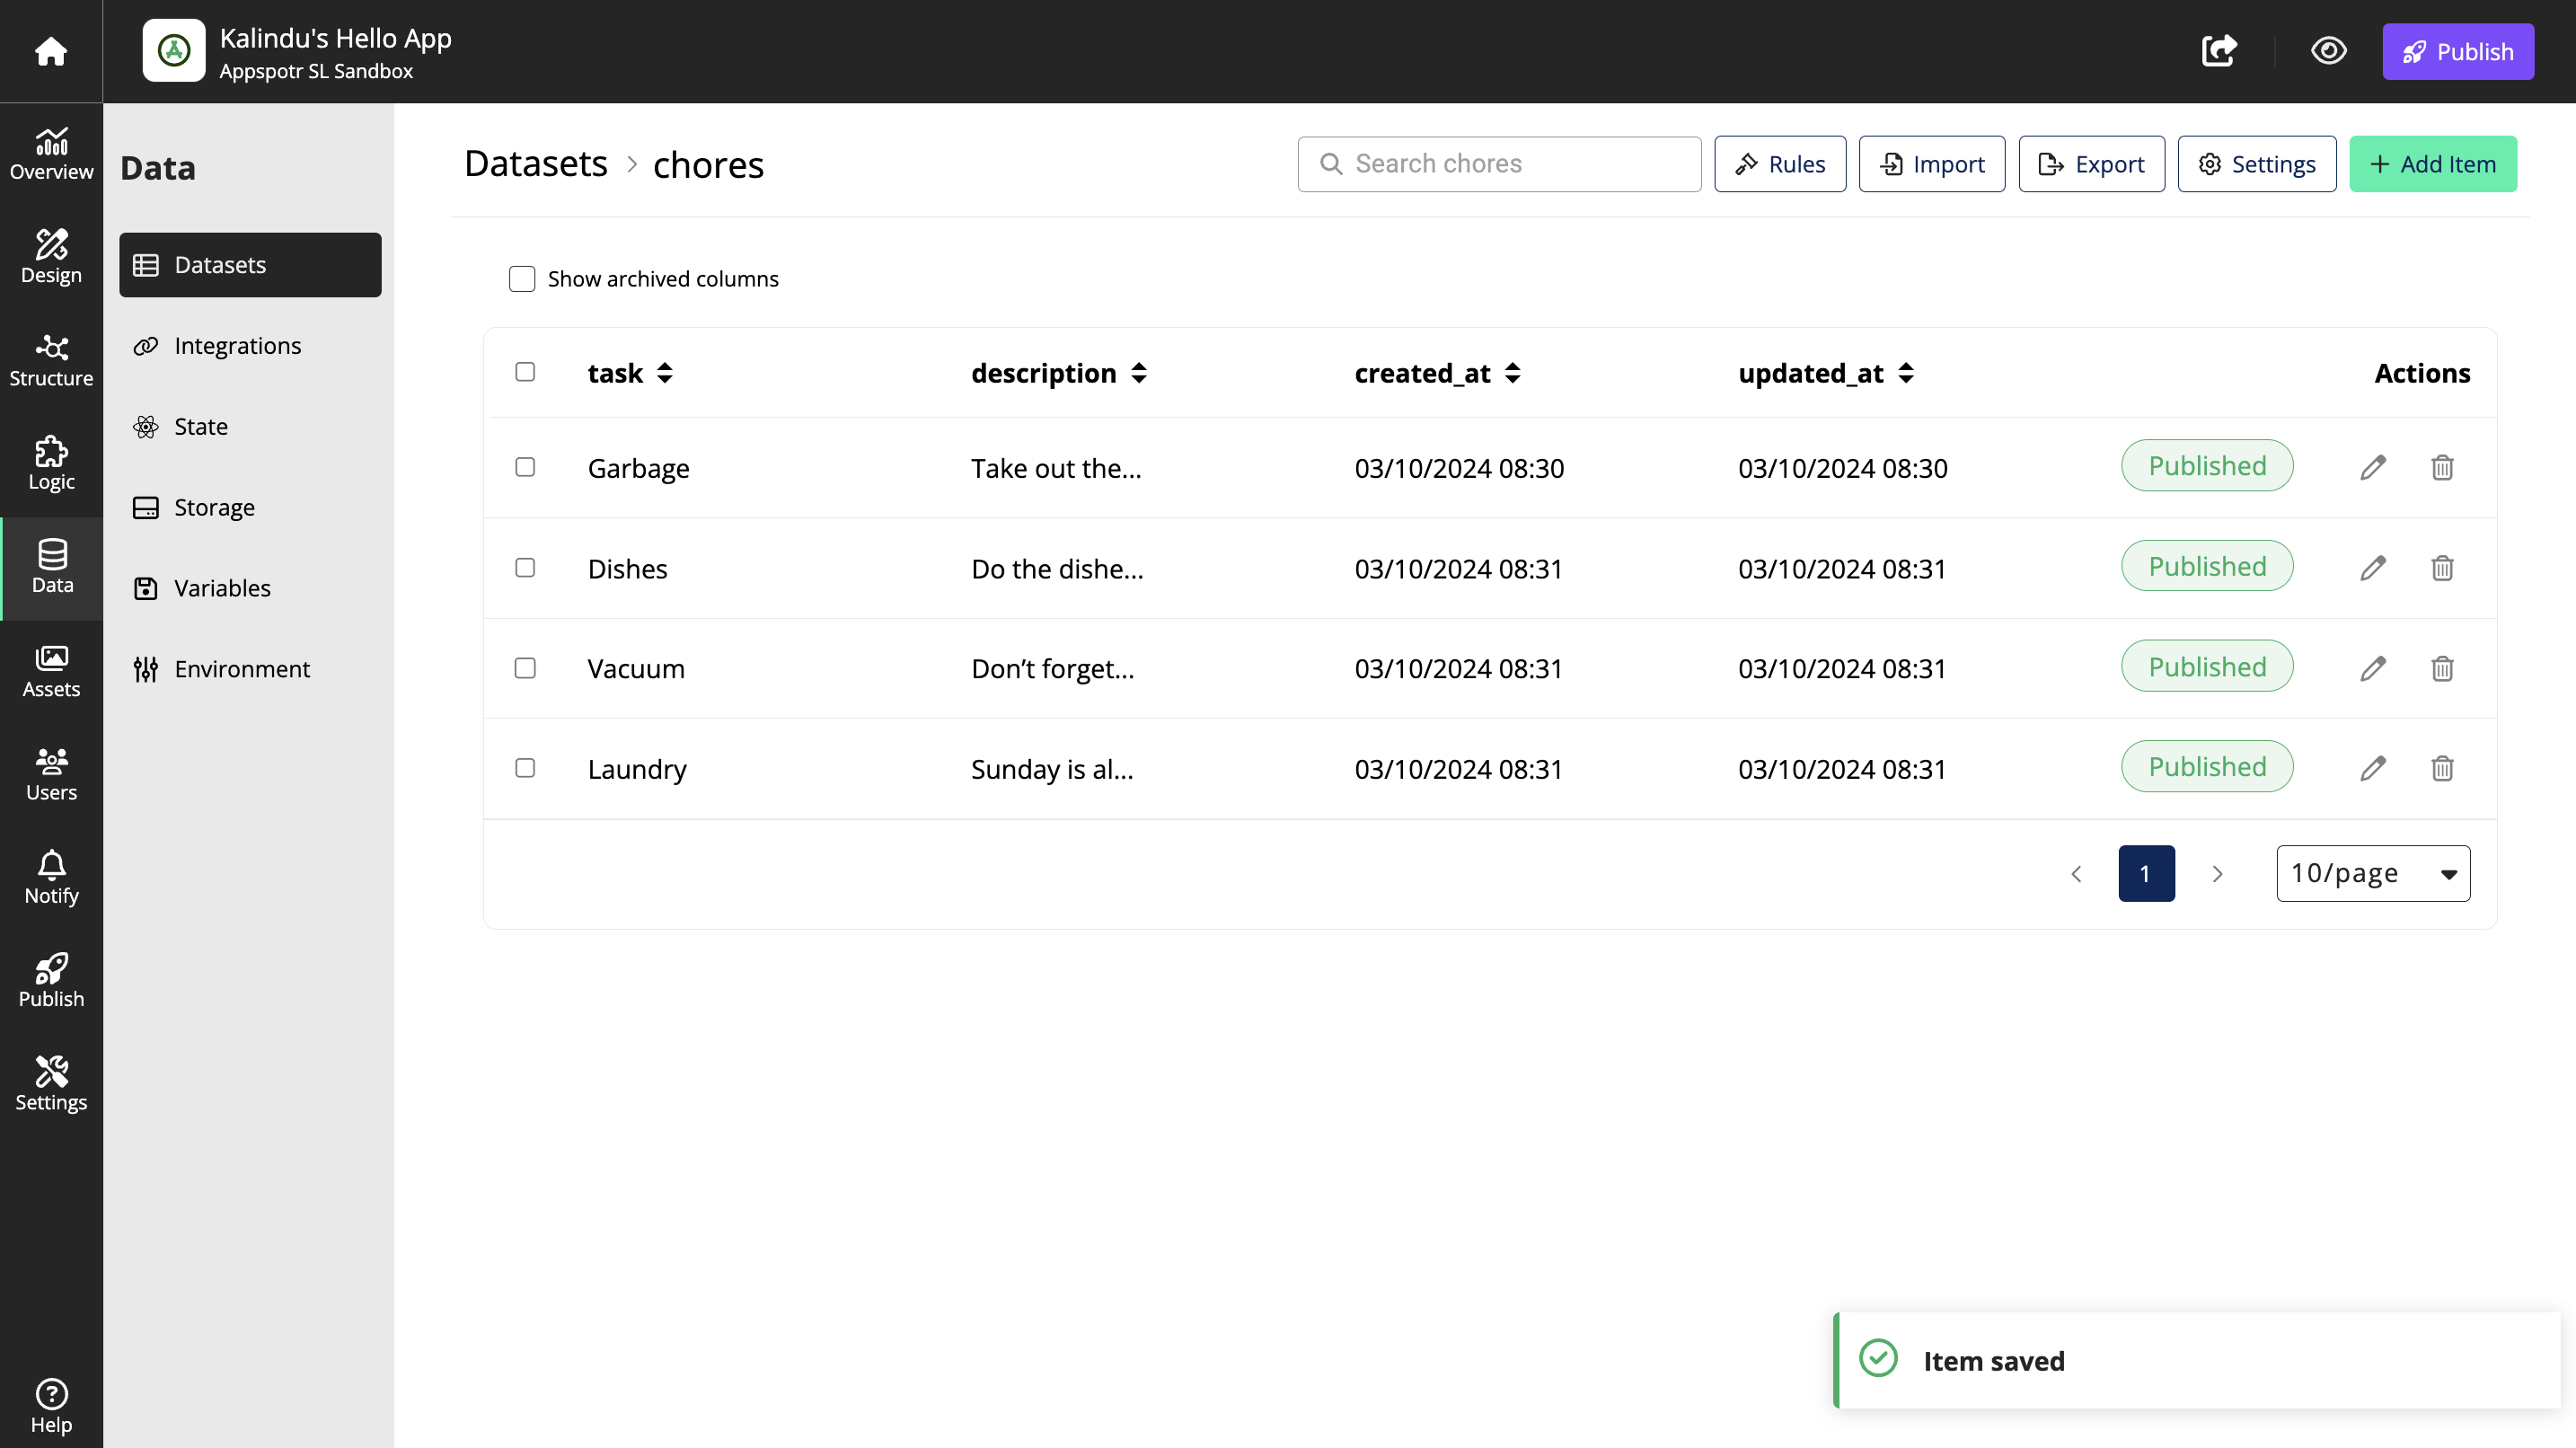
Add data to the dataset
Click on +Add Item
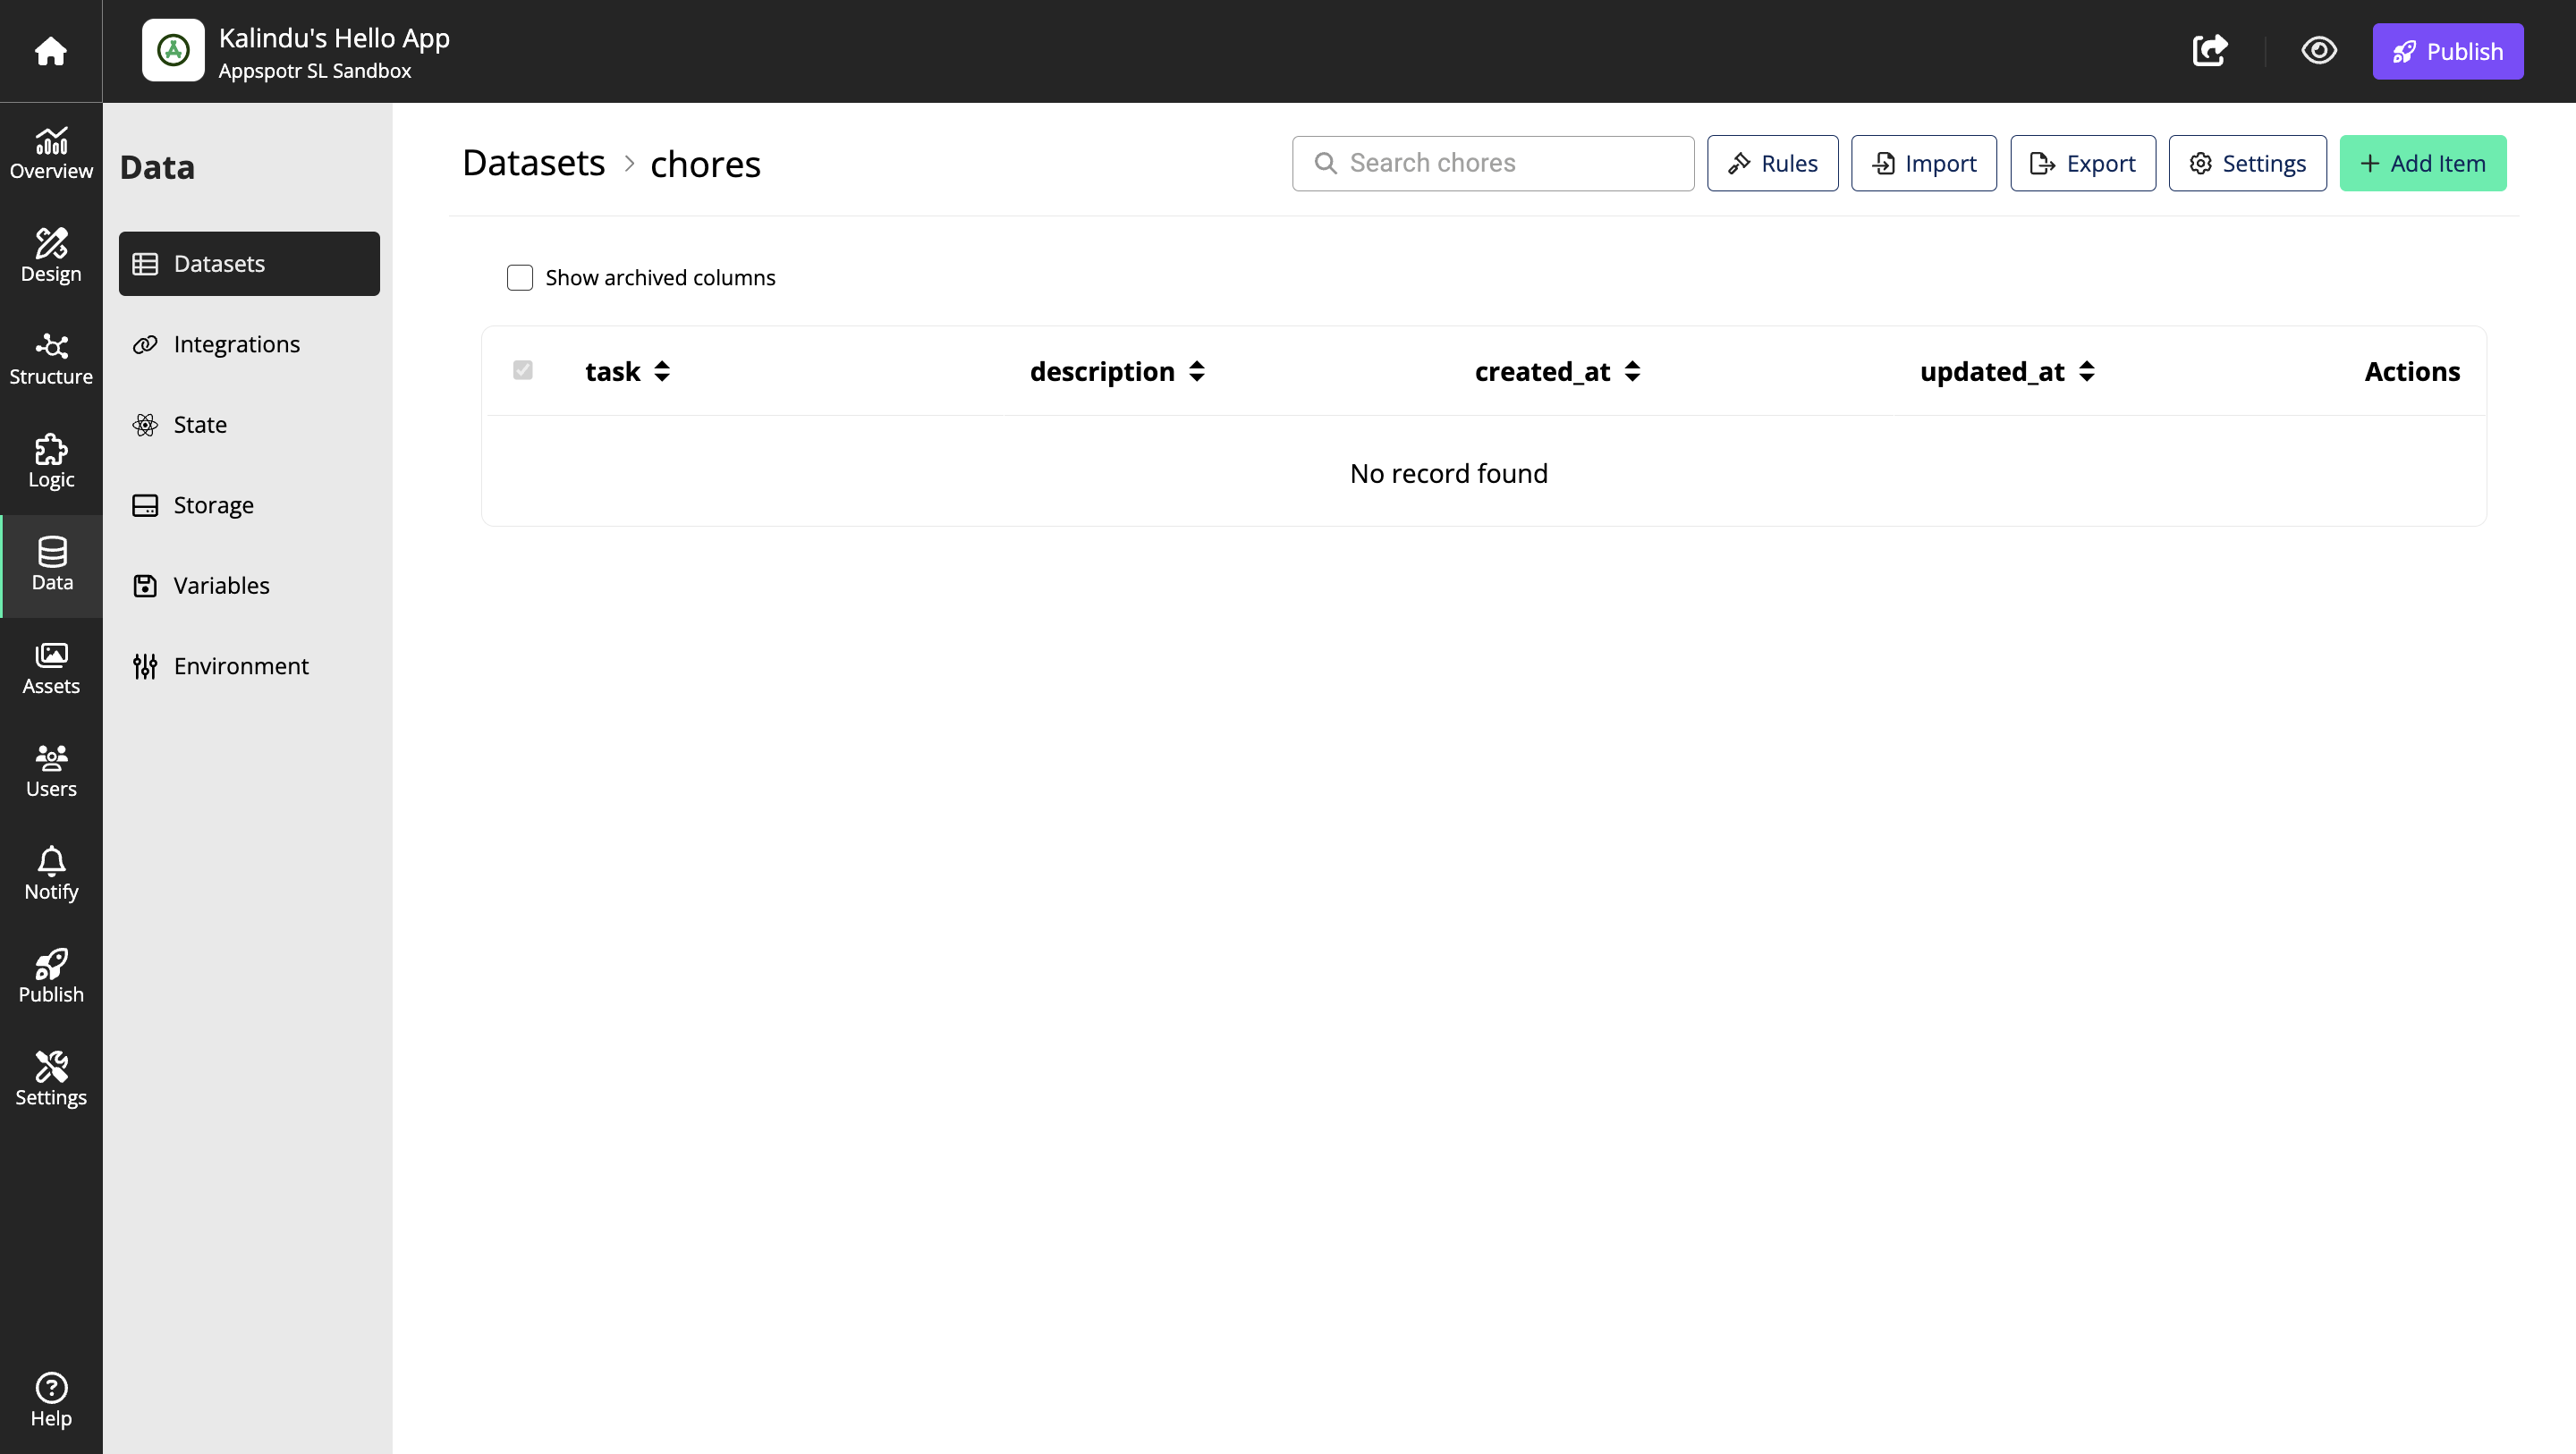
Add tasks and descriptions to the dataset, for instance:
Task |
Description |
Garbage |
Take out the garbage |
Dishes |
Do the dishes after dinner |
Vacuum |
Don’t forget the storage room |
Laundry |
Sunday is always laundry day in the description field
|
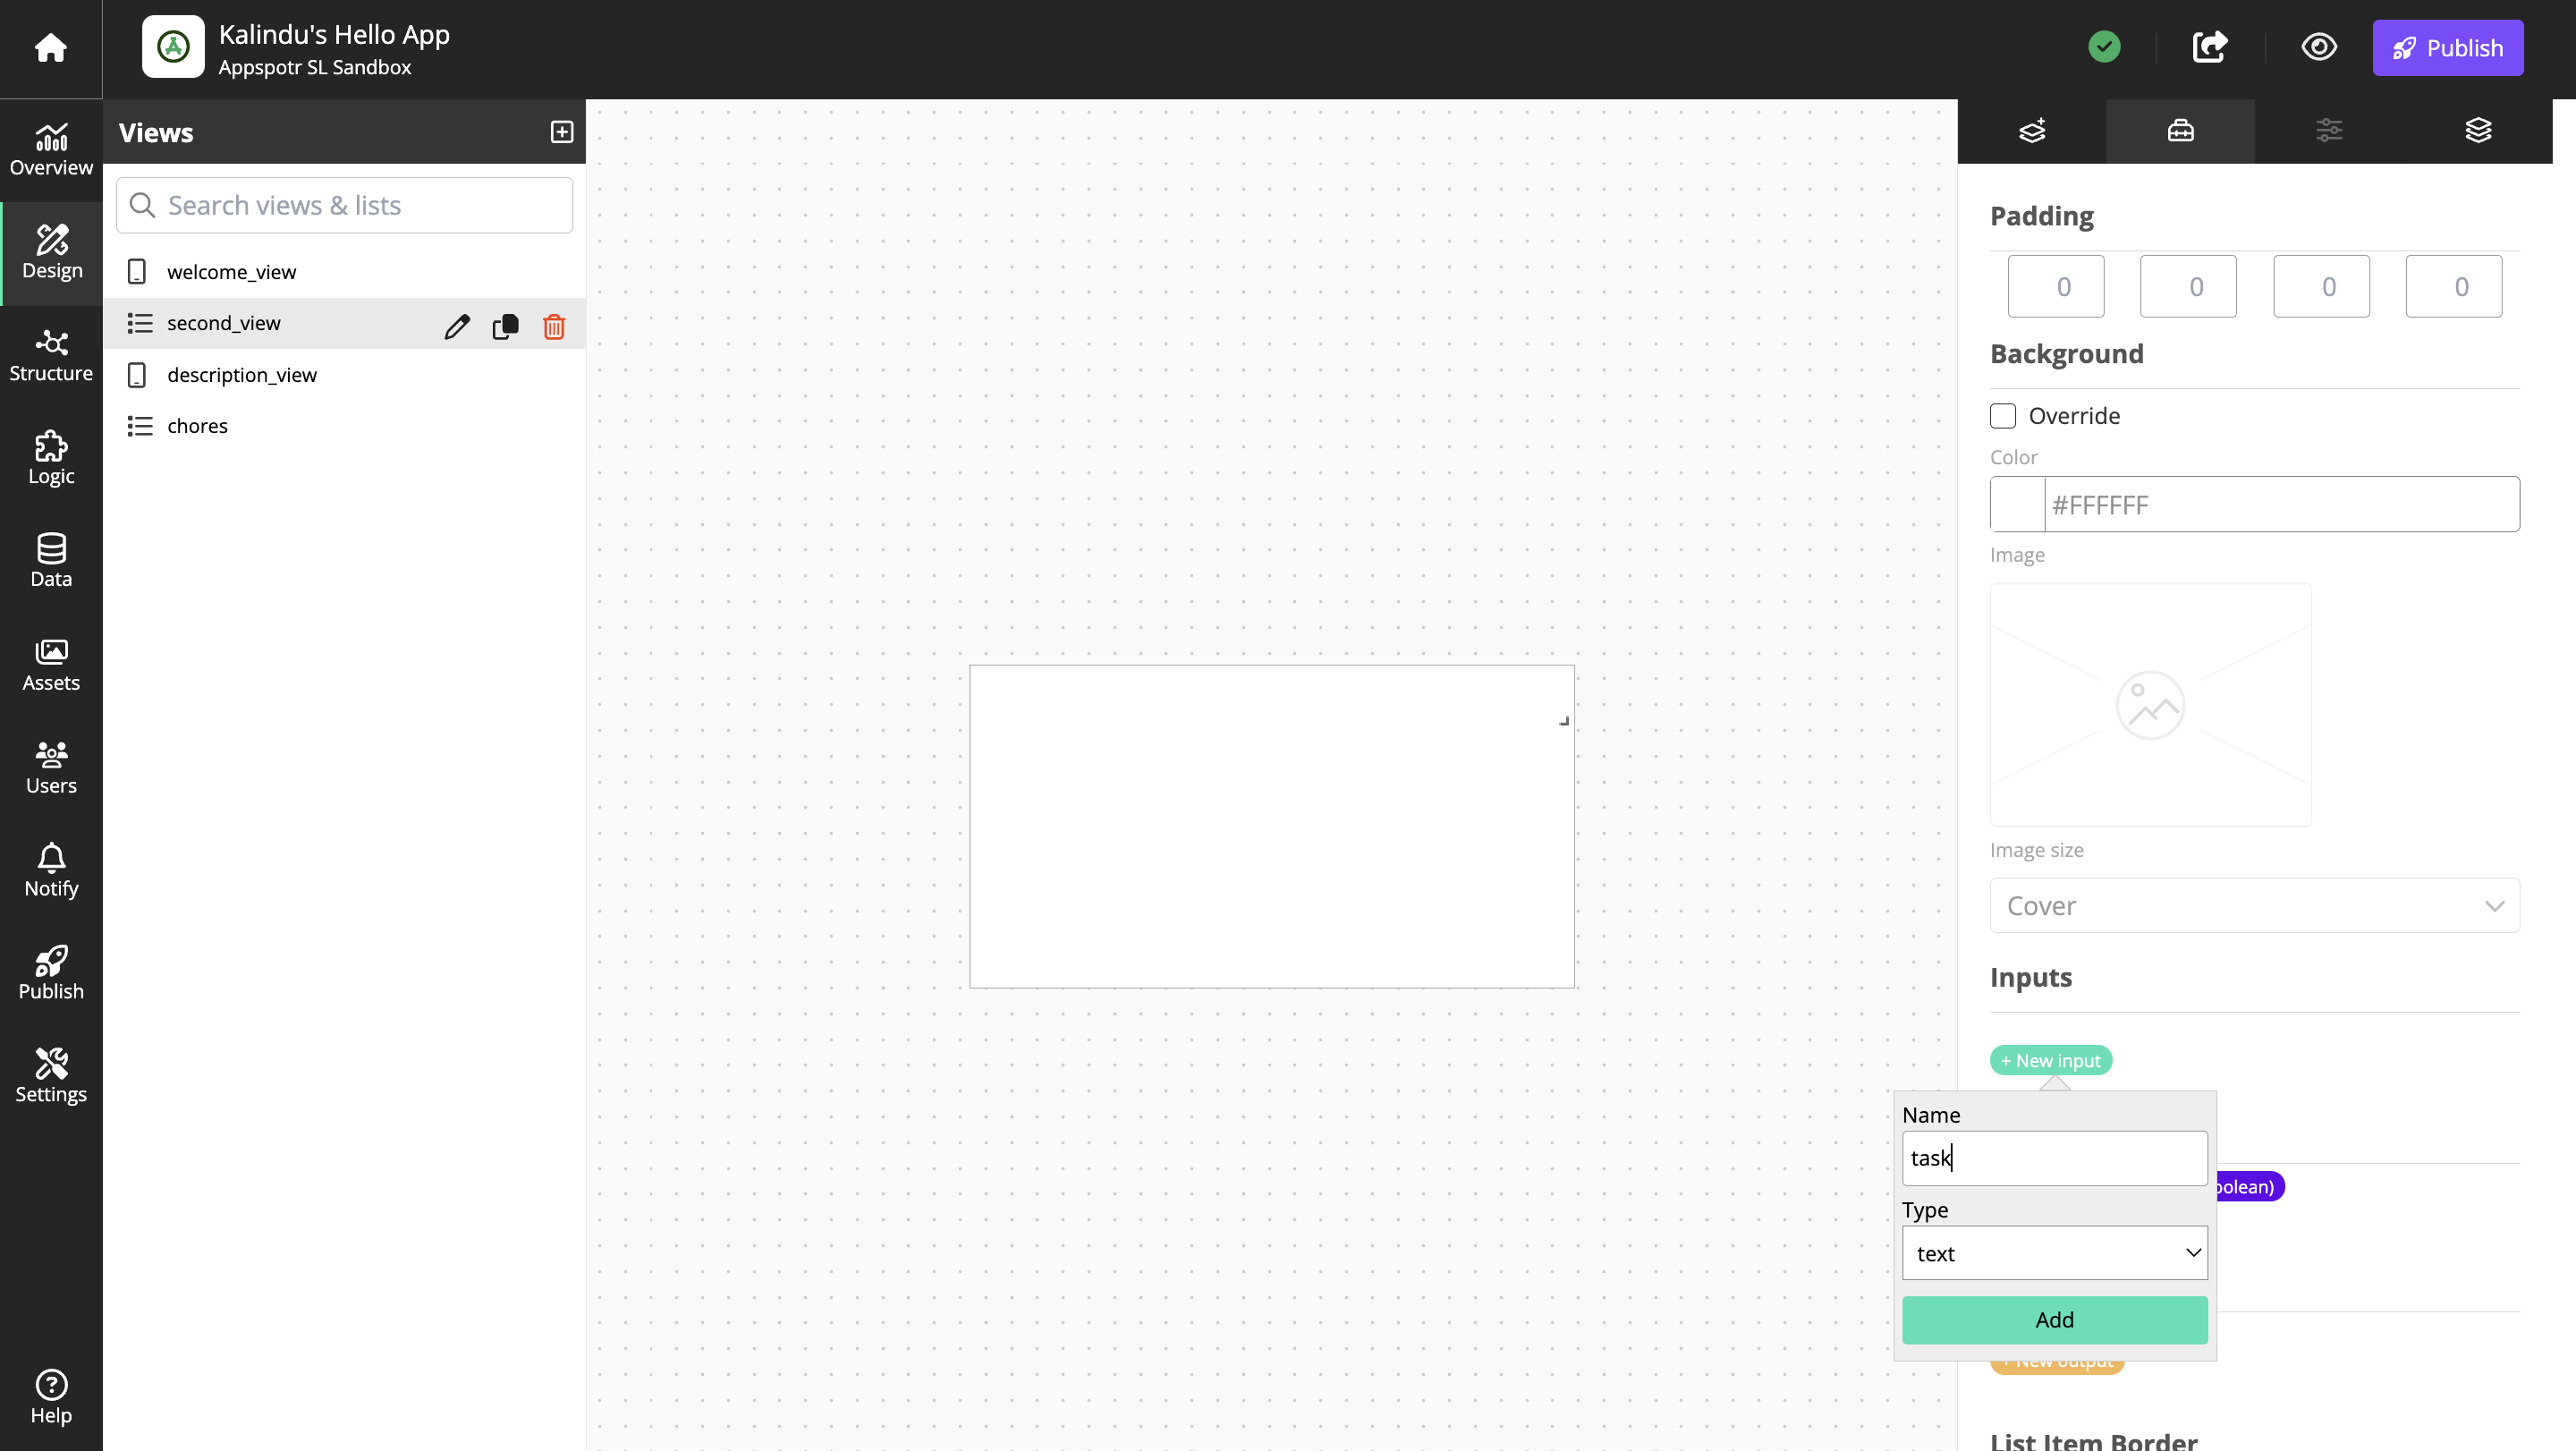
Connect the Dataset With a View
Go to Design>Views
Select second_view and open View Properties
Click New Input and Select the dataset column name (task)to display in the input. Select Type - Text and click on Add.
Open the Component Properties tab. Find the Data section. Enter ${task} in the field Text
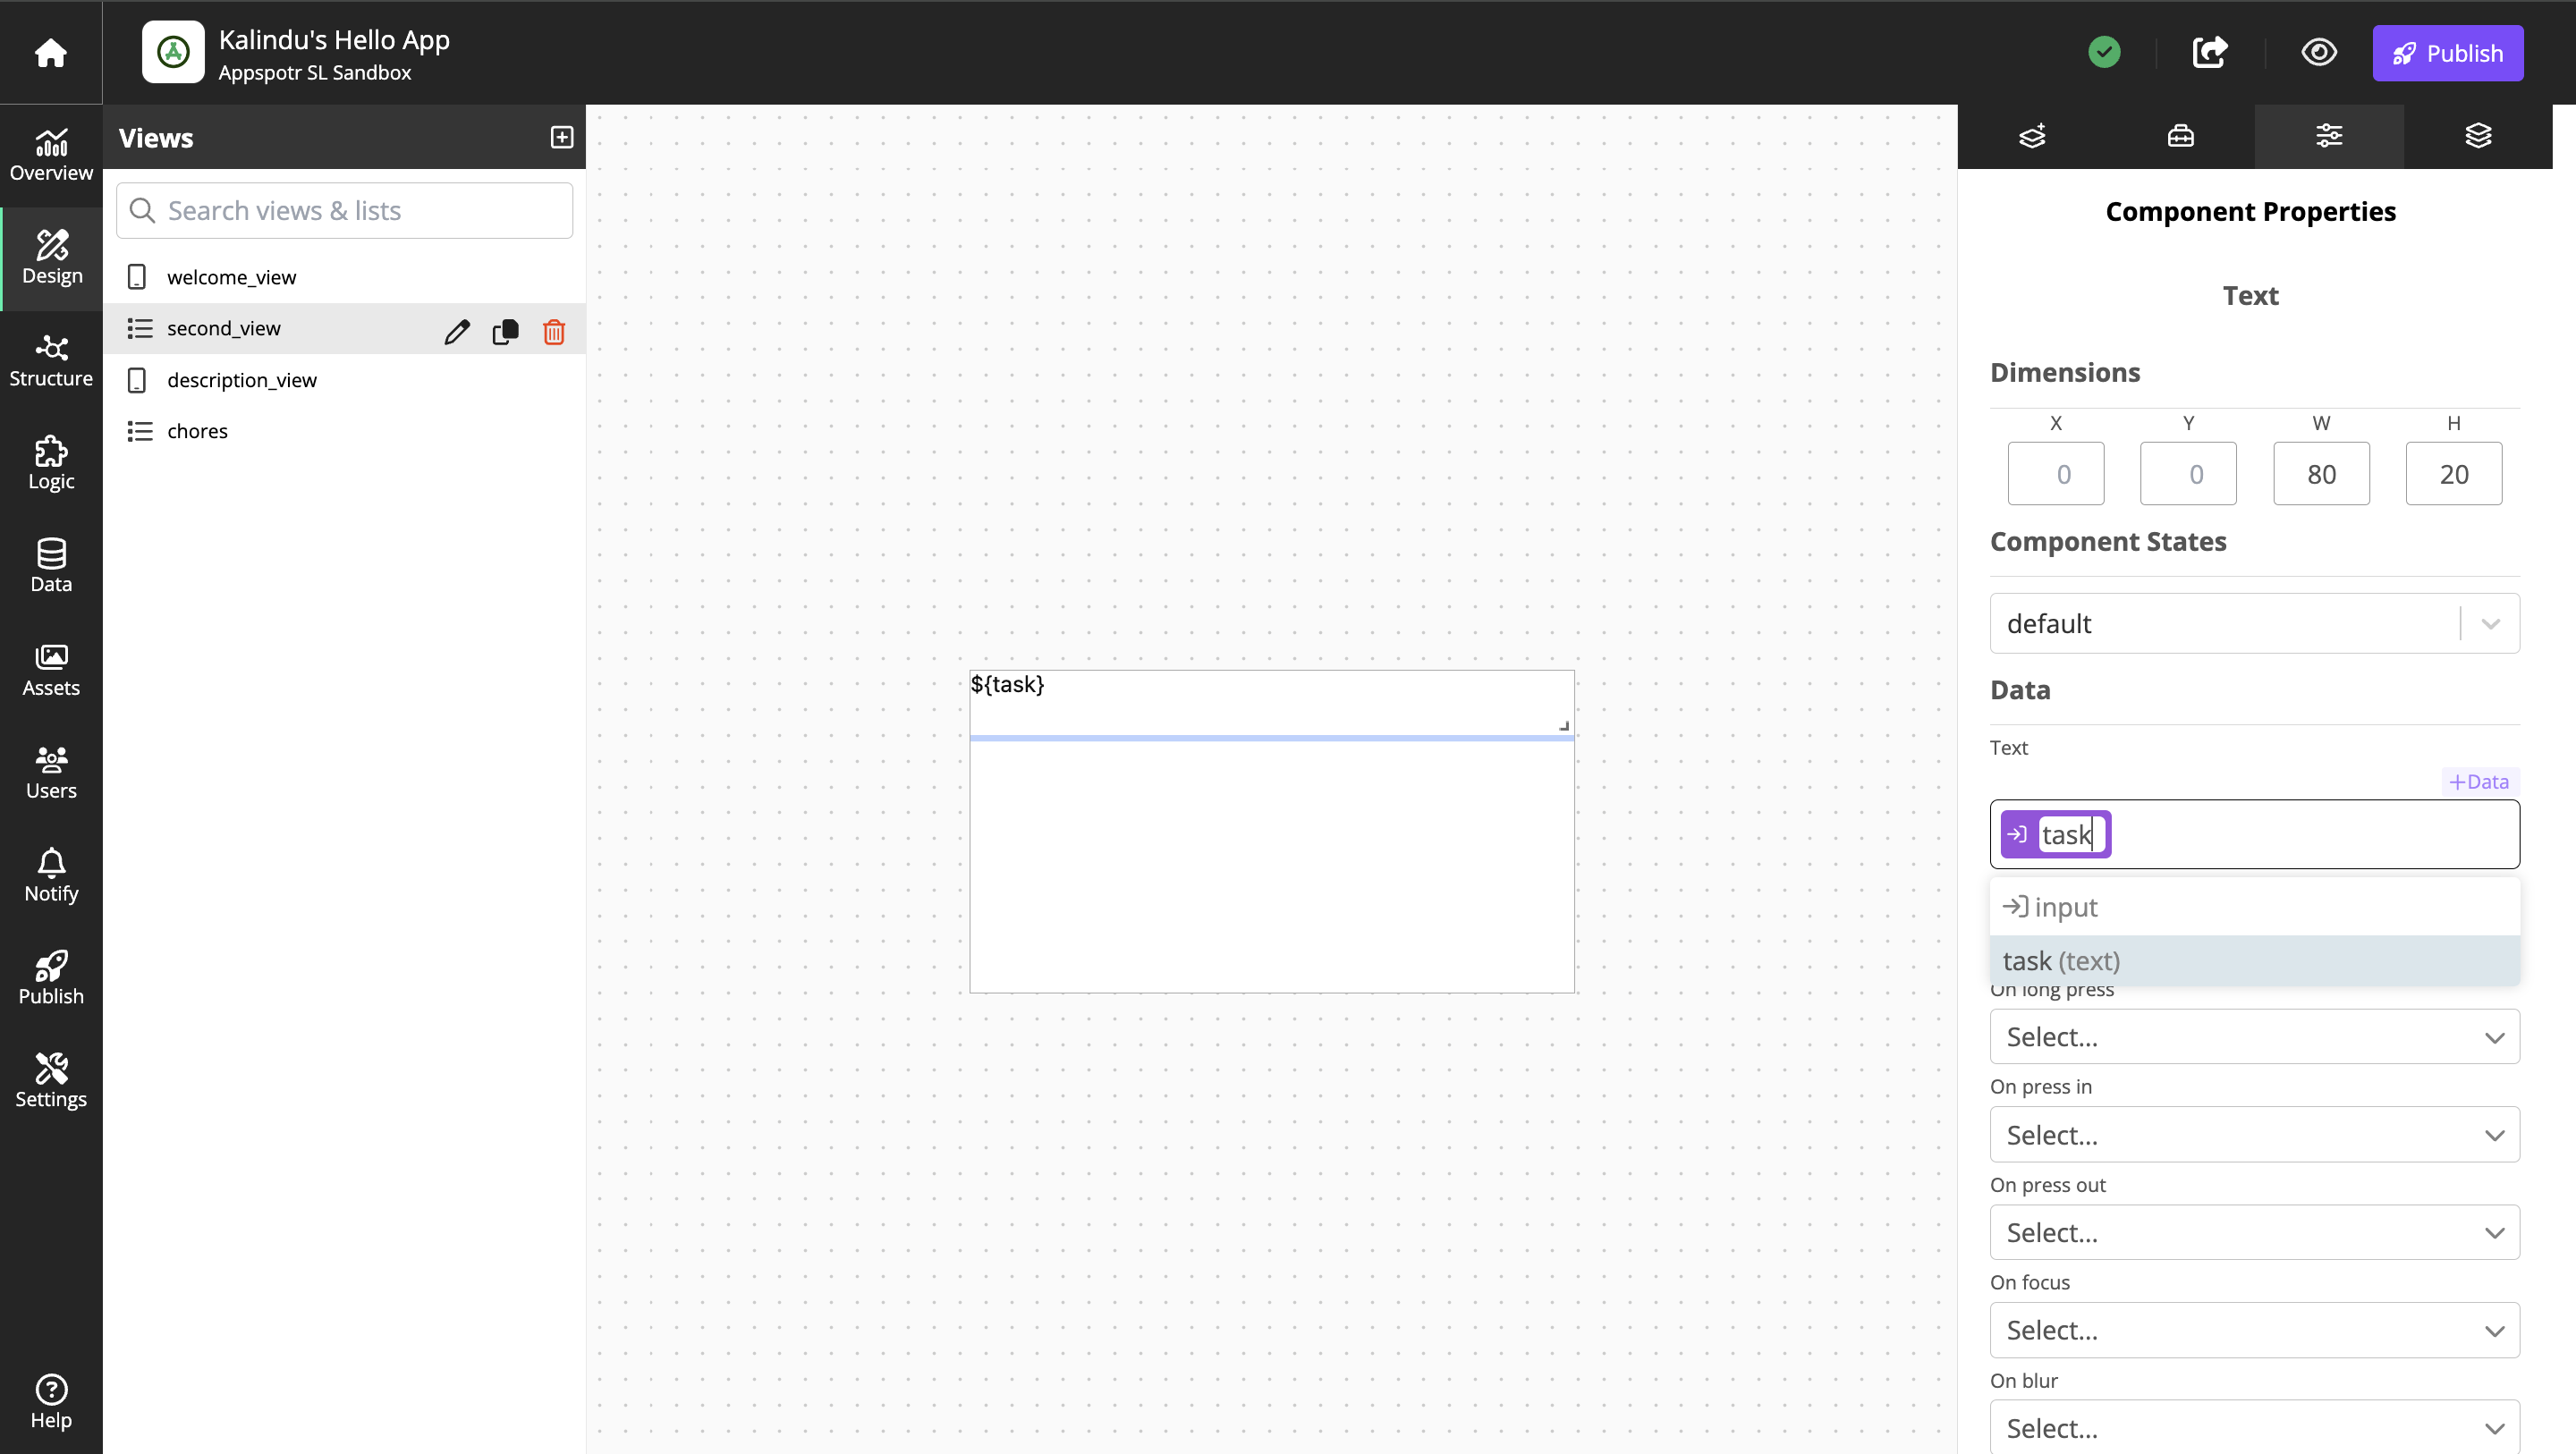
This instructs the text display to get it’s content from the input called task.
We now have created an input from where text from the dataset will be displayed in the text display component.
Configuring the Structure Builder
-
Go to the Structure Builder
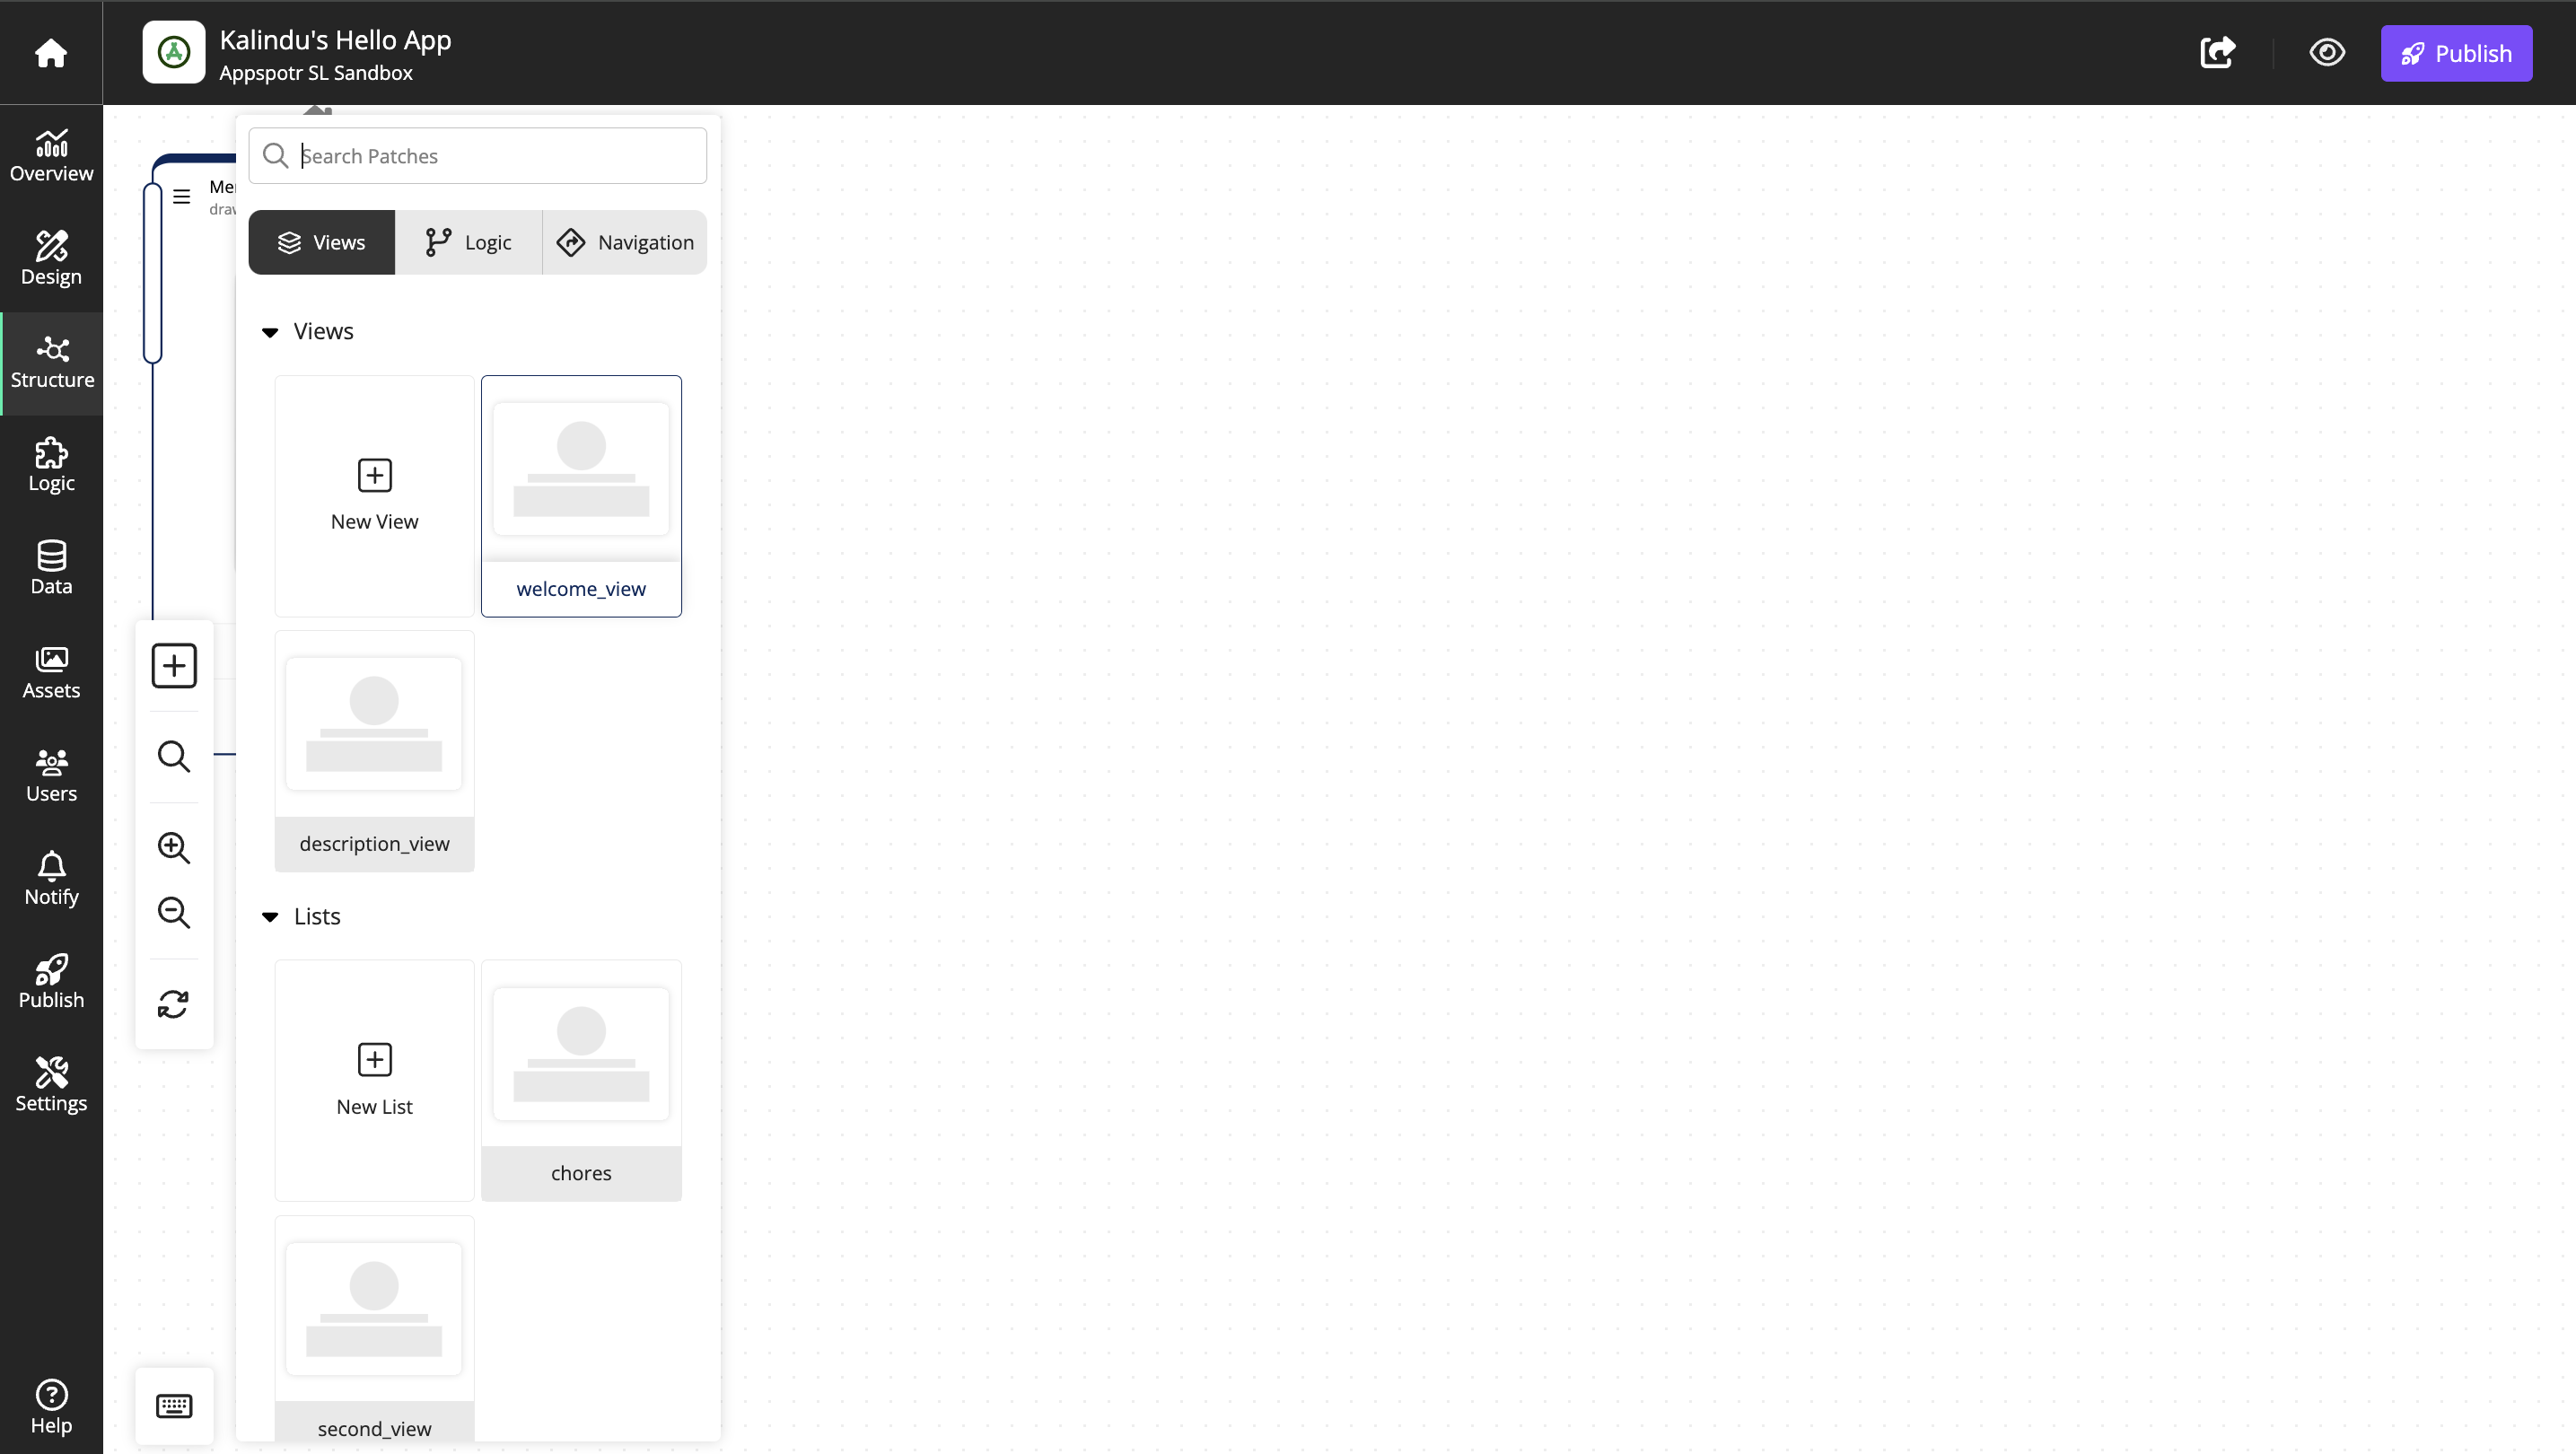
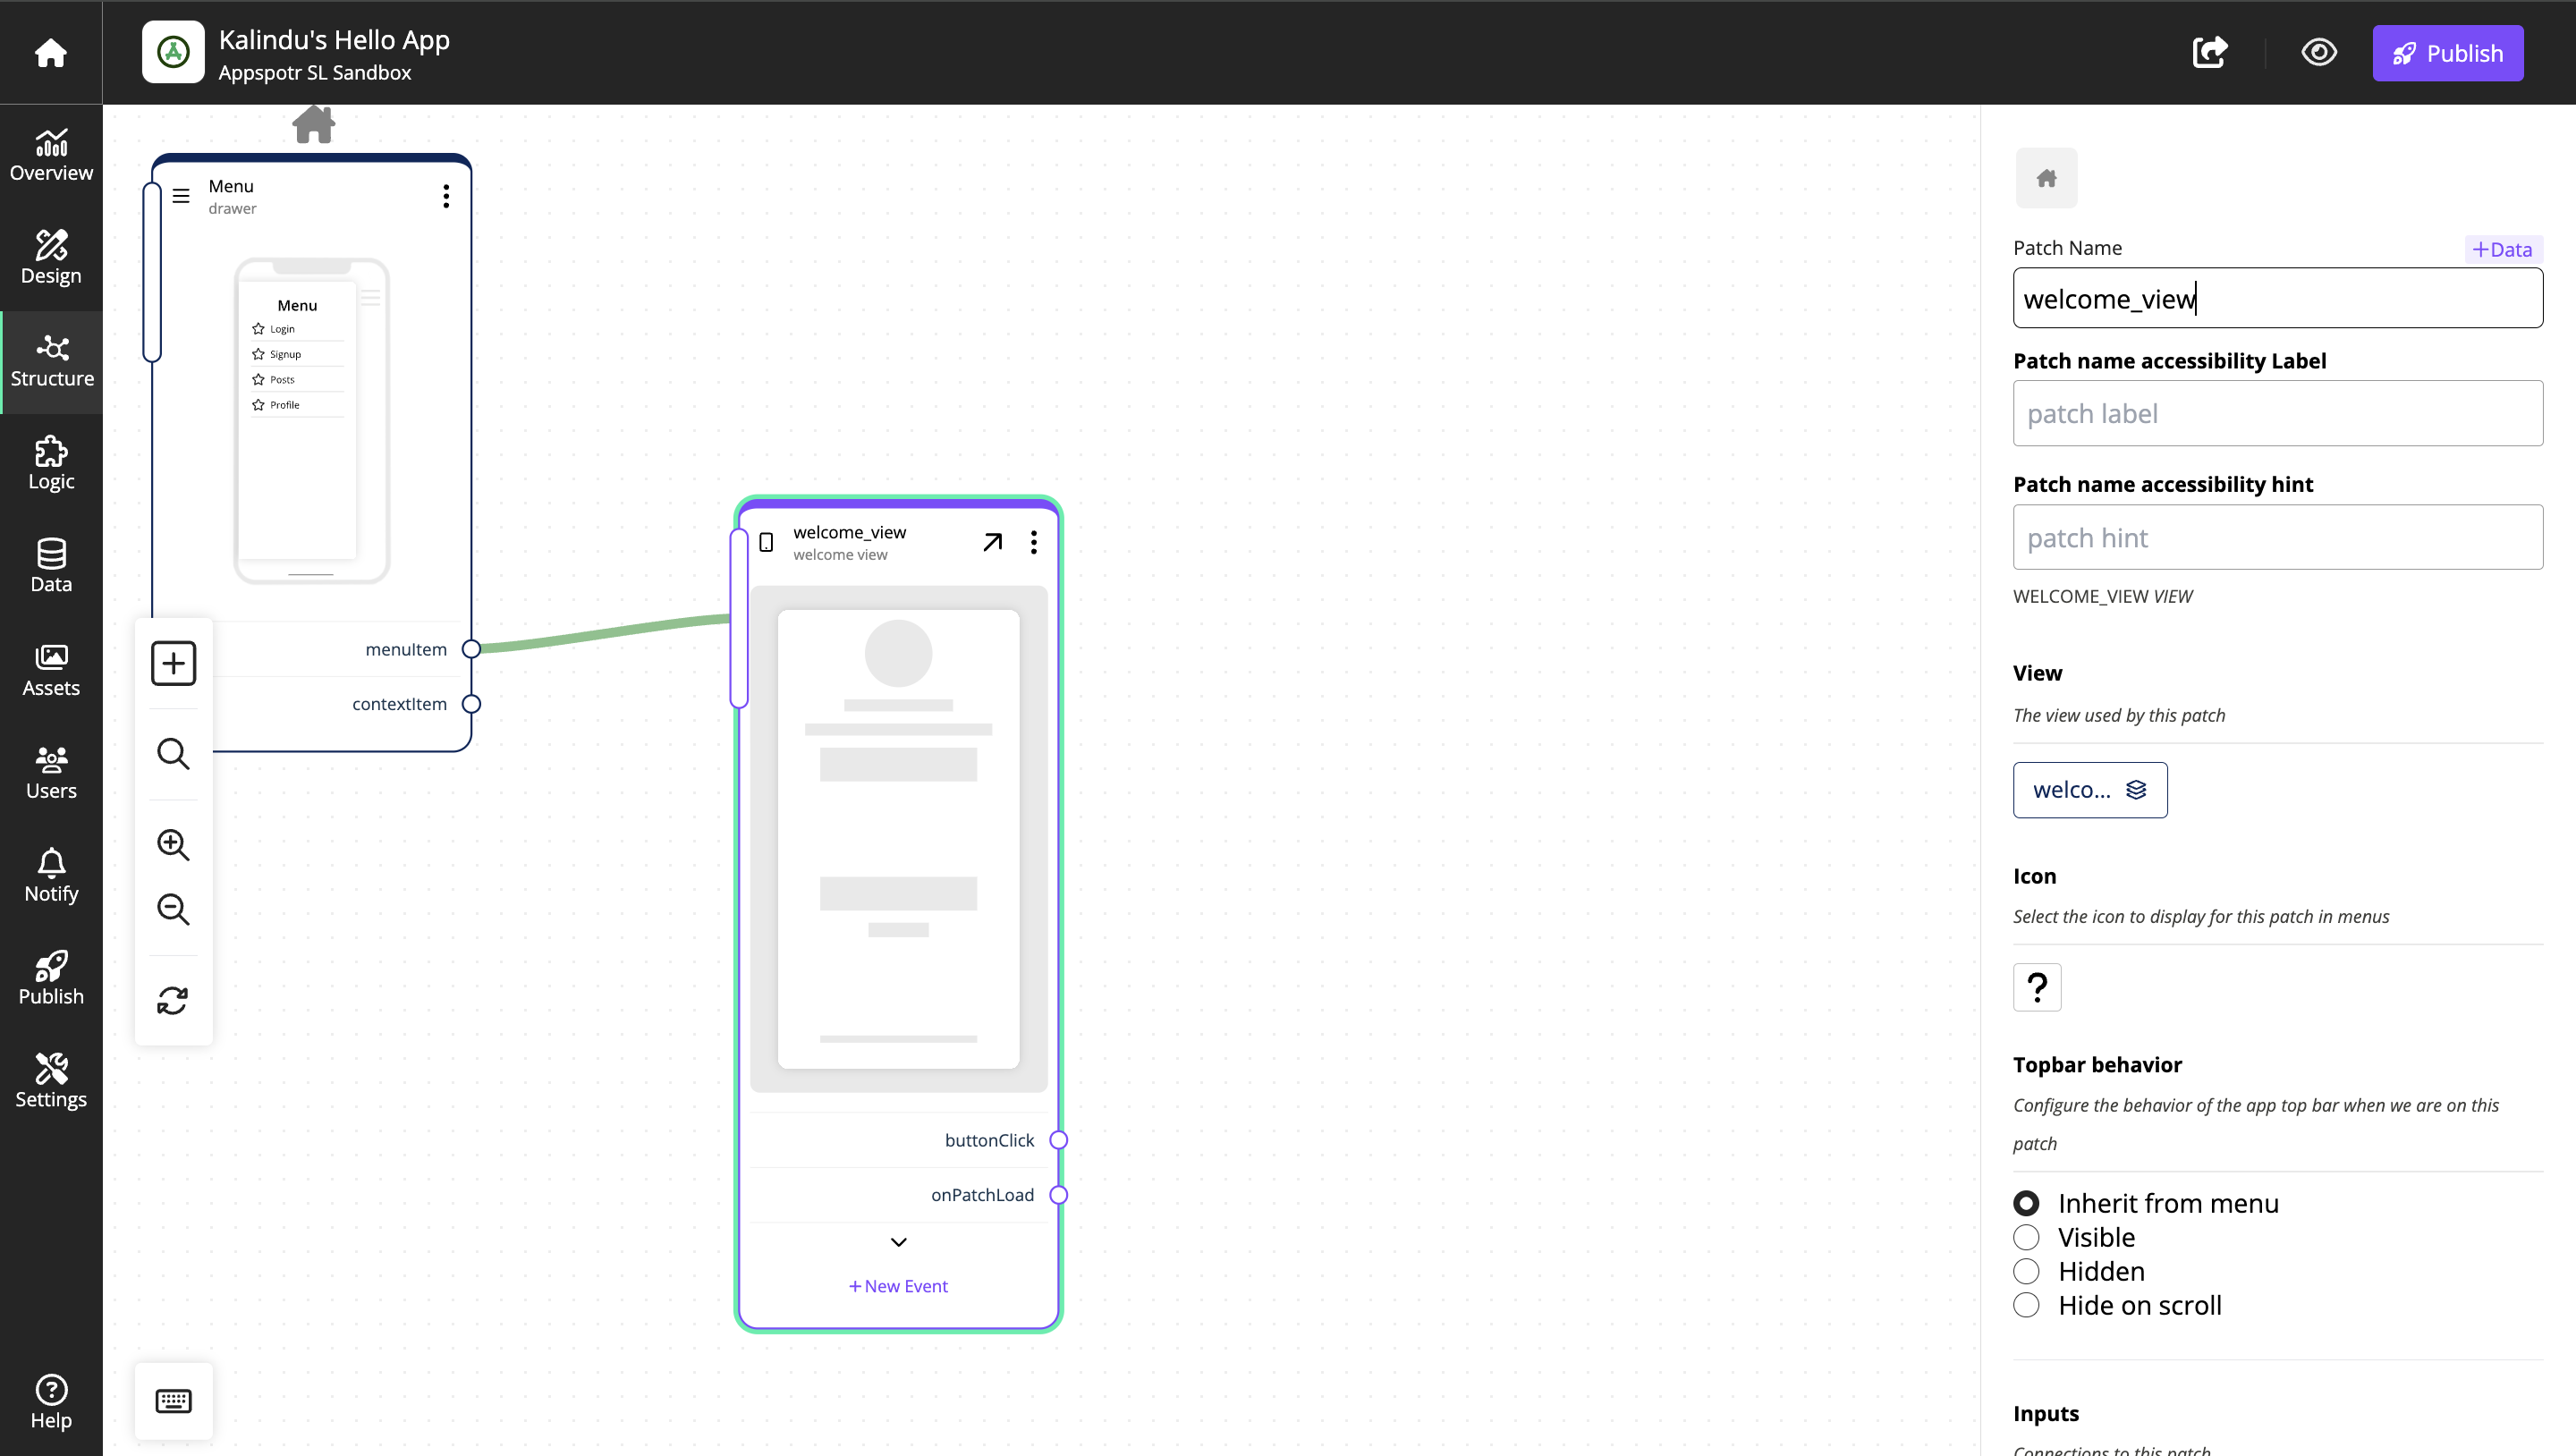
View 2 - second_view
We want a click on the button to open the second_view to display the list of chores.
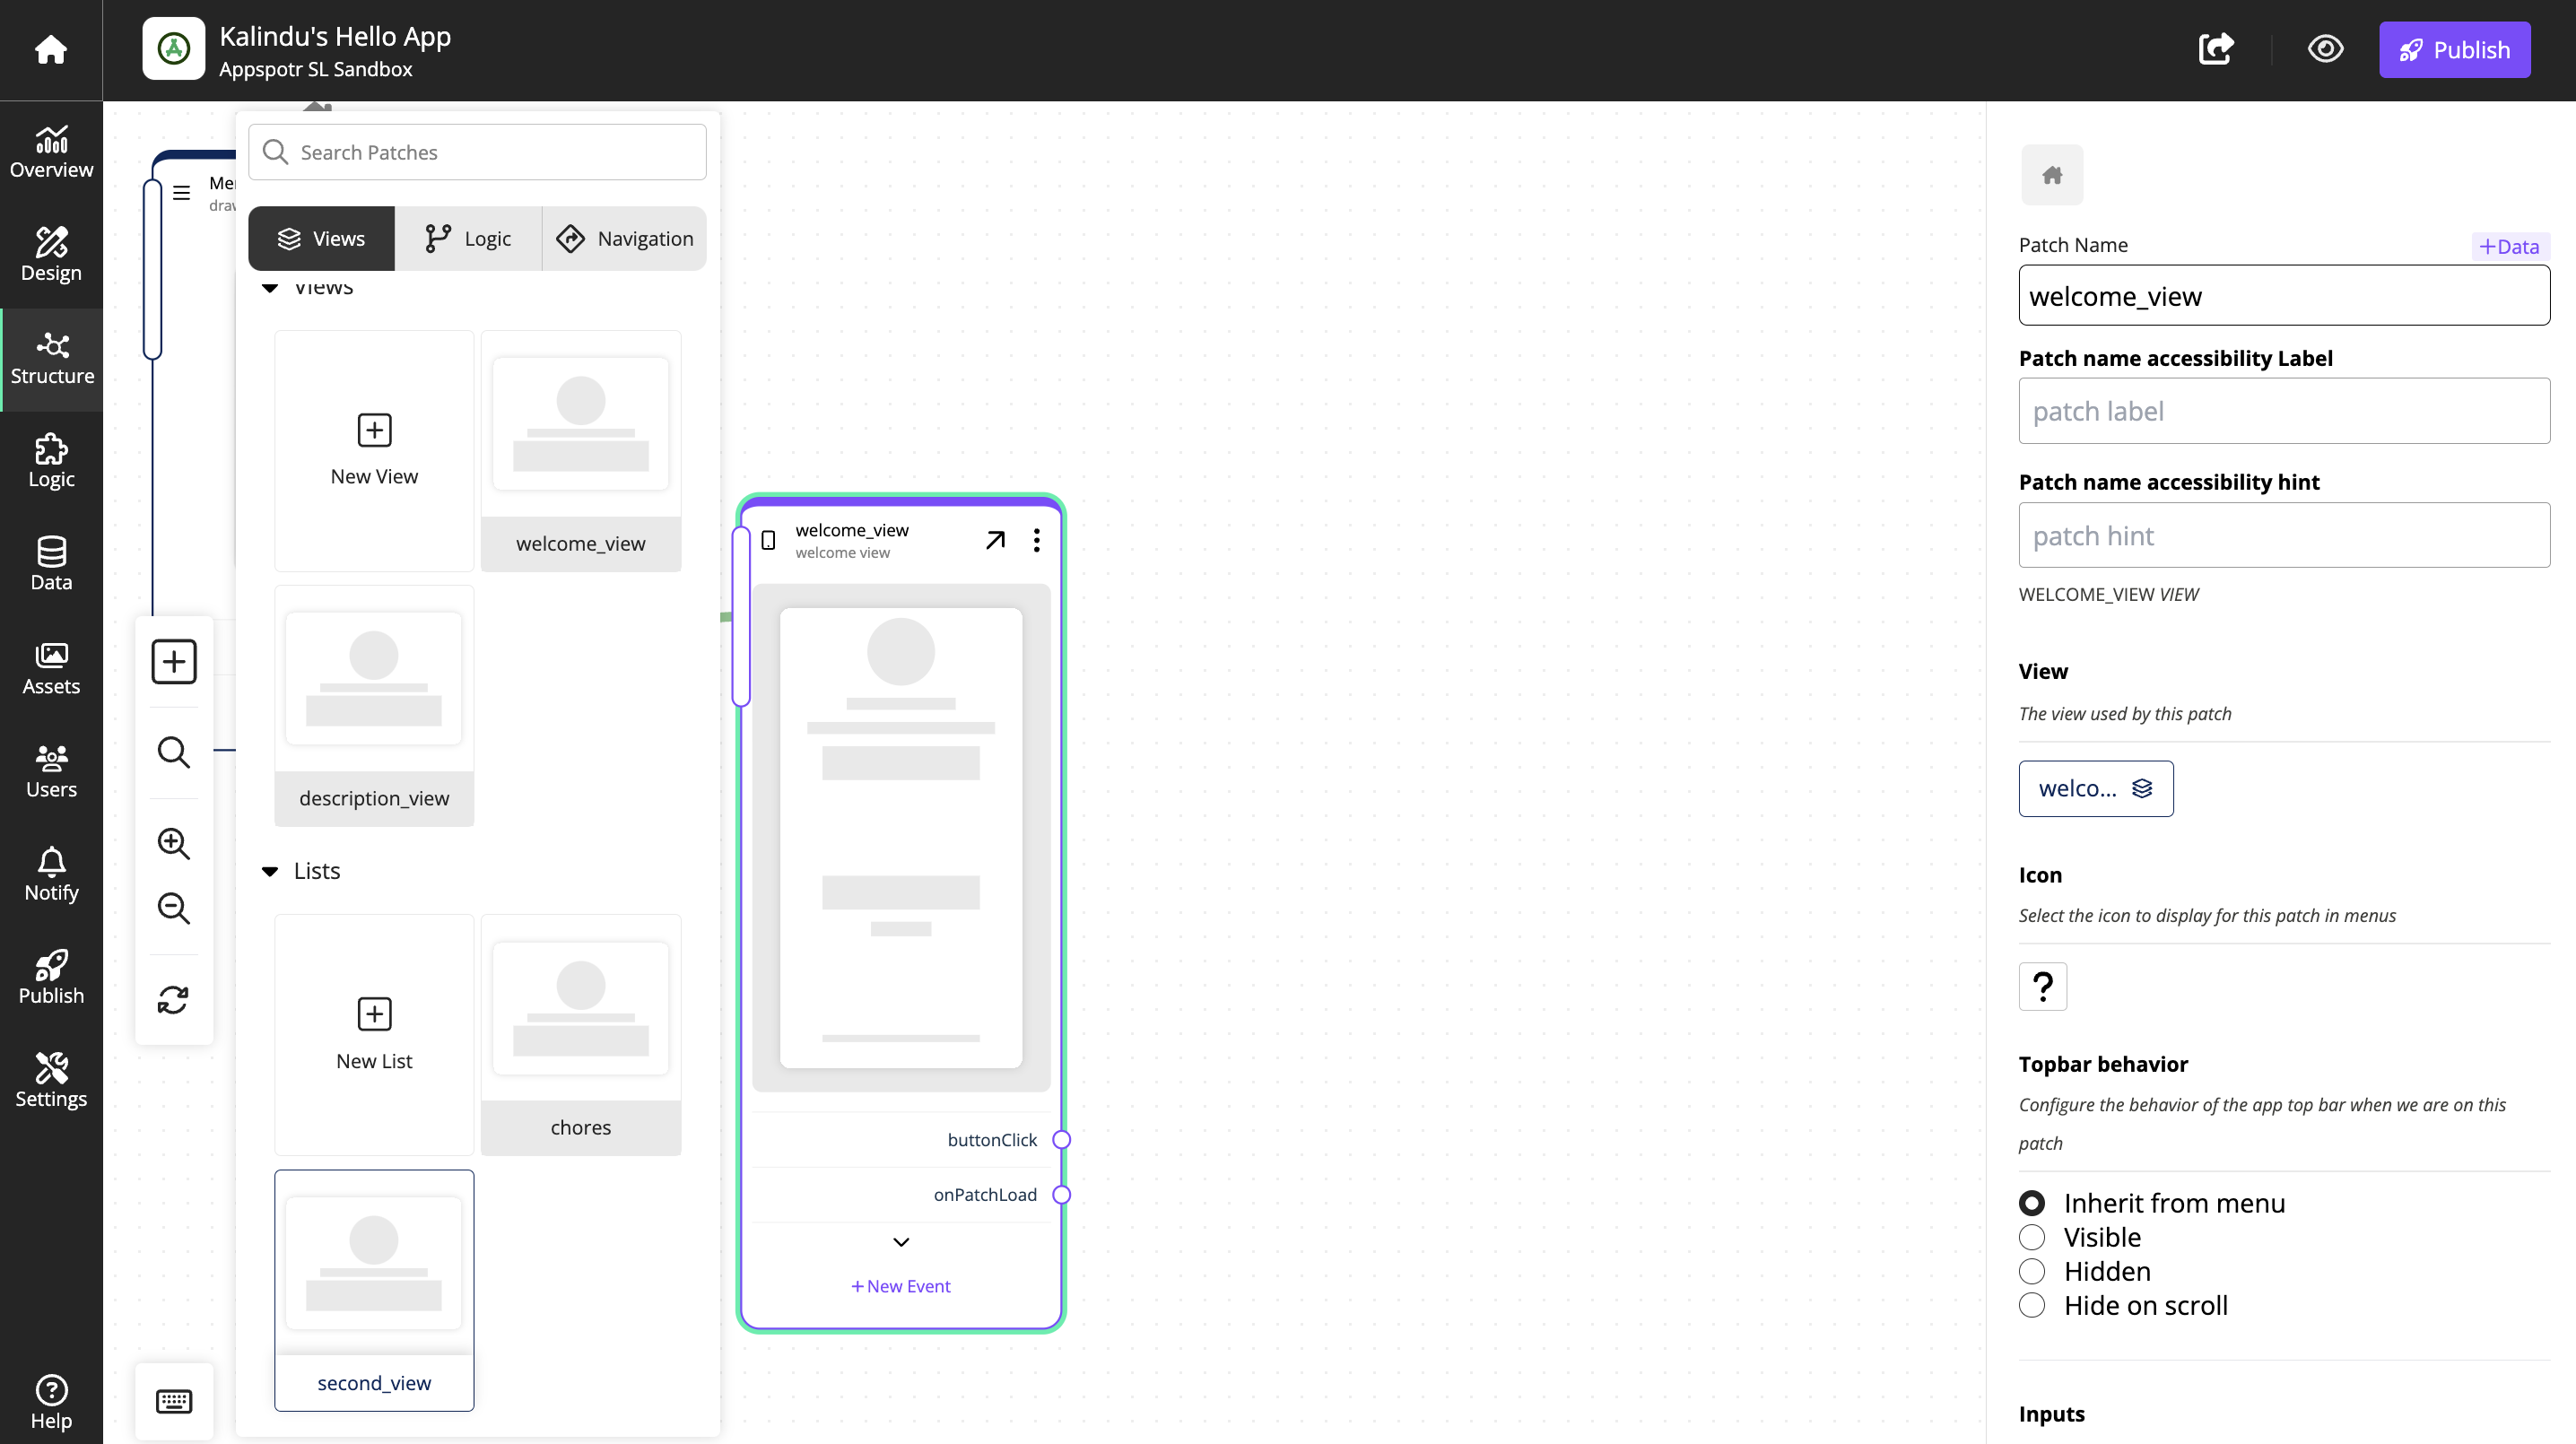
Add the view second_view
Earlier we created an output on the welcome_view patch, called buttonClick.
Connect the buttonClick output to view input for second_view
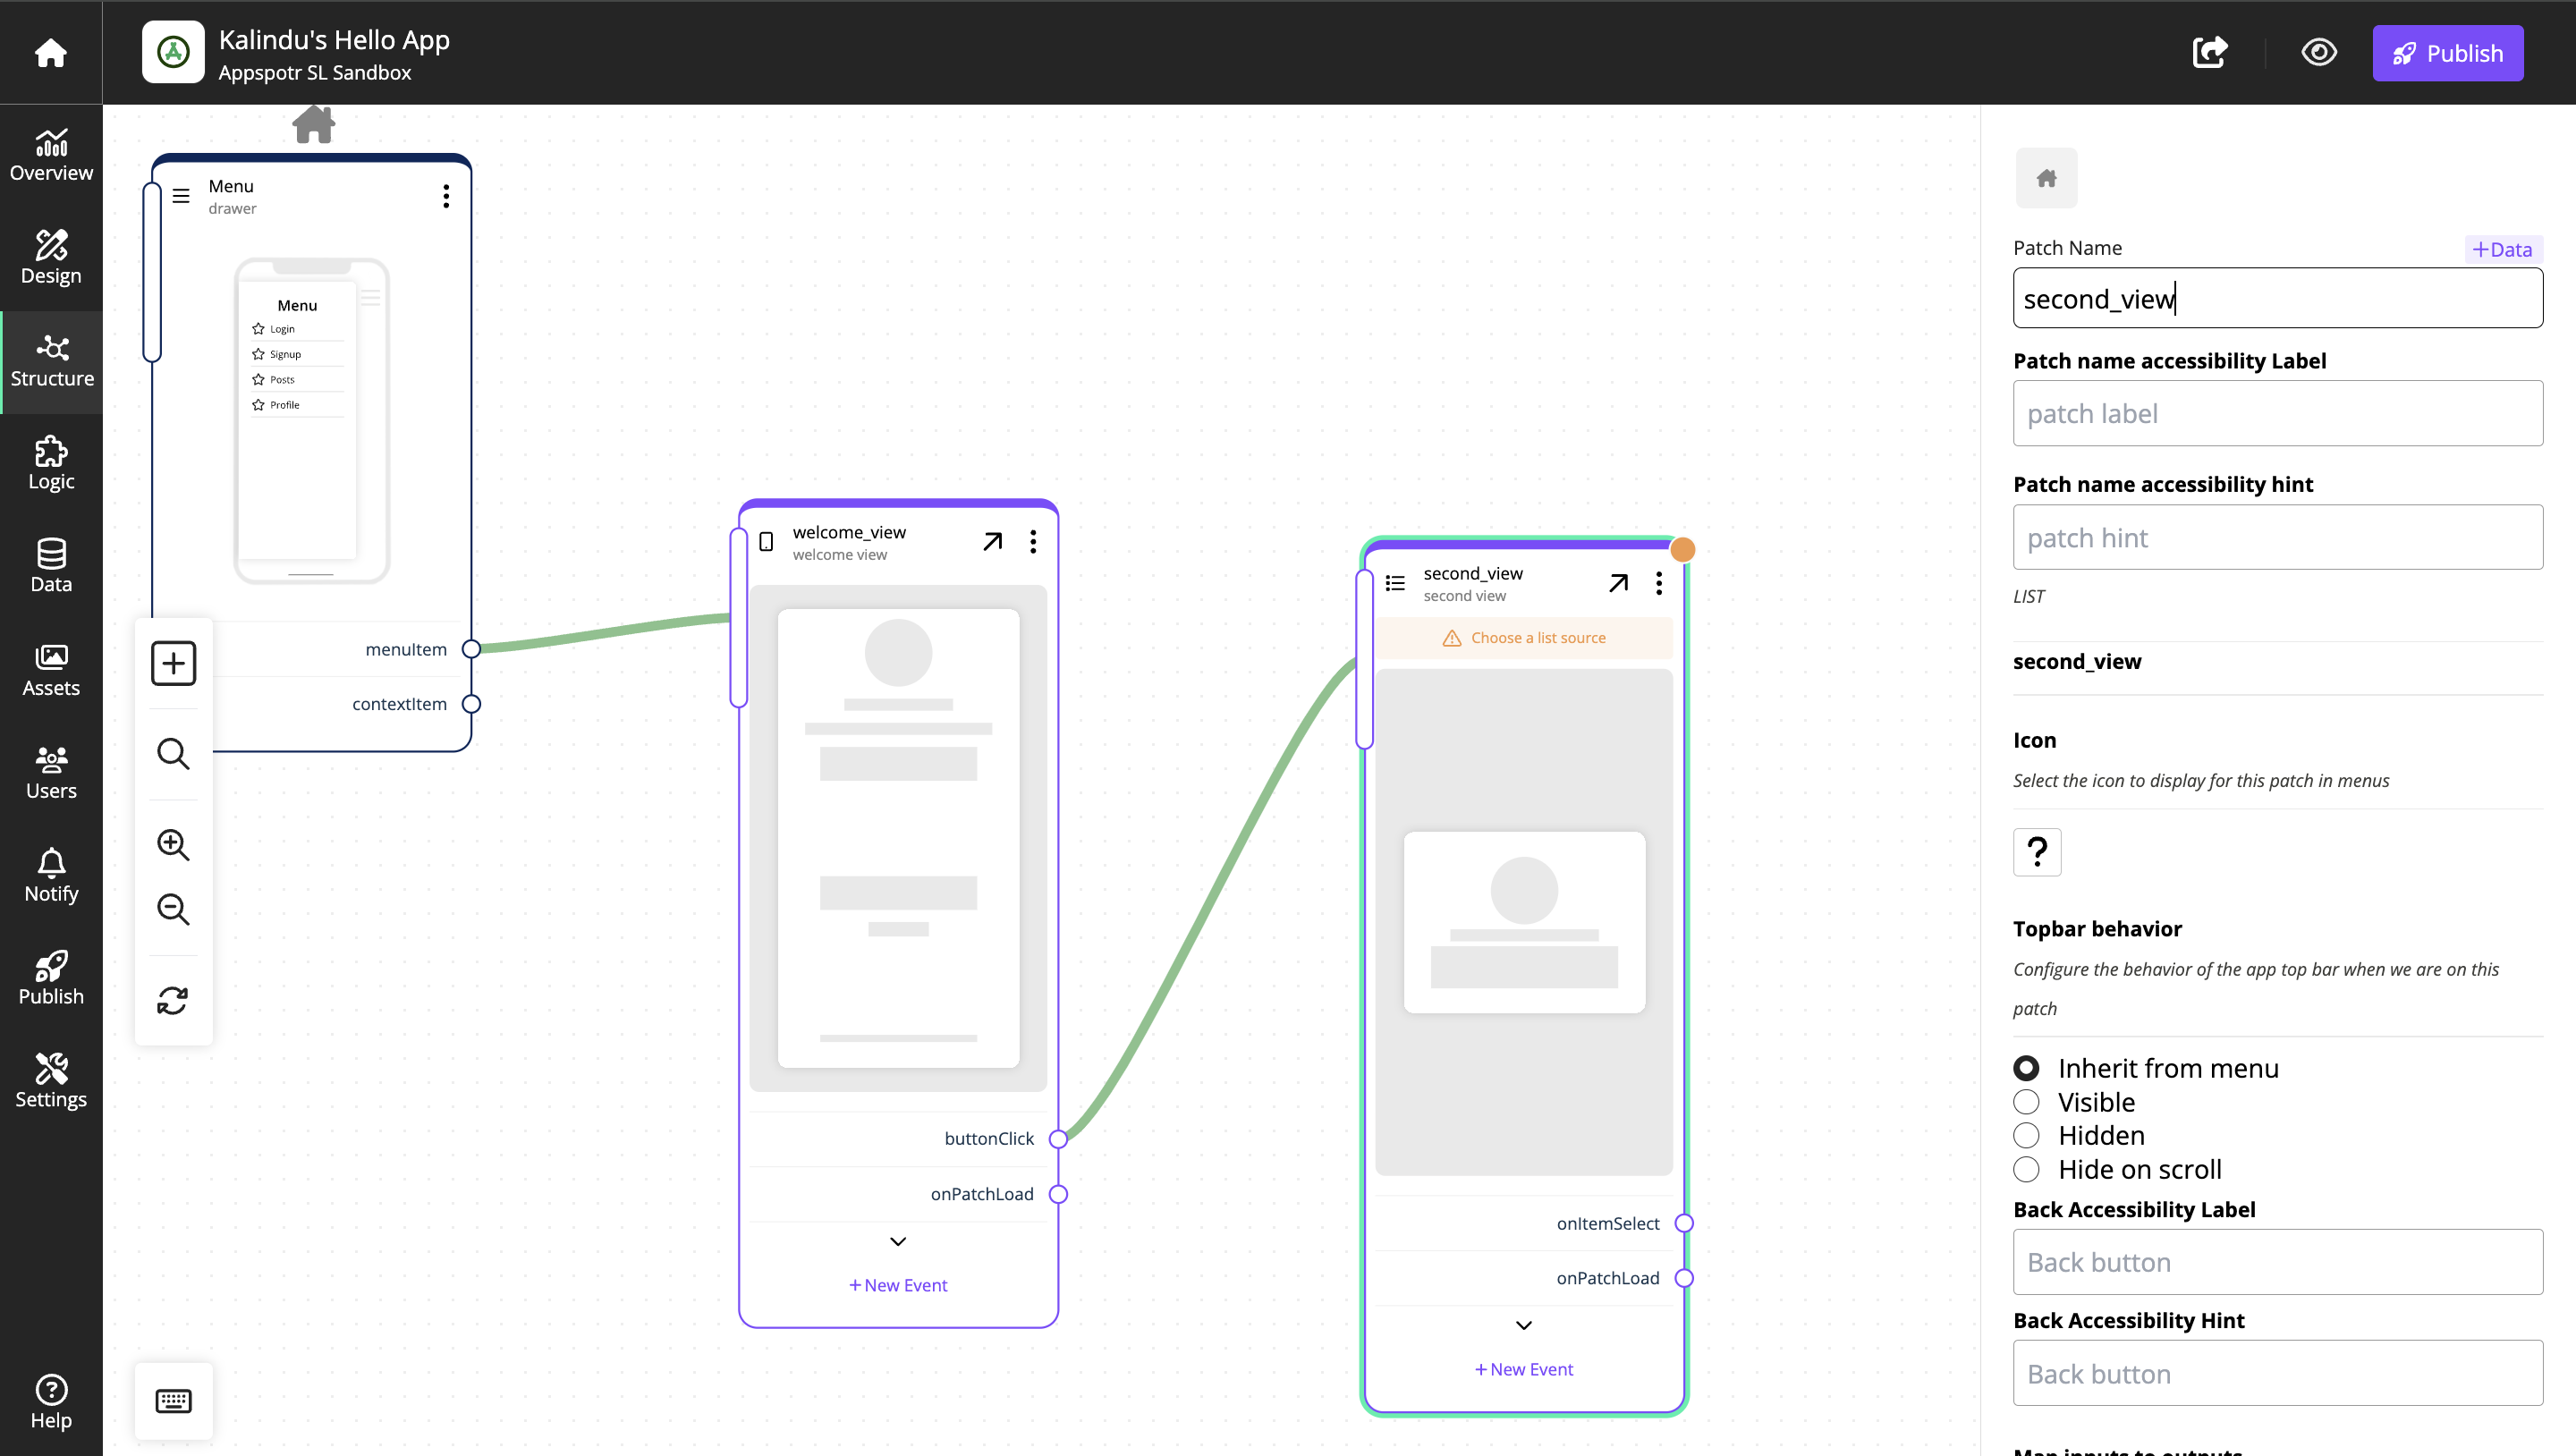
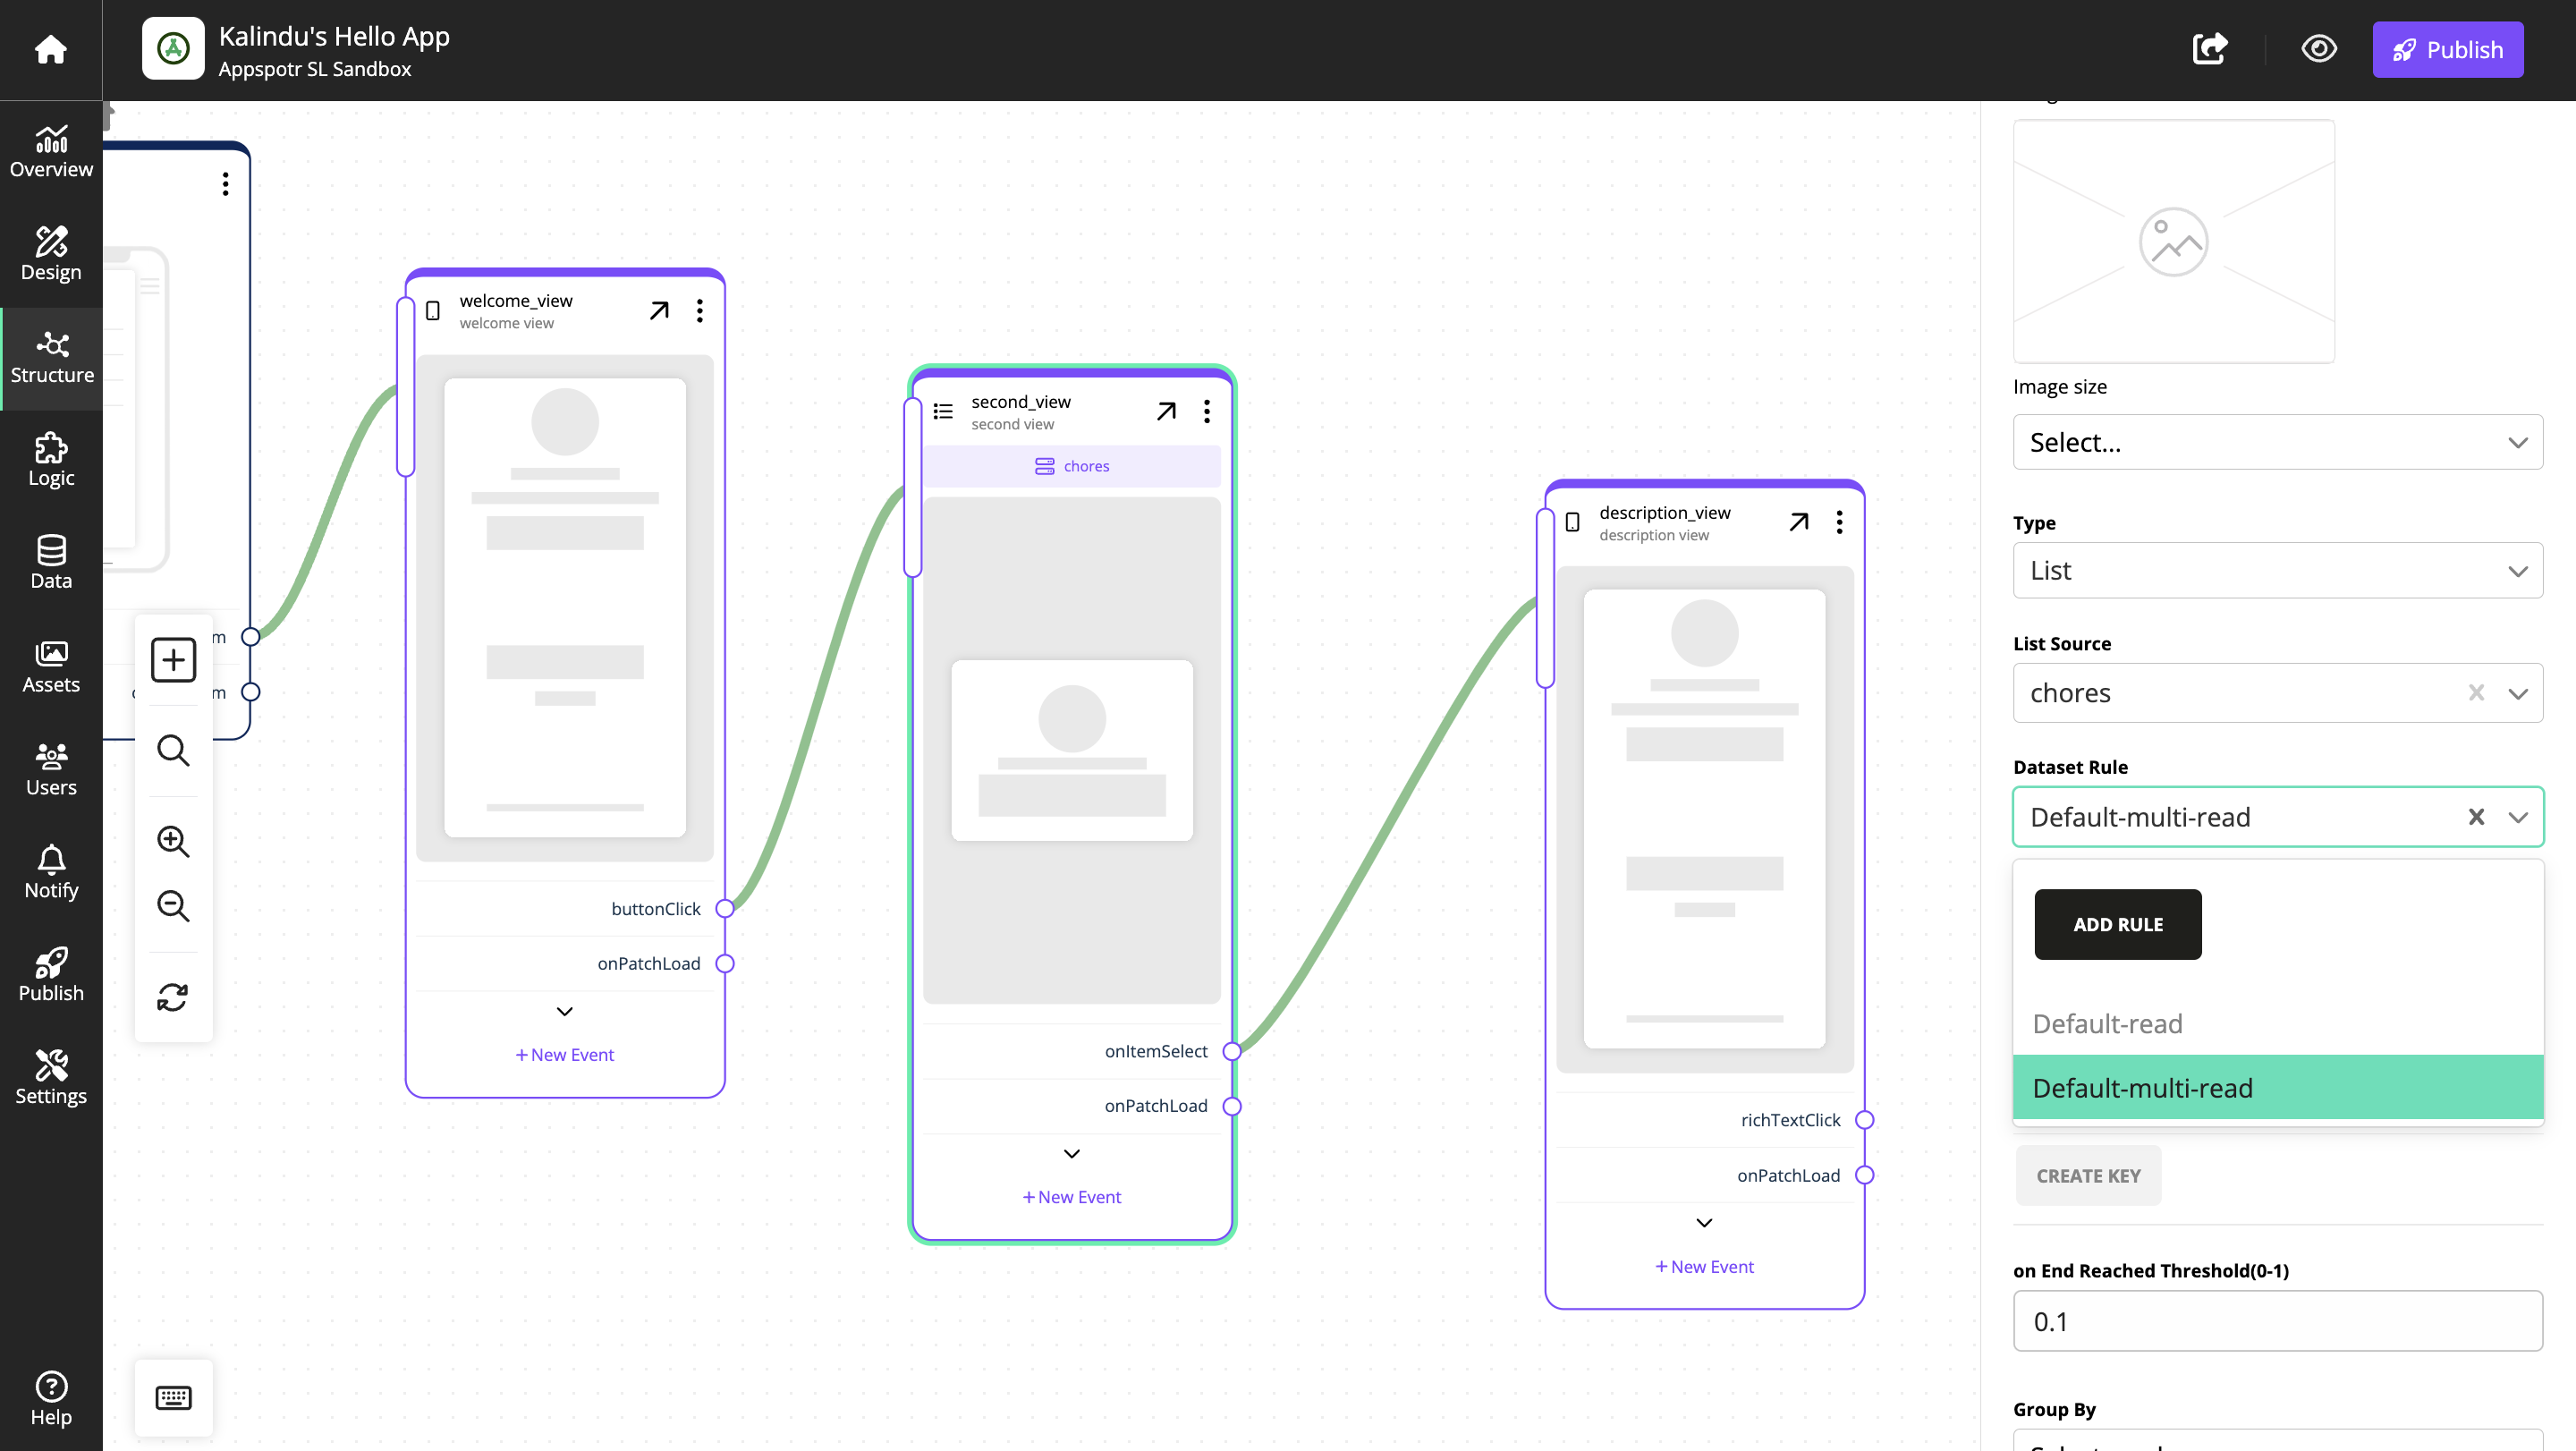
Click on the the patch second_view
Find the Type and Select List in the dropdown

Select the List Source - chores
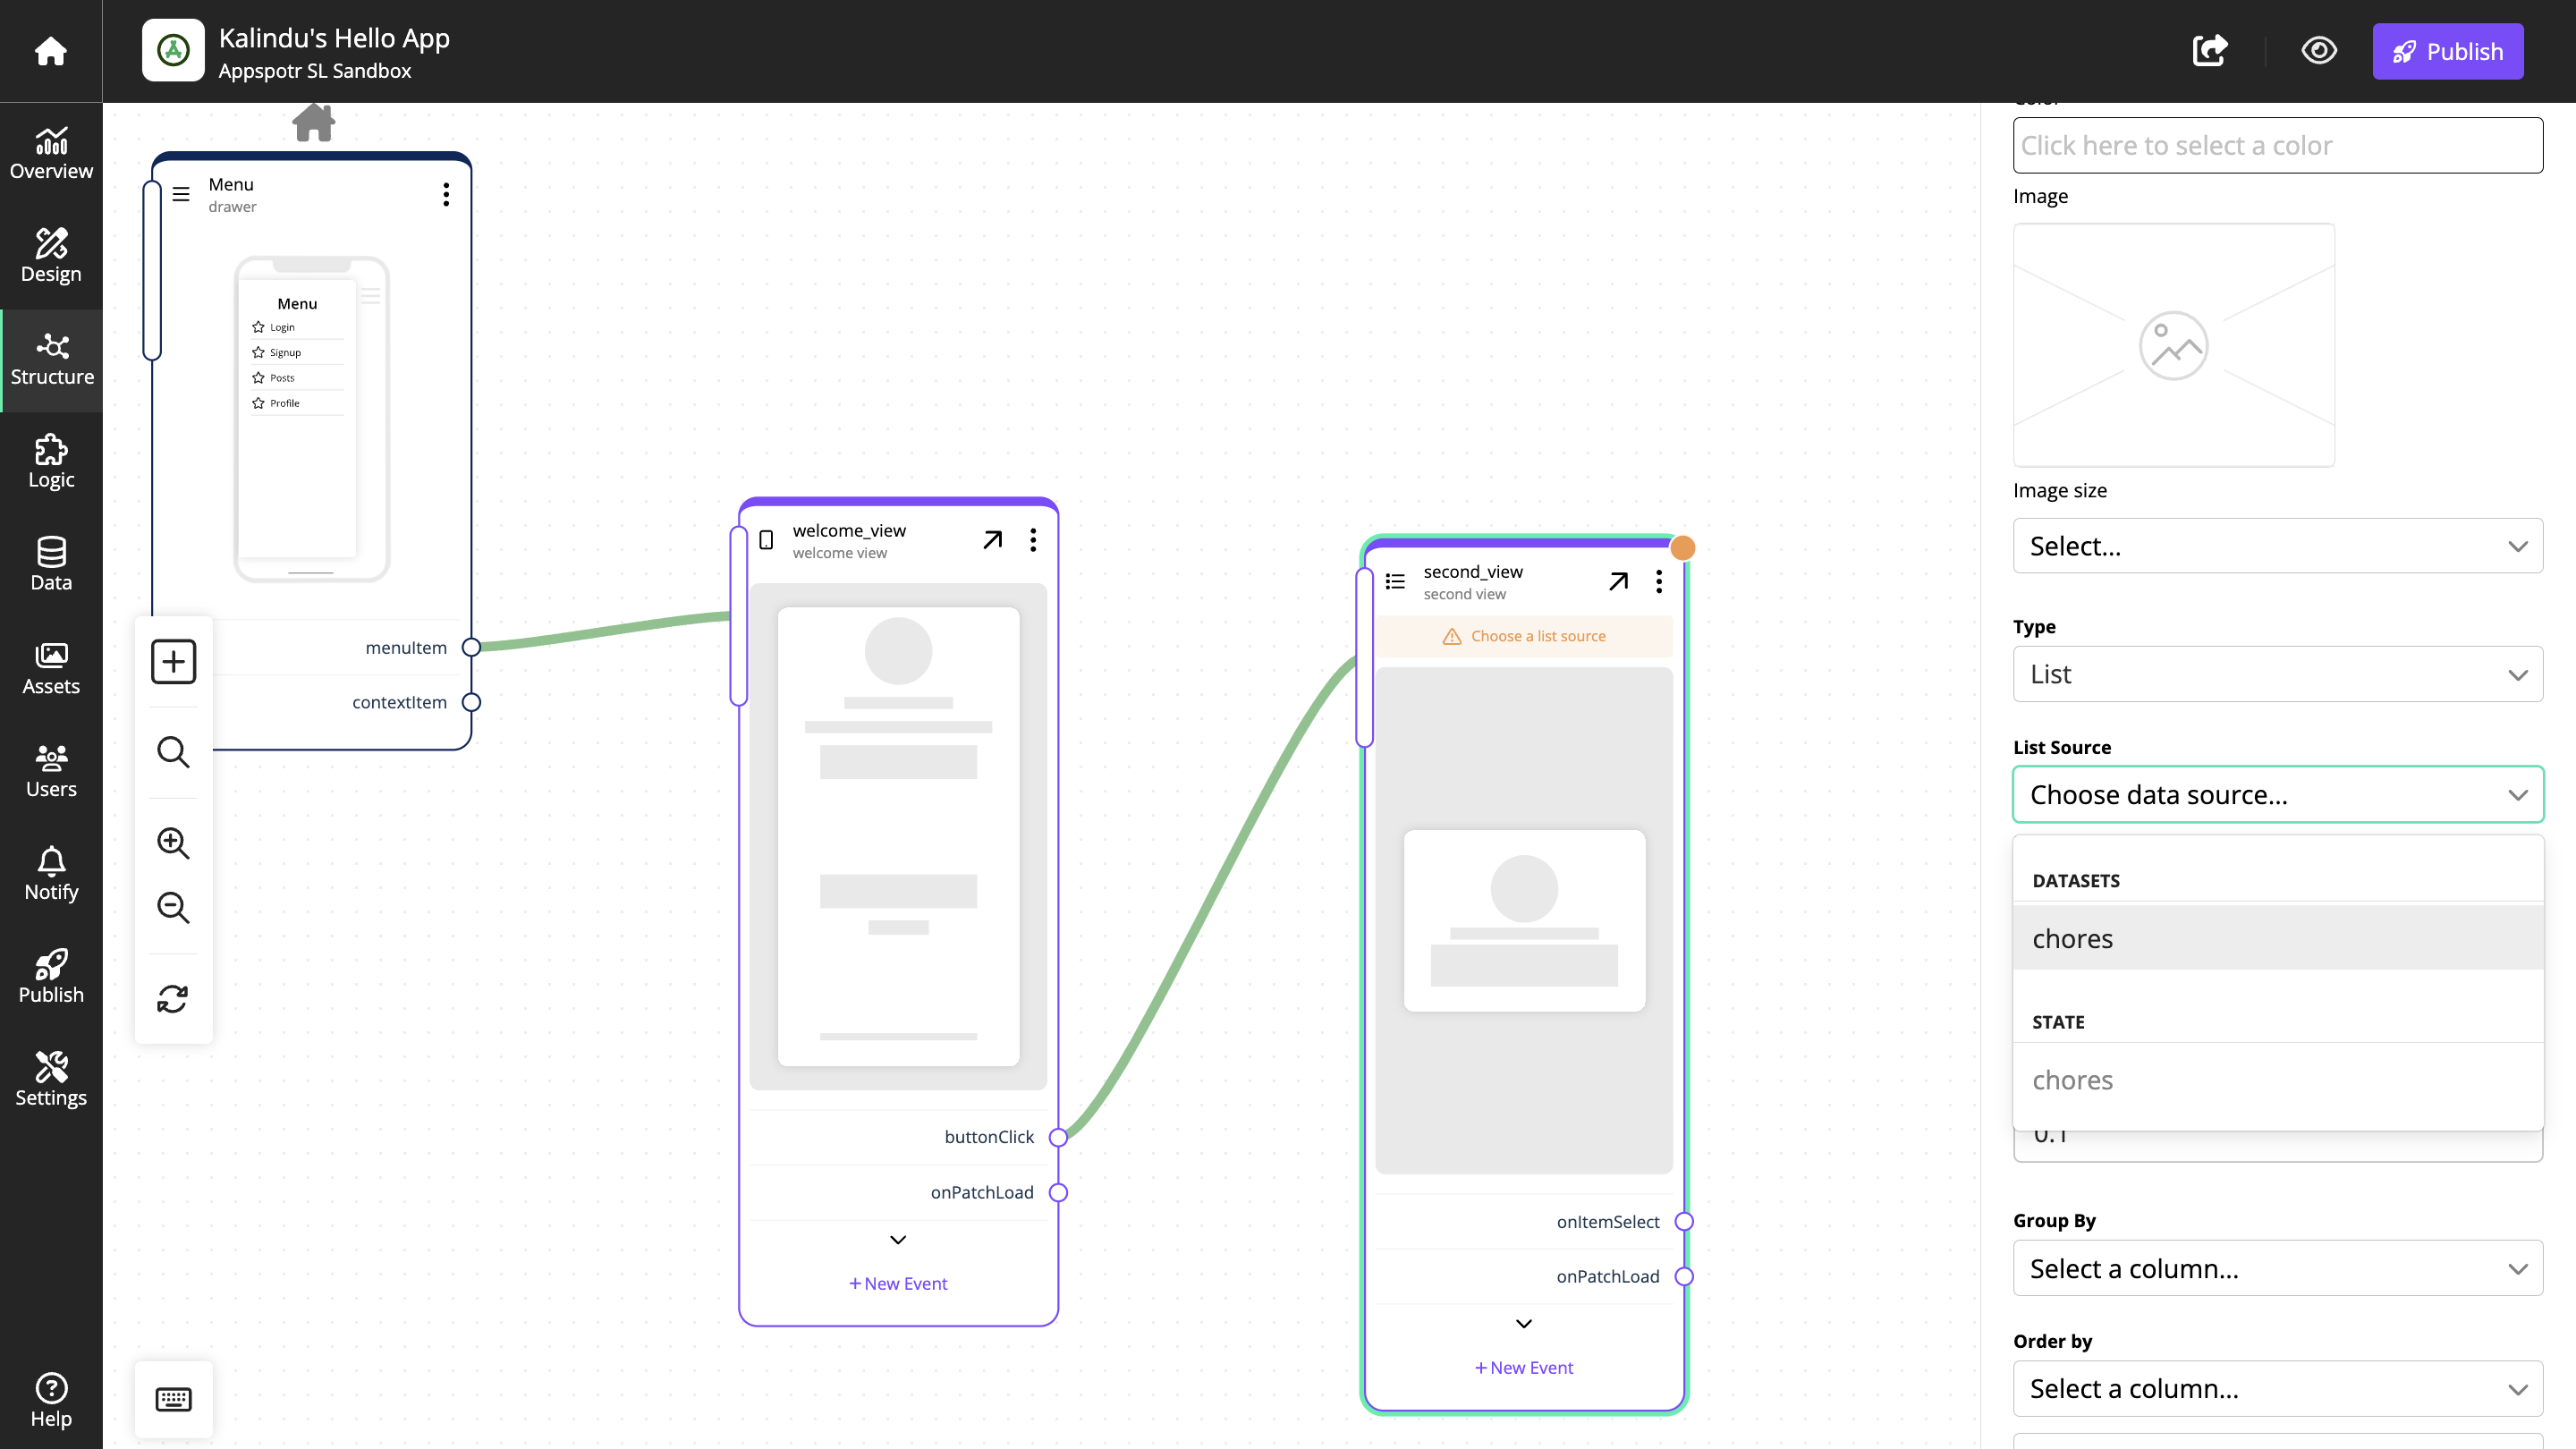
Set dataset rule to - Default Multi Read. (Learn more about Dataset Rules)
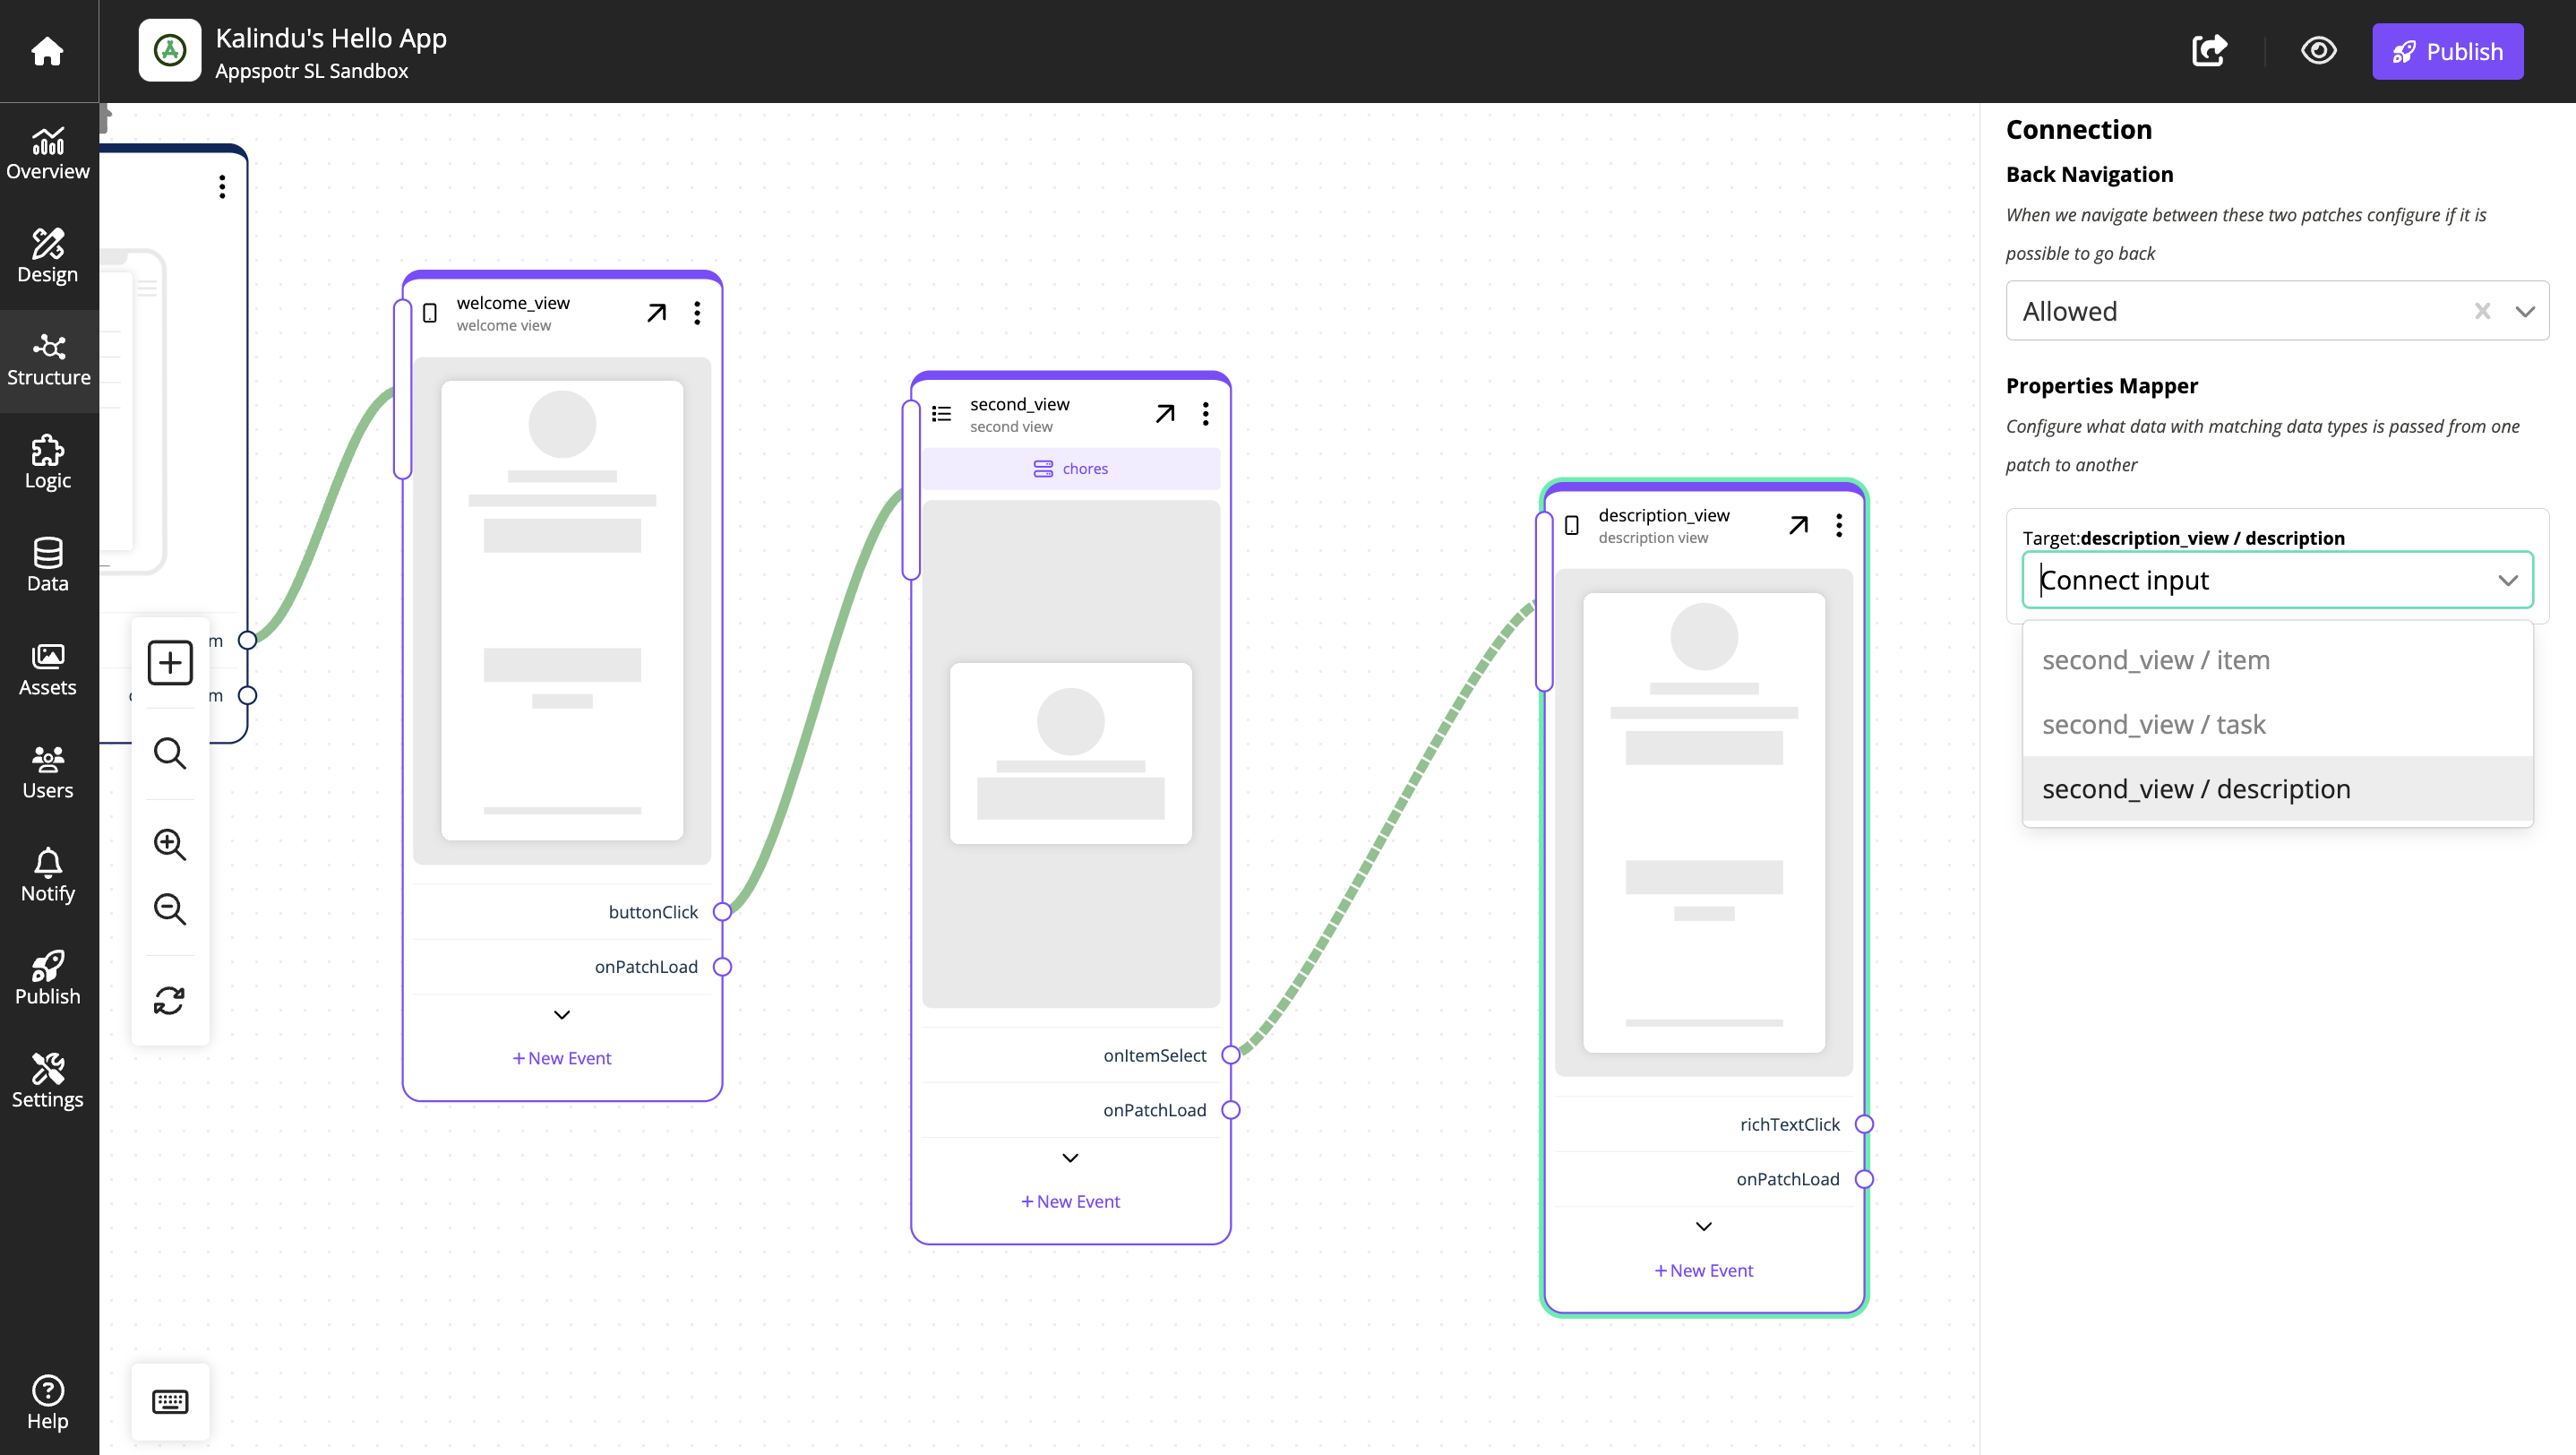
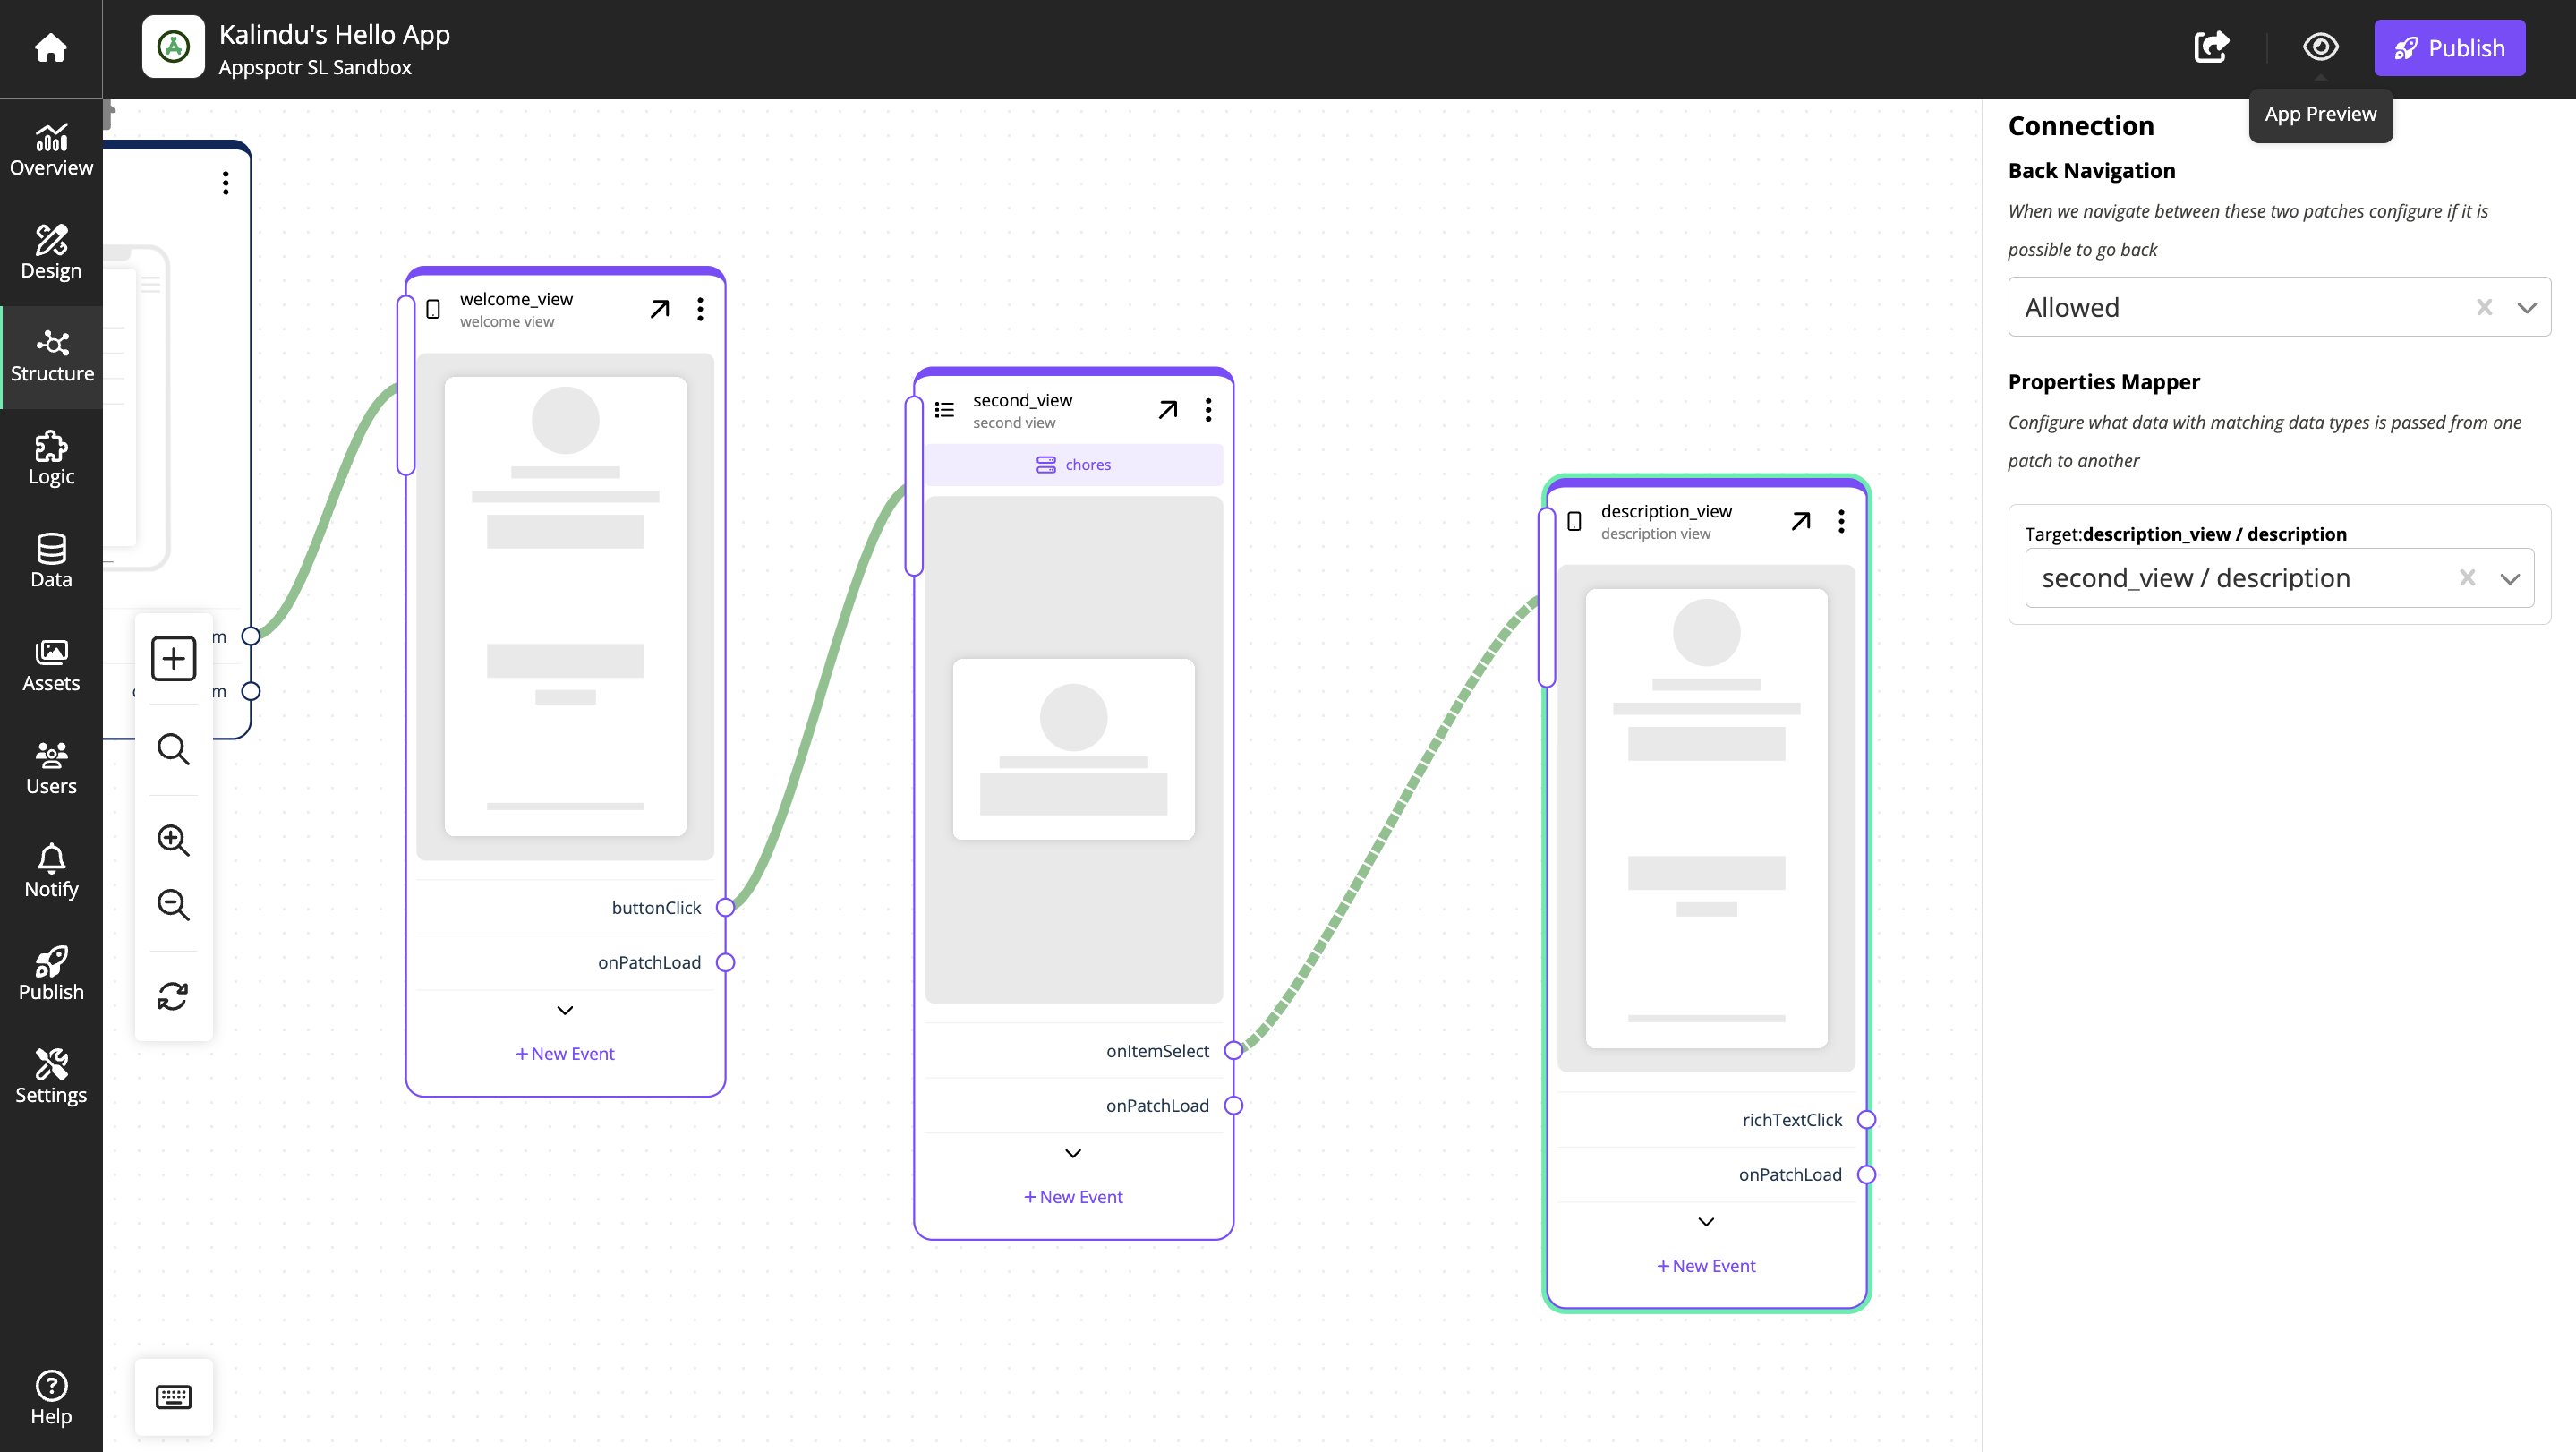
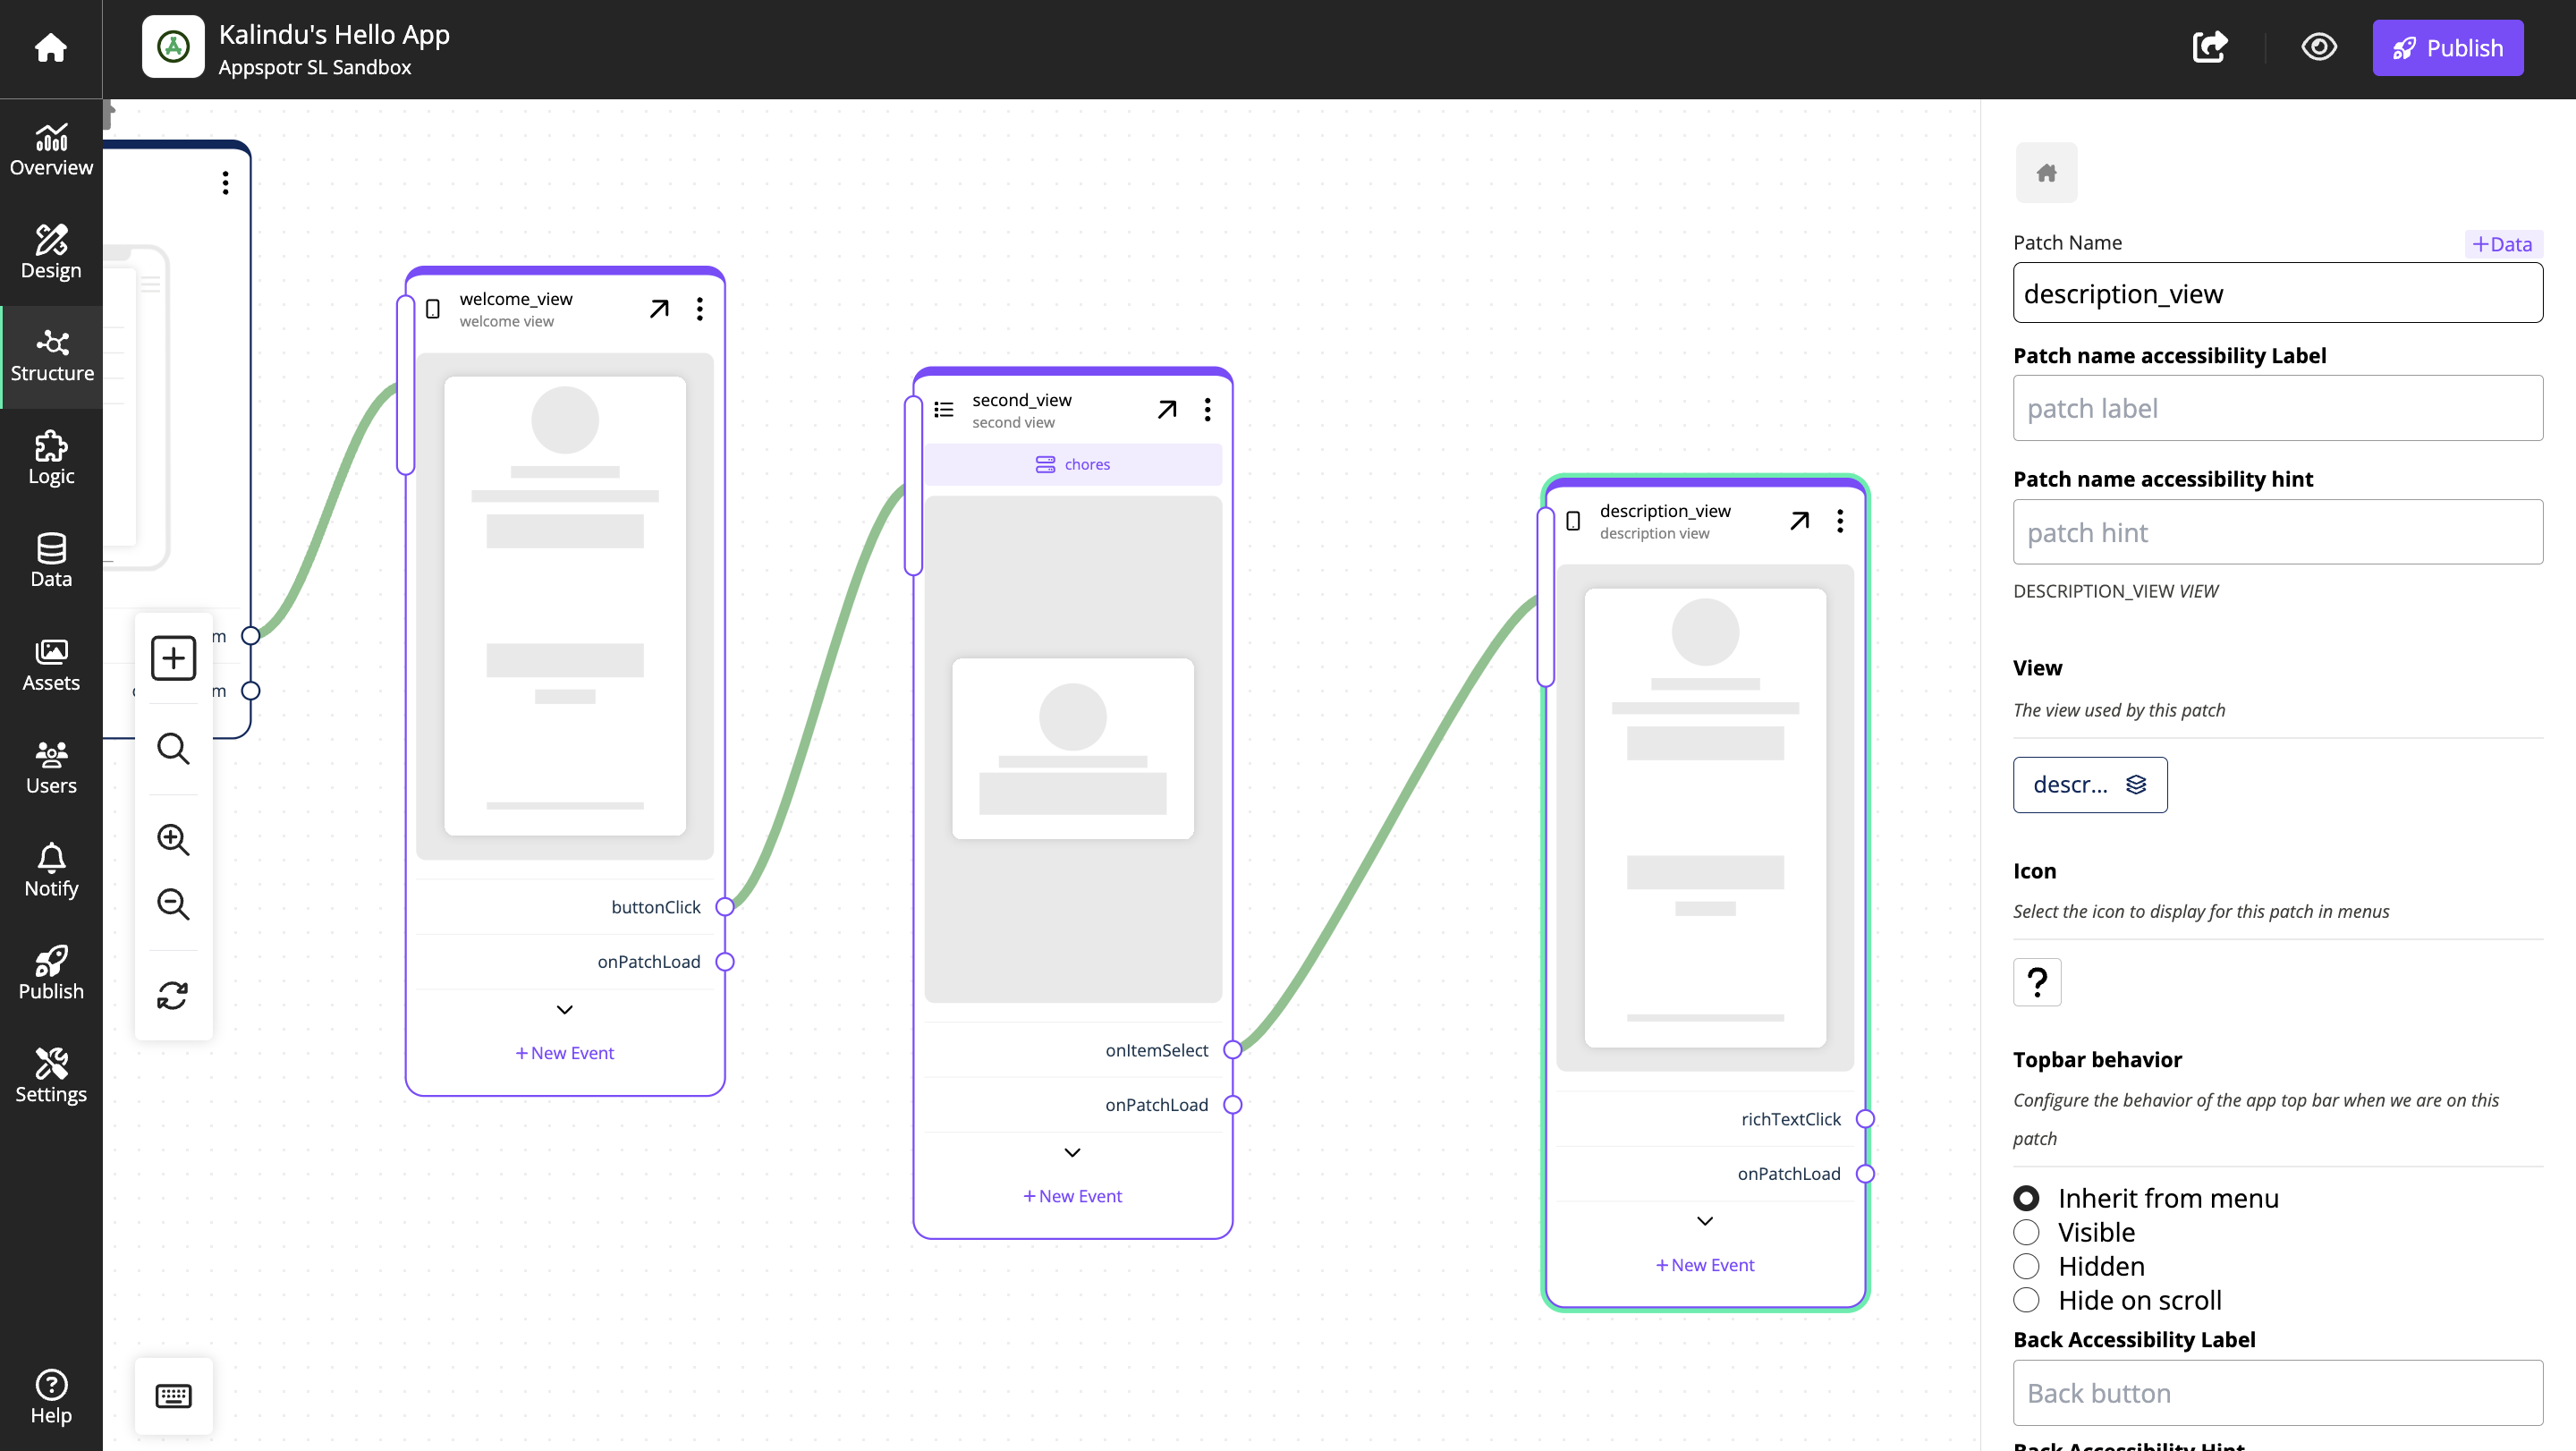
View 3 - description_view
We want the data from the column description to be be passed from second_view to description_view when we select an item in the list.
Add the view description_view, Connect the onItemSelect output of second_view to the description_view view
Select the connection between the patches.
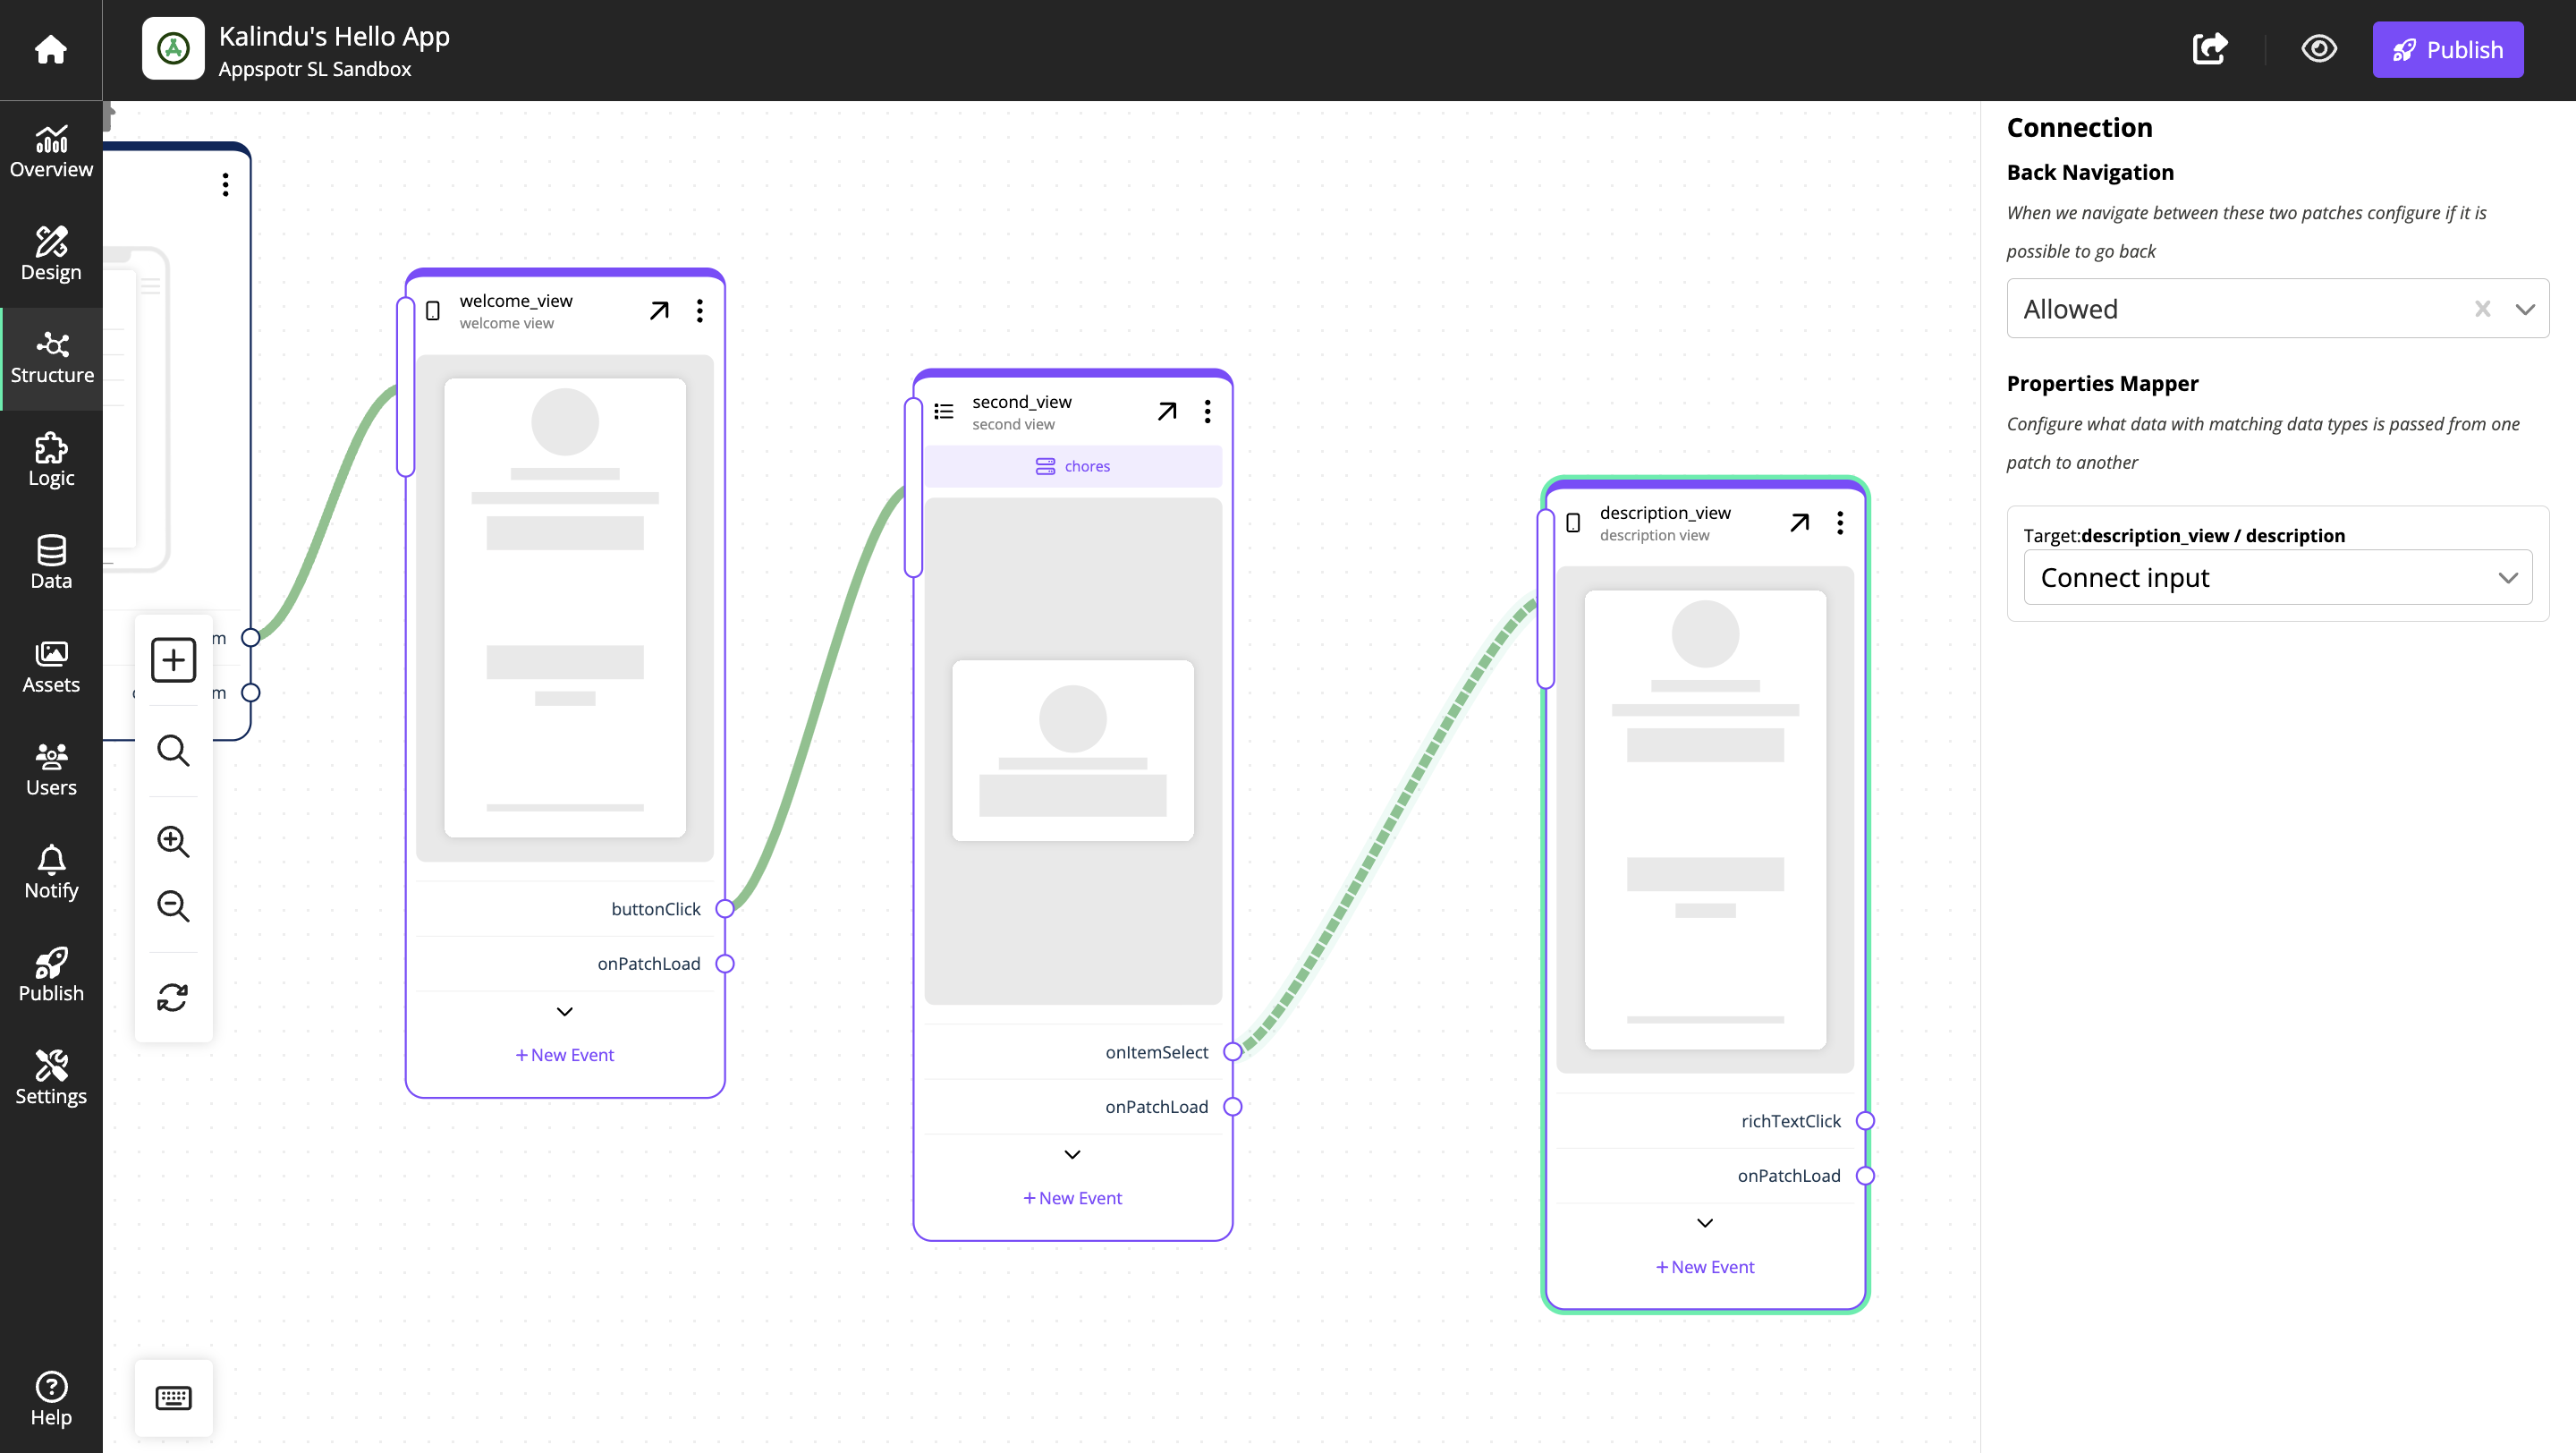
Find the Properties Mapper and Select second_view / description from the dropdown