Content Manager
Overview
The Content Manager App can be regarded as a simplified version of the Appspotr CMS and the main intention of this is to manage a particular app…
Once you have created your own app through Appspotr the next step is to add content to it and update the existing content. With the Content Manager App, you can easily manage your app content anytime anywhere.
Content Manager is available as a Web application and as an iPad app (is not supported on iPhones)
In this guide, we are going to discuss how to use the Content Manager application to manage app content.
-
Log in to your Account
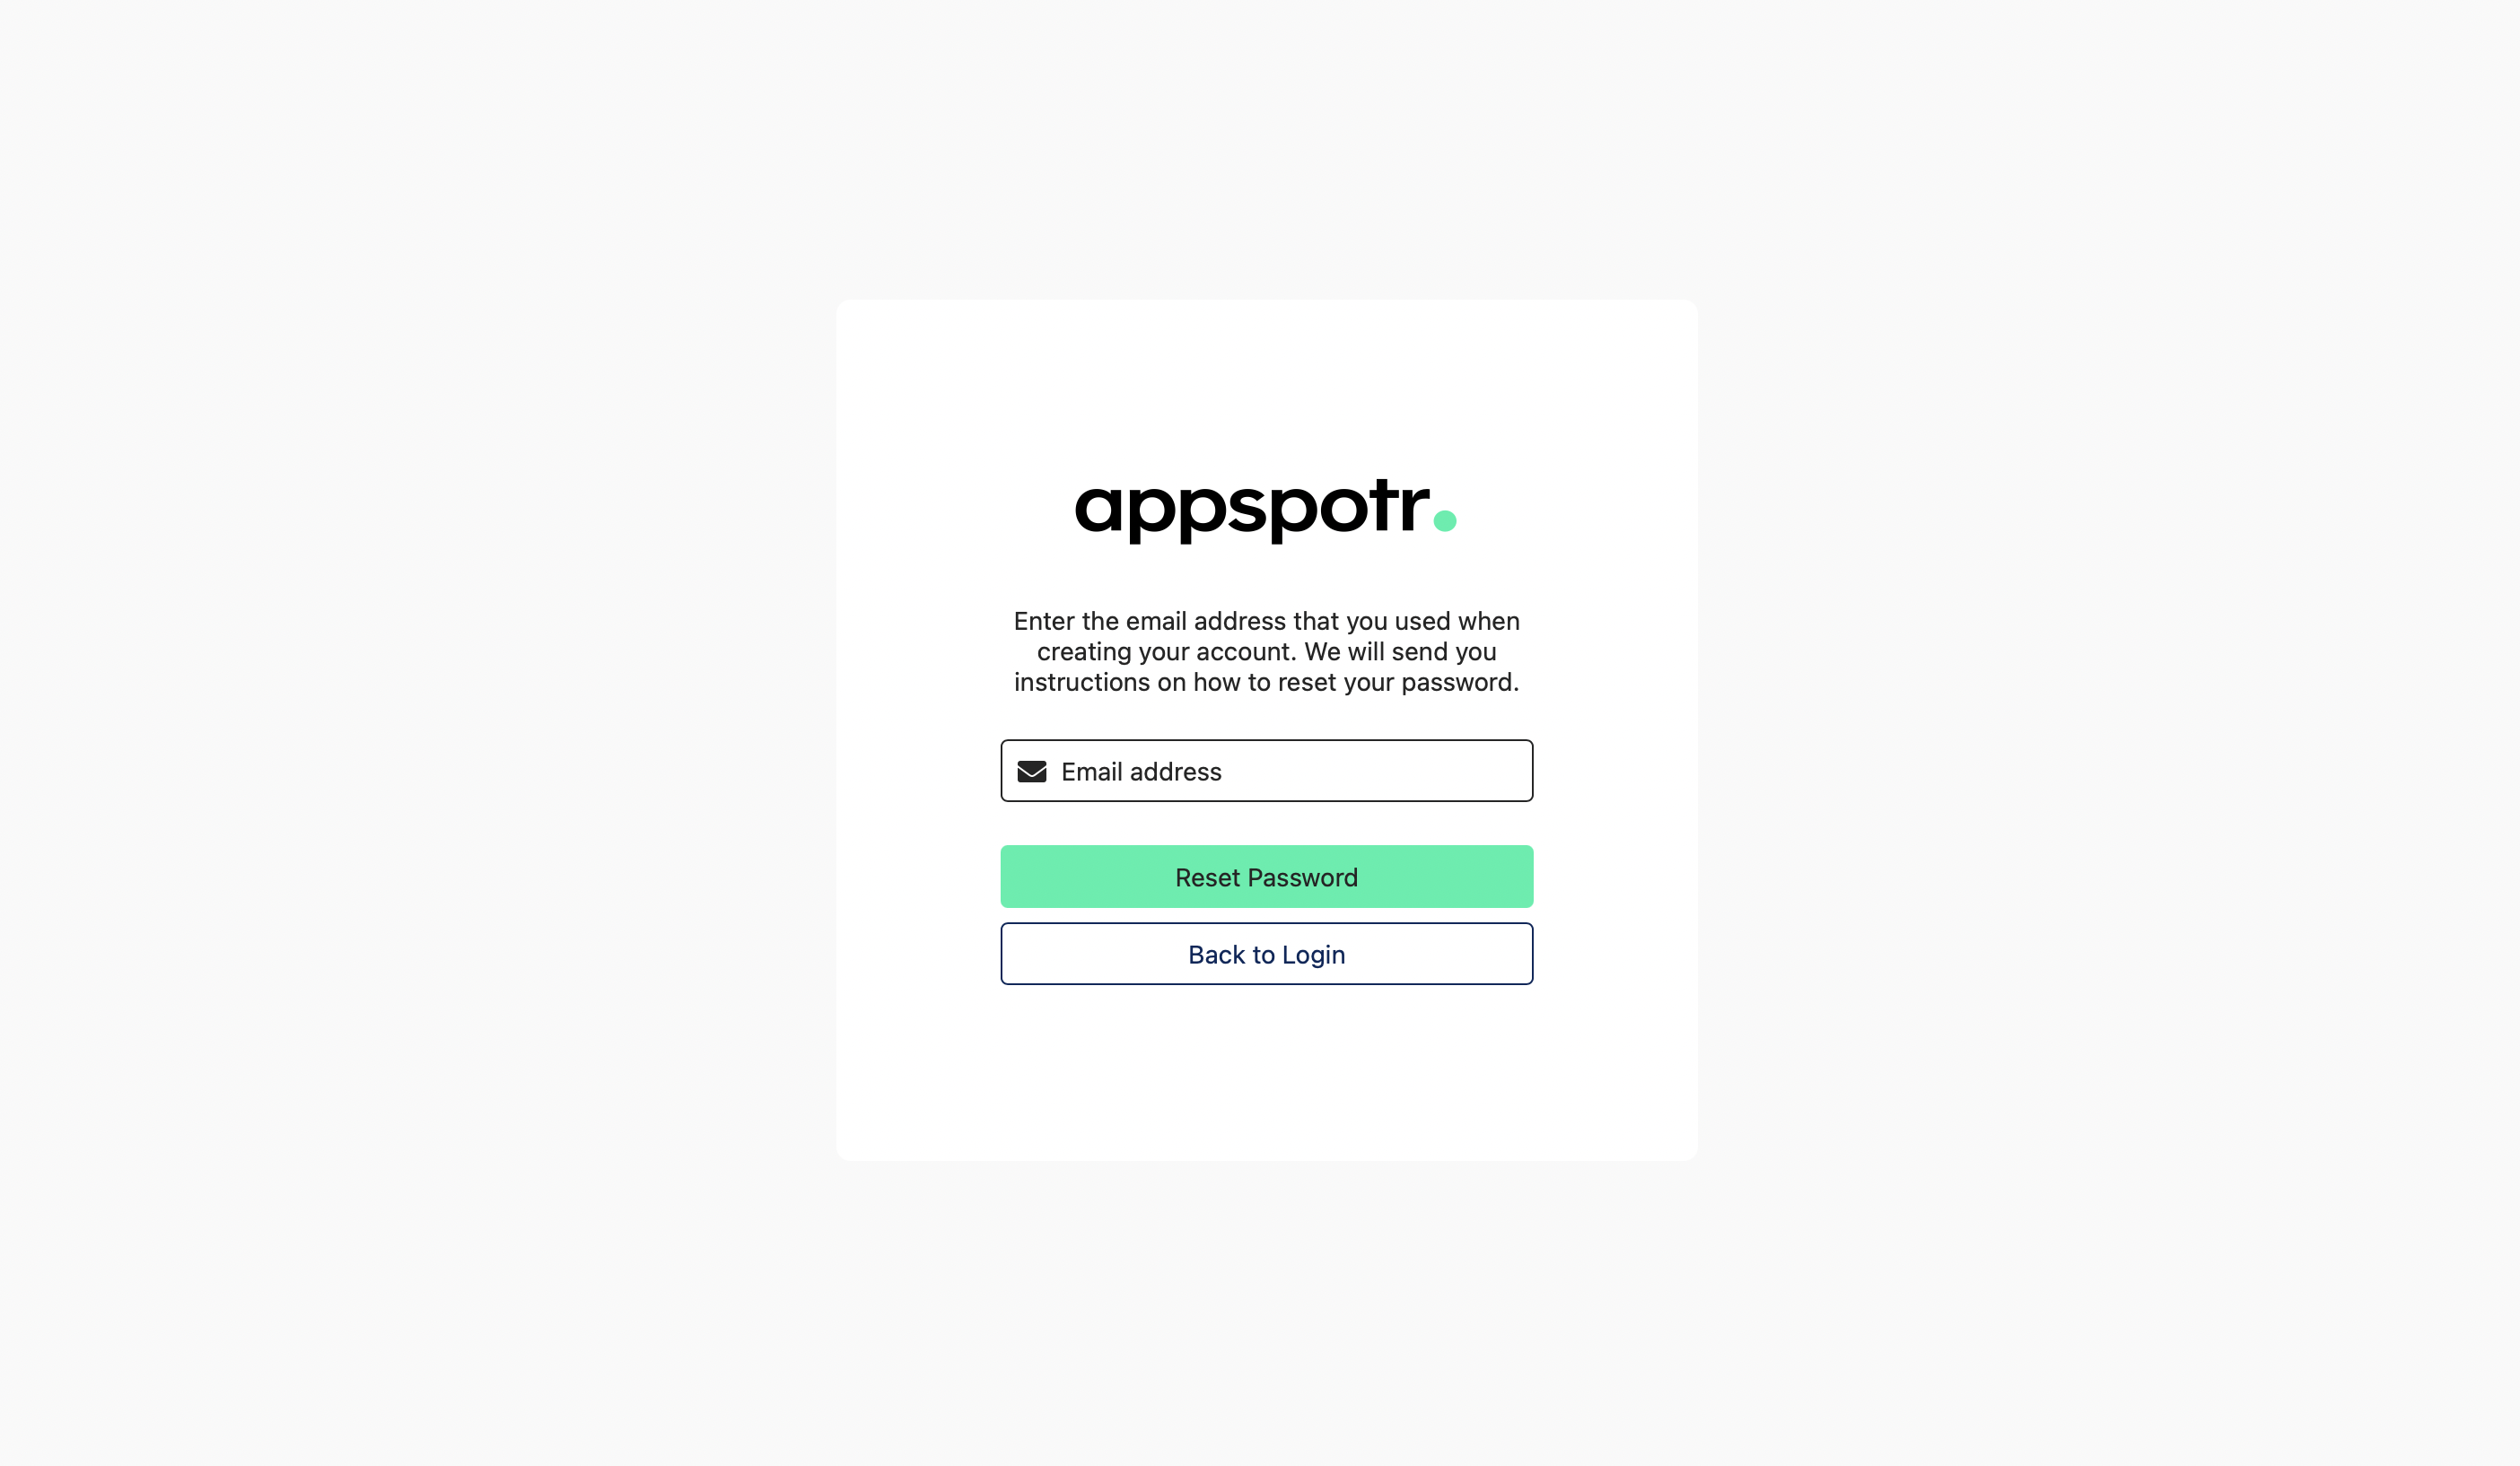
You can also reset the password if you have forgotten it.
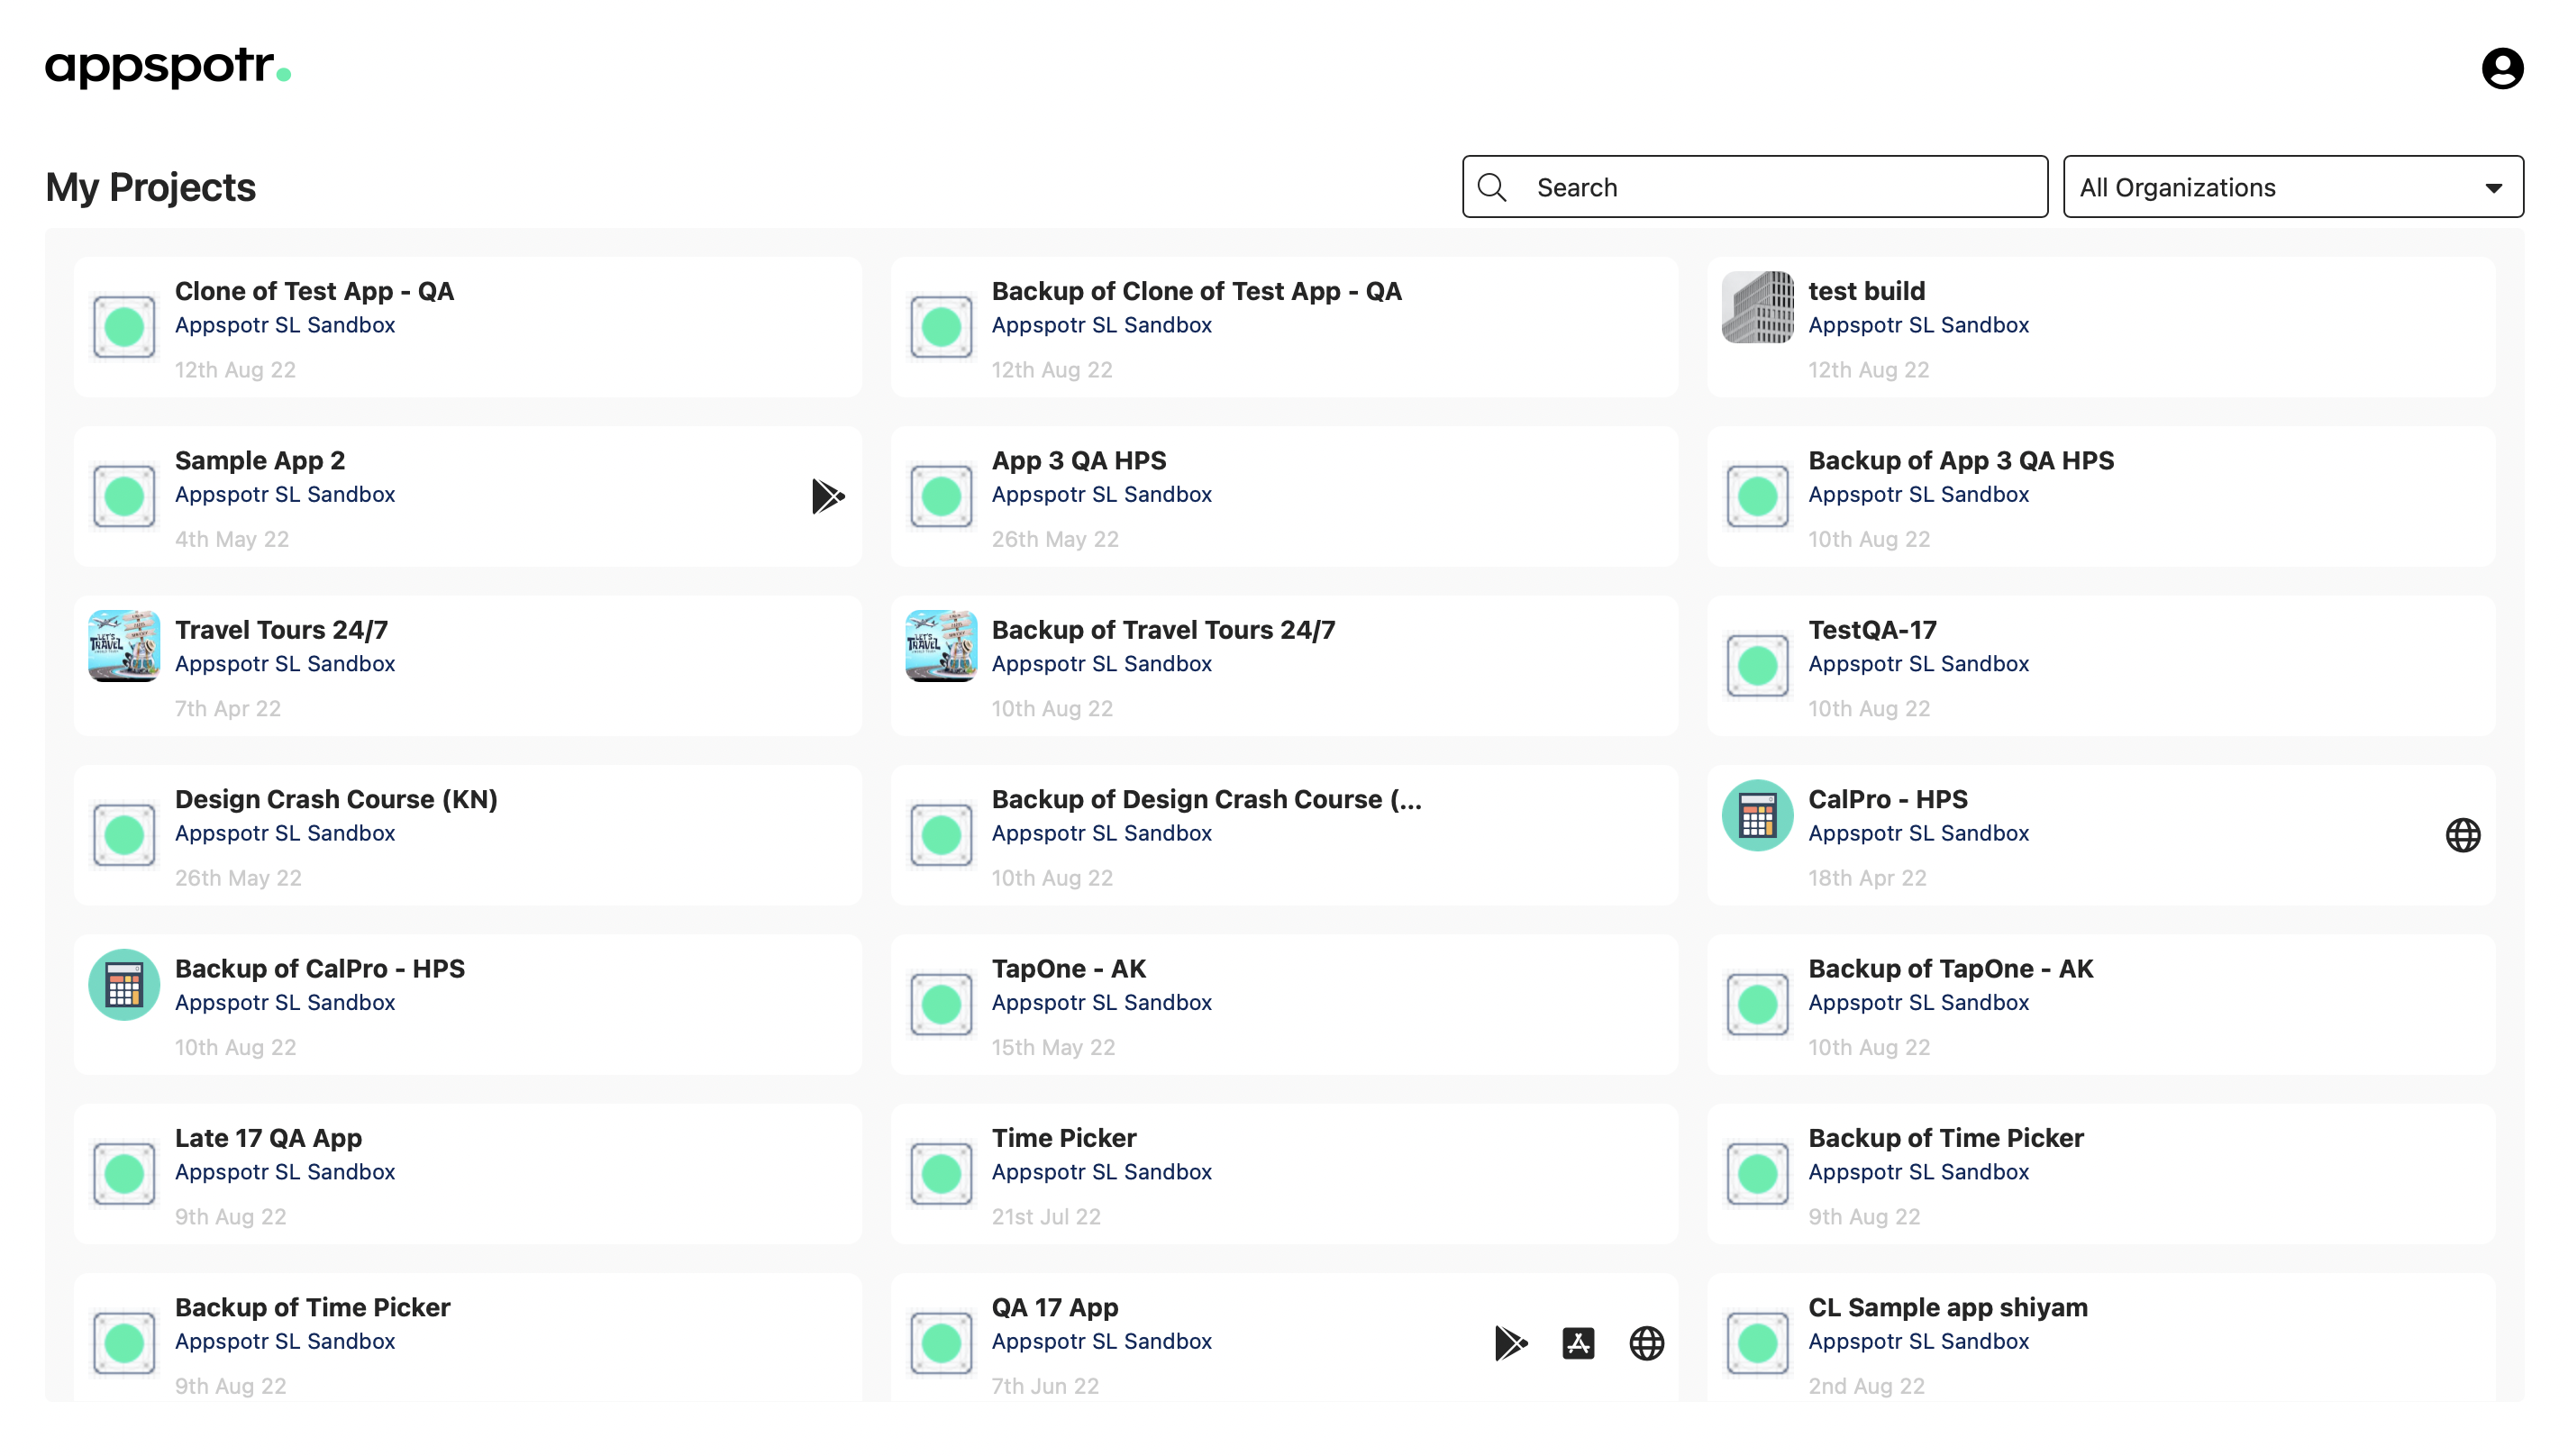
You will be directed to the Home Page where all your app projects are being displayed
Profile
-
Click on the profile icon
Your name and email will be displayed here.
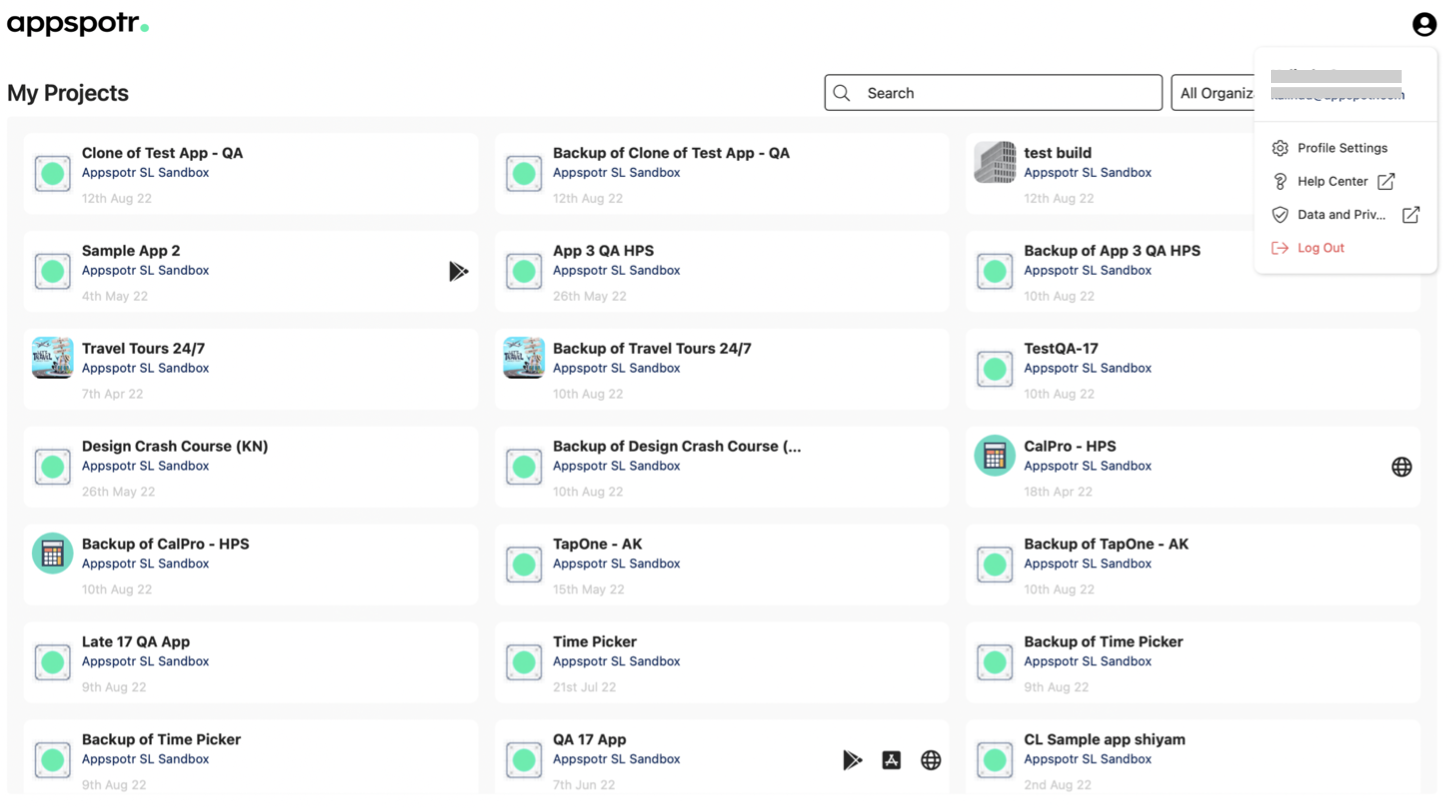
Profile Settings
When you click on profile settings you will be able to see your first name, last name and email address. You can change your name here if you want. But your email cannot be changed or edited.
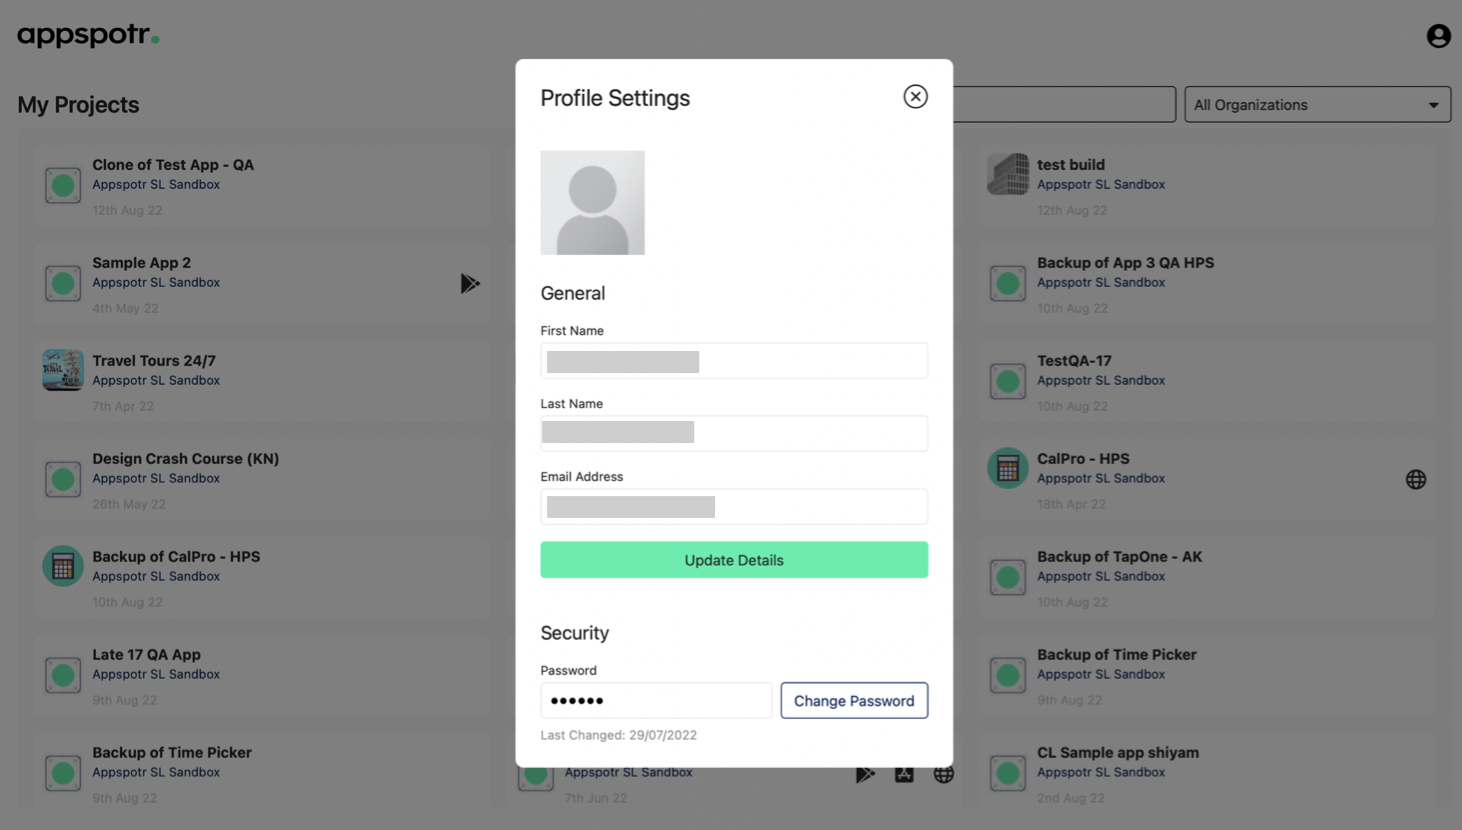
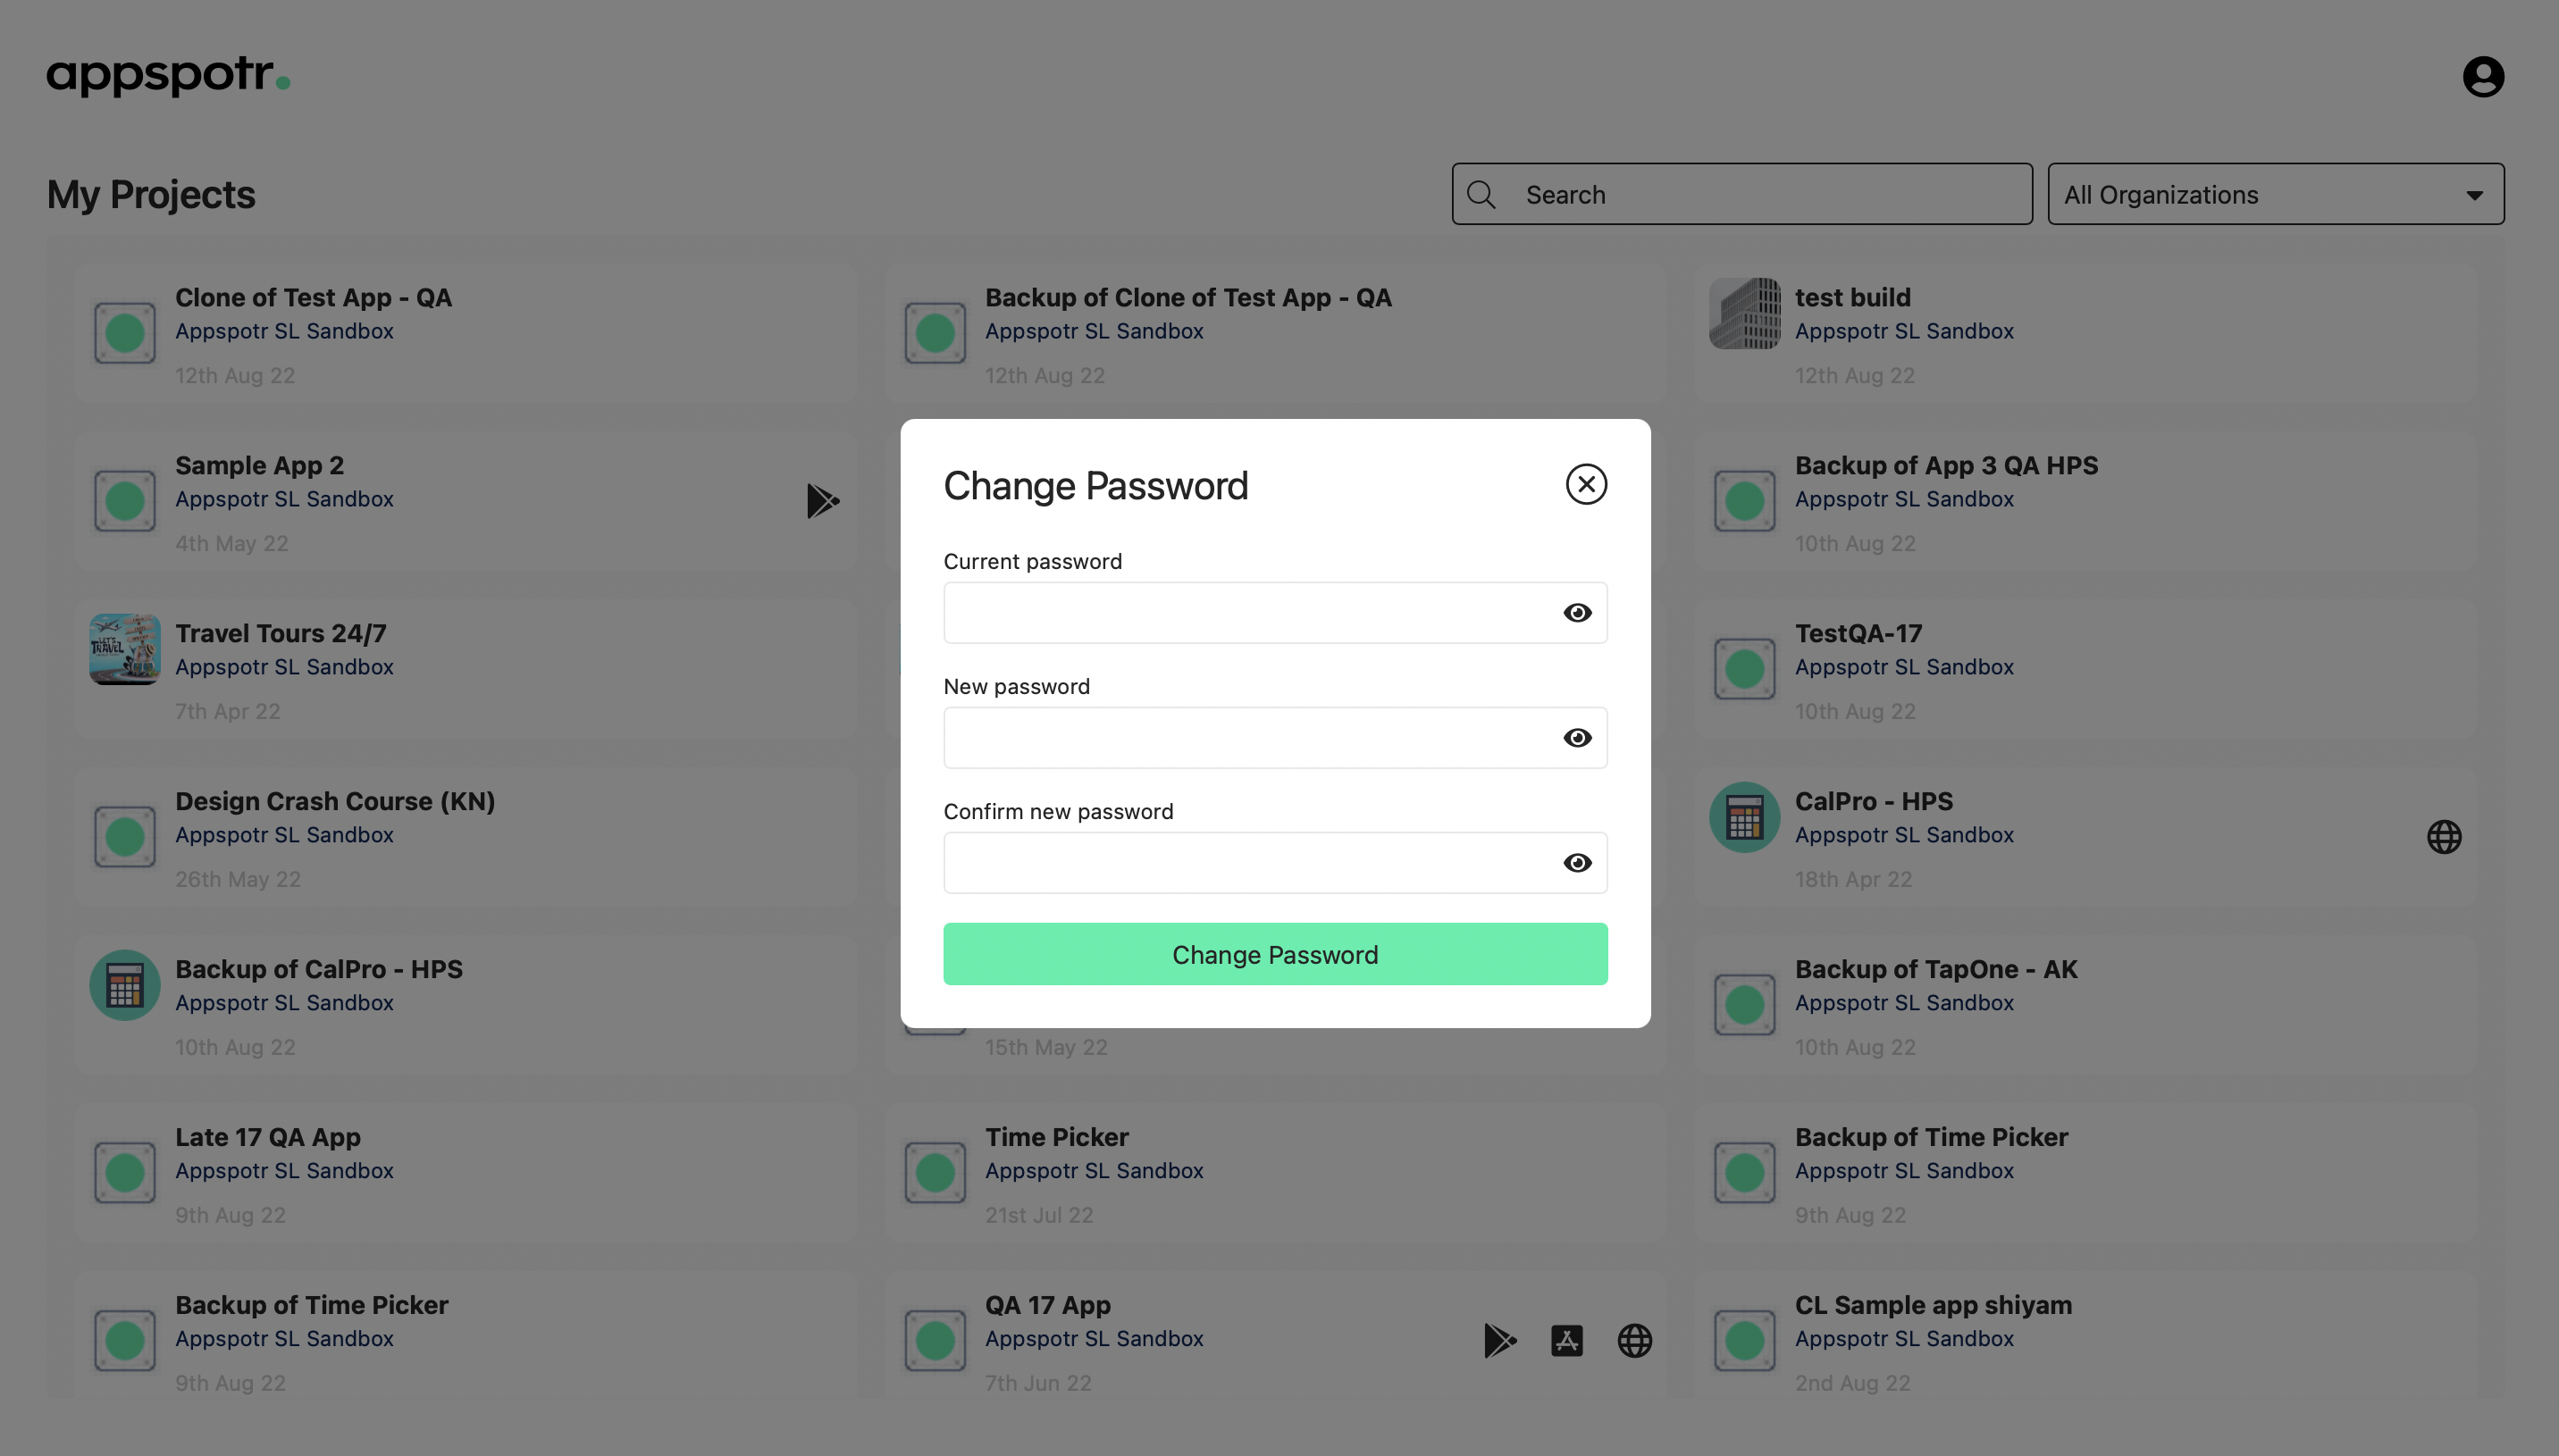
You can also change your password according to your requirement.
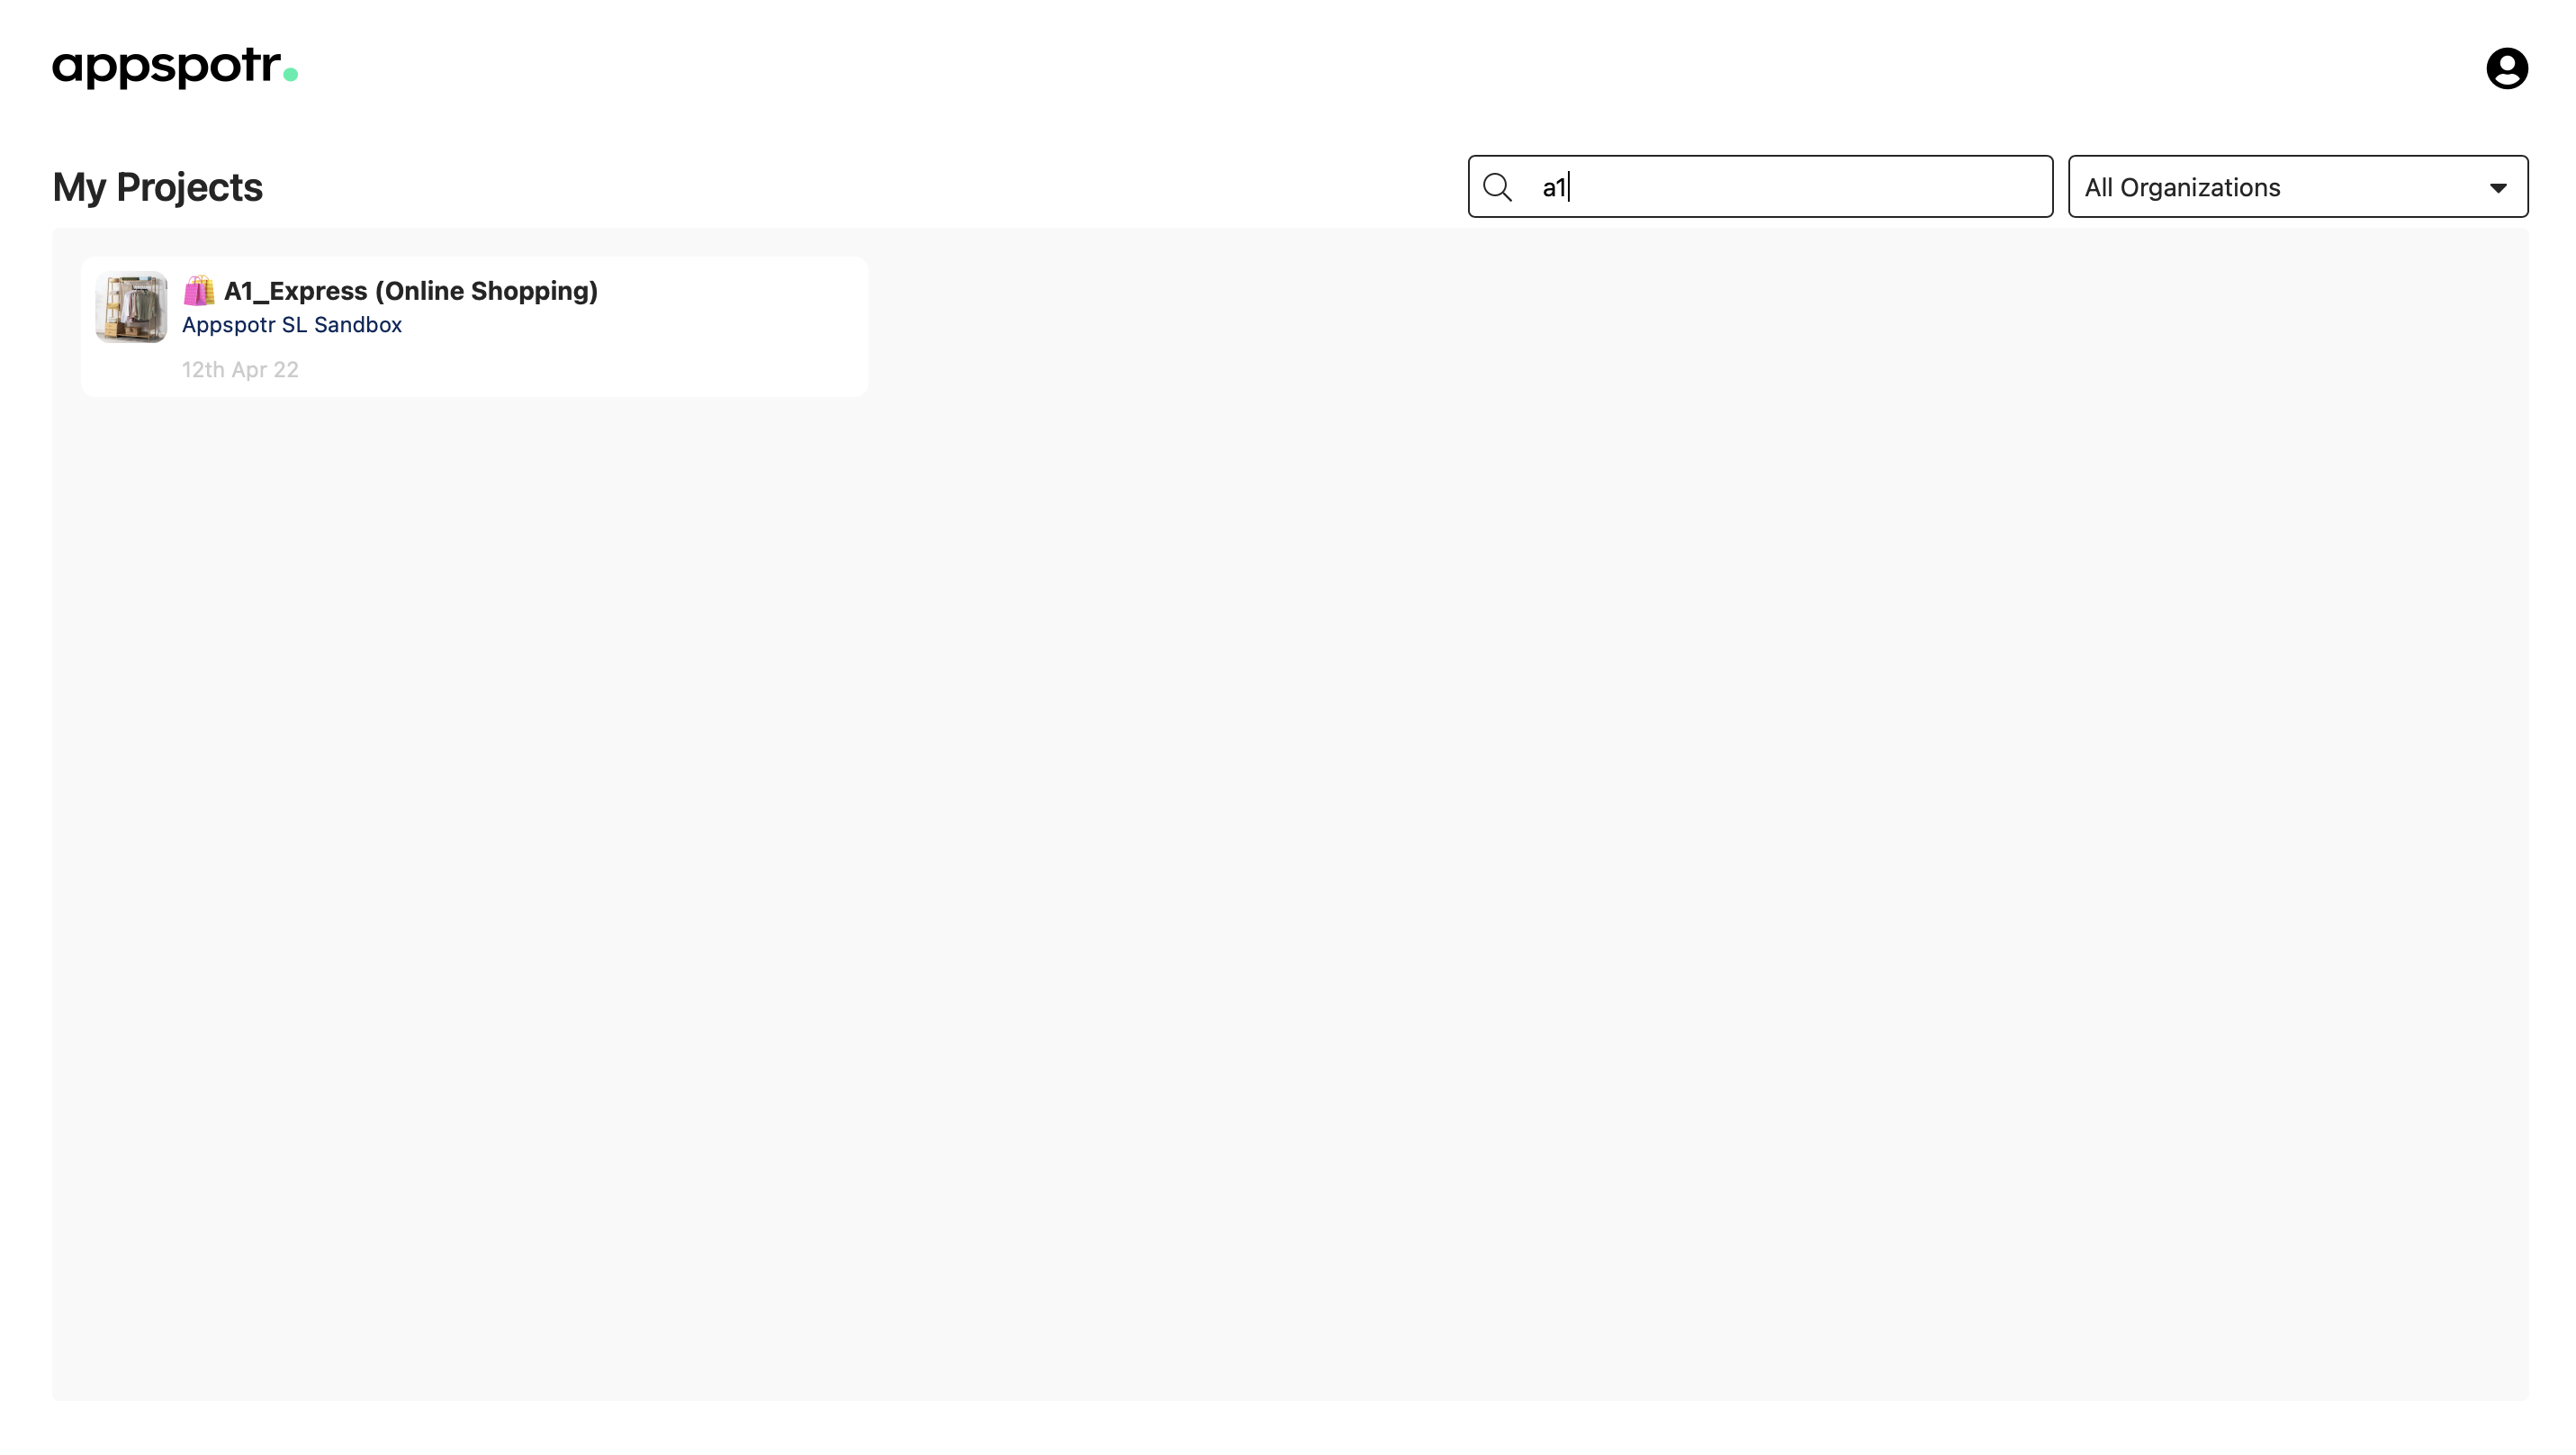
Coming back to My Projects…

You can filter projects under the Organizations if you want. And the Search Bar allows you to find a specific app easily.
In this guide, we are going to select the A1_Express (Online Shopping) to move forward.
-
Once you click on the selected app you will be directed to a new view.
It includes 6 sections - Analytics, Datasets, App Users, User Groups, Push Notifications and Media.
The sidebar can be collapsed according to your liking.
Analytics
App Analytics
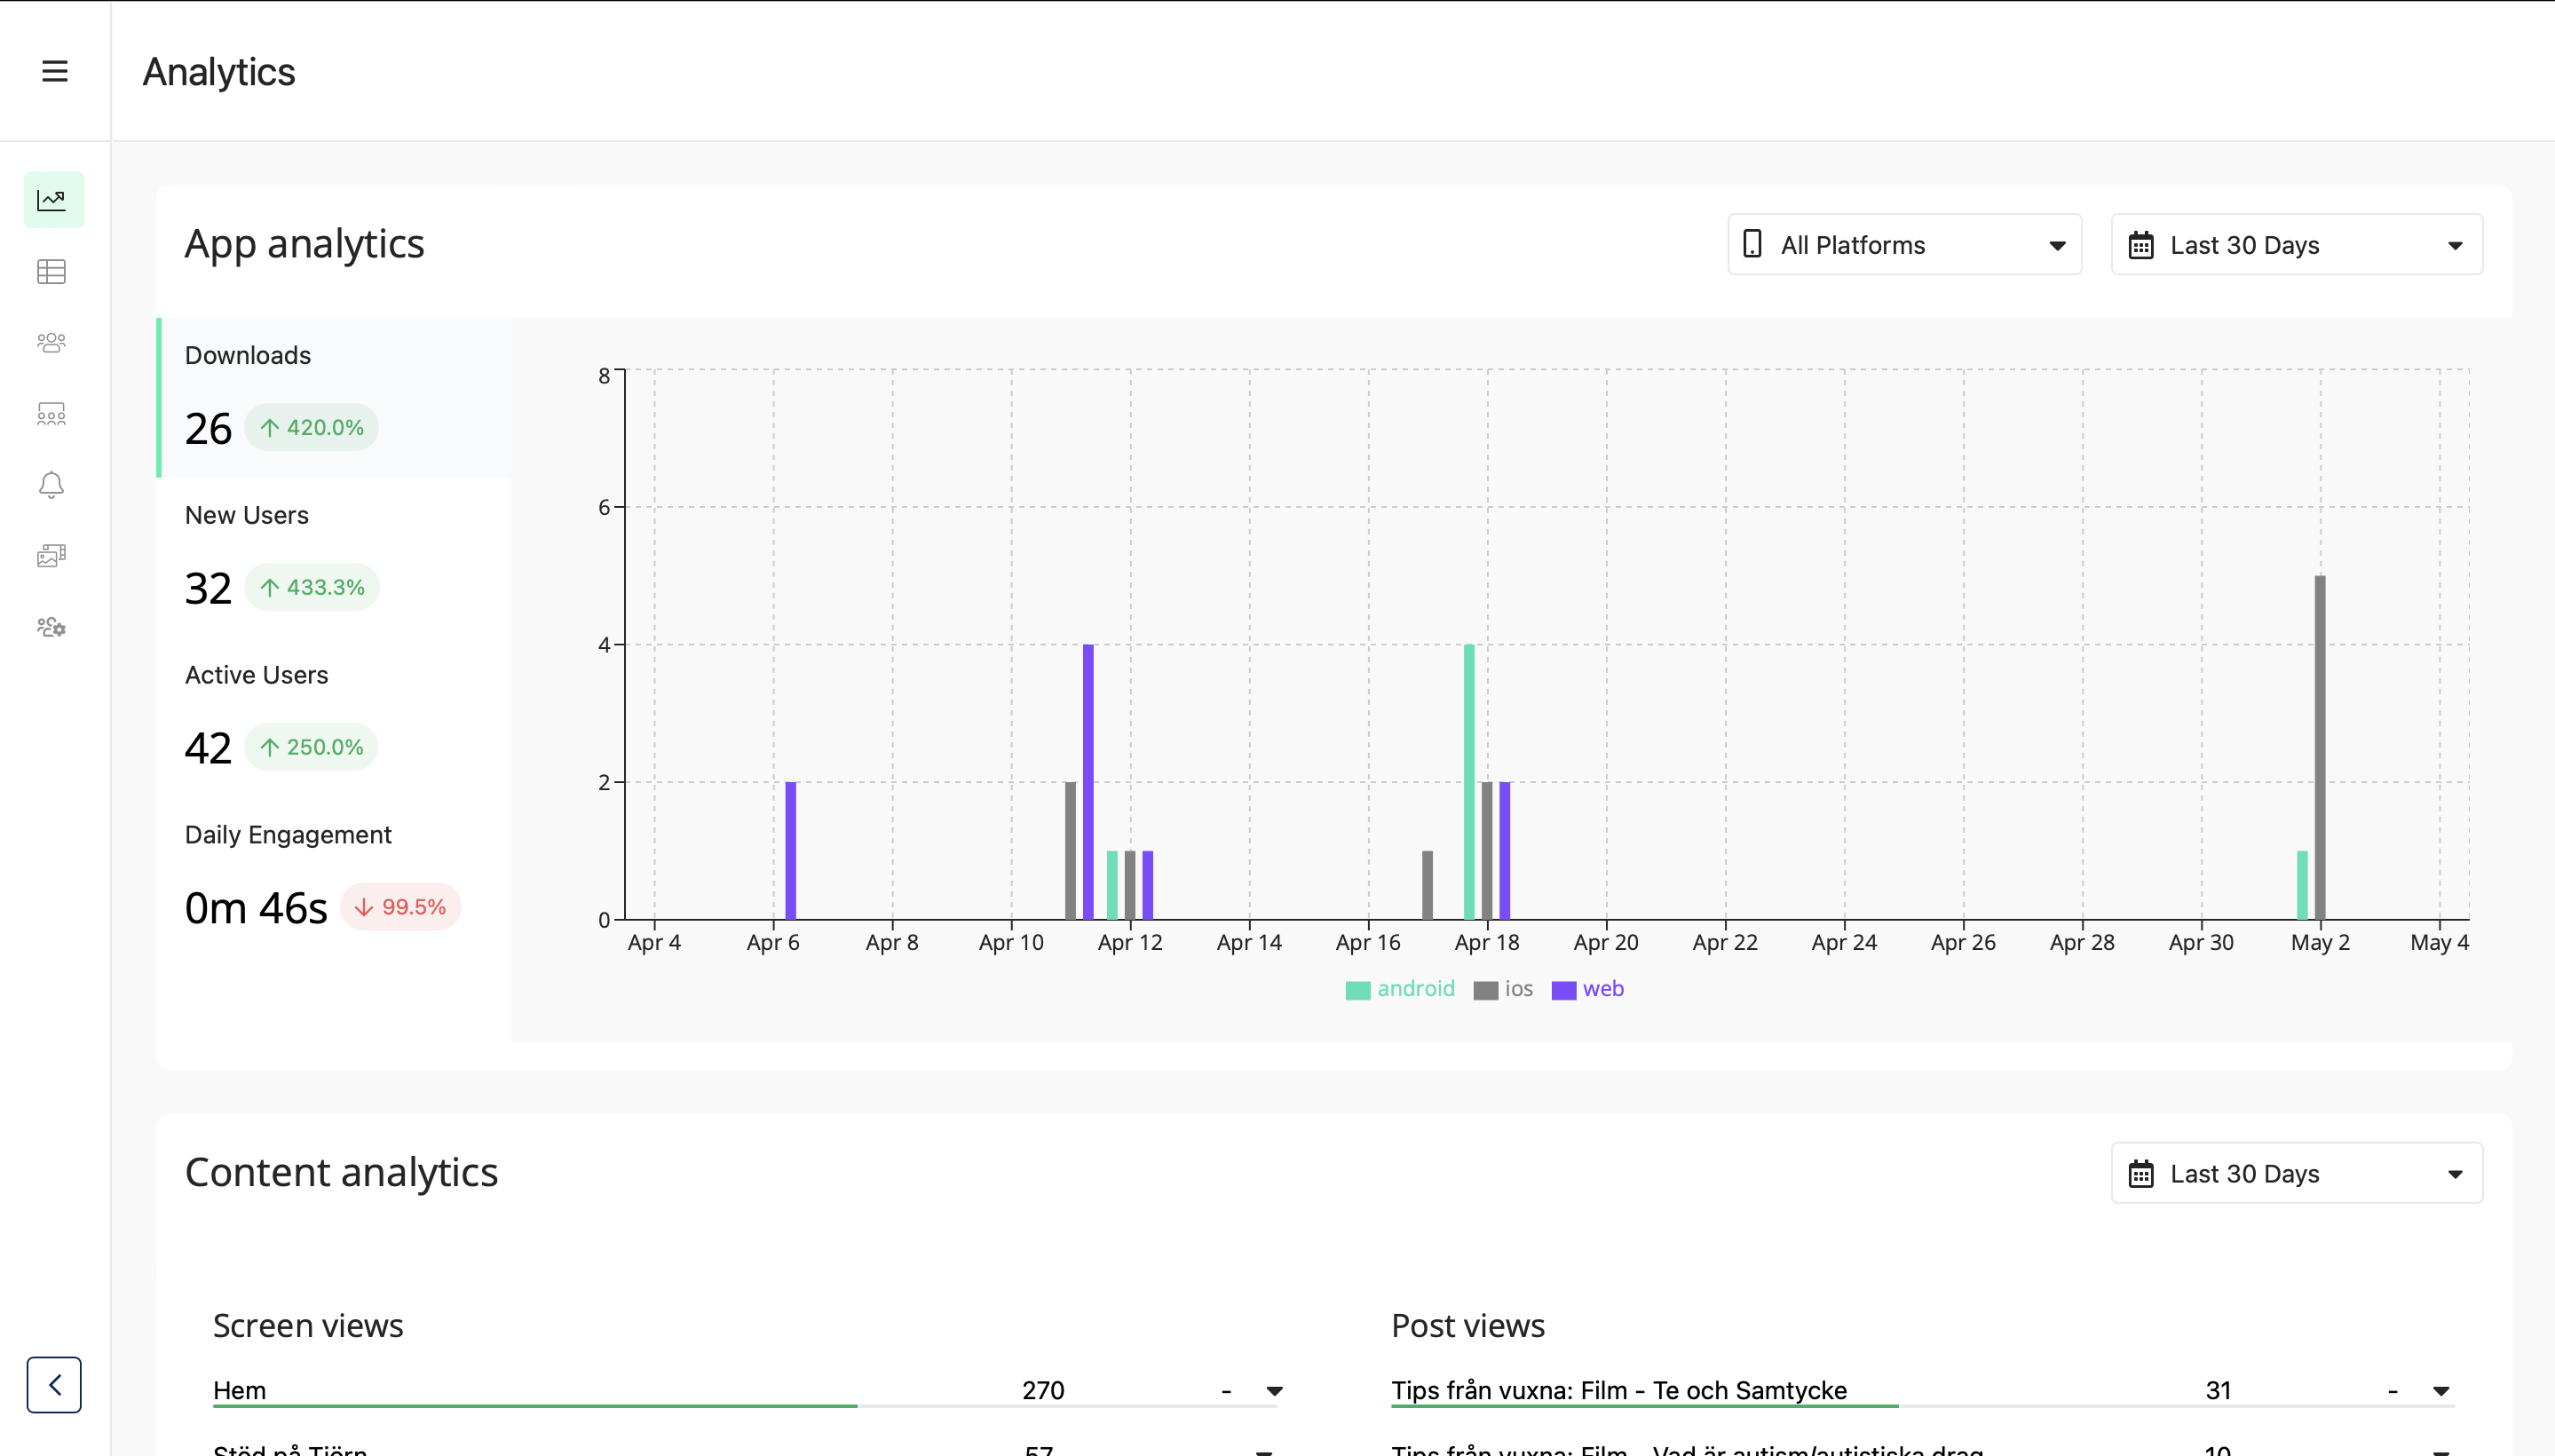
Through the Analytics, you can view the Analytics of the App
App Analytics is shown under 4 categories here.
Downloads
This bar chart shows the number of app downloads for each platform during the selected time range

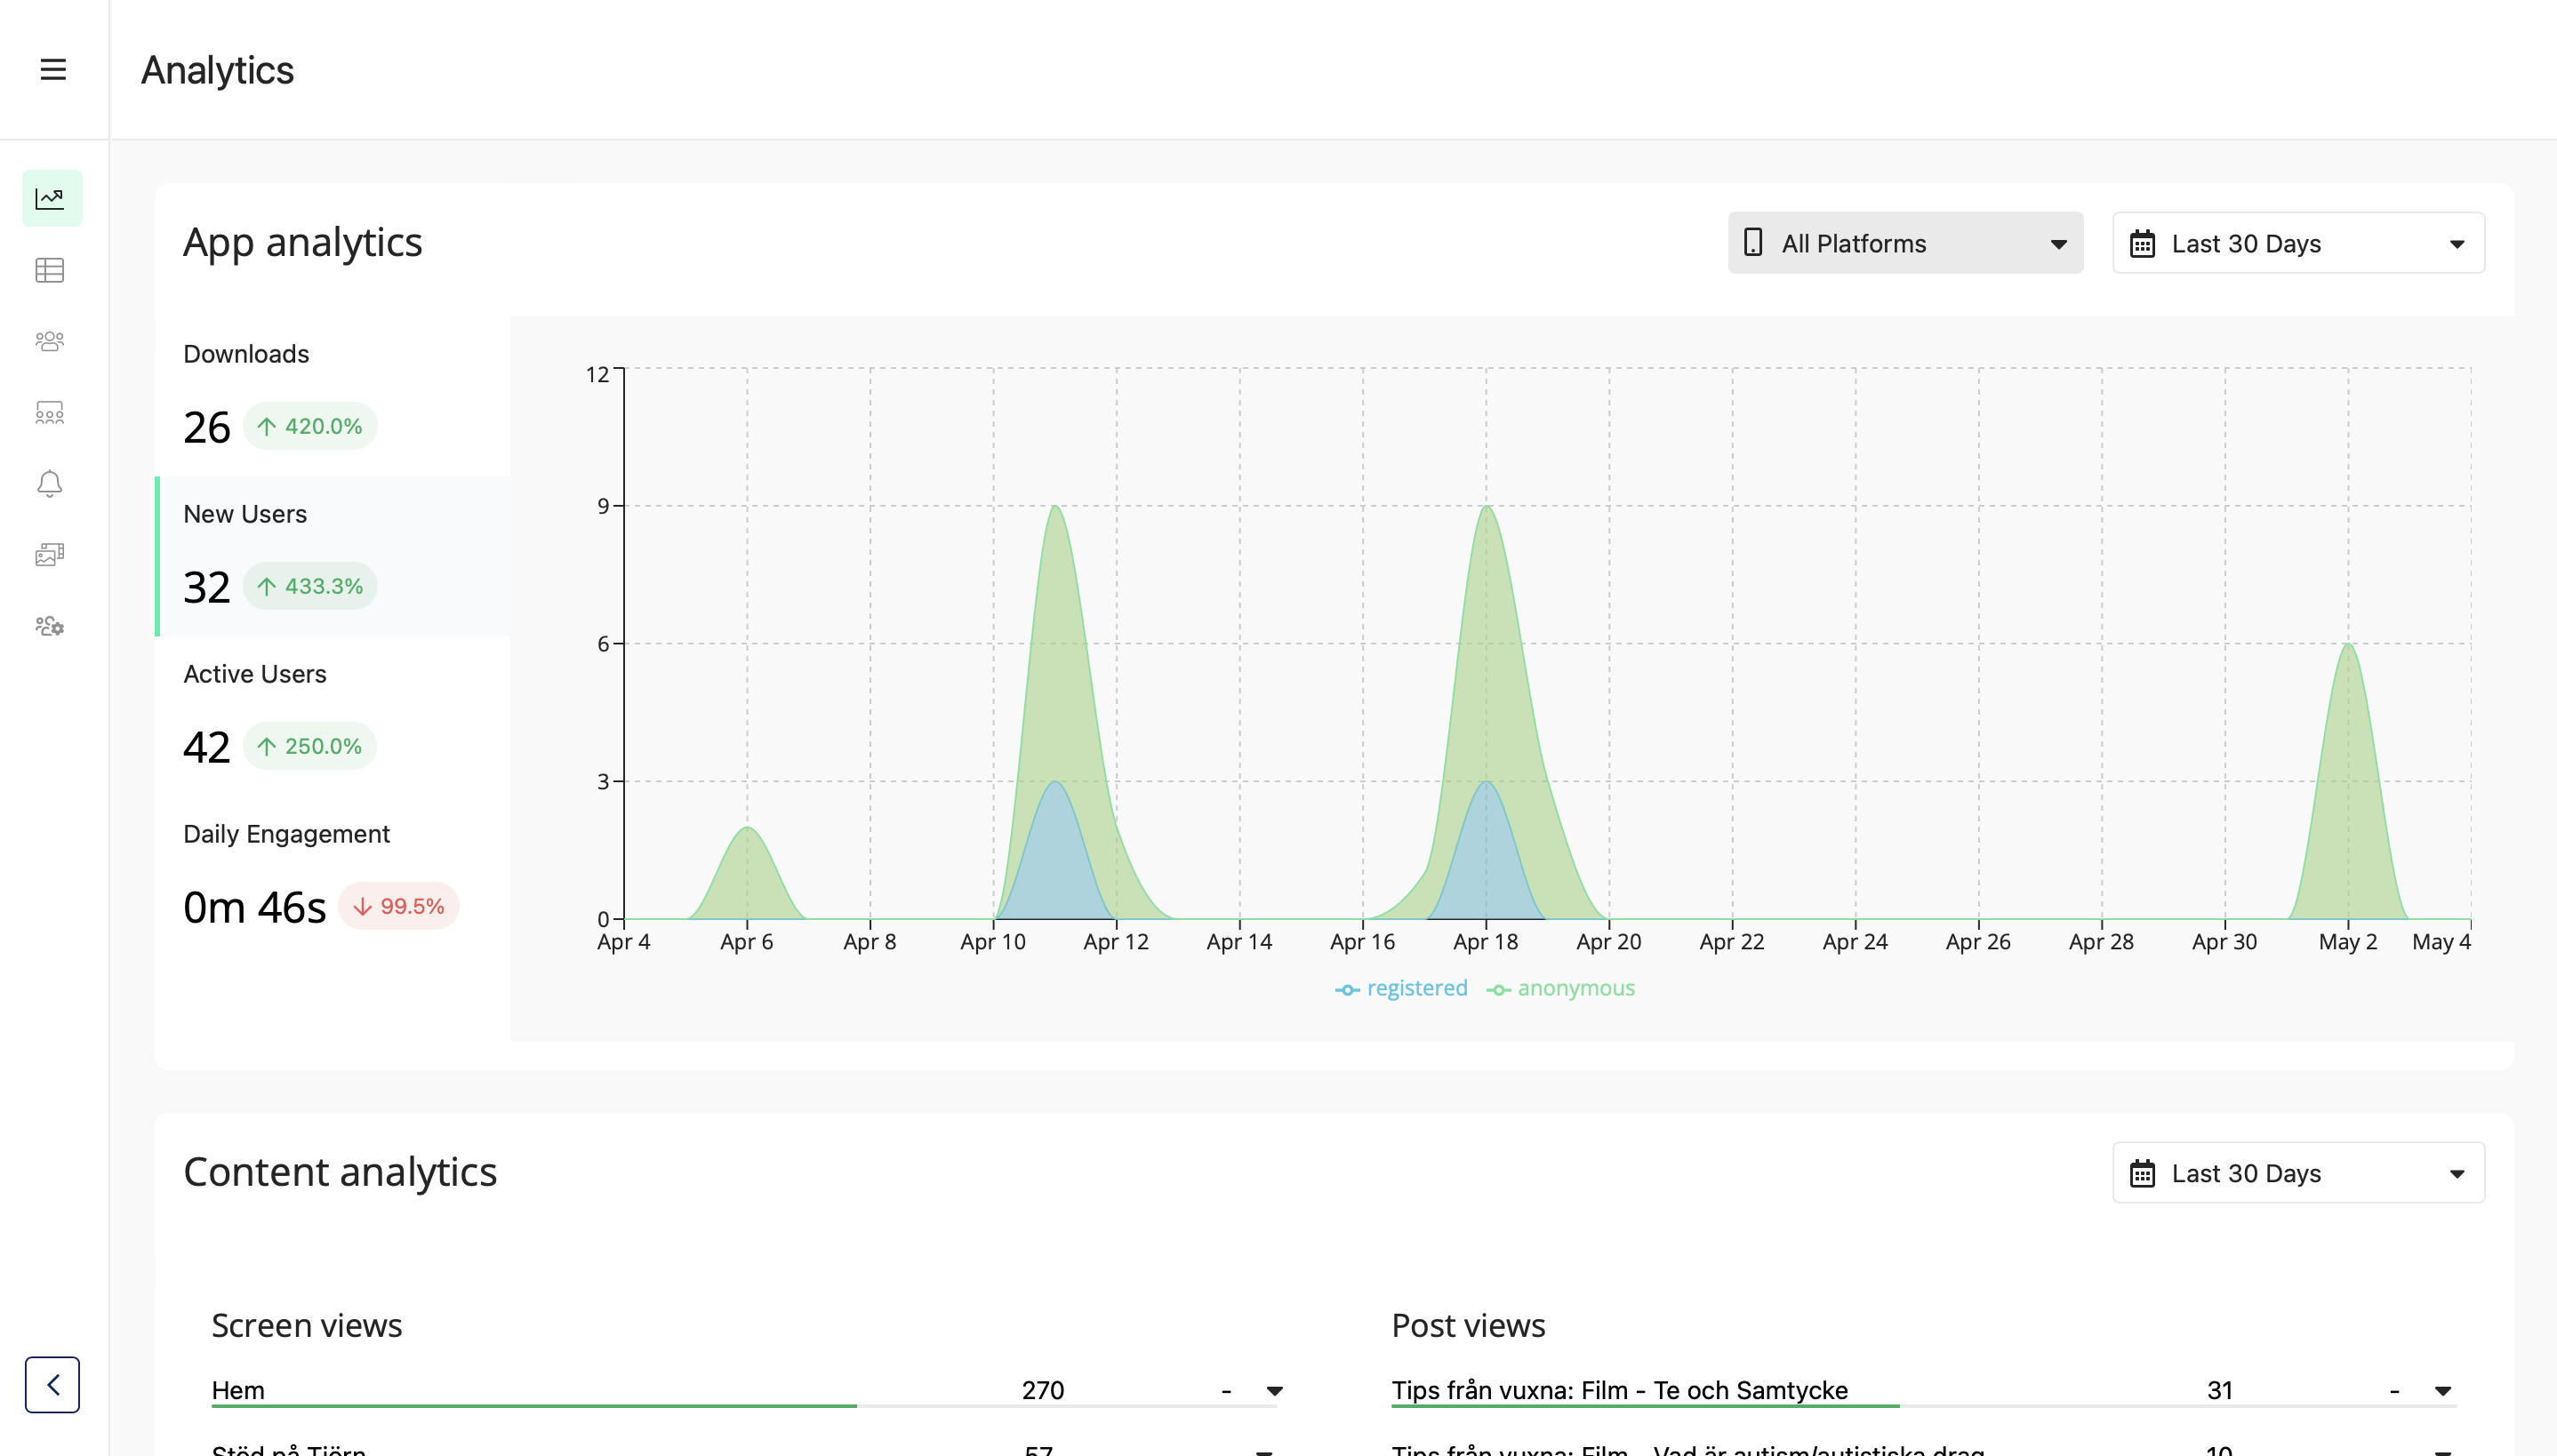
New Users
This number is the sum of registered and anonymous users. The graph provides a breakdown by day for the selected time period*
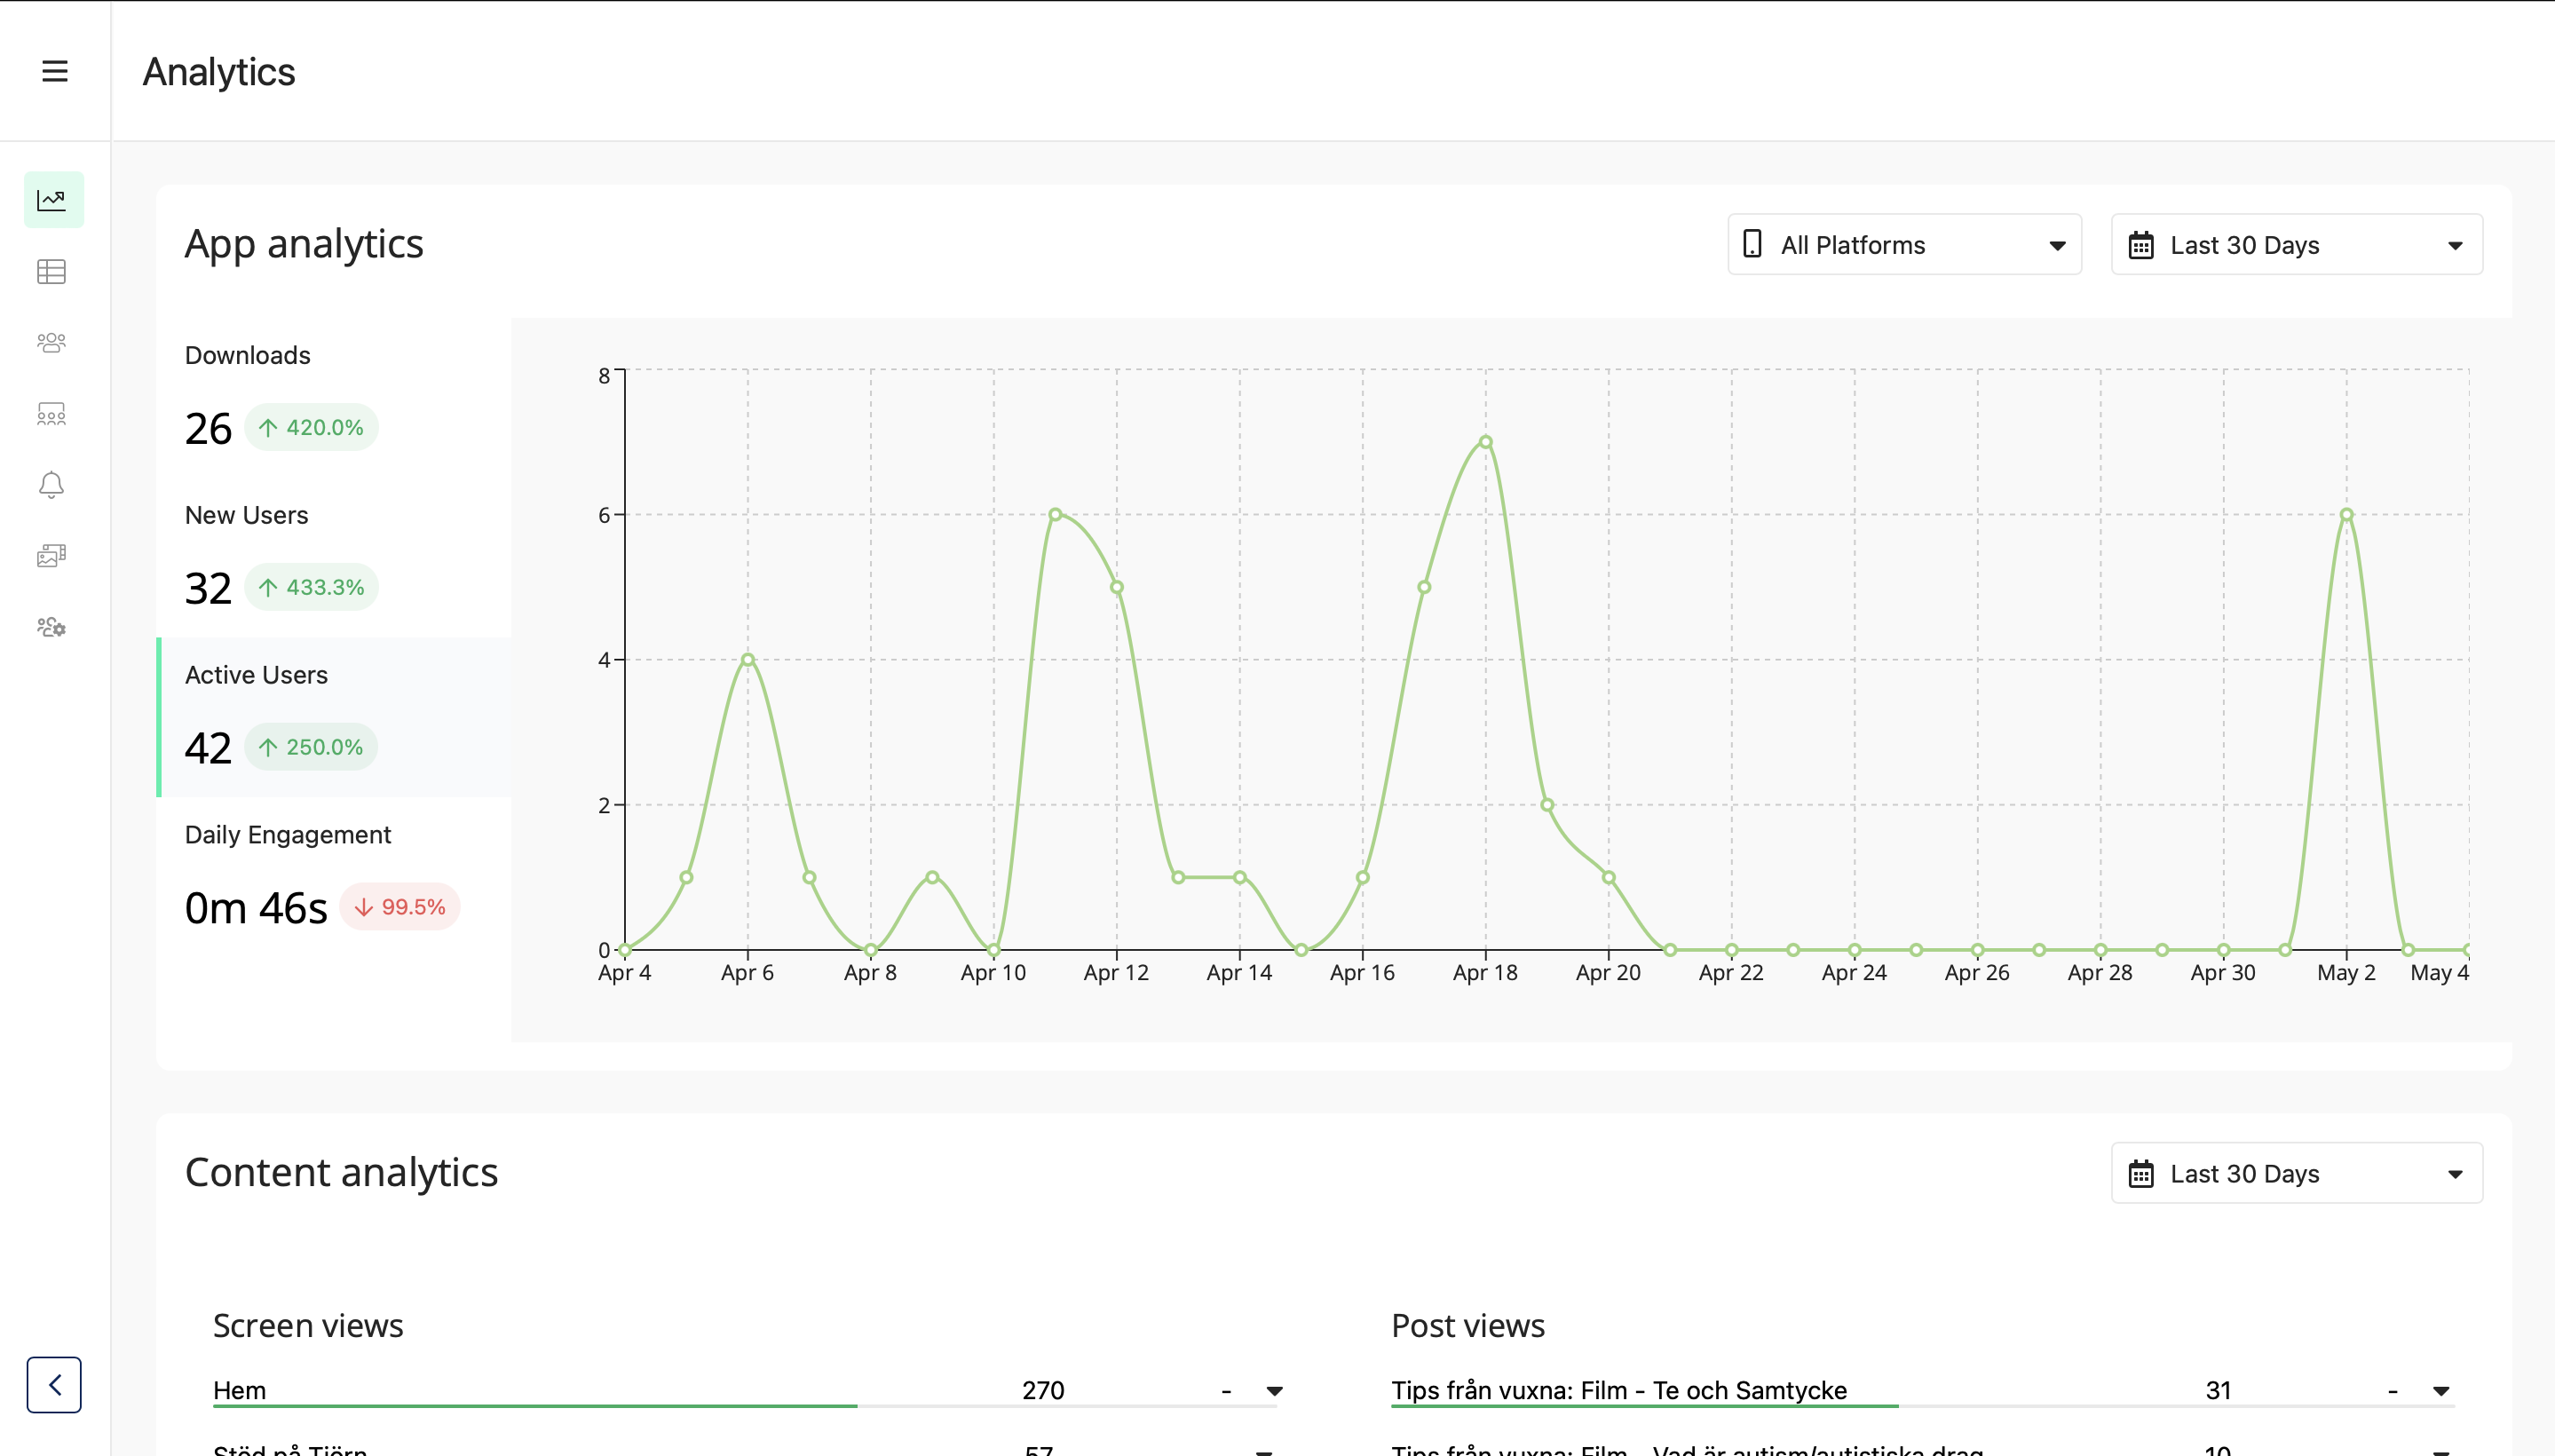
Active Users
This number represents the sum of the number of unique users who have had an active session on the app for each day within the selected time period.
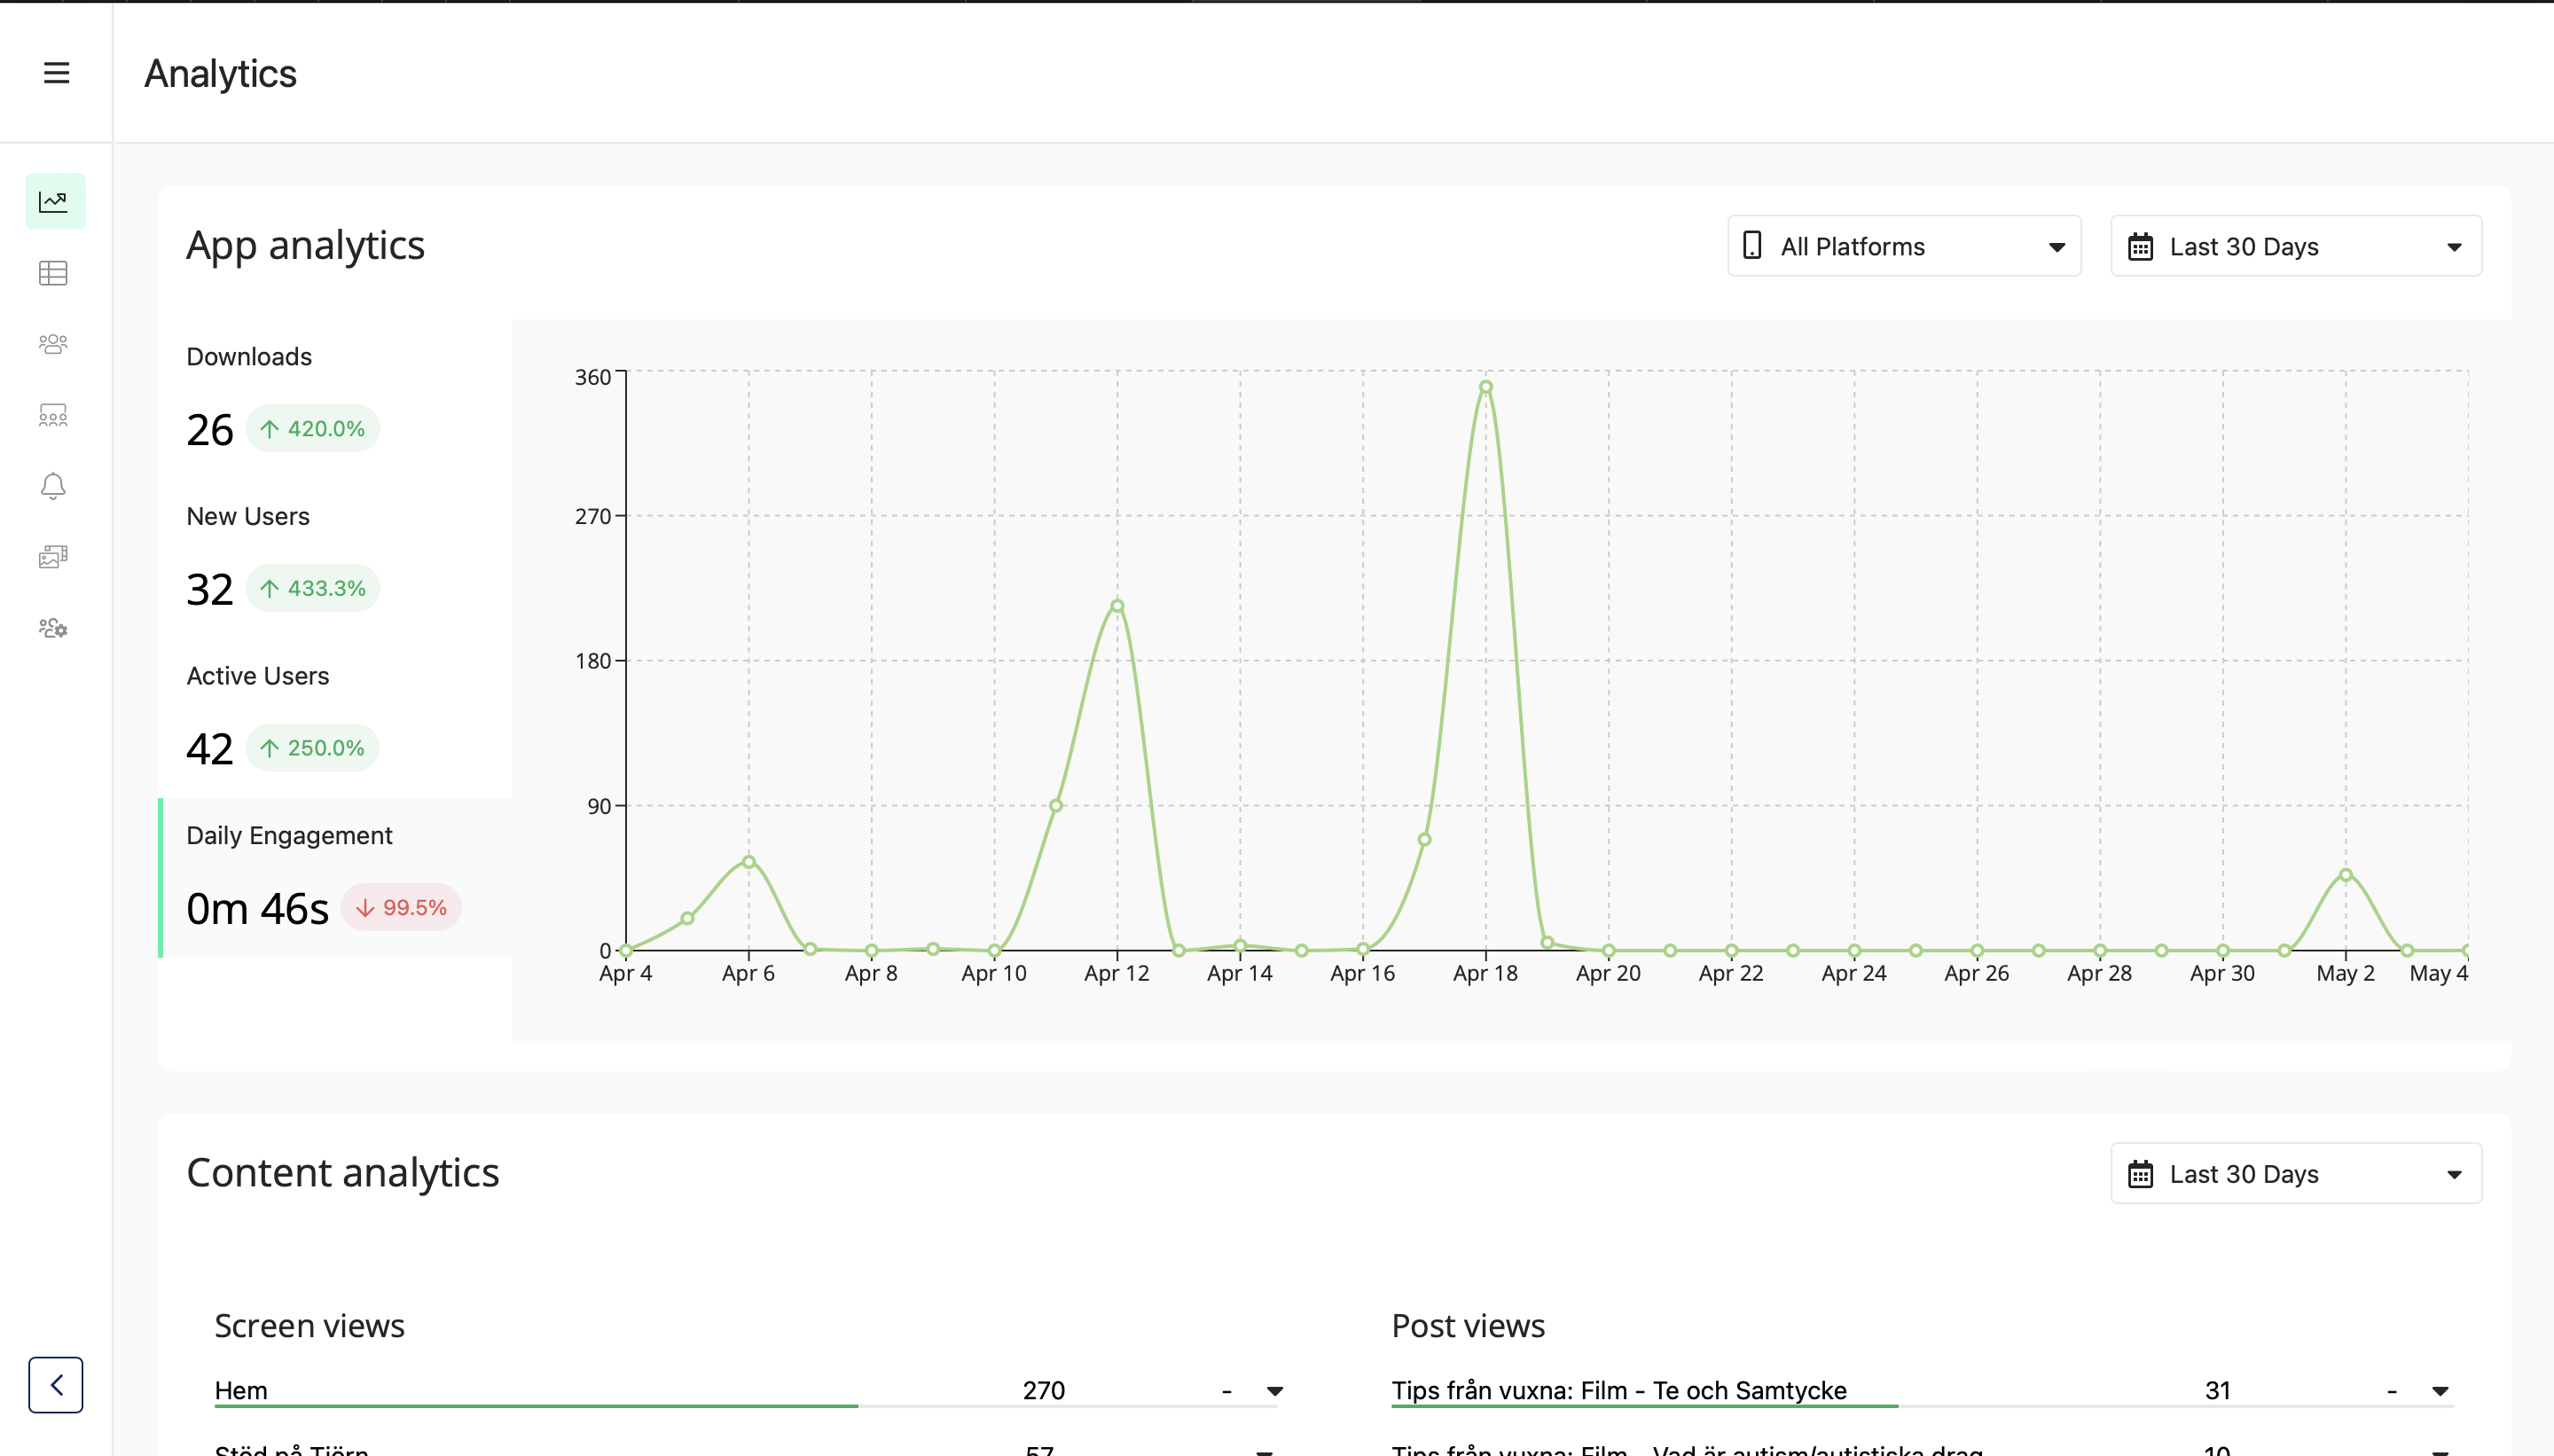
Daily Engagement
The average amount of time engaged in the app, per platform, for the selected time period is displayed in this line graph.
Content Analytics
Here you can view the analytics for your app screens and posts.
Learn more about Analytics
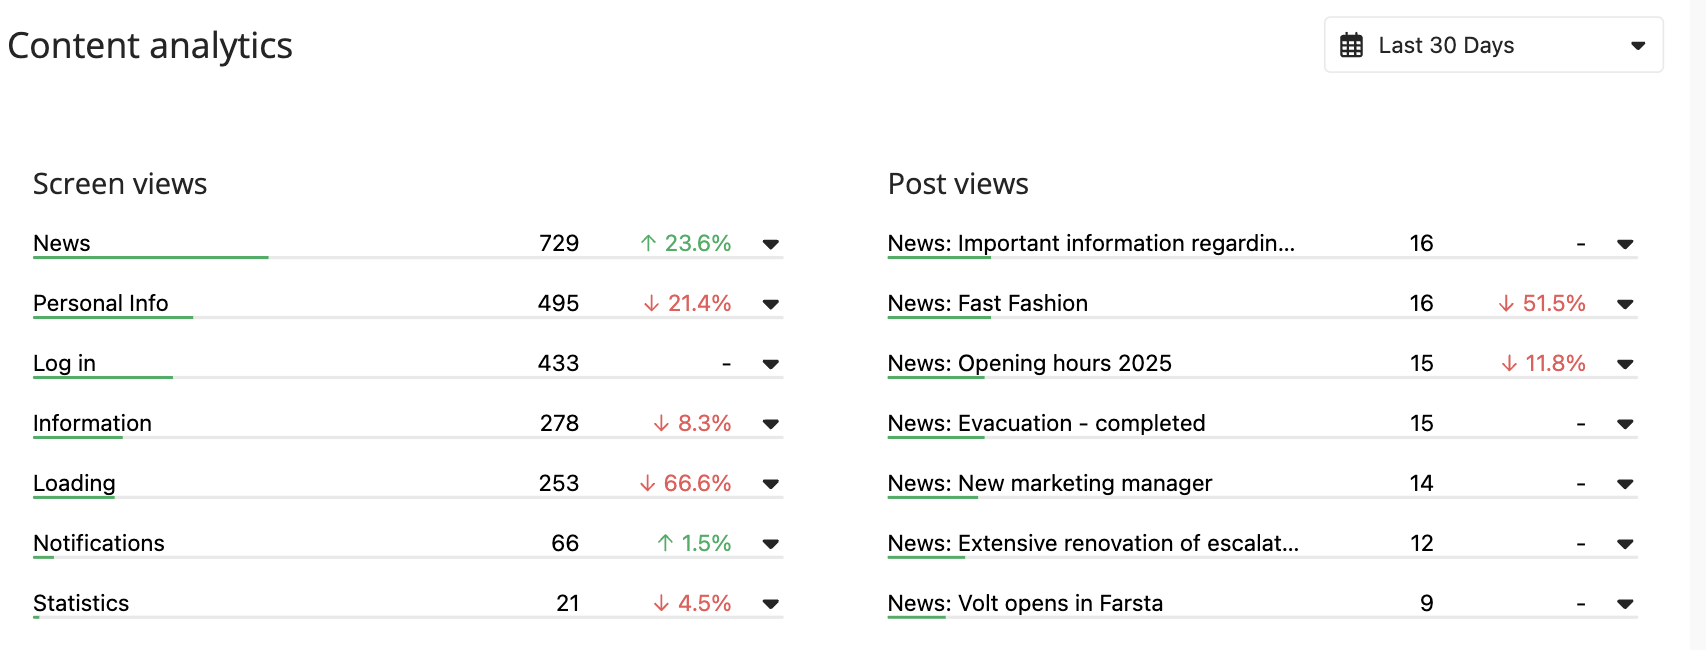
Screen Views
This feature tracks the number of views a specific view patch receives within a defined timeframe. The displayed view name corresponds to the name assigned in the view patch within the app’s structure builder (patchwork).
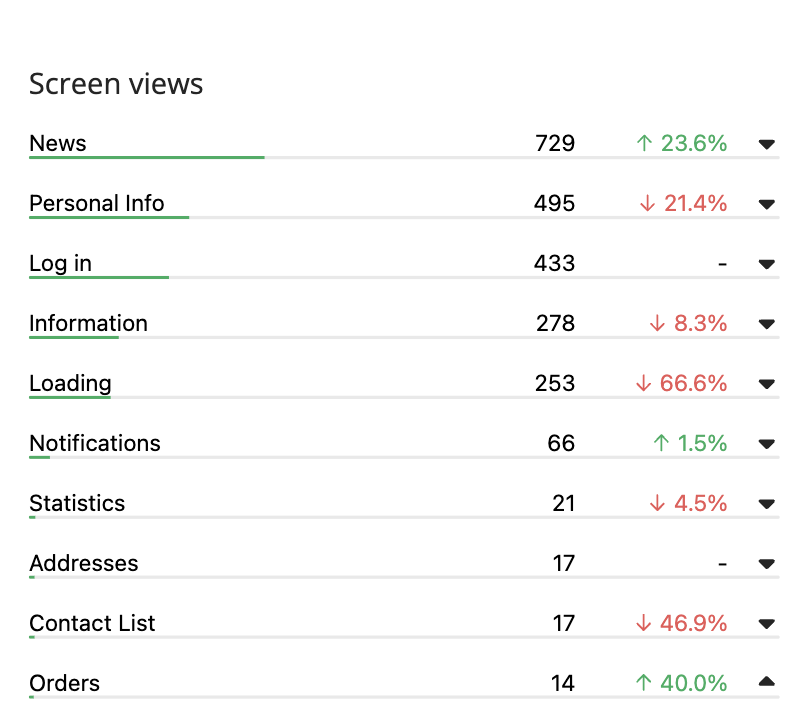
By default, analytics are collected for any view patch connected to a menu or as an item in the patchwork. To enable analytics for other view patches, users must activate the "Collect Analytics" property in the relevant patch and publish a new version in Appspotr CMS.
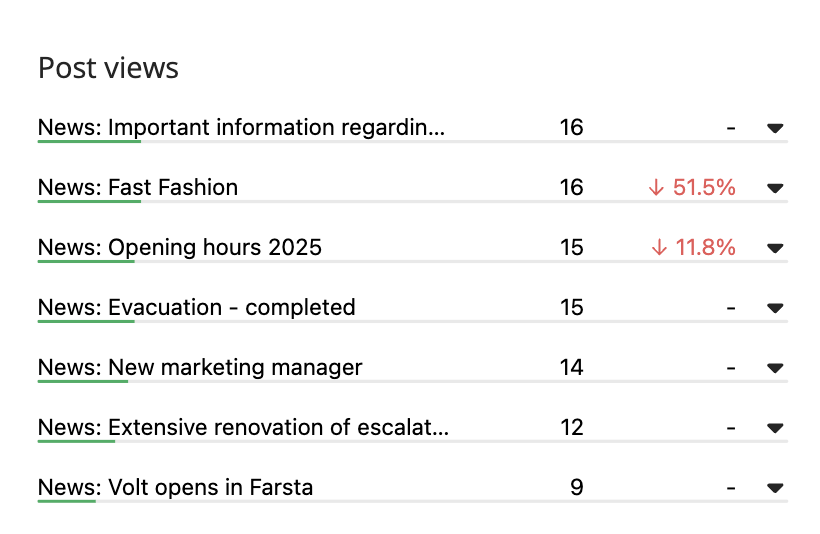
Post Views
Post Views feature tracks the number of views a dataset or content post receives within a specified timeframe.
On the dashboard, the displayed name combines the dataset or content table name with the value from the first column of the specific dataset or content item.
You can use the time filter to filter the analytics according to the required durations and time limits
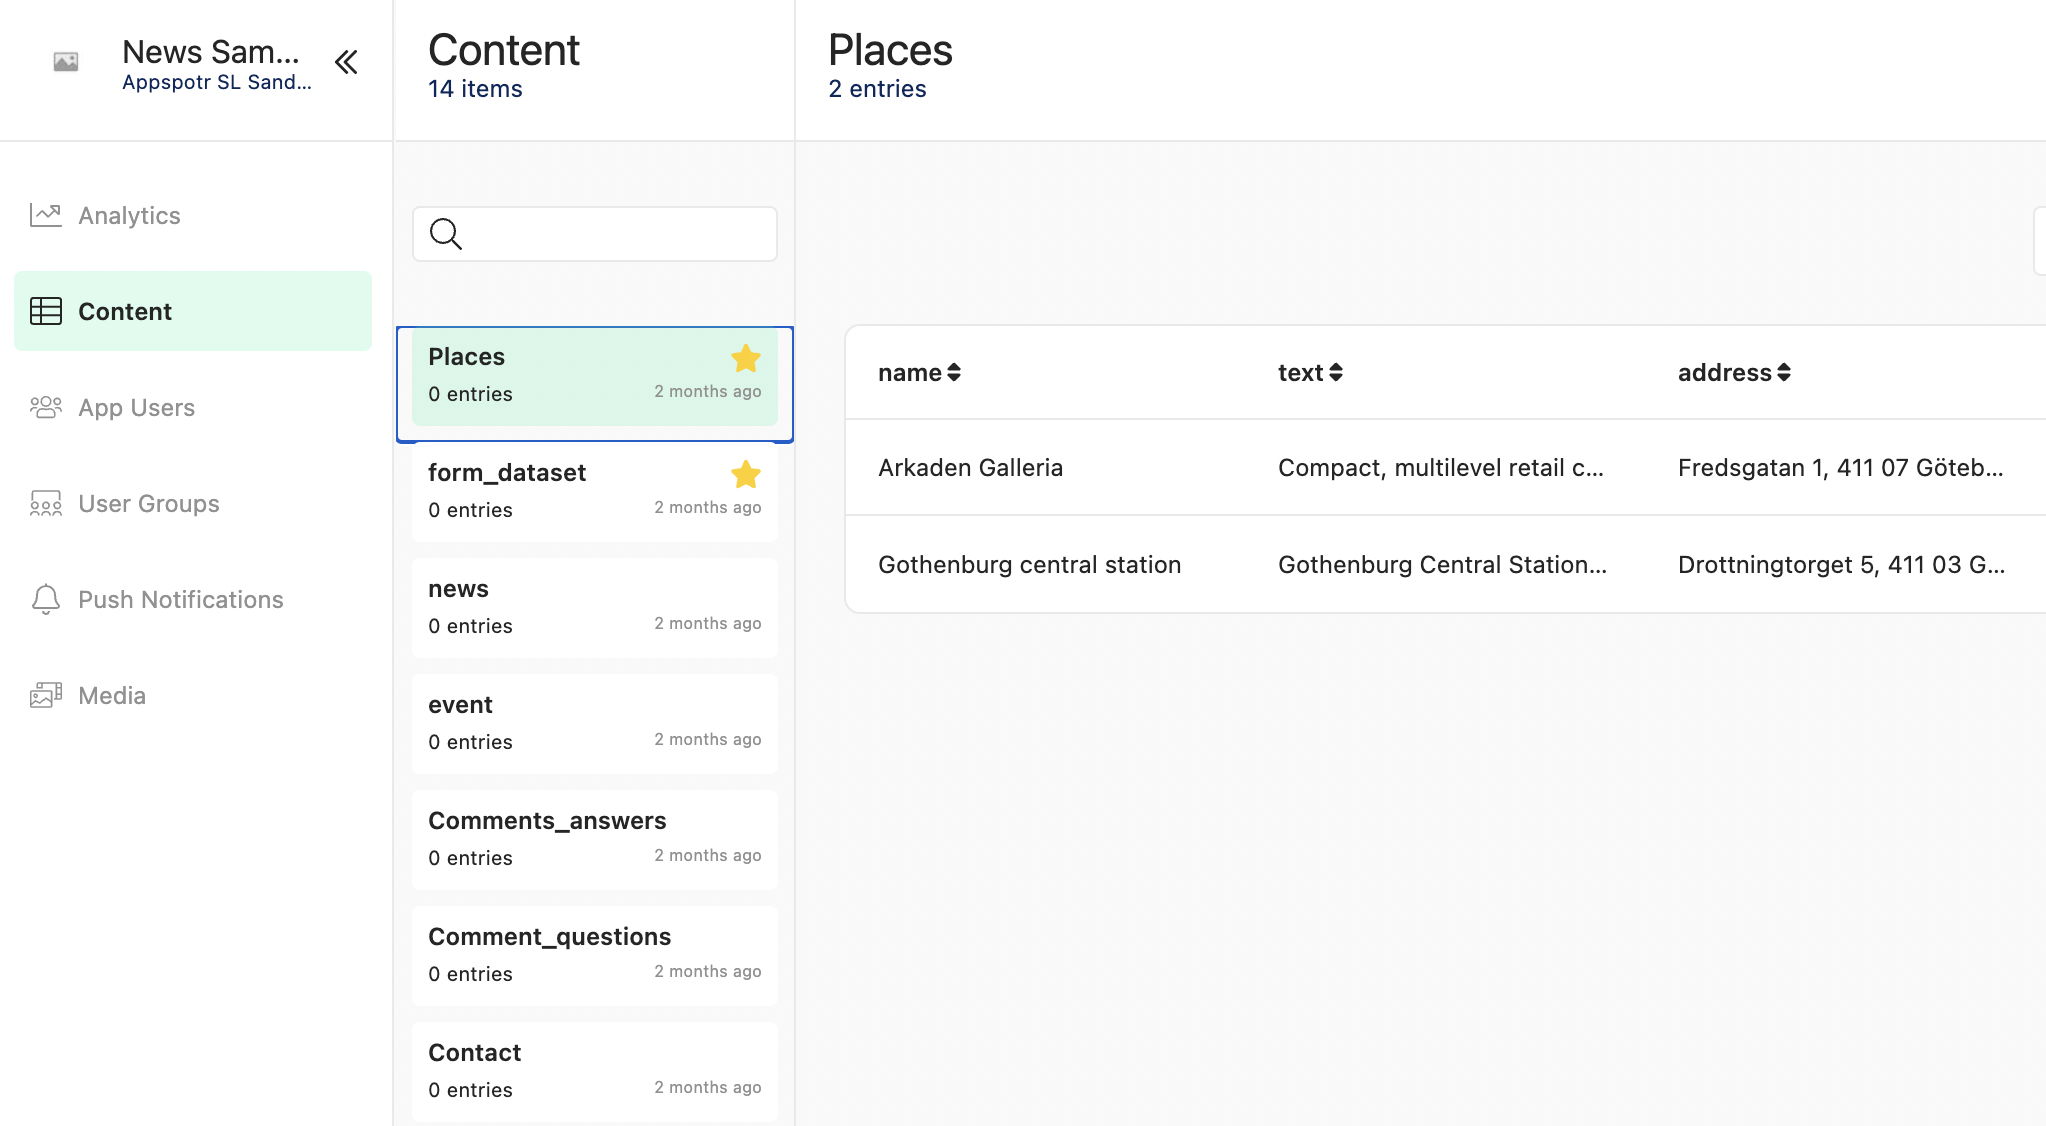
Content
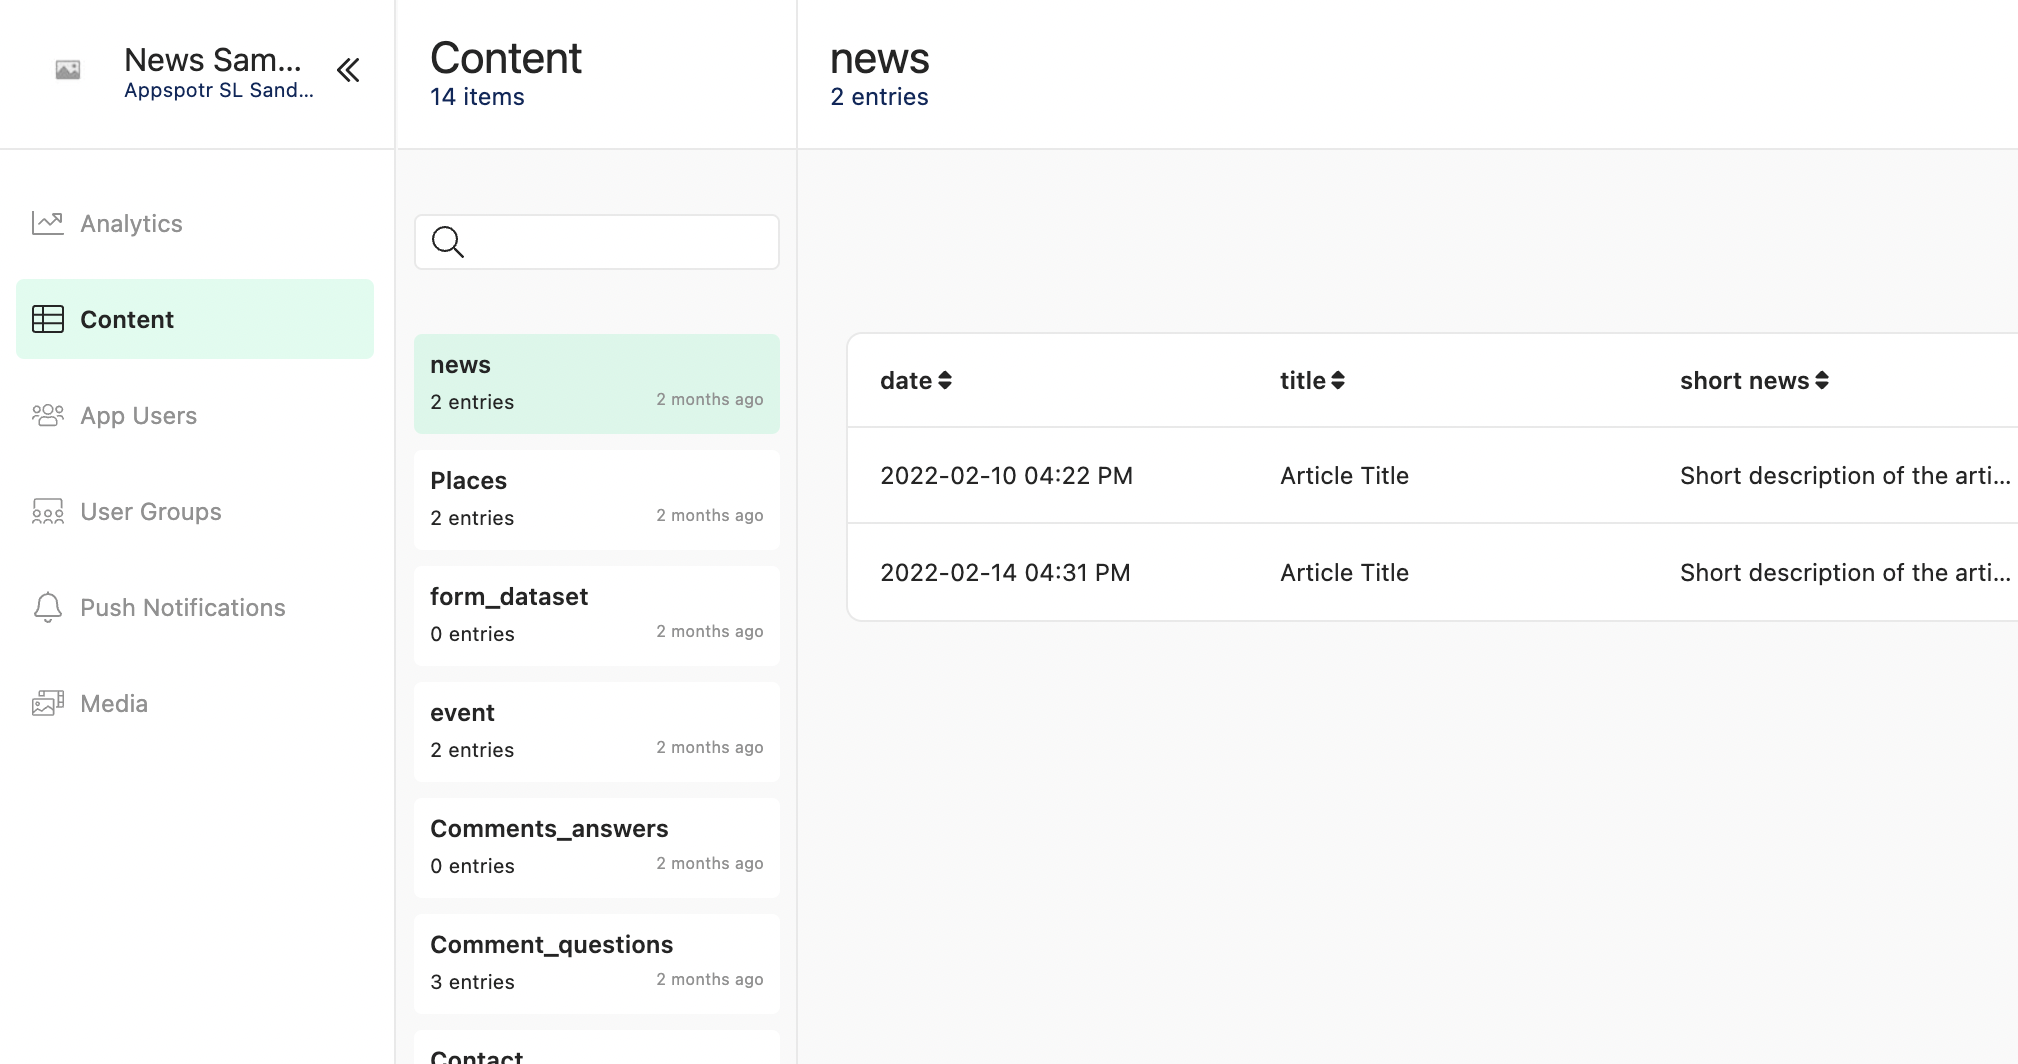
Click on the Content section
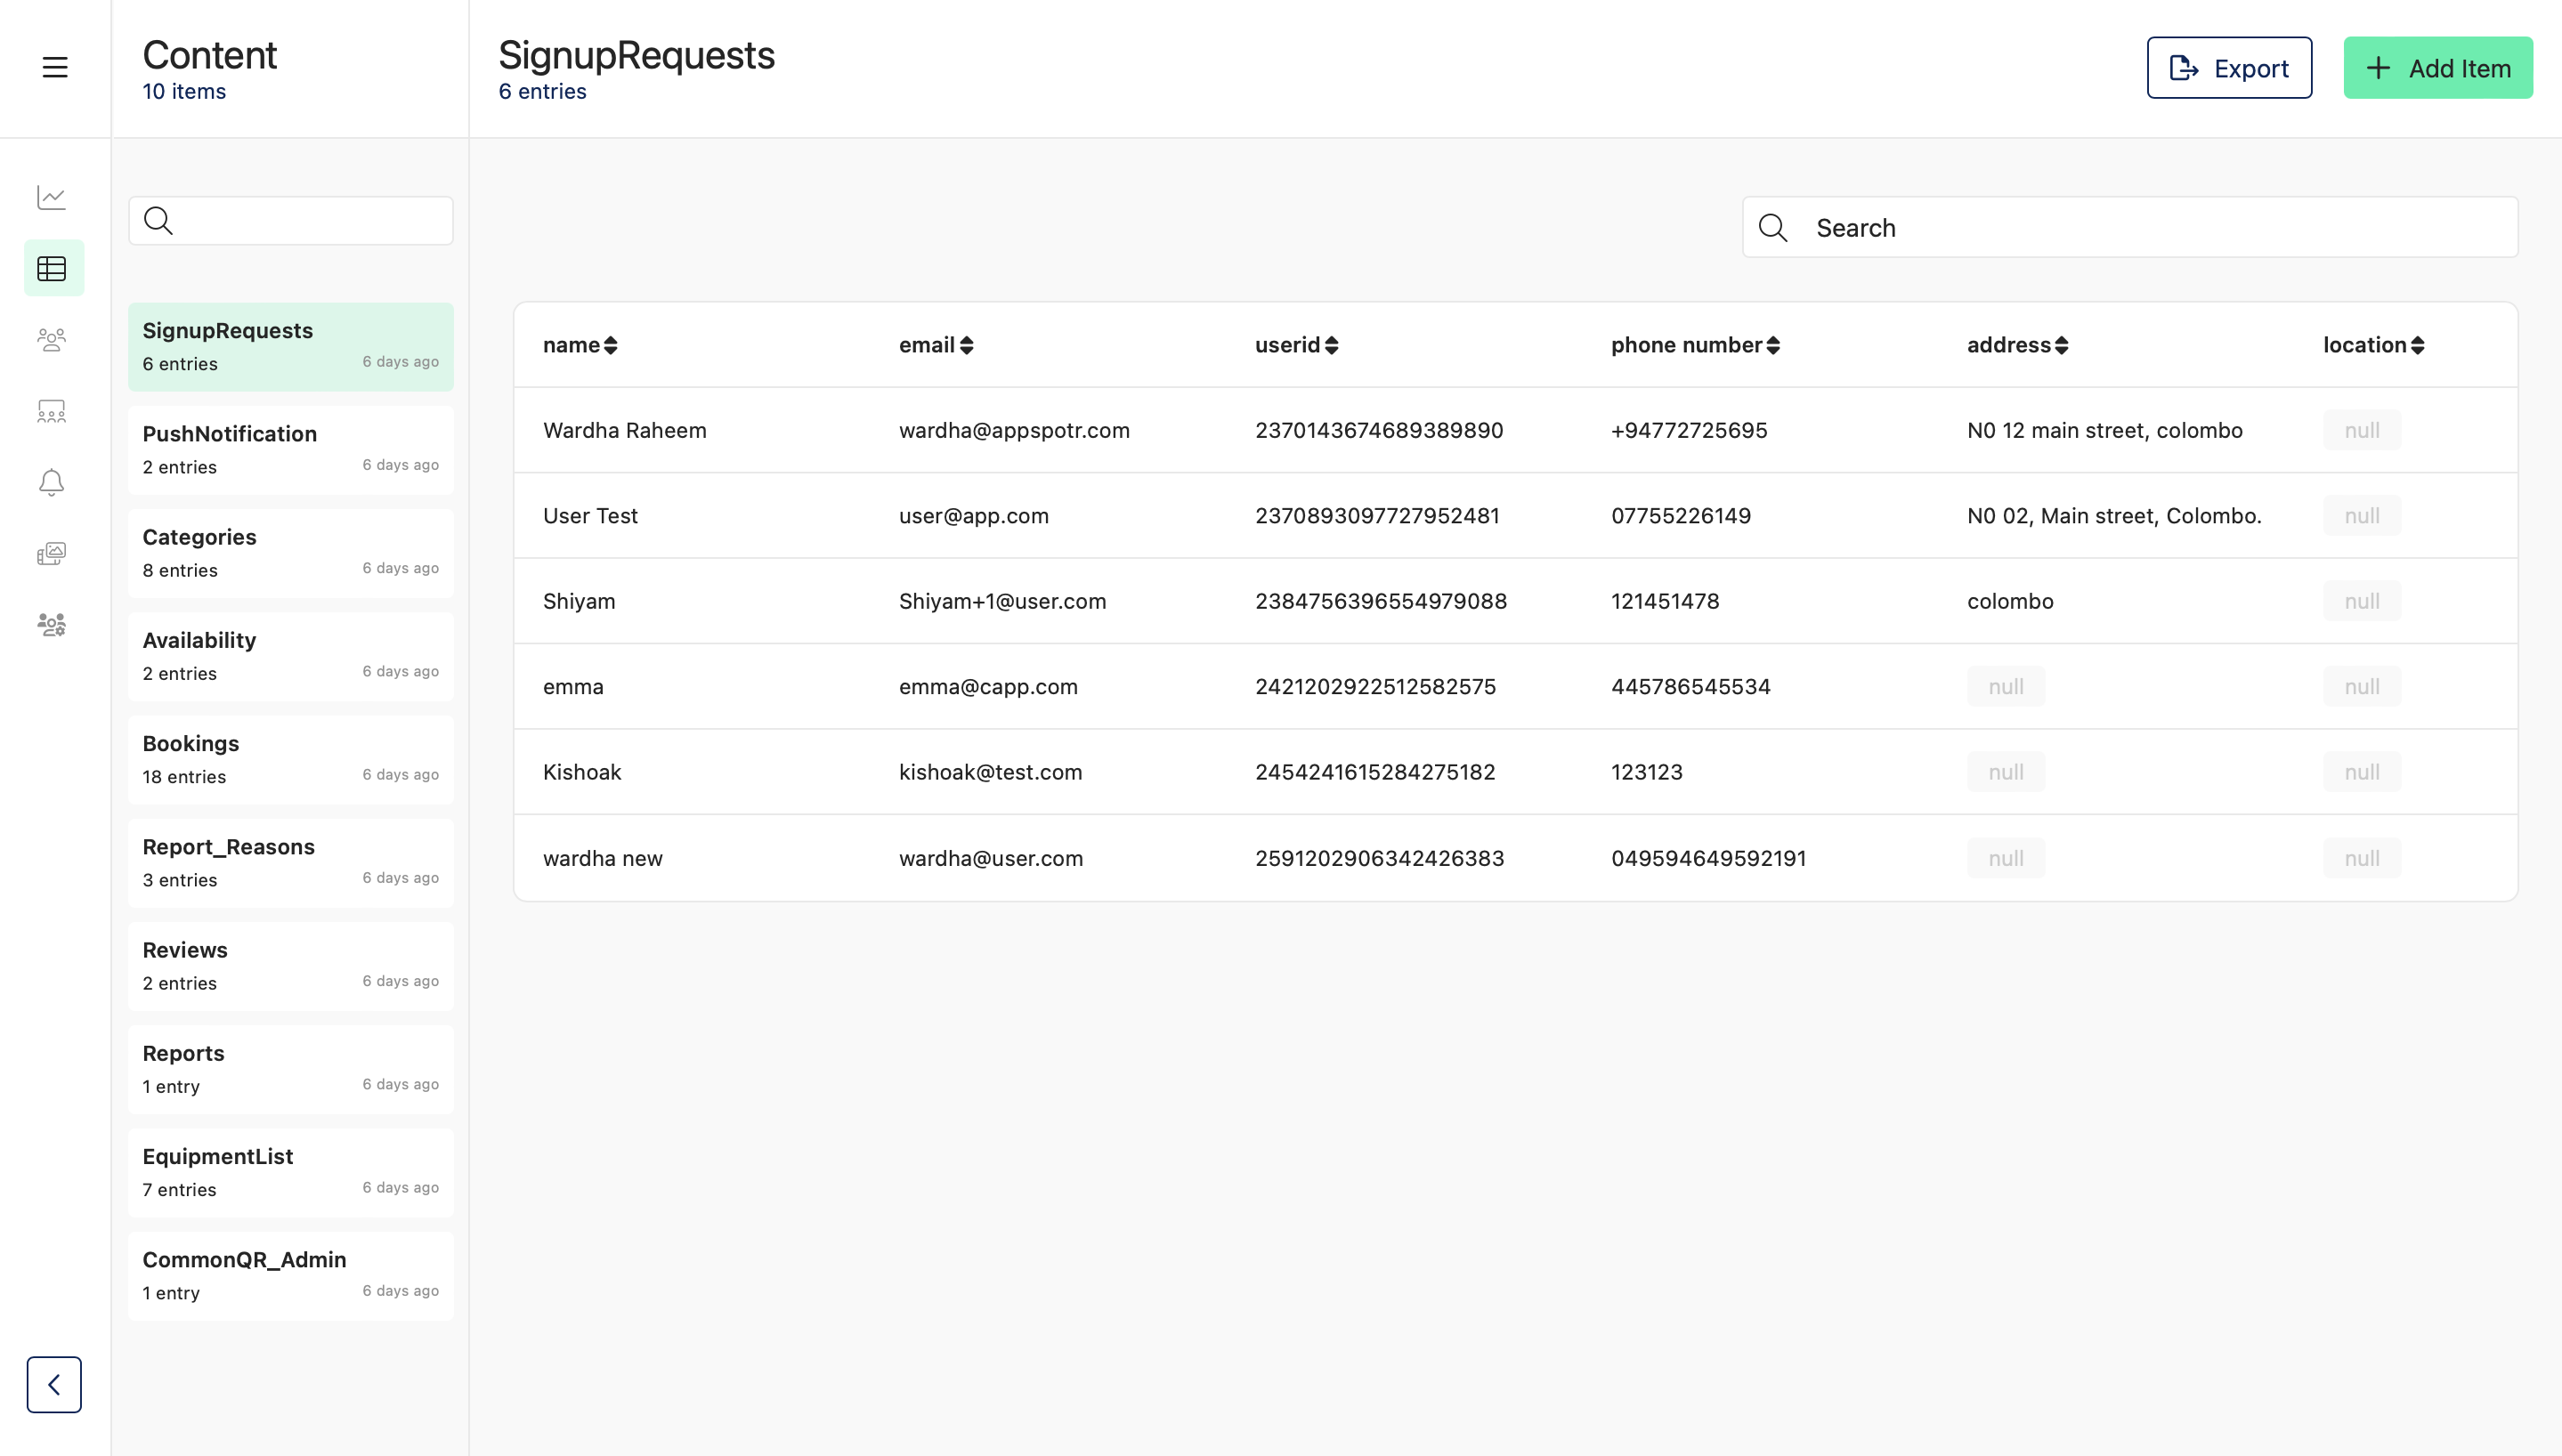
A secondary bar will open to display the available Datasets. All dataset items that have been added to each dataset in the Appspotr CMS will be visible here as well.
Add Item to a dataset
-
Select the required Dataset
-
Click on Add Item
-
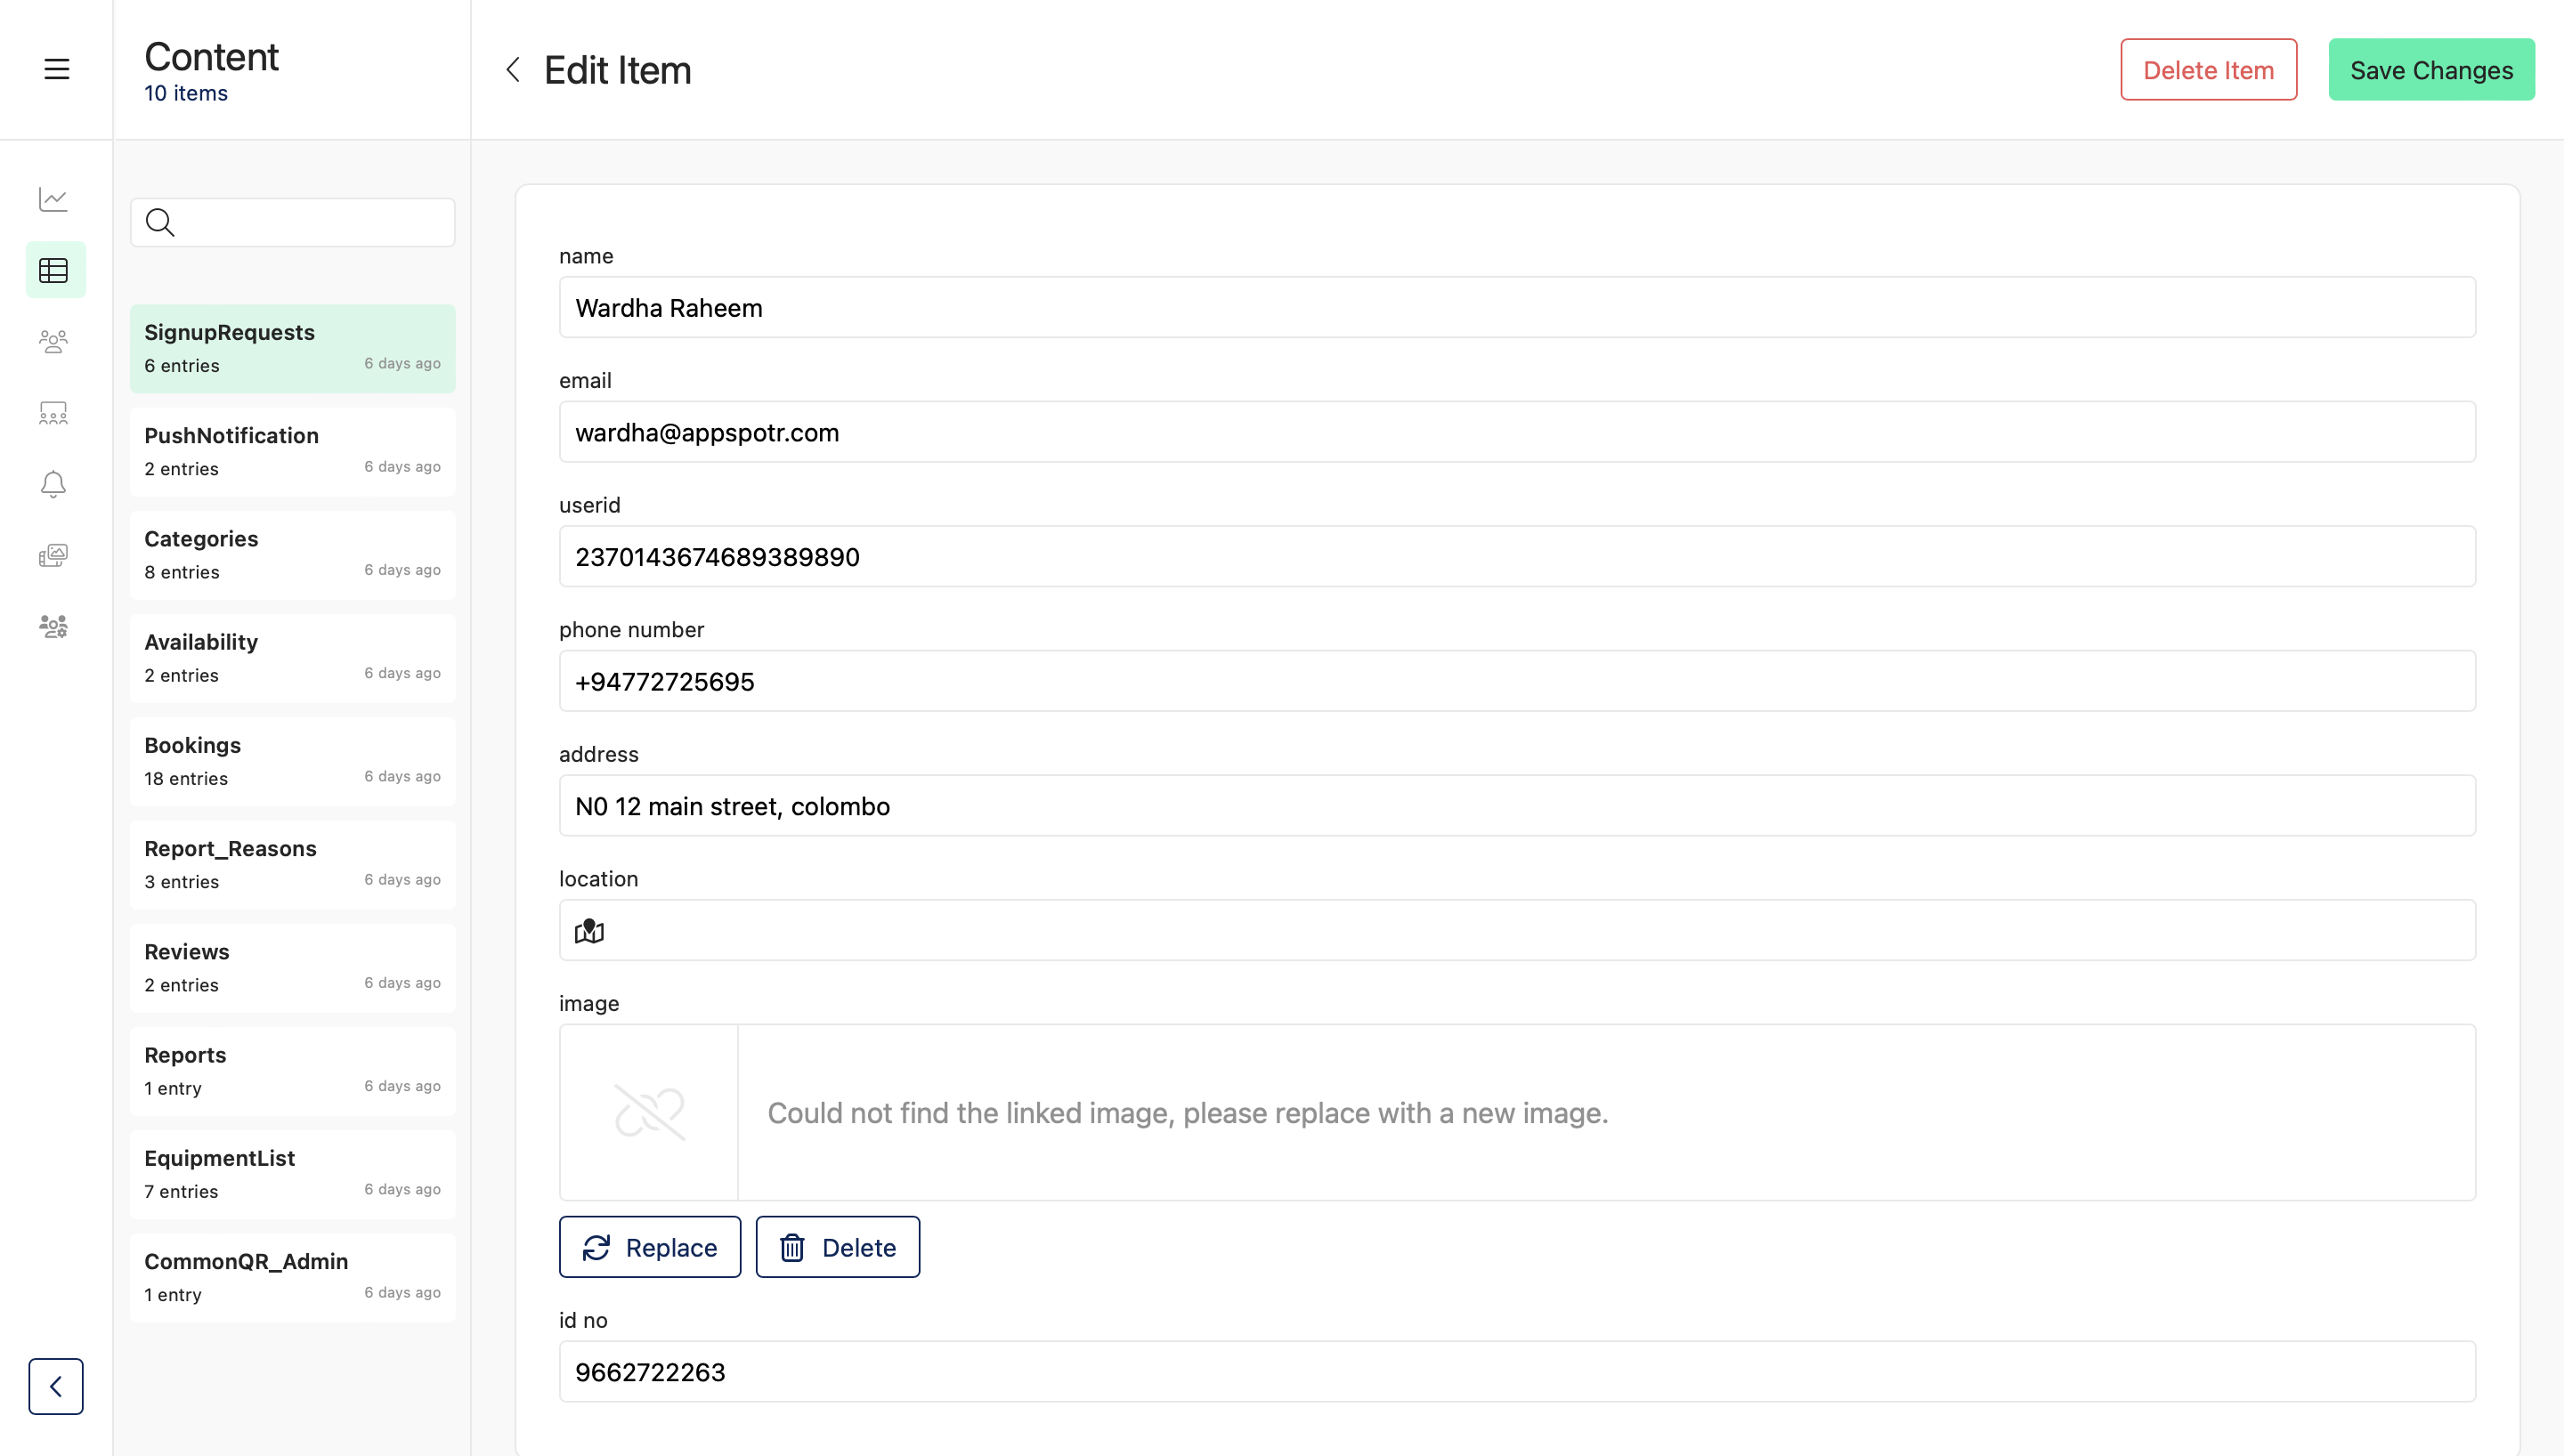
Fill in the fields according to your requirement
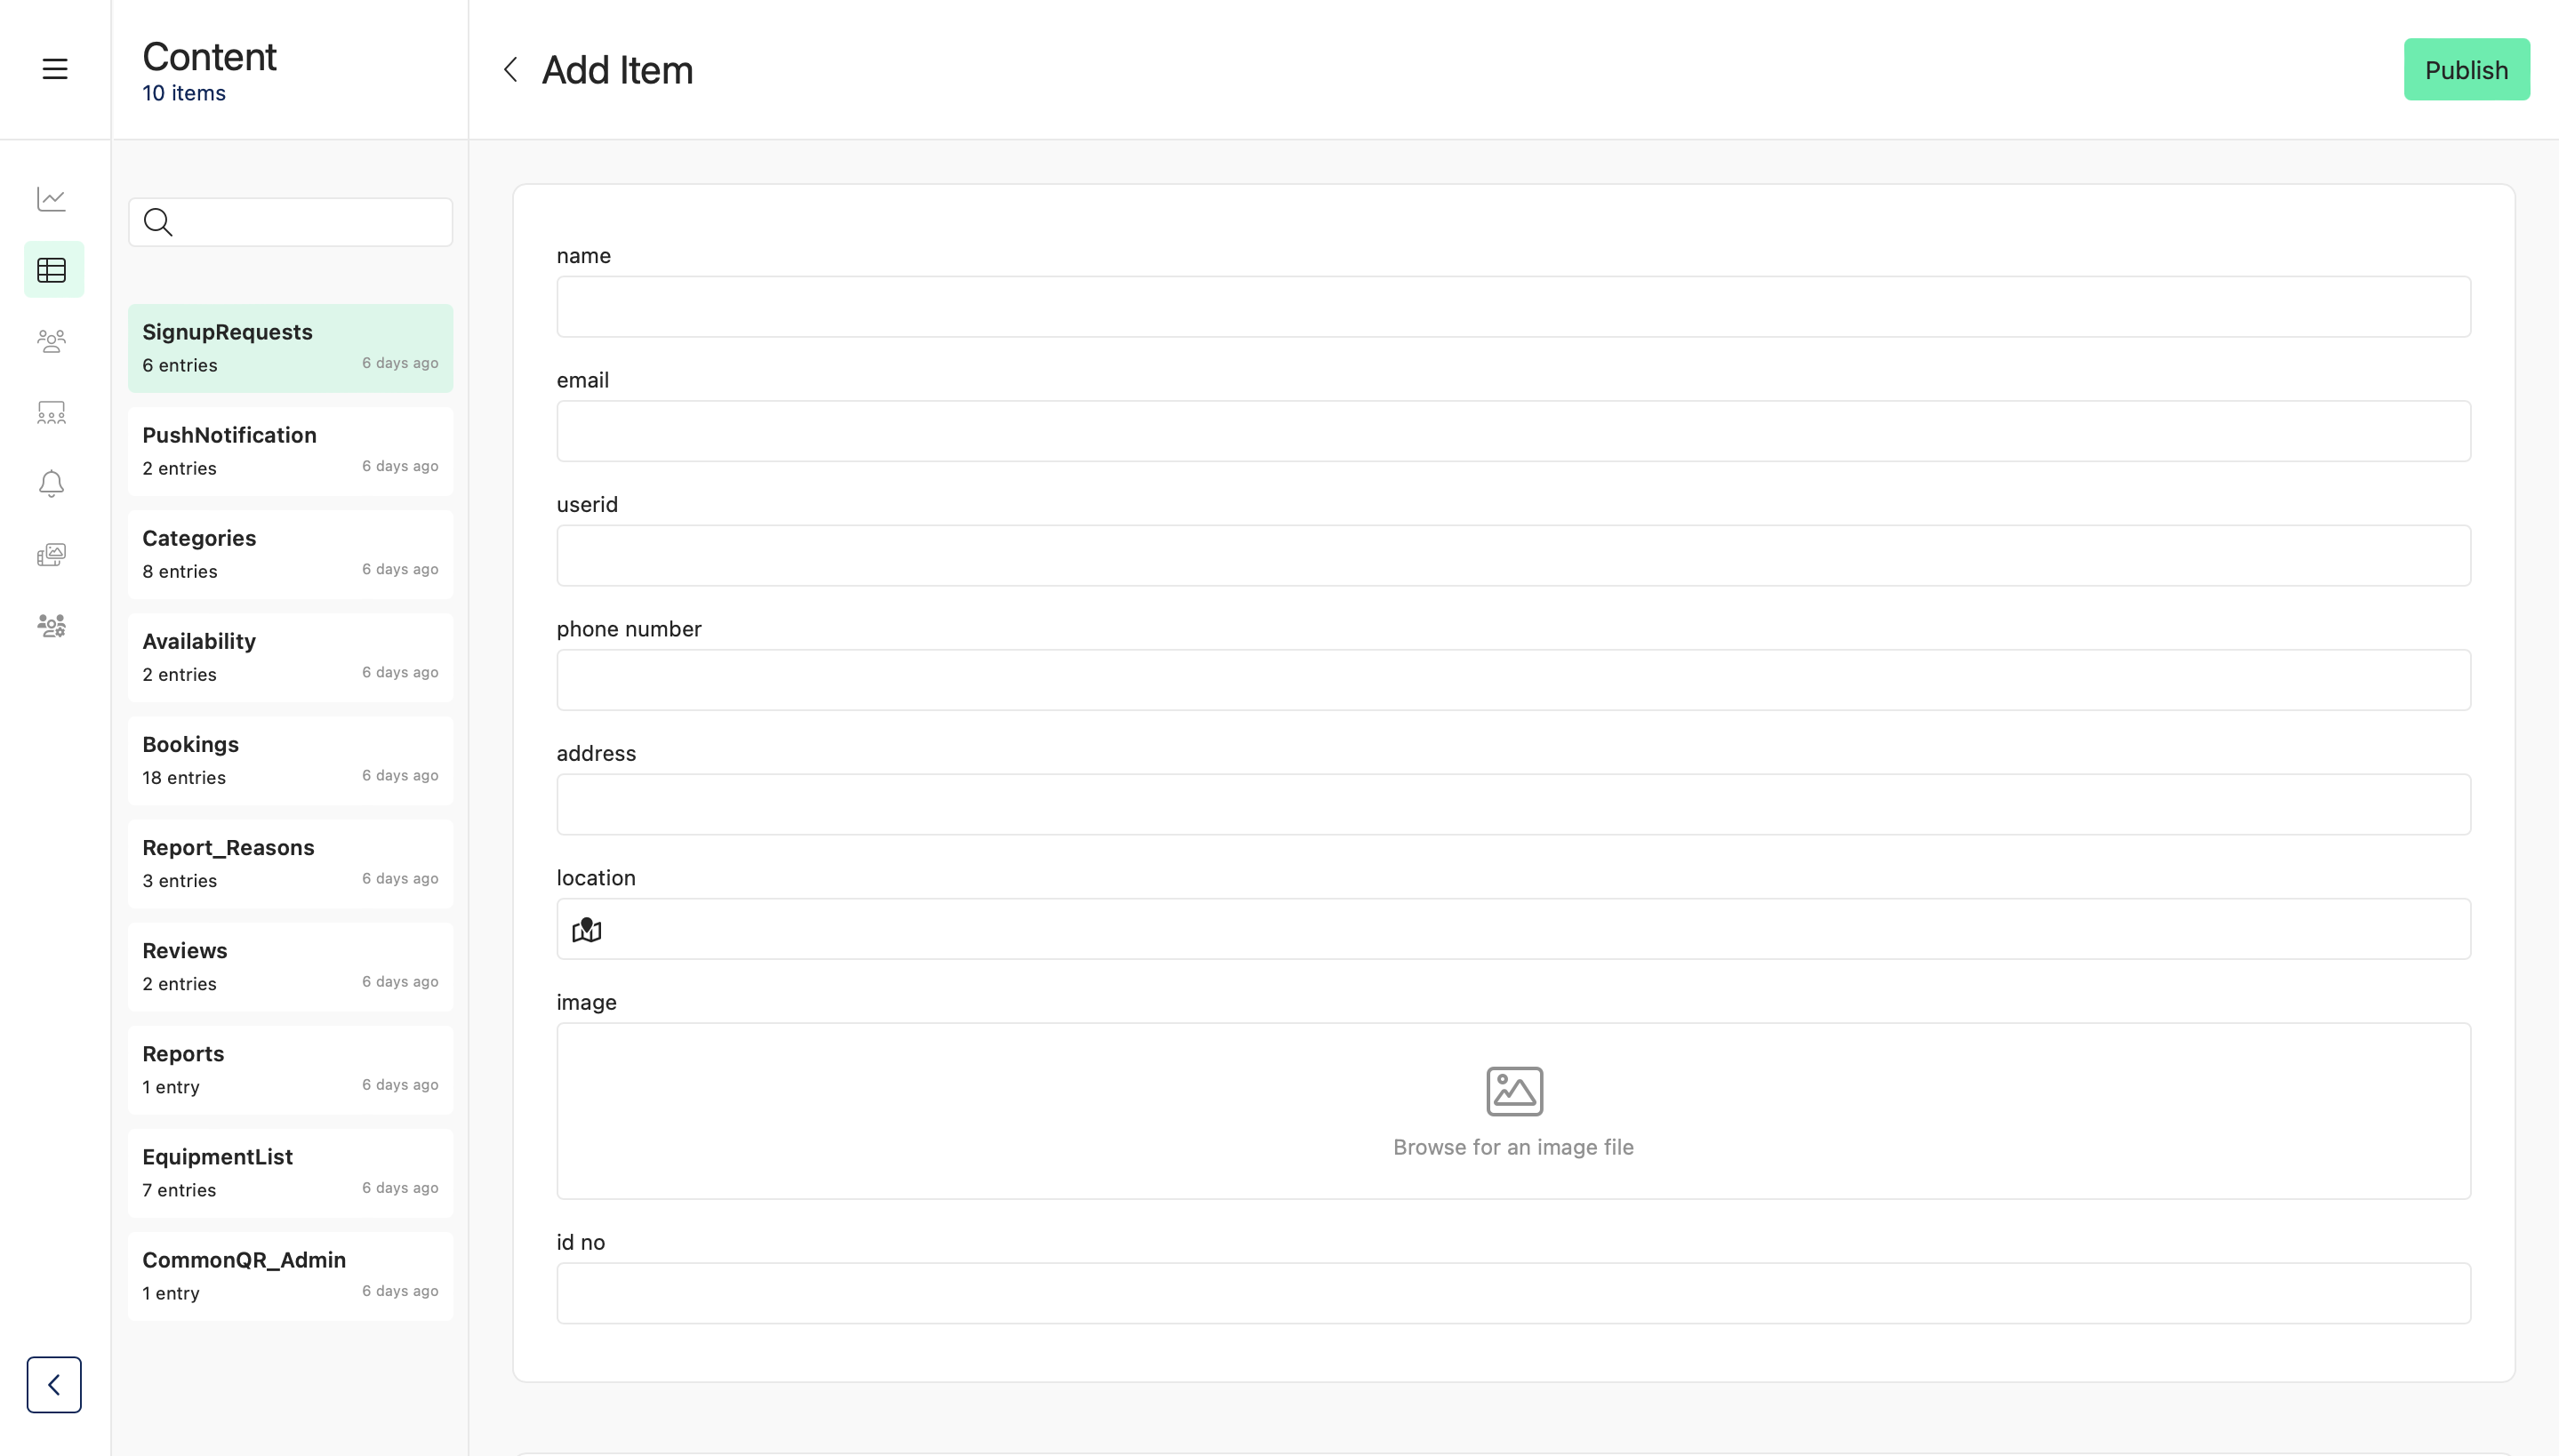
Location - You can either search for the specific location or move the pin to the required location
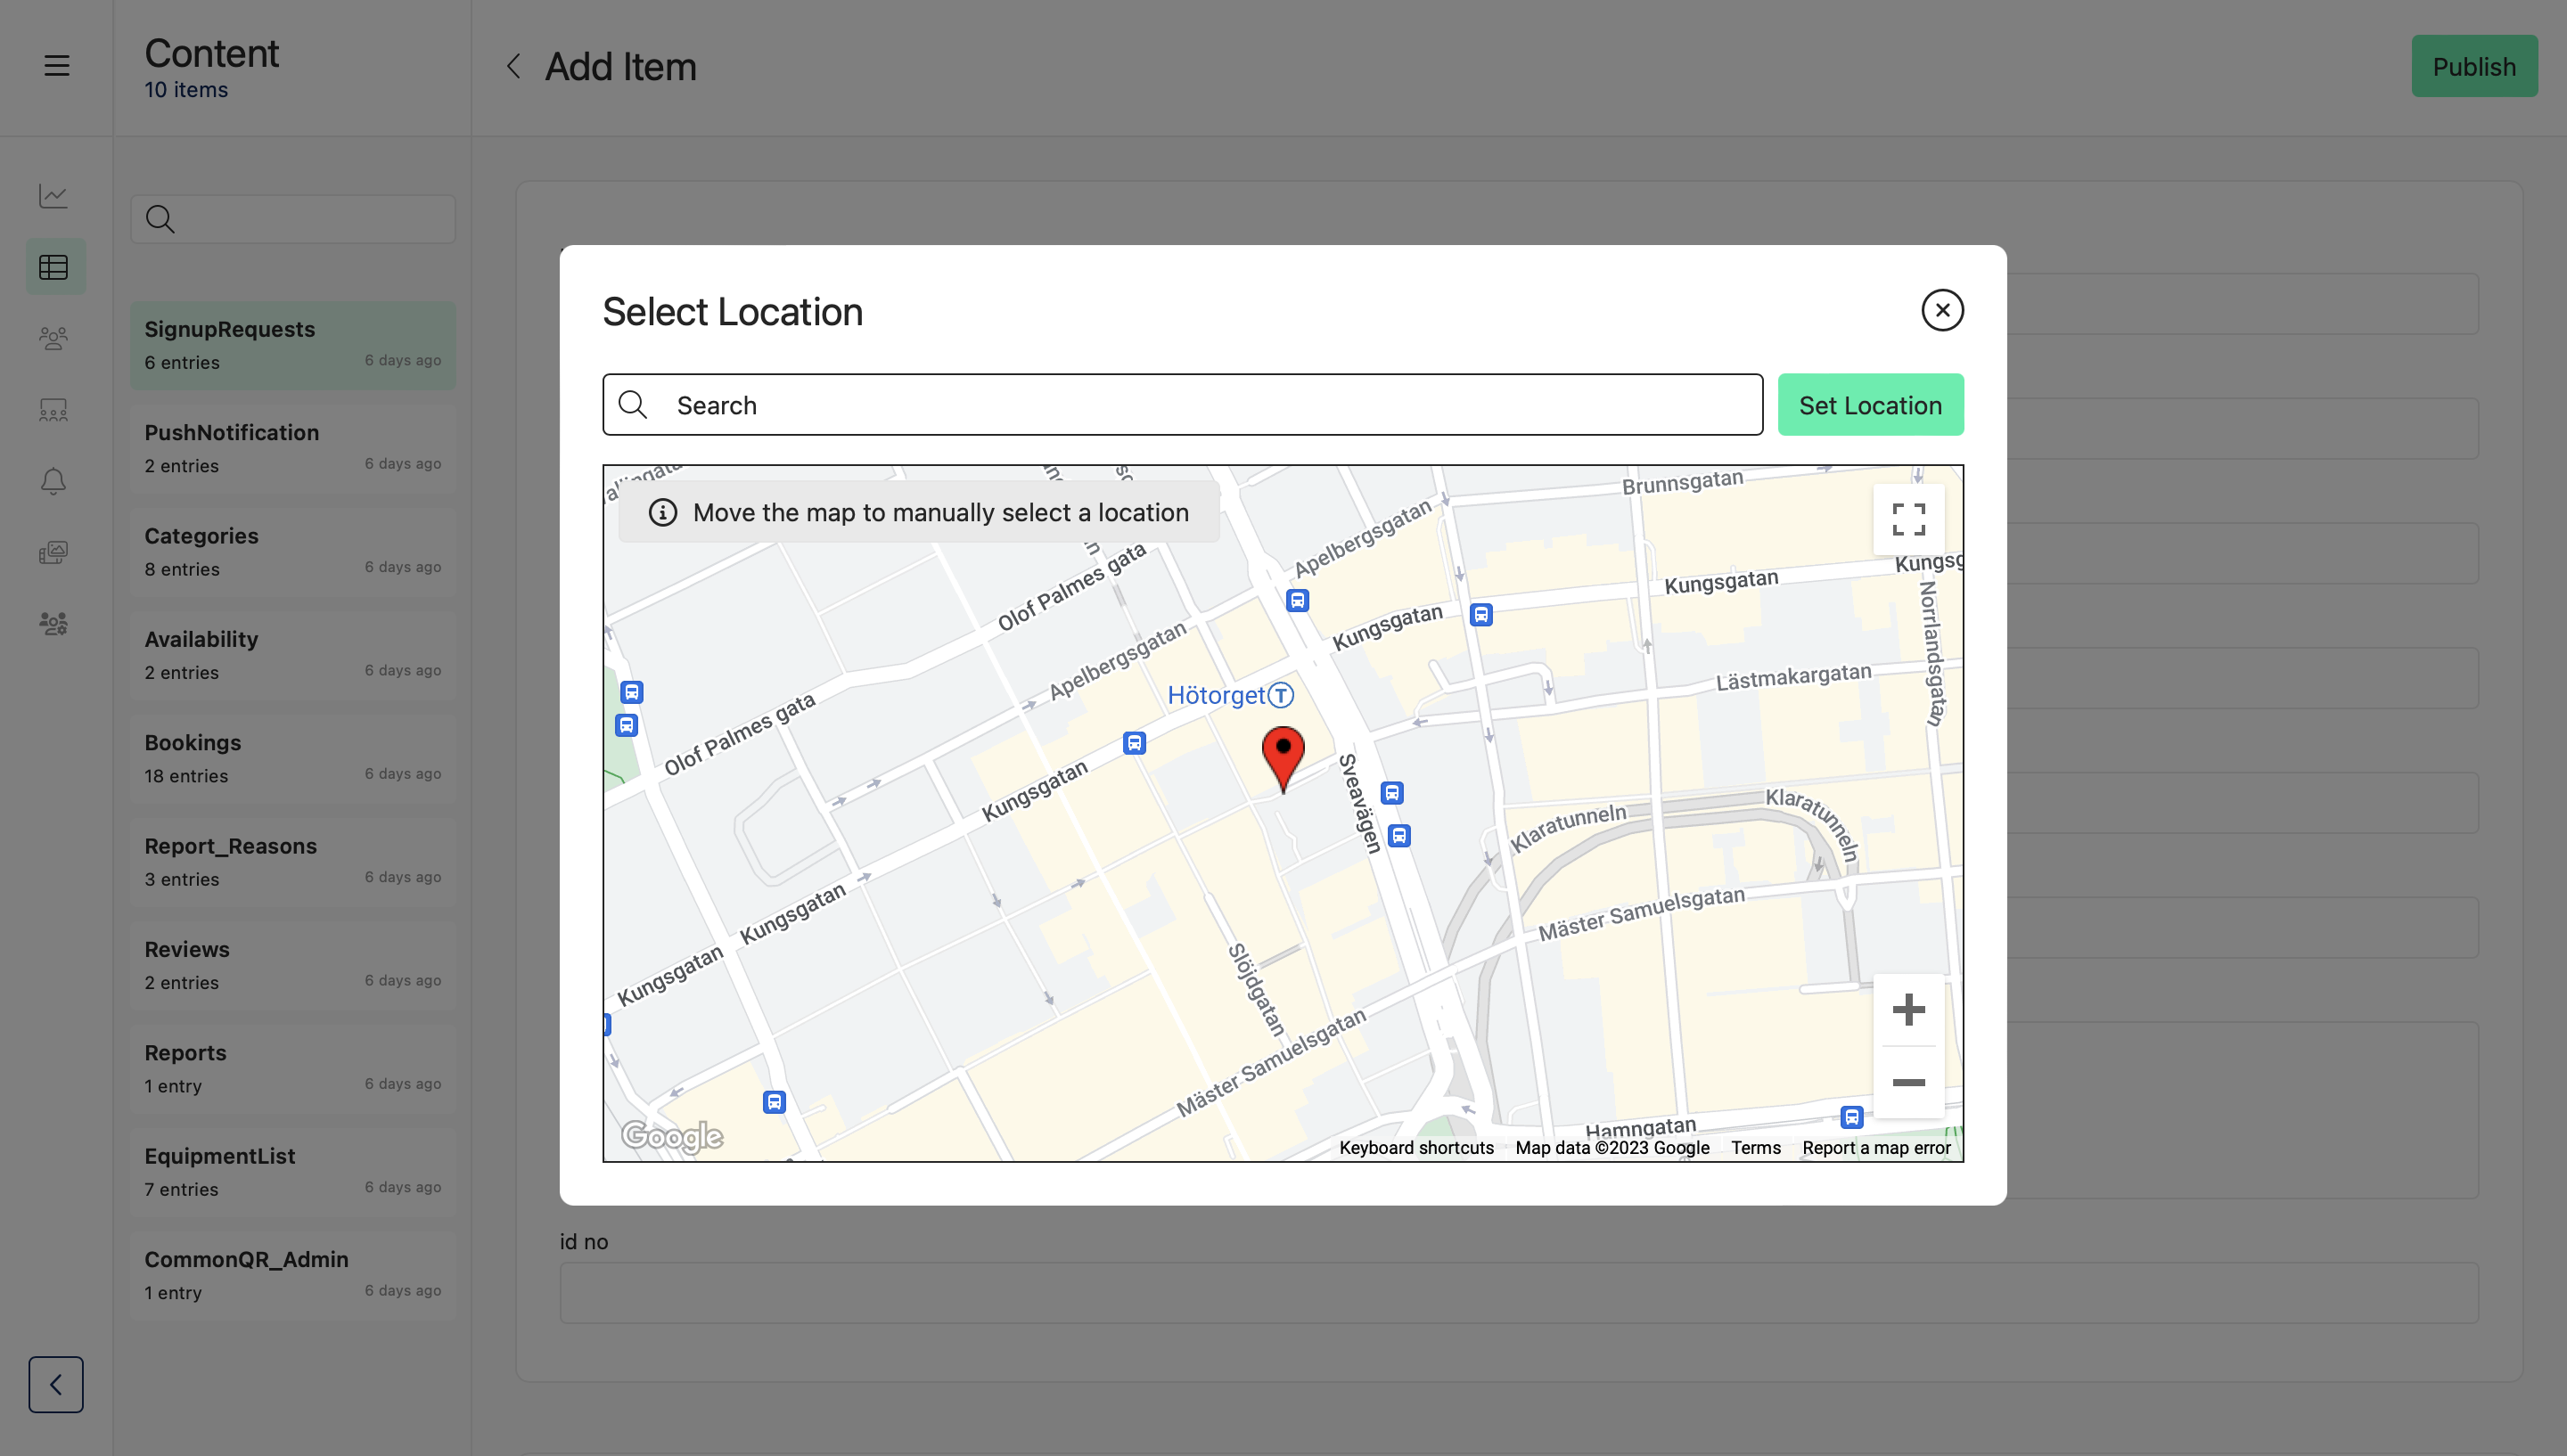
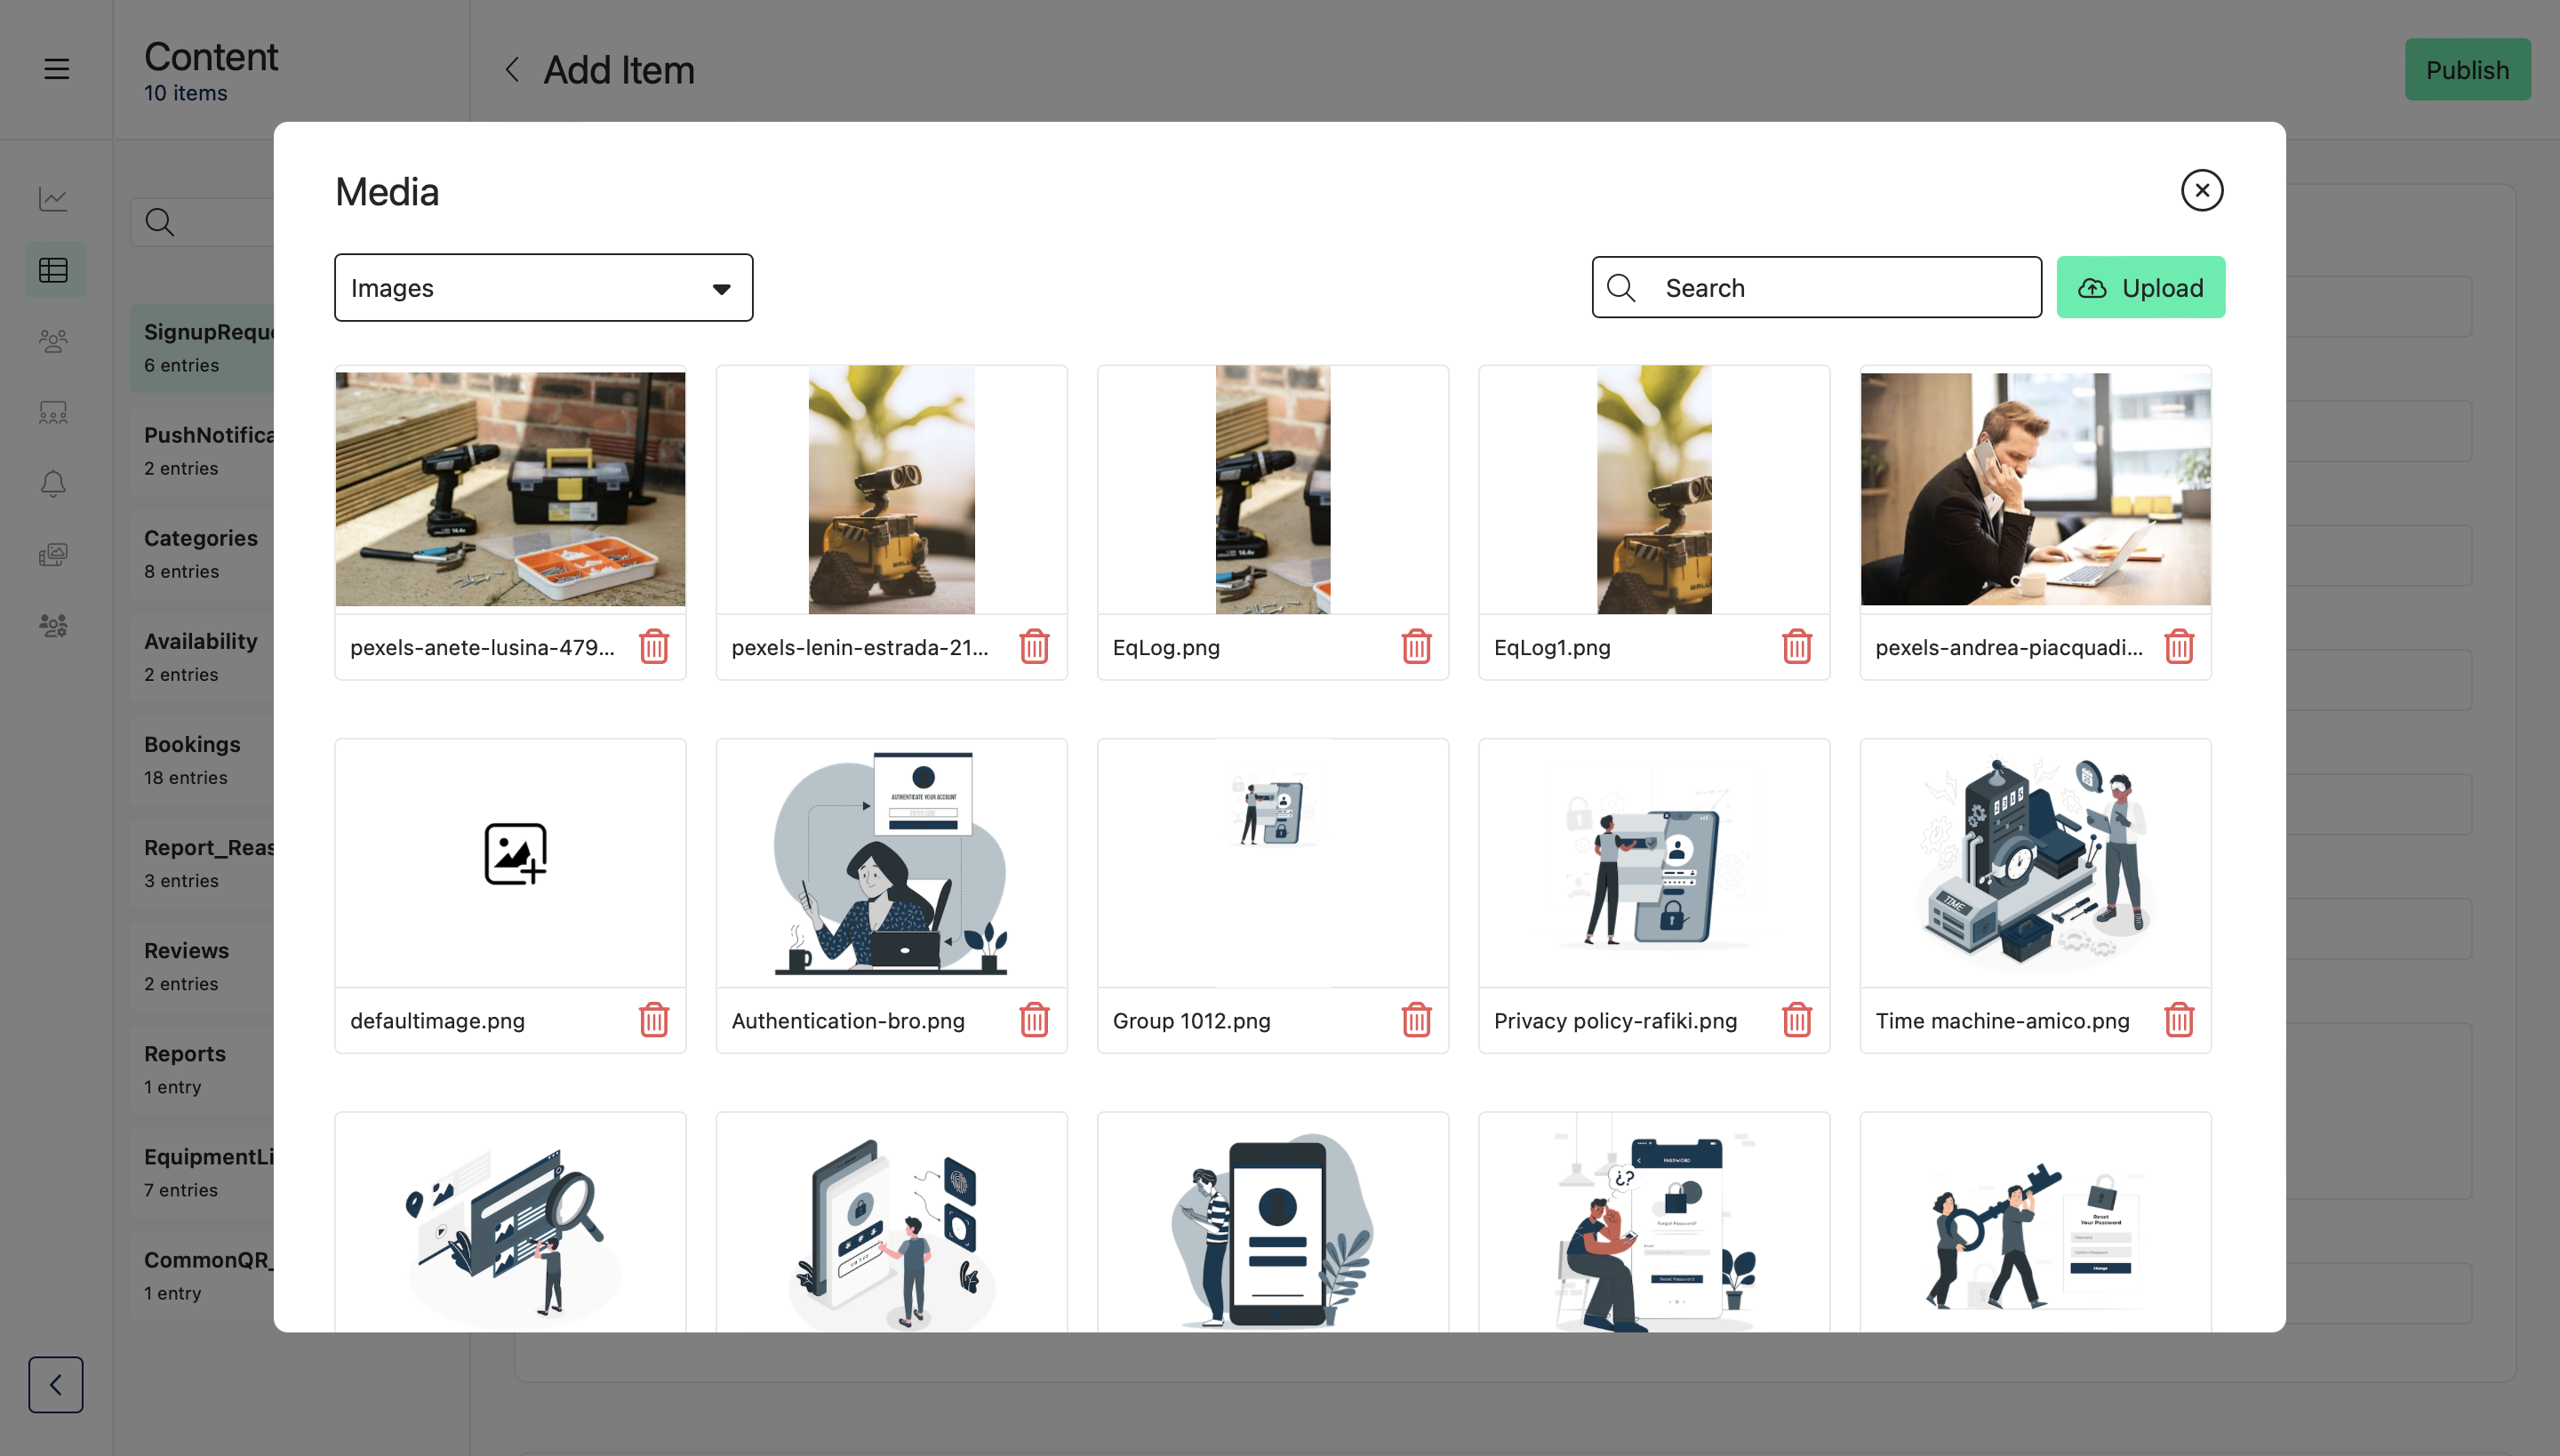
Image - You can either select from the image list or upload a new image from your local device
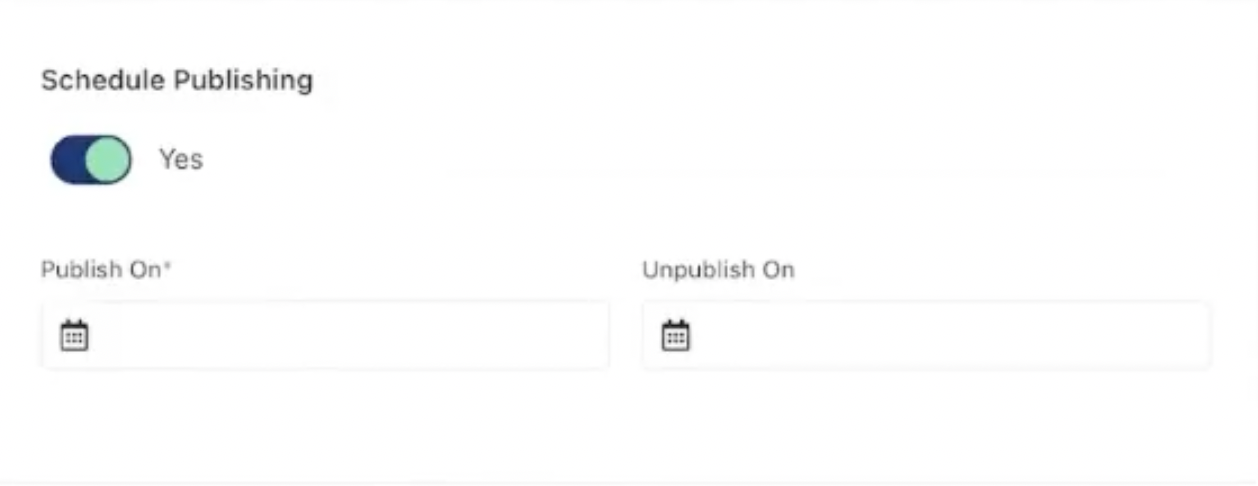
Schedule Publishing - You can schedule the publishing time of the dataset, the Publish On time is mandatory but the Unpublish On time is optional. (This option will only be available if you have turned on Scheduling for the app in the Appspotr CMS)
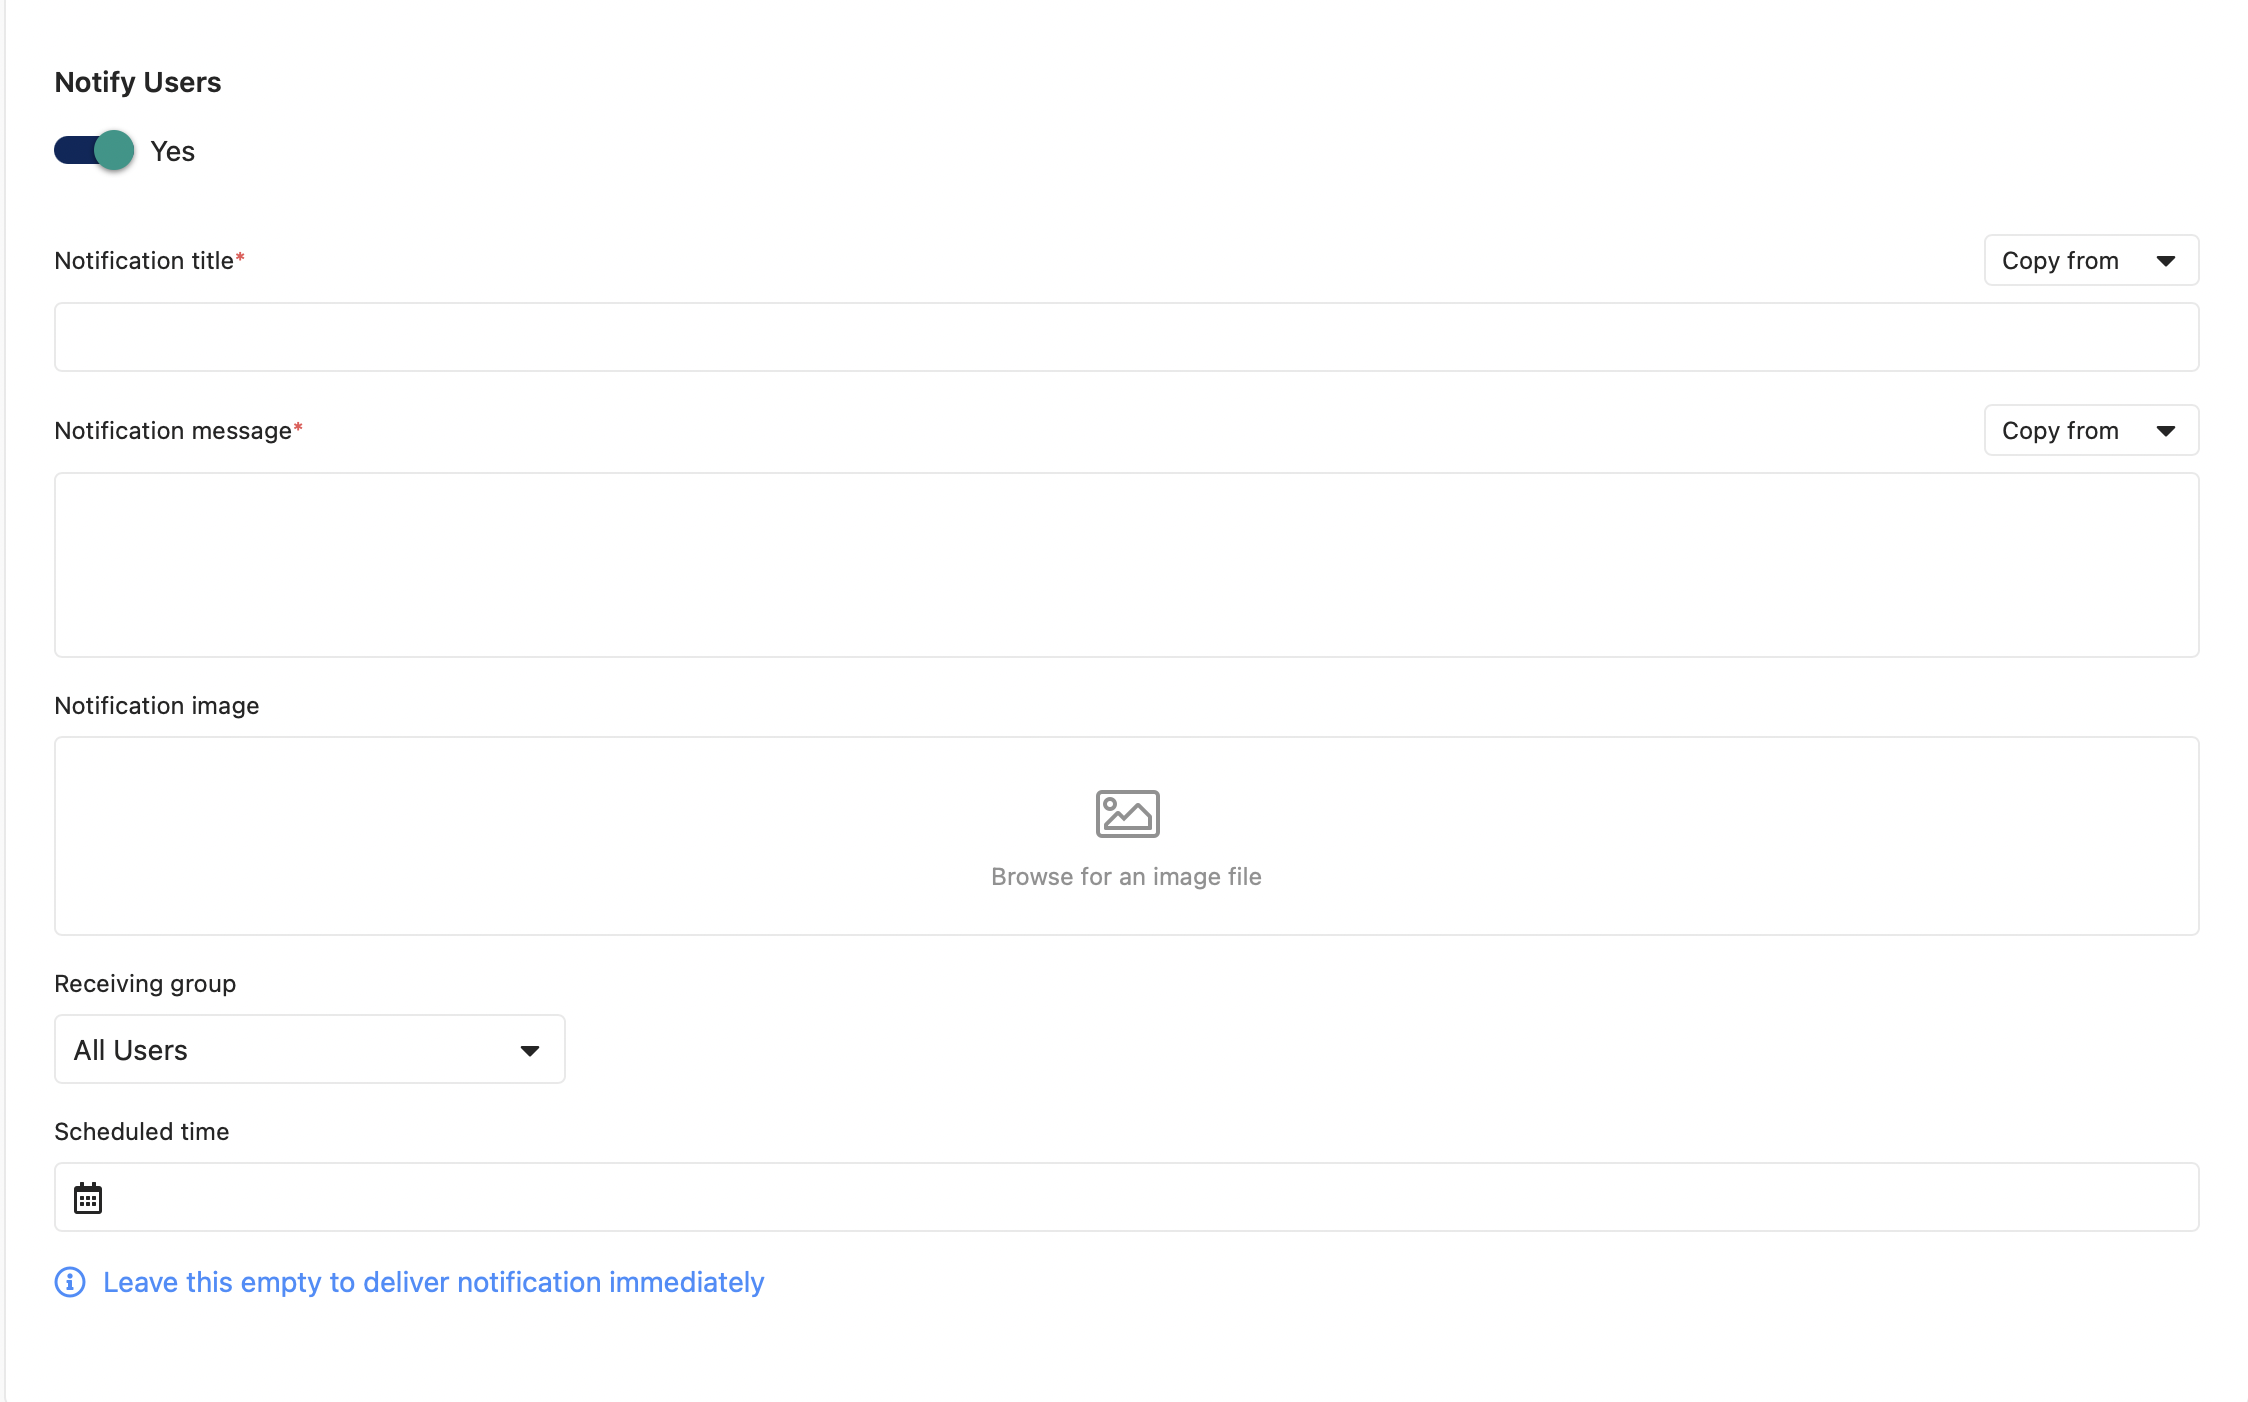
Notify Users - Is option is available to manage Push Notification. (This option will only be available if you have turned on Push Notifications for the app in the Appspotr CMS)
-
Publish - You can either publish the dataset or save it as a draft. You have to use the relevant button to fulfill the requirement accordingly.
If you want to discard the dataset that you have been creating, you can just go back and click on Discard Draft.
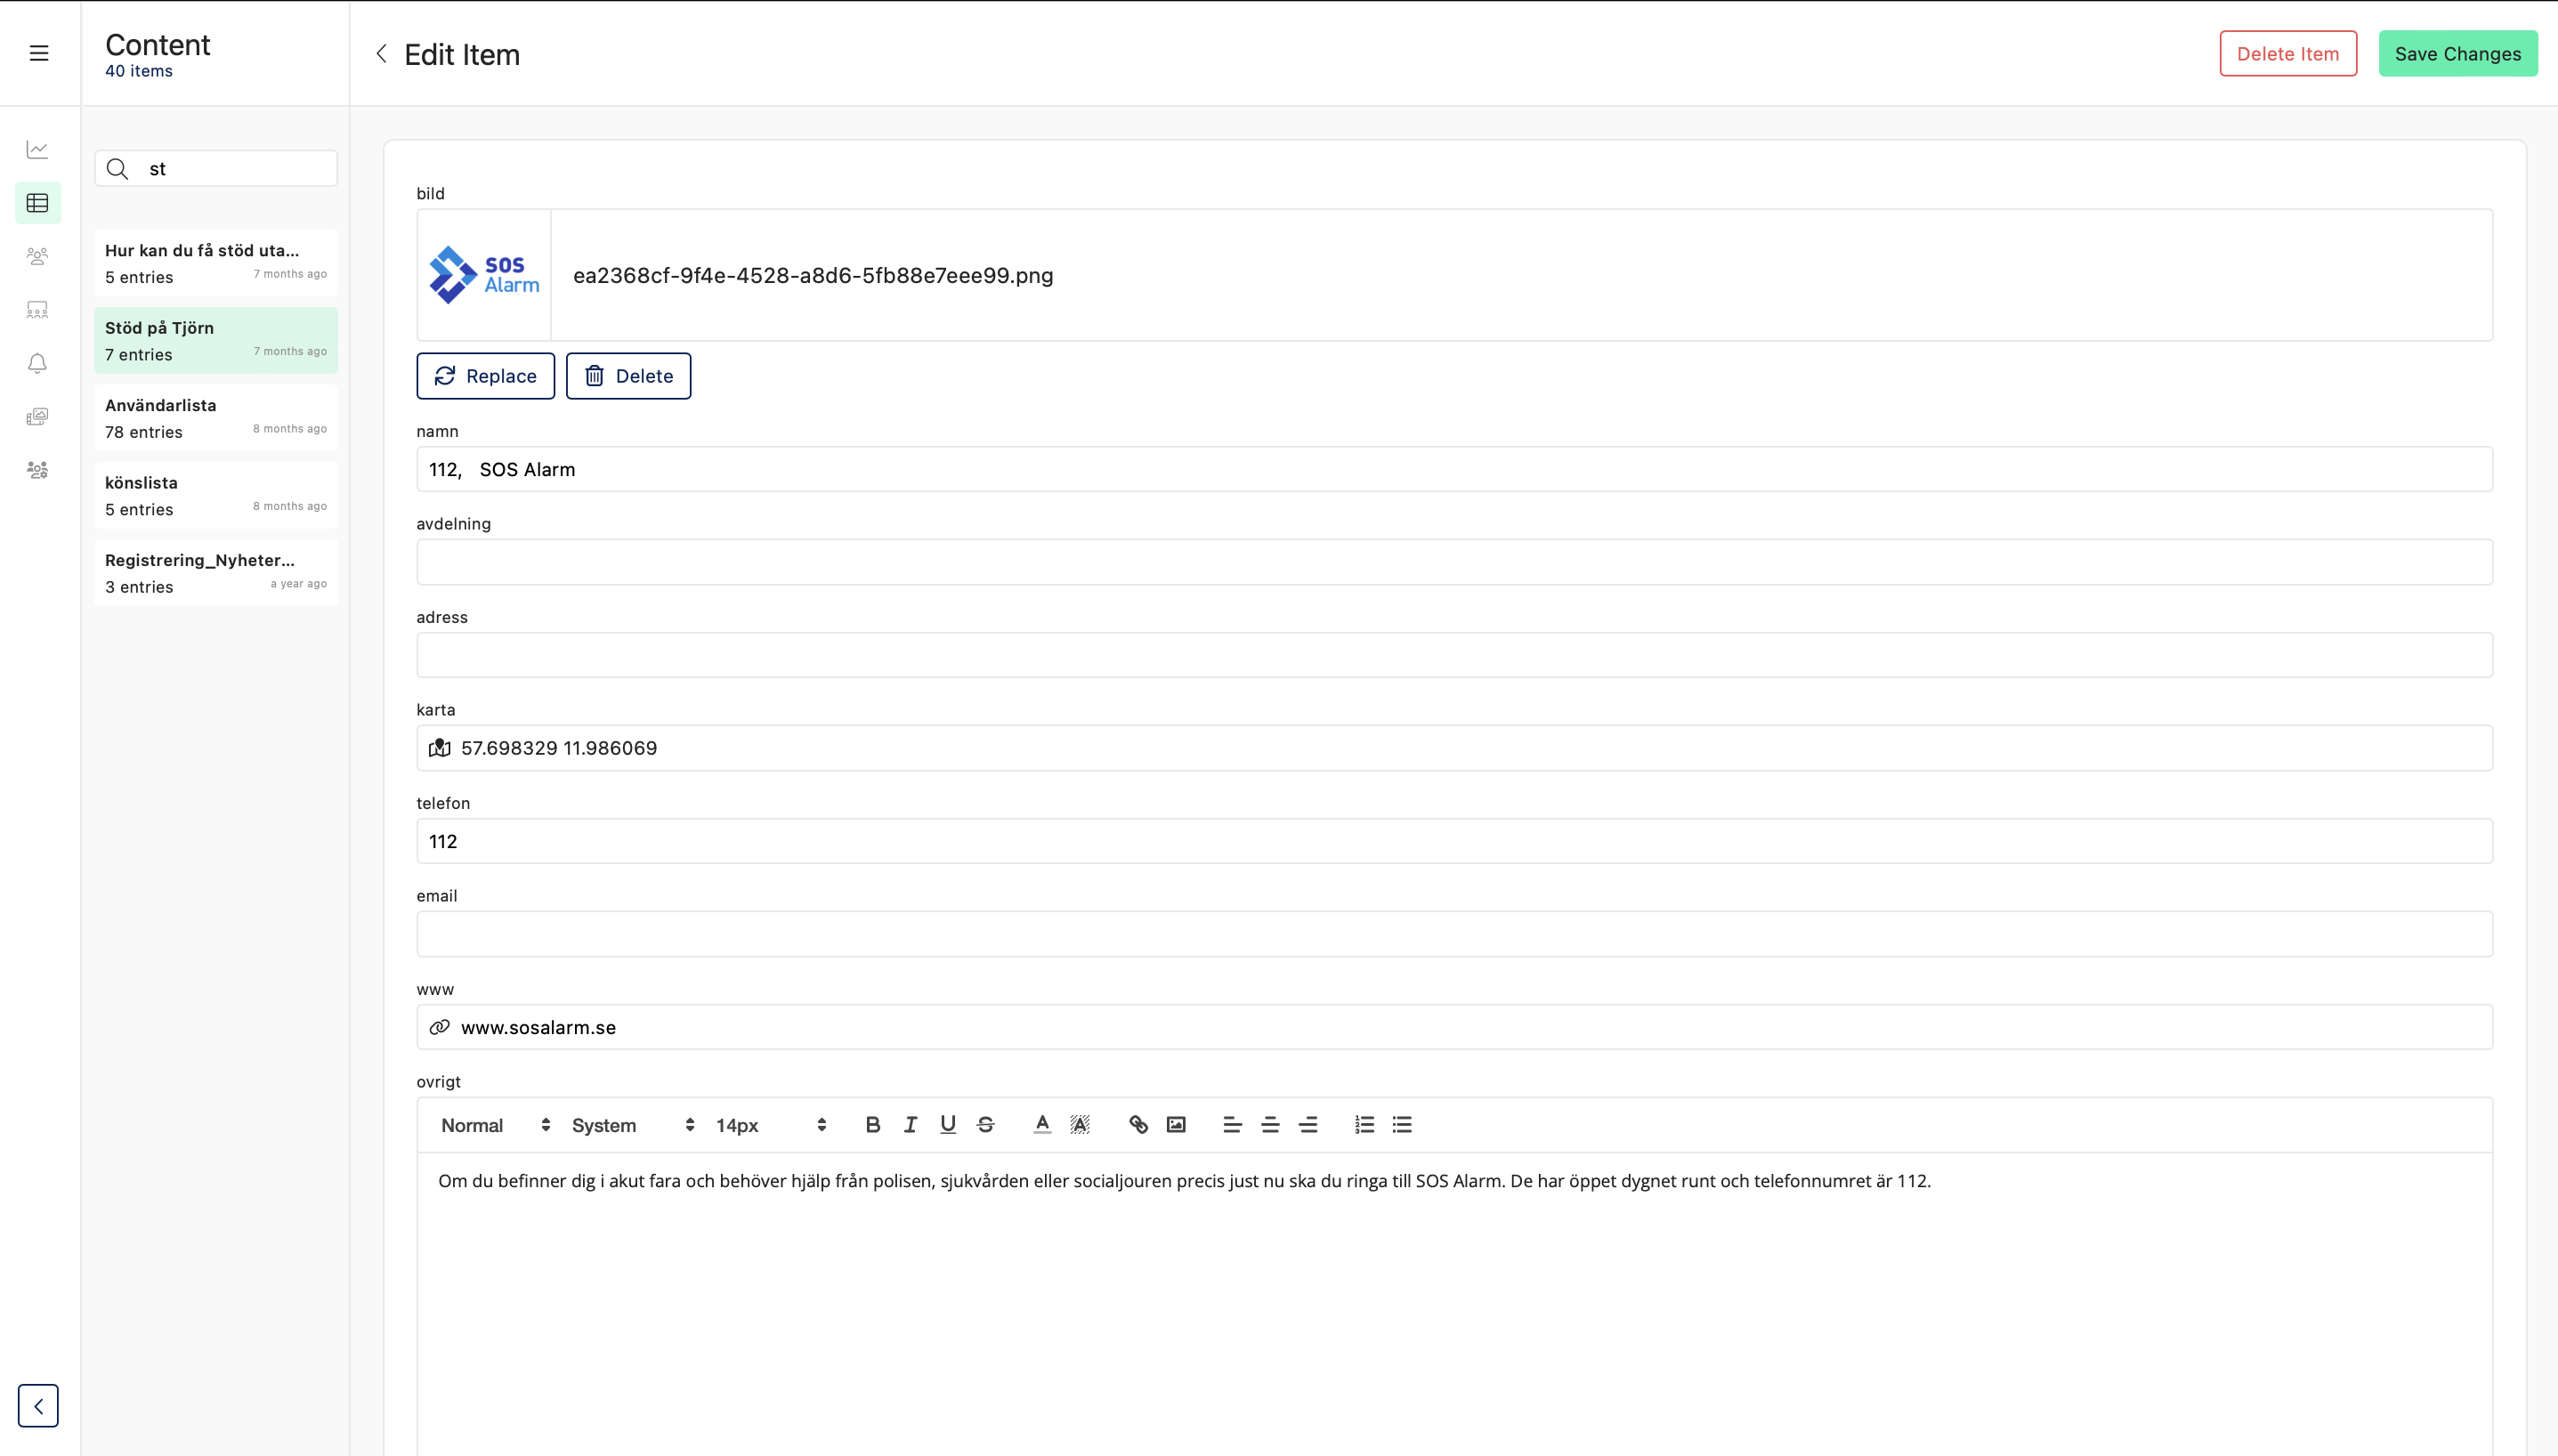
Edit Dataset item
Once you have published a dataset item, you can edit it if you want.
You have to click on the required item and you will be directed to the ‘fields view’ where you can do changes. Once you have done the changes, you can save and publish the dataset item.
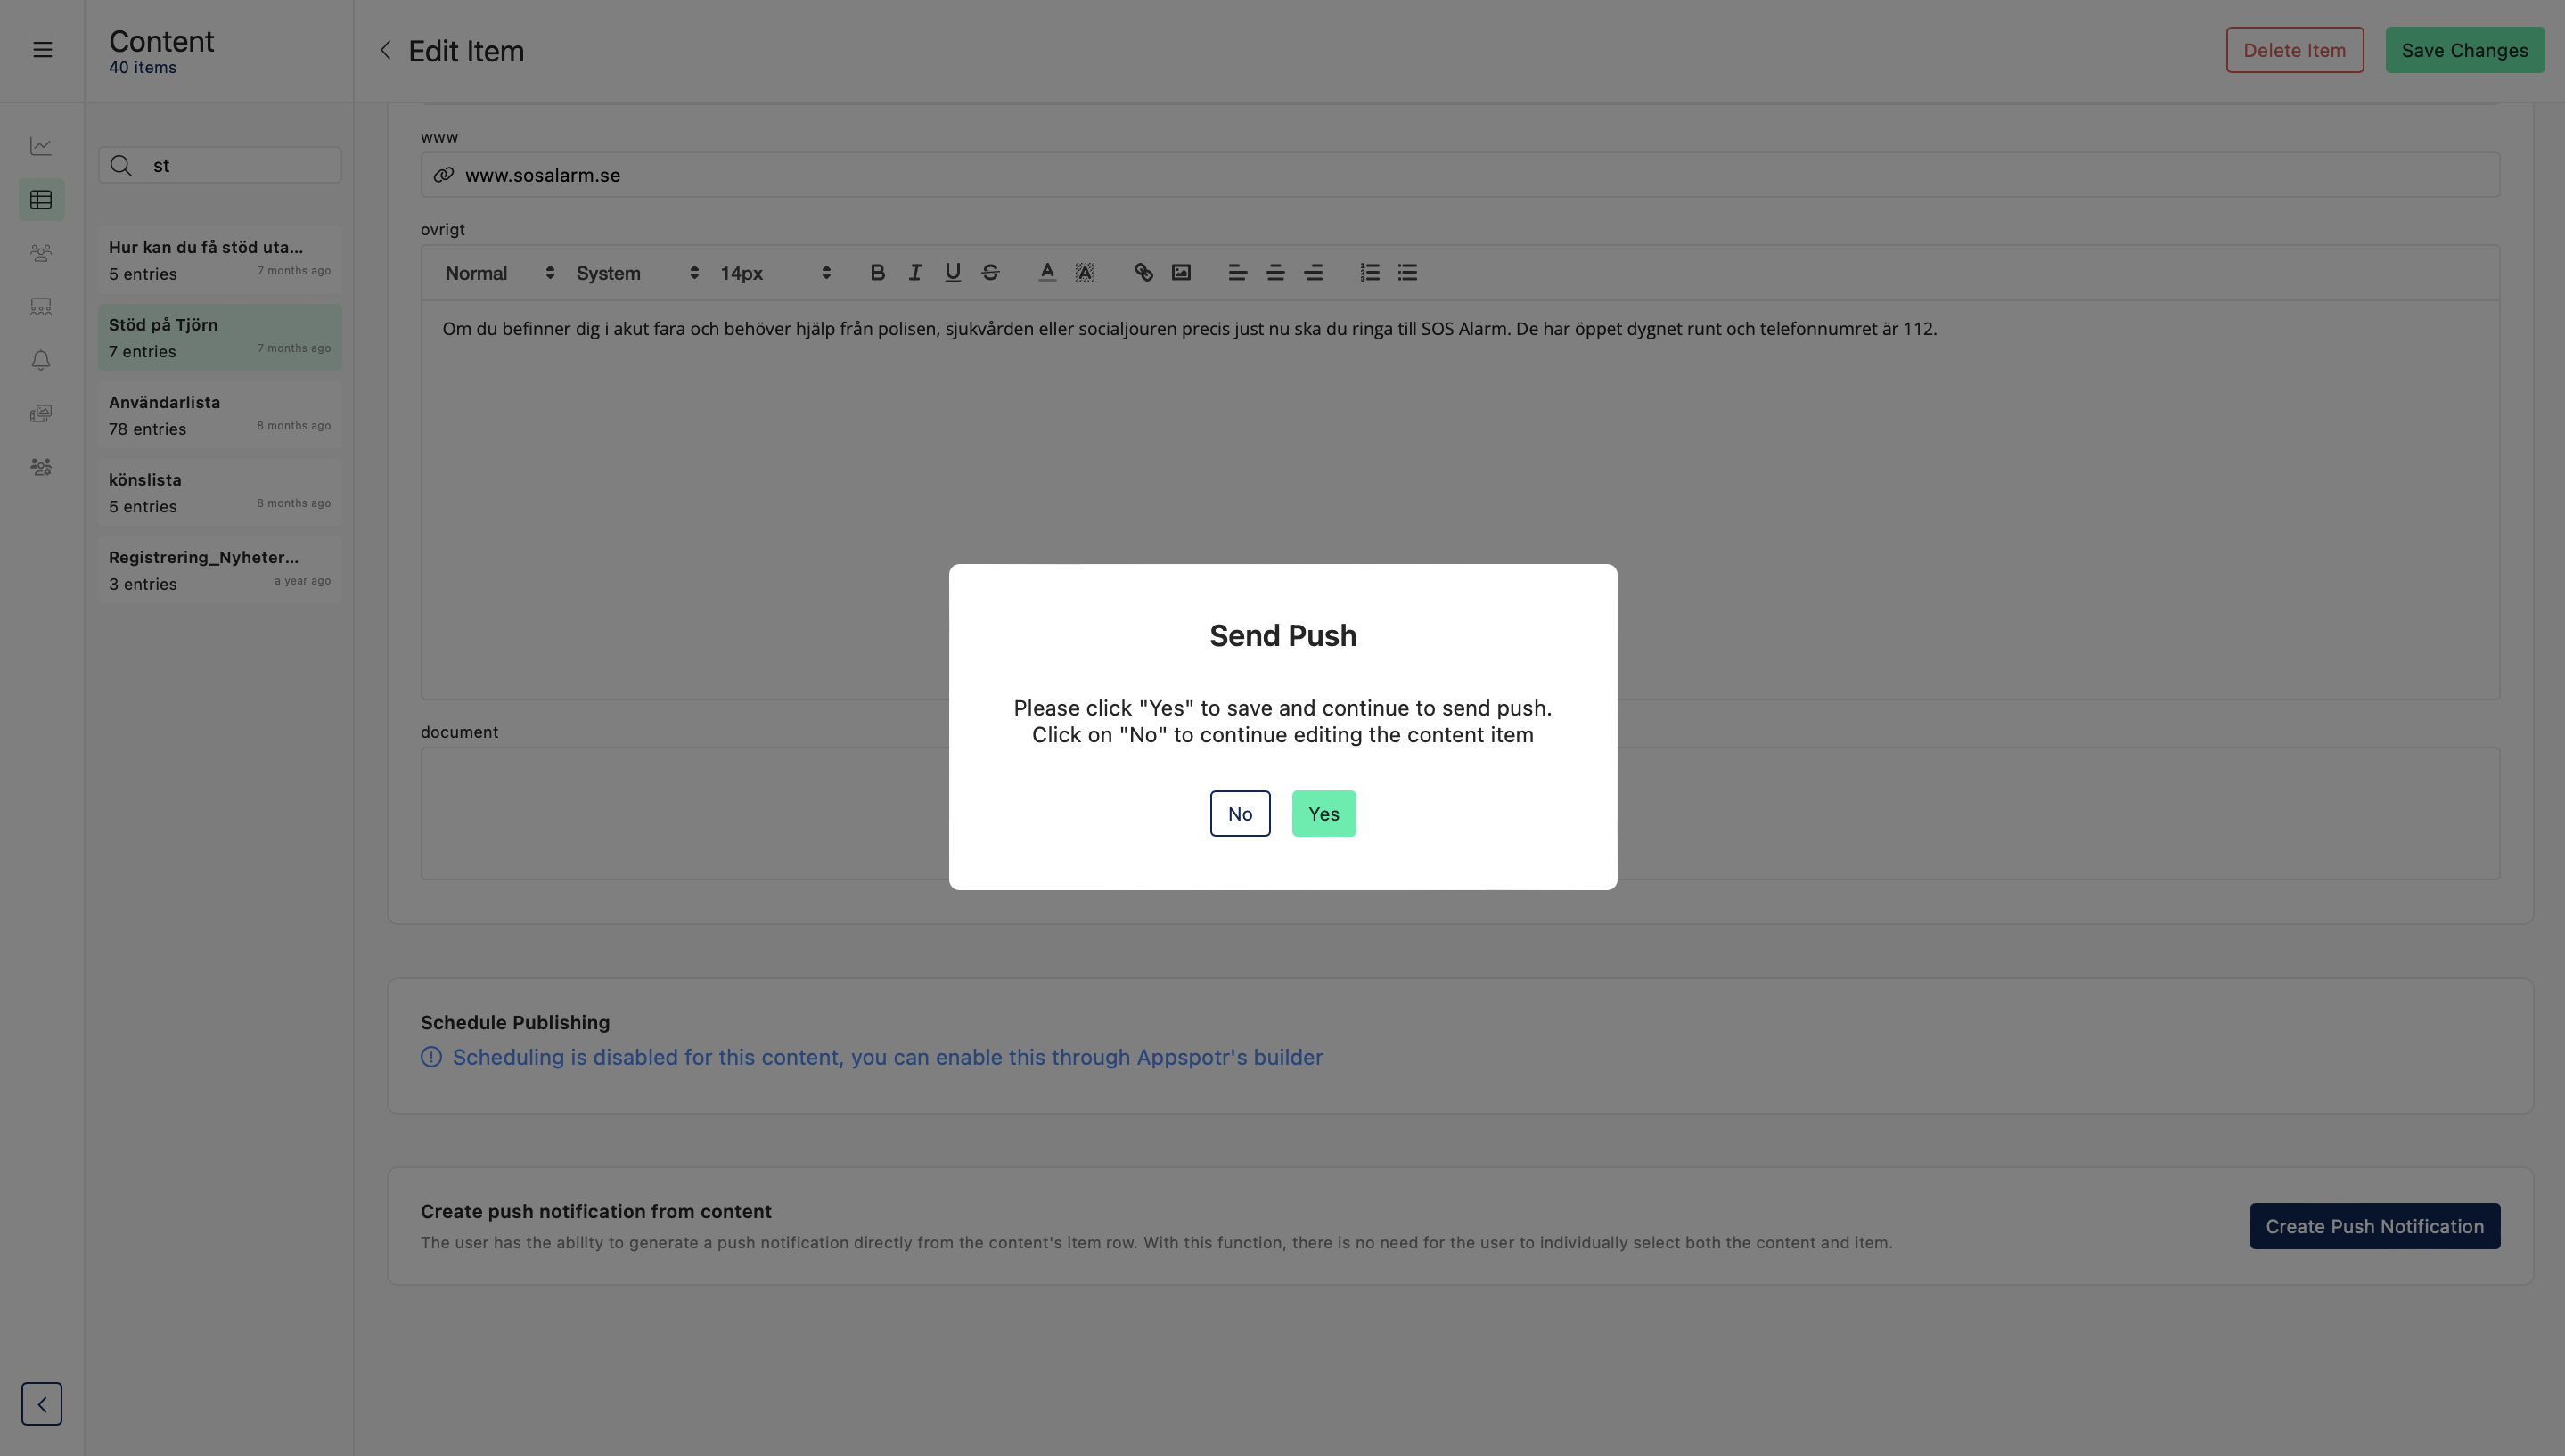
If you want to send a push notification on existing content, you can open the relevant item and click the ‘Send Push’ button to send a push notification.
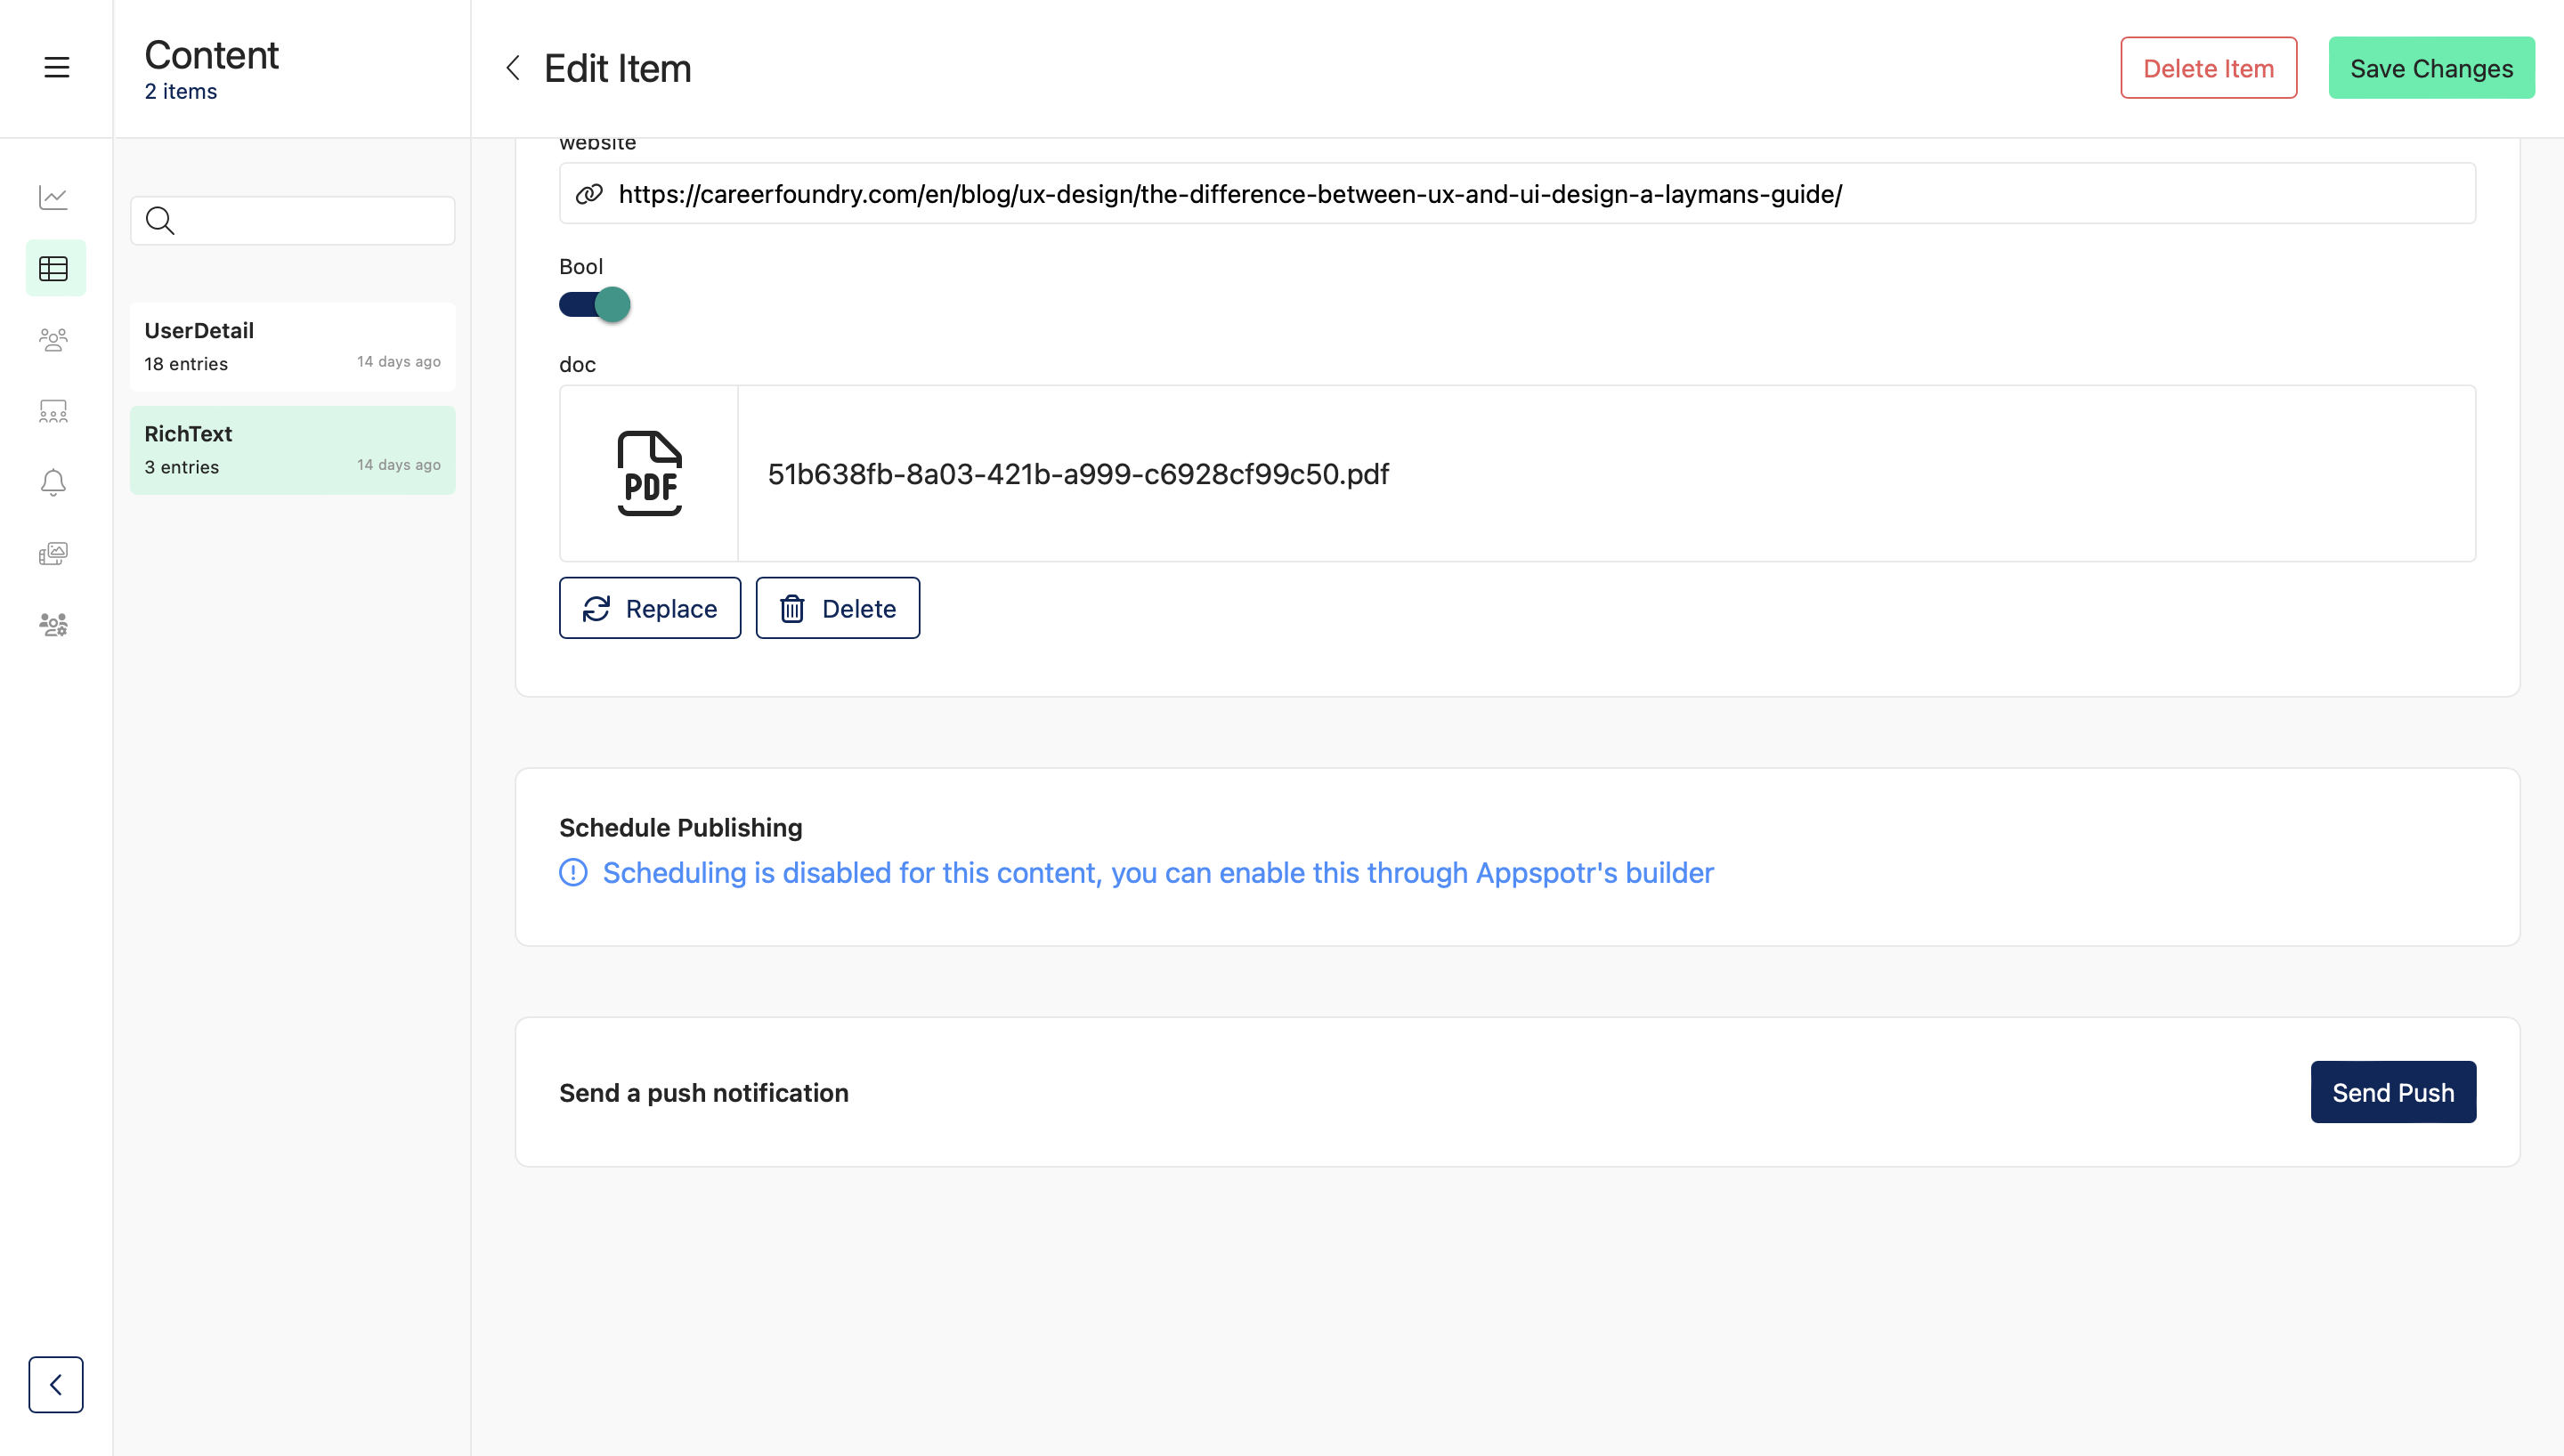
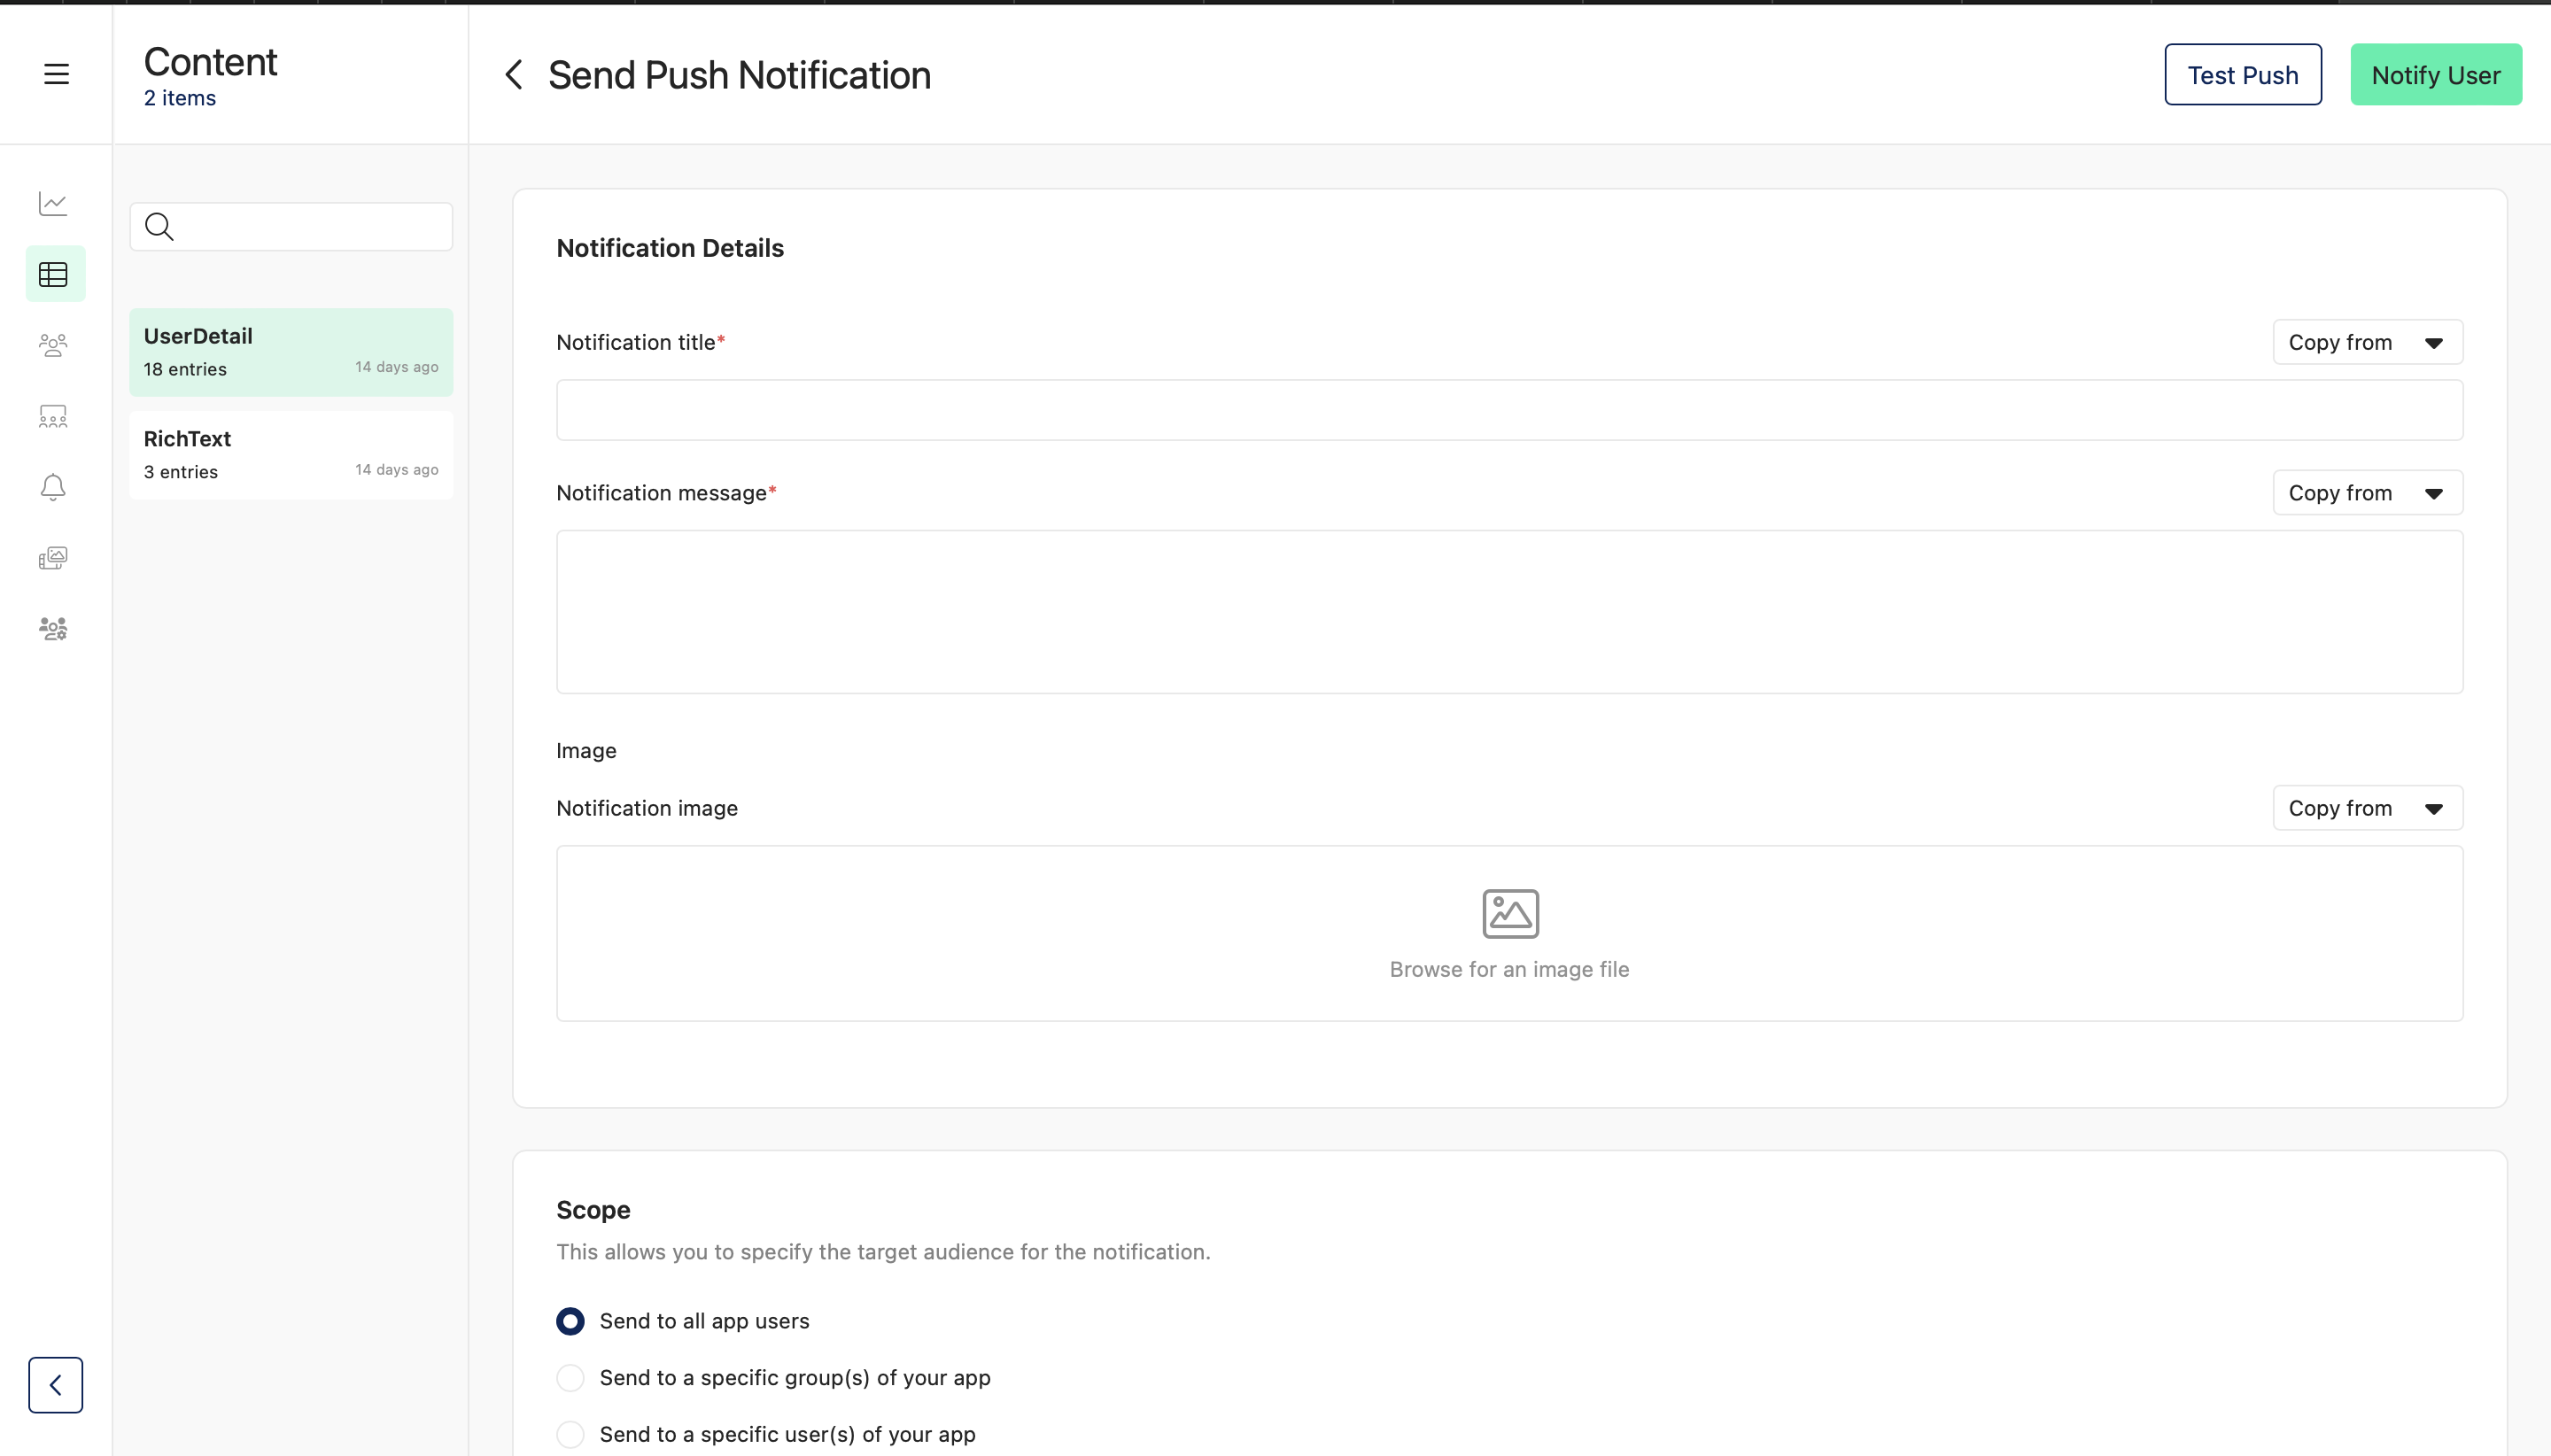
Then you will be navigated to the Push Notification Details form where you can edit or customize the details related to the notification.
(Please see the Push Notification section of this guide to get further information)
Favourite a dataset
You can mark a dataset as favorite by hovering over it and clicking on the star (this will only be saved in the local storage of the device). Favourite datasets will appear at the top of the list always.
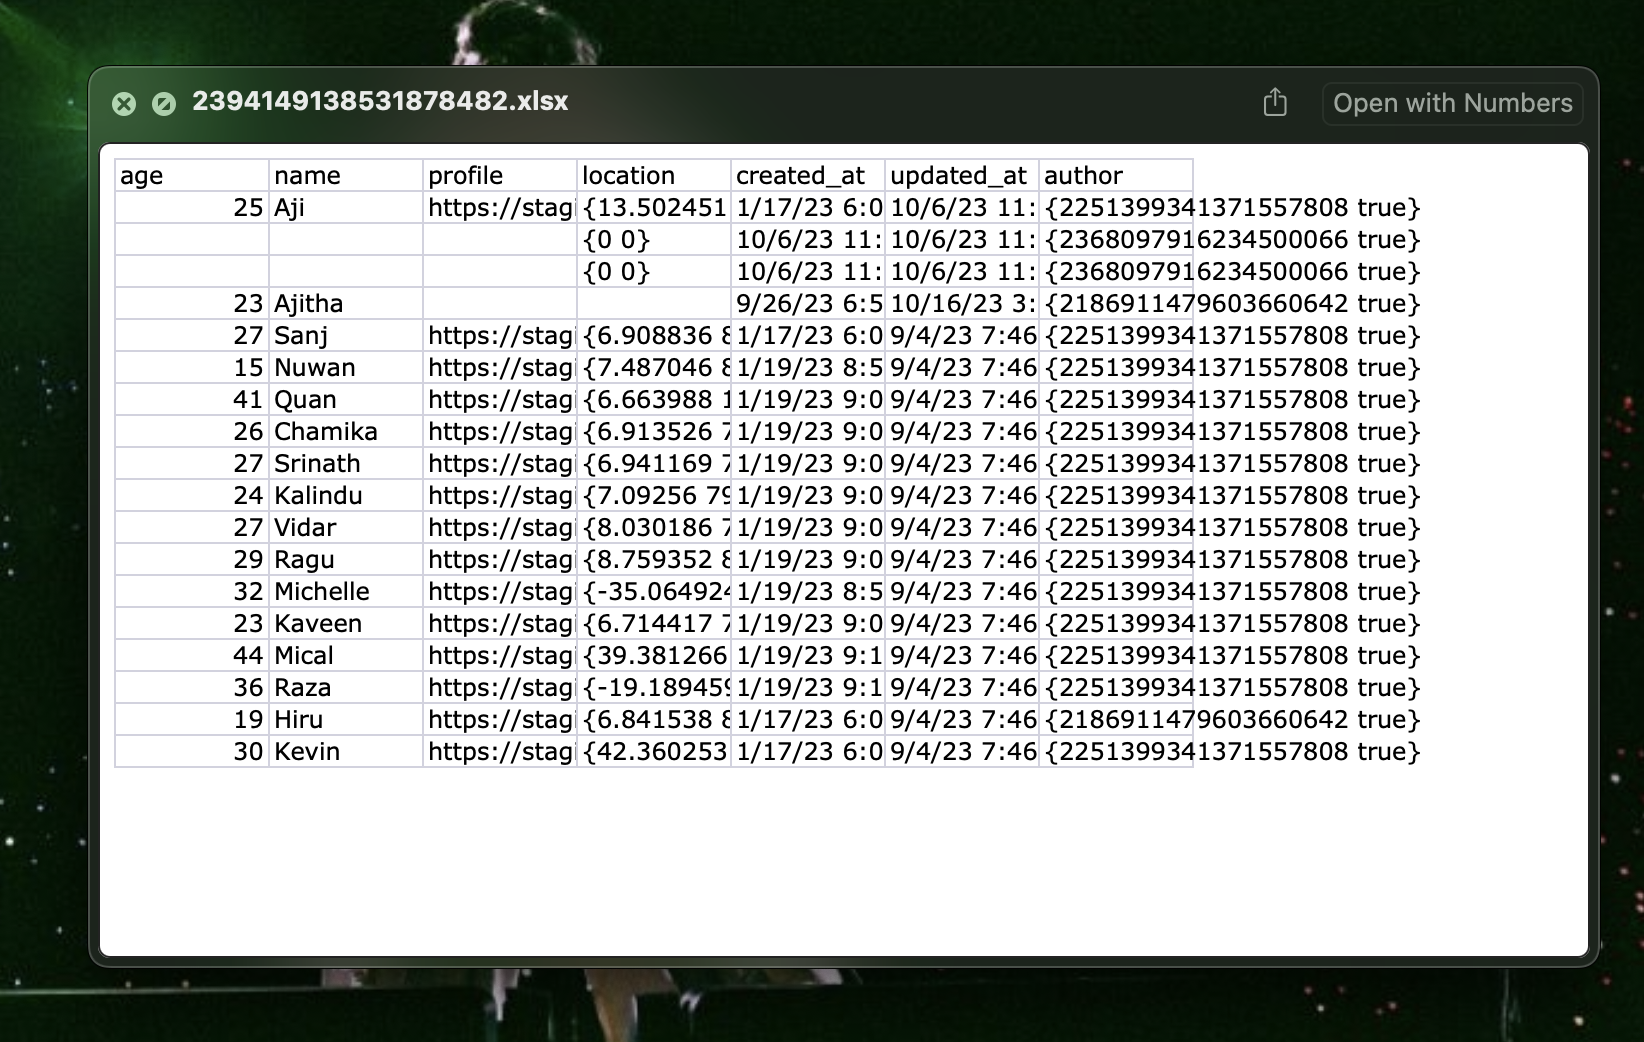
Export Dataset
You can easily export your content lists to an Excel file by clicking on ‘Export’
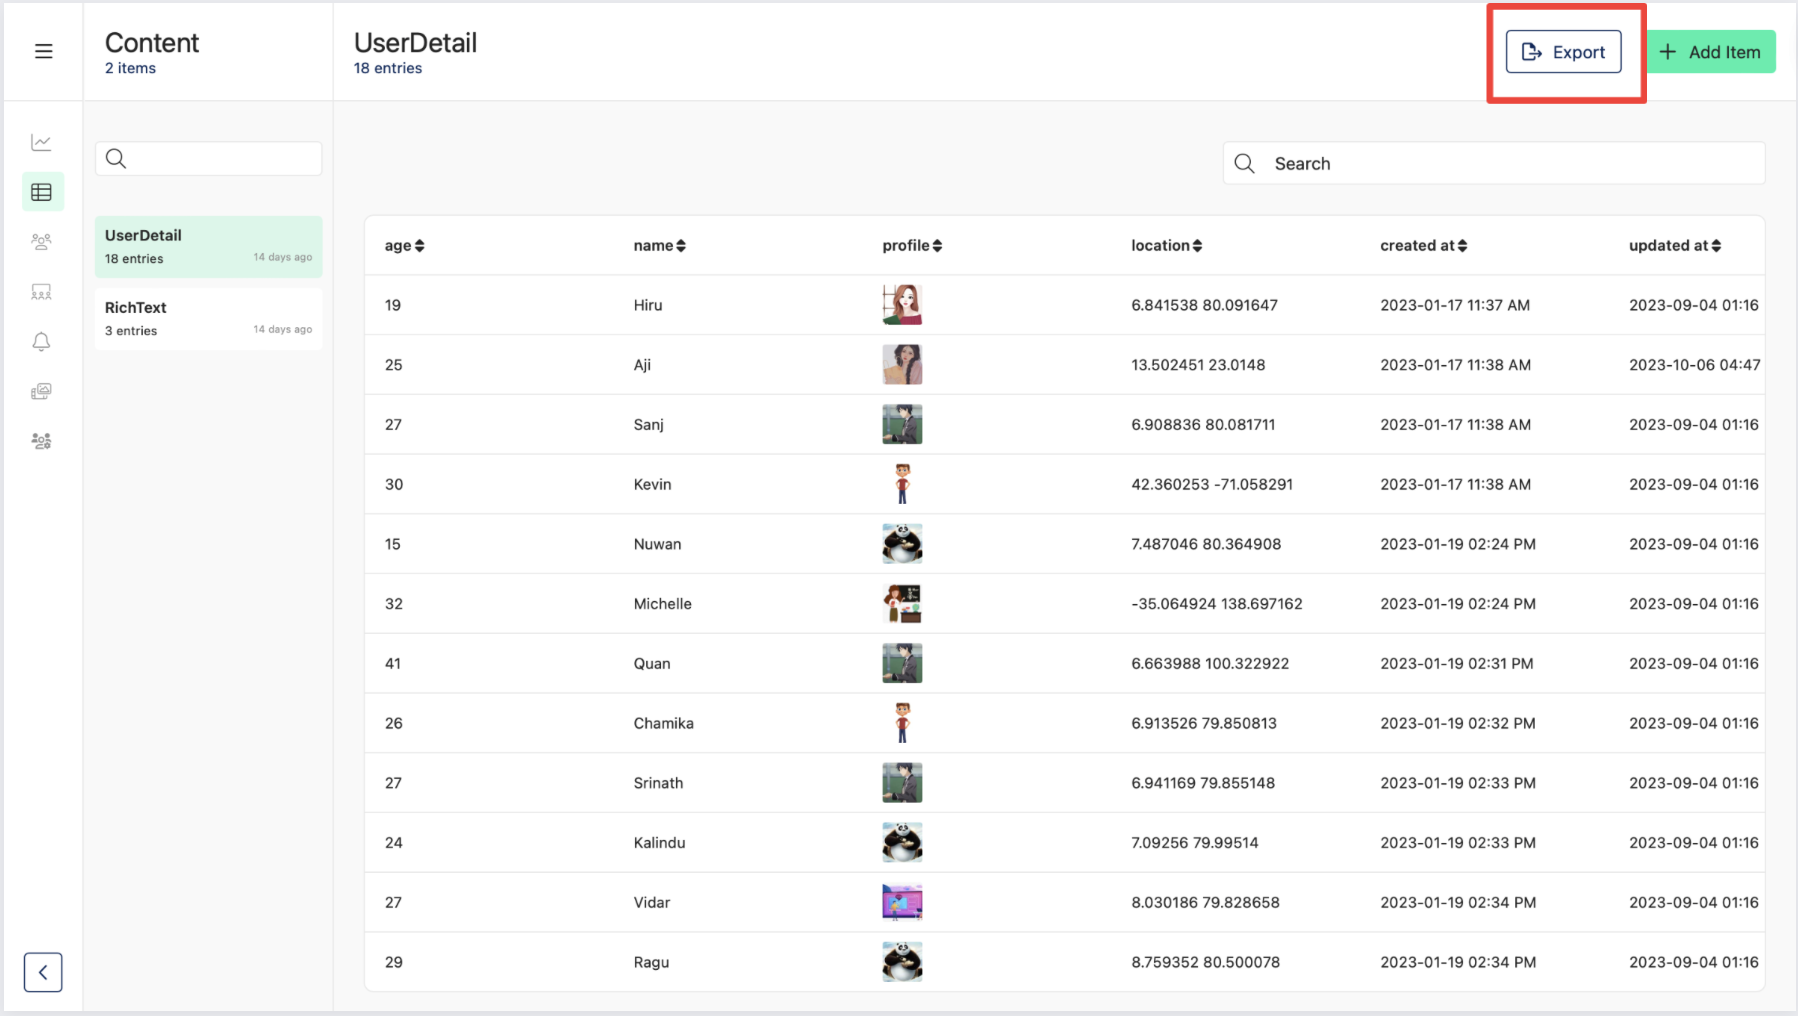
And it will be downloaded to your device where you can access or review it offline.
Learn more about Content
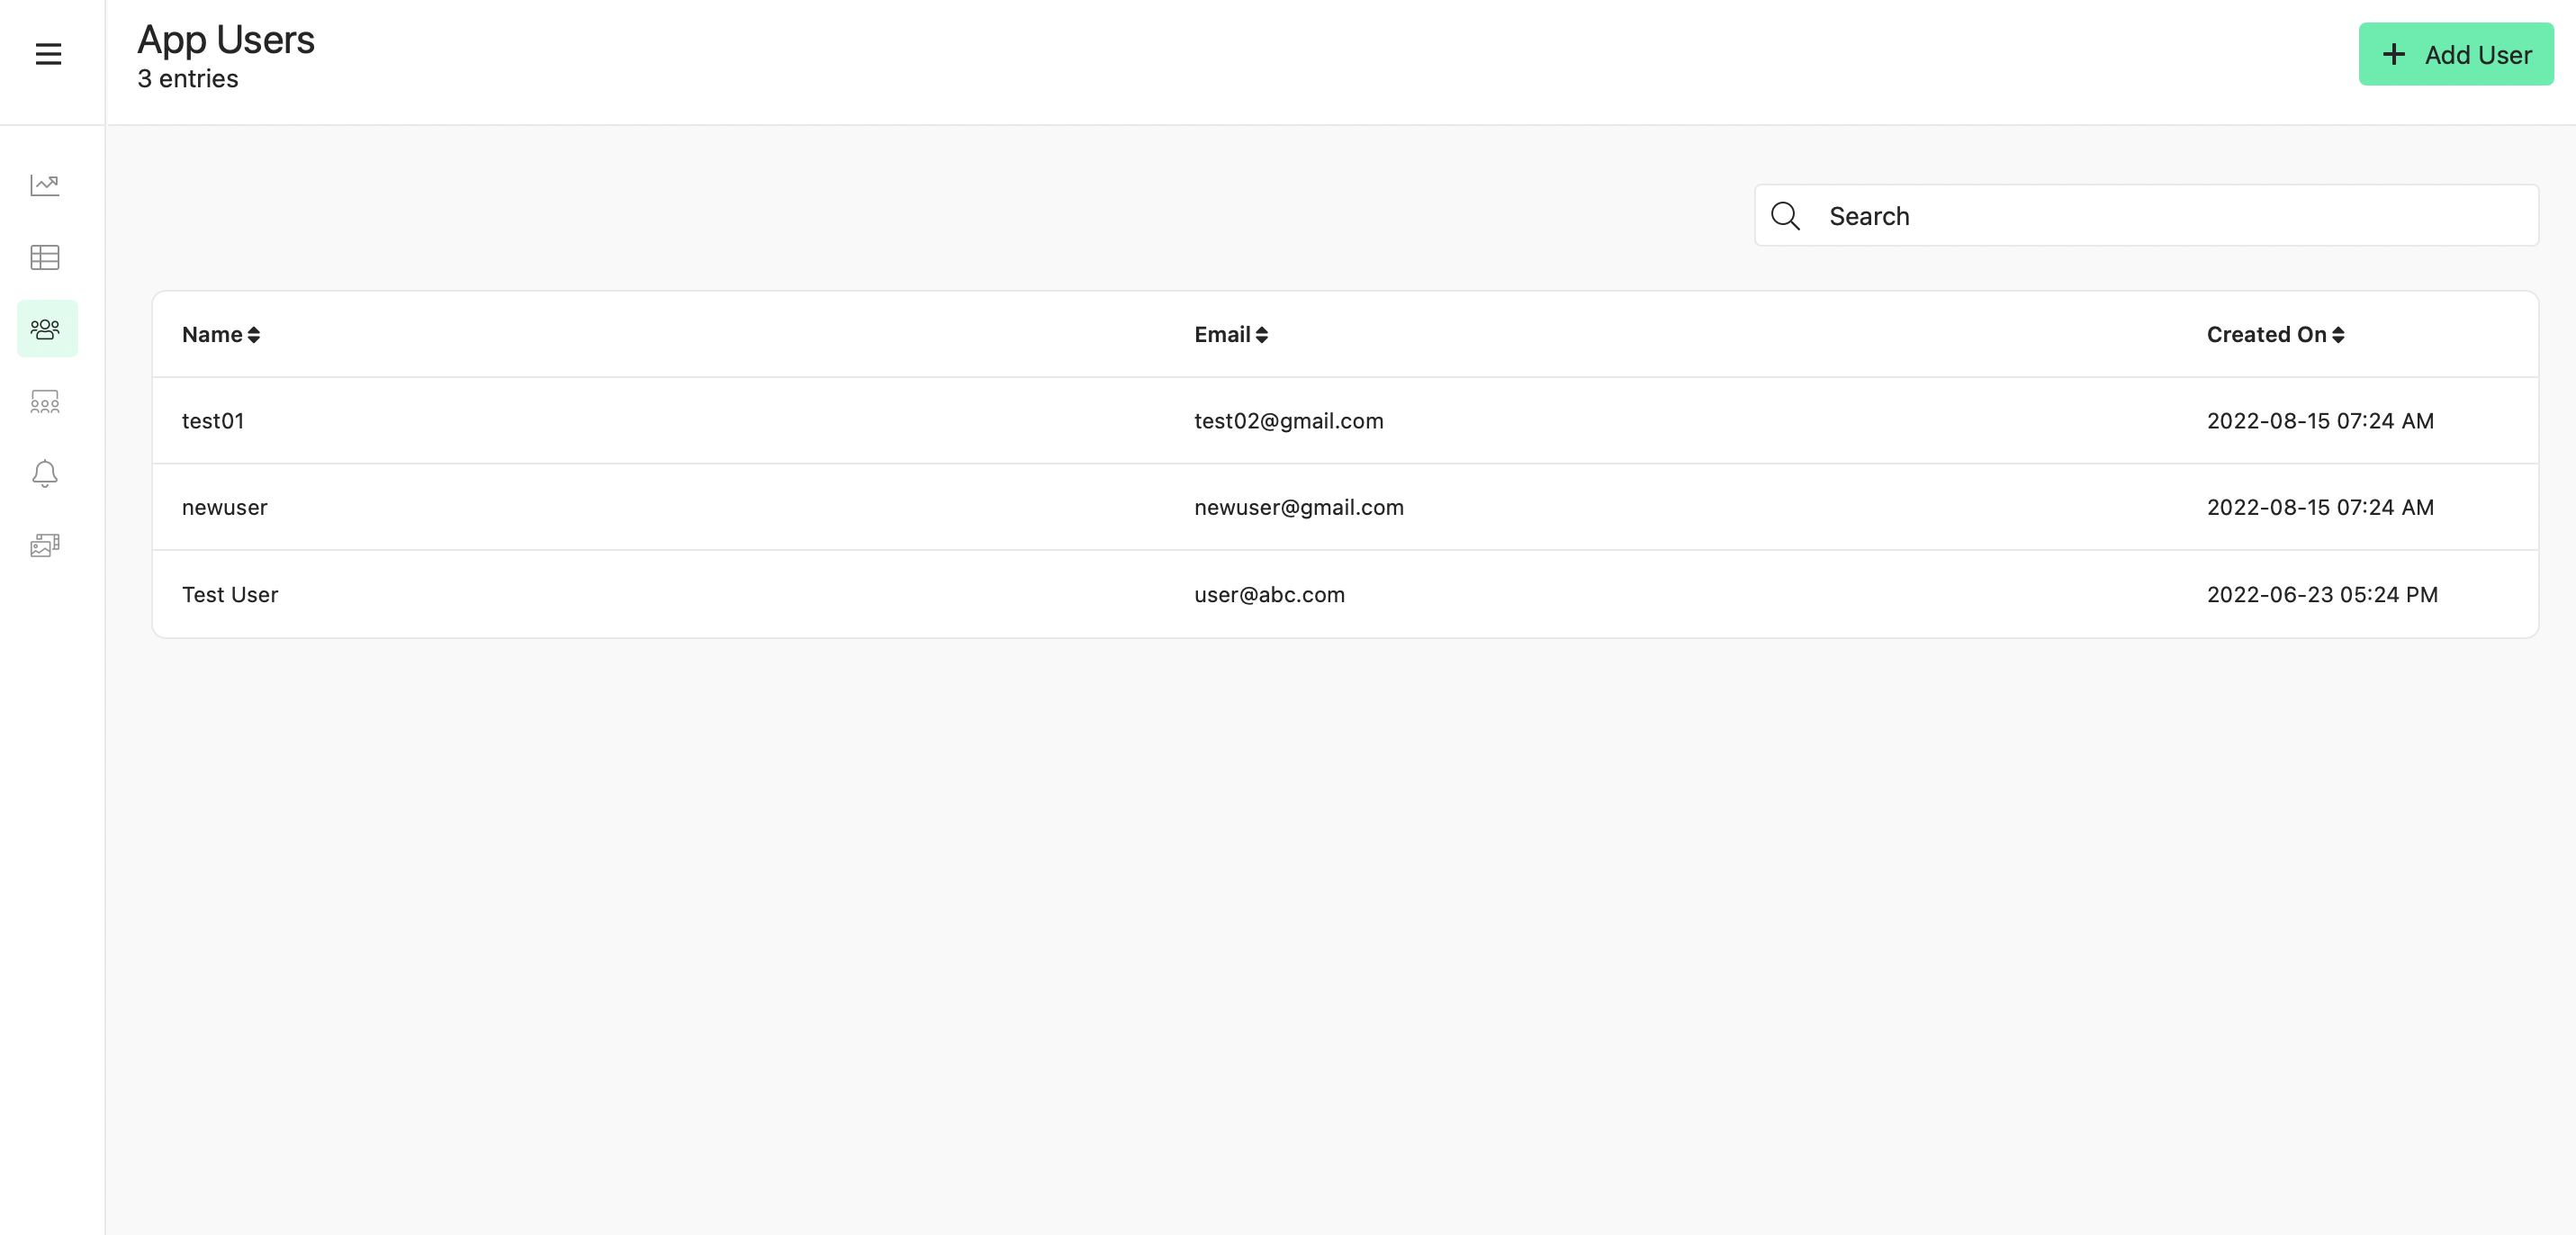
App Users
Click on App Users from the side bar.
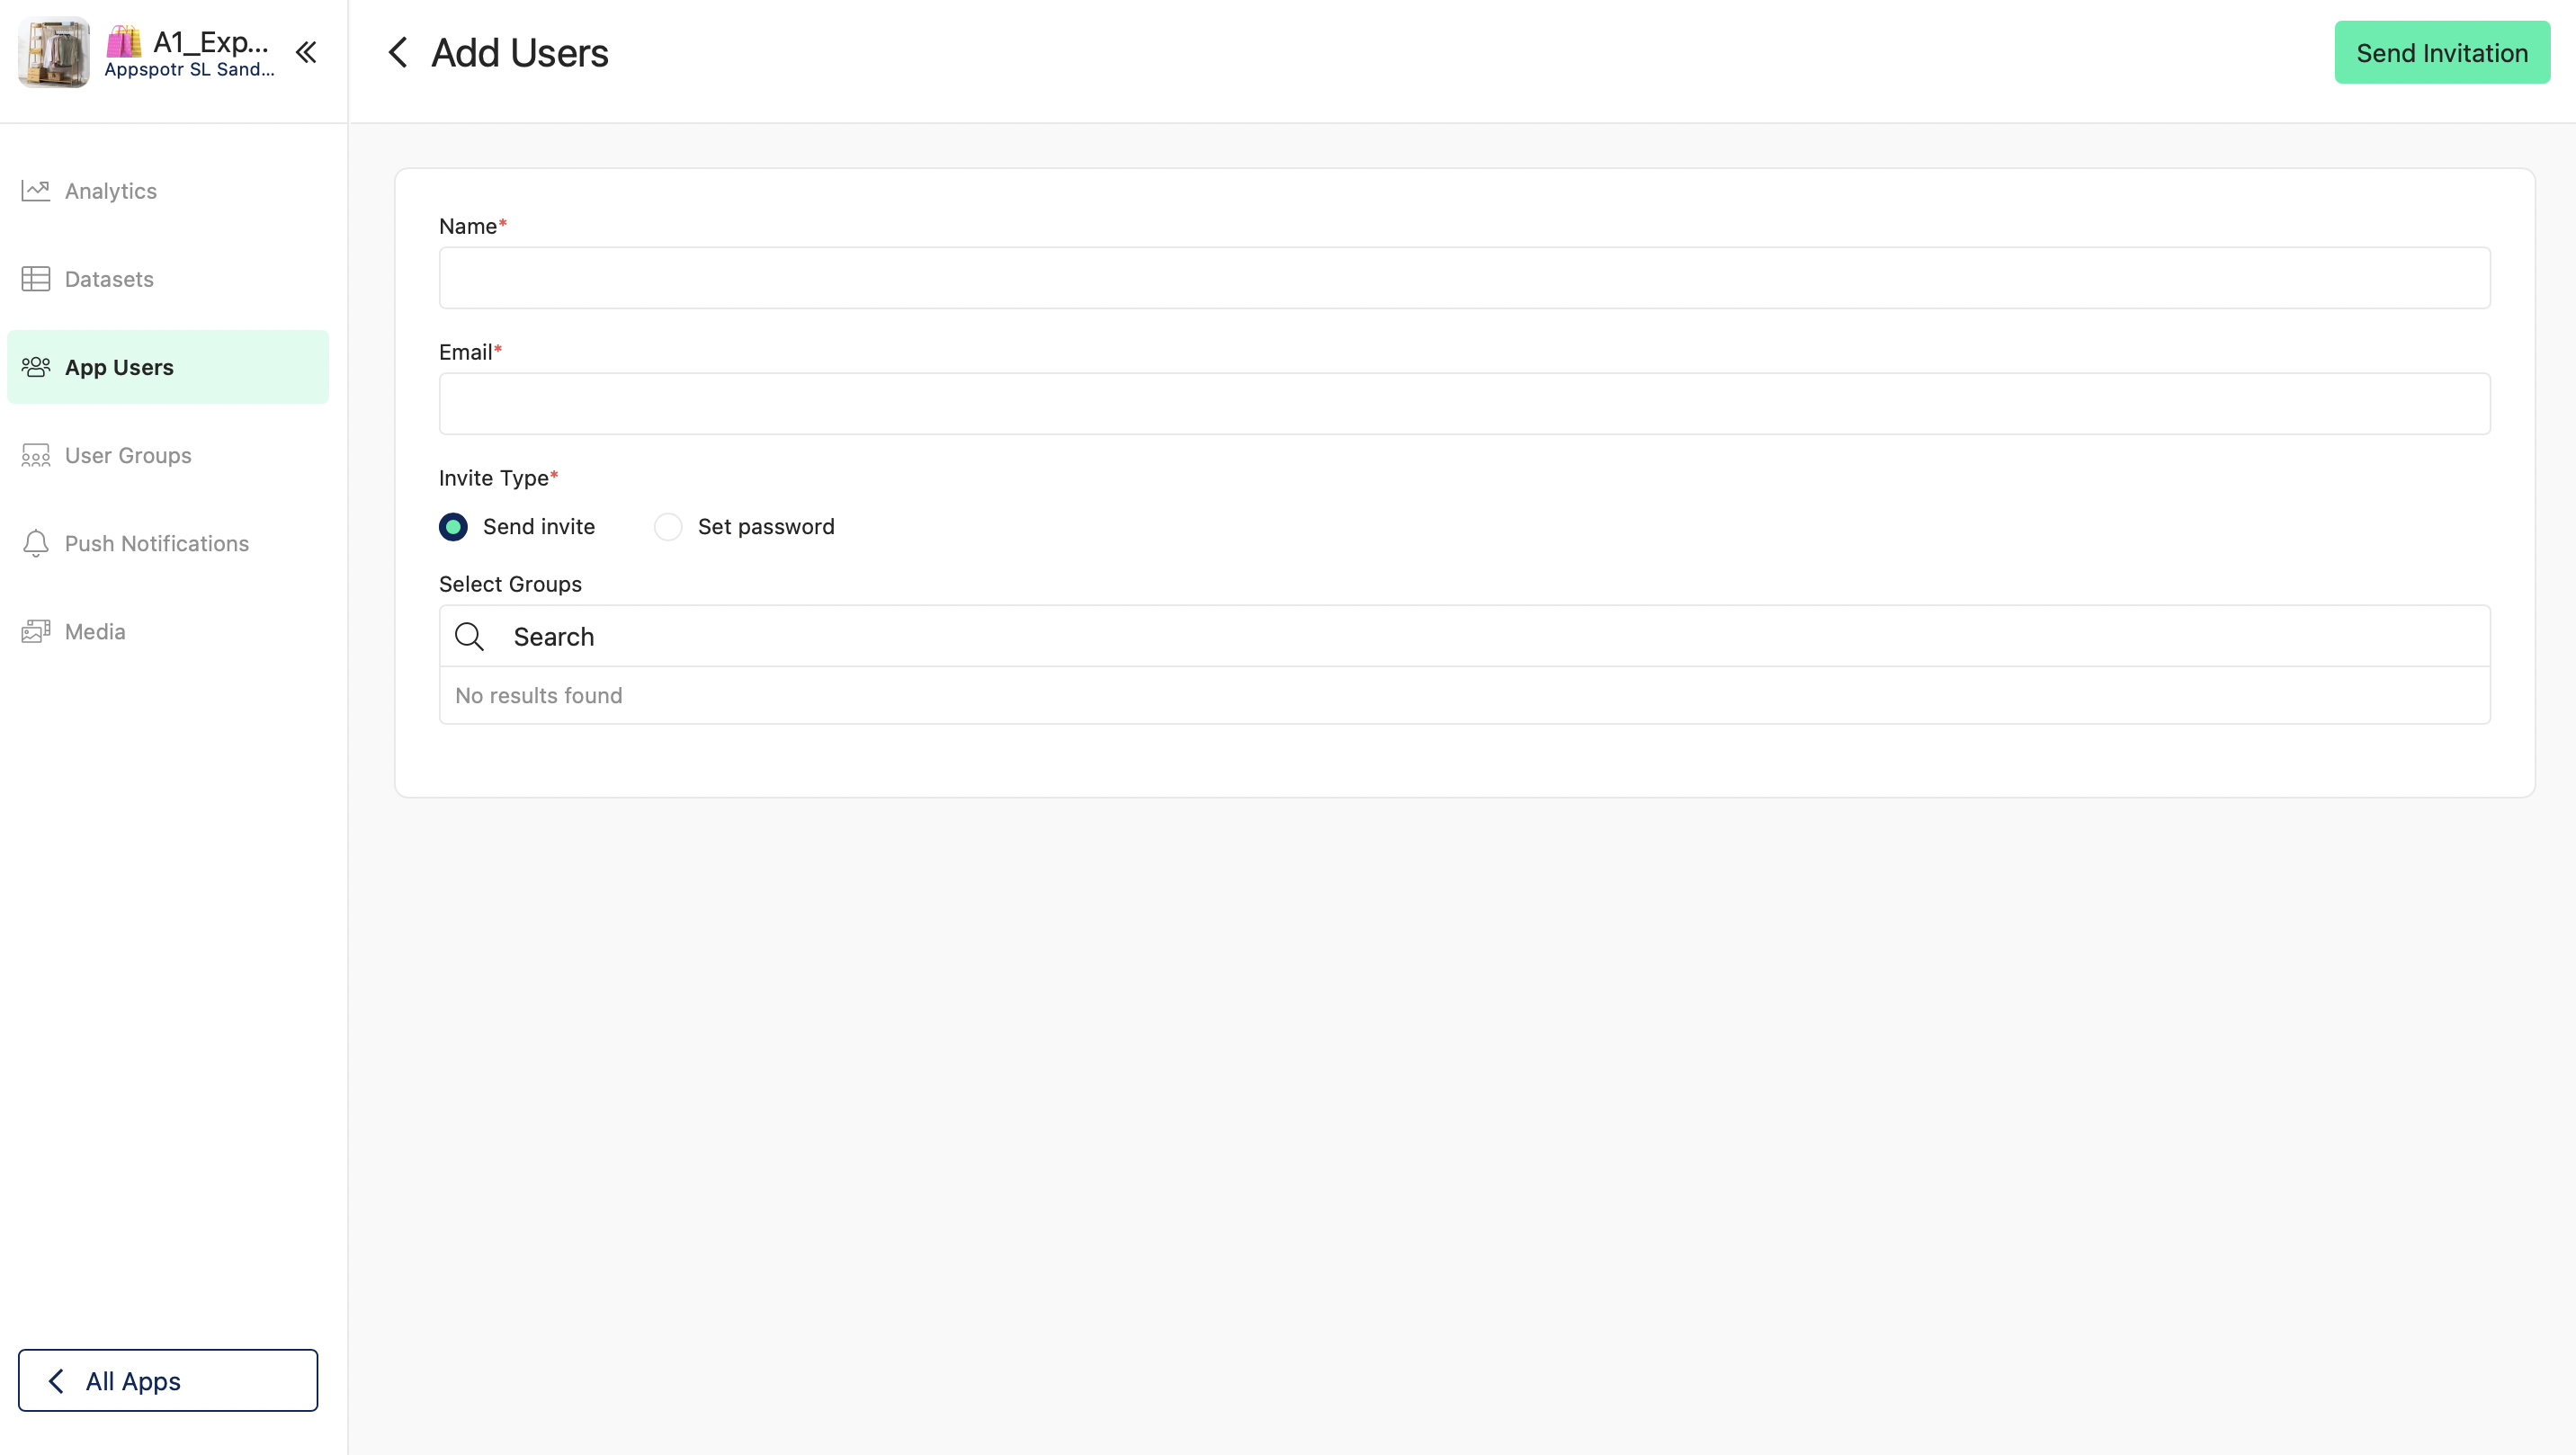
Add User
-
Click on Add User
-
Fill in the fields according to your requirement
-
Name
-
Email
-
Invite Type
-
Send Invite: When you click on this, you will get an email link. Once you click on the link, you will directed to the CMS and you can sign up or sign in there
-
Set Password: You can add a manual user by setting a password for the relevant user
-
Select Groups: Only the custom groups will be shown here. If the groups are not selected it will automatically select Anonymous Group
-
Click on Send Invitation
The new user will be added to the User List.
-
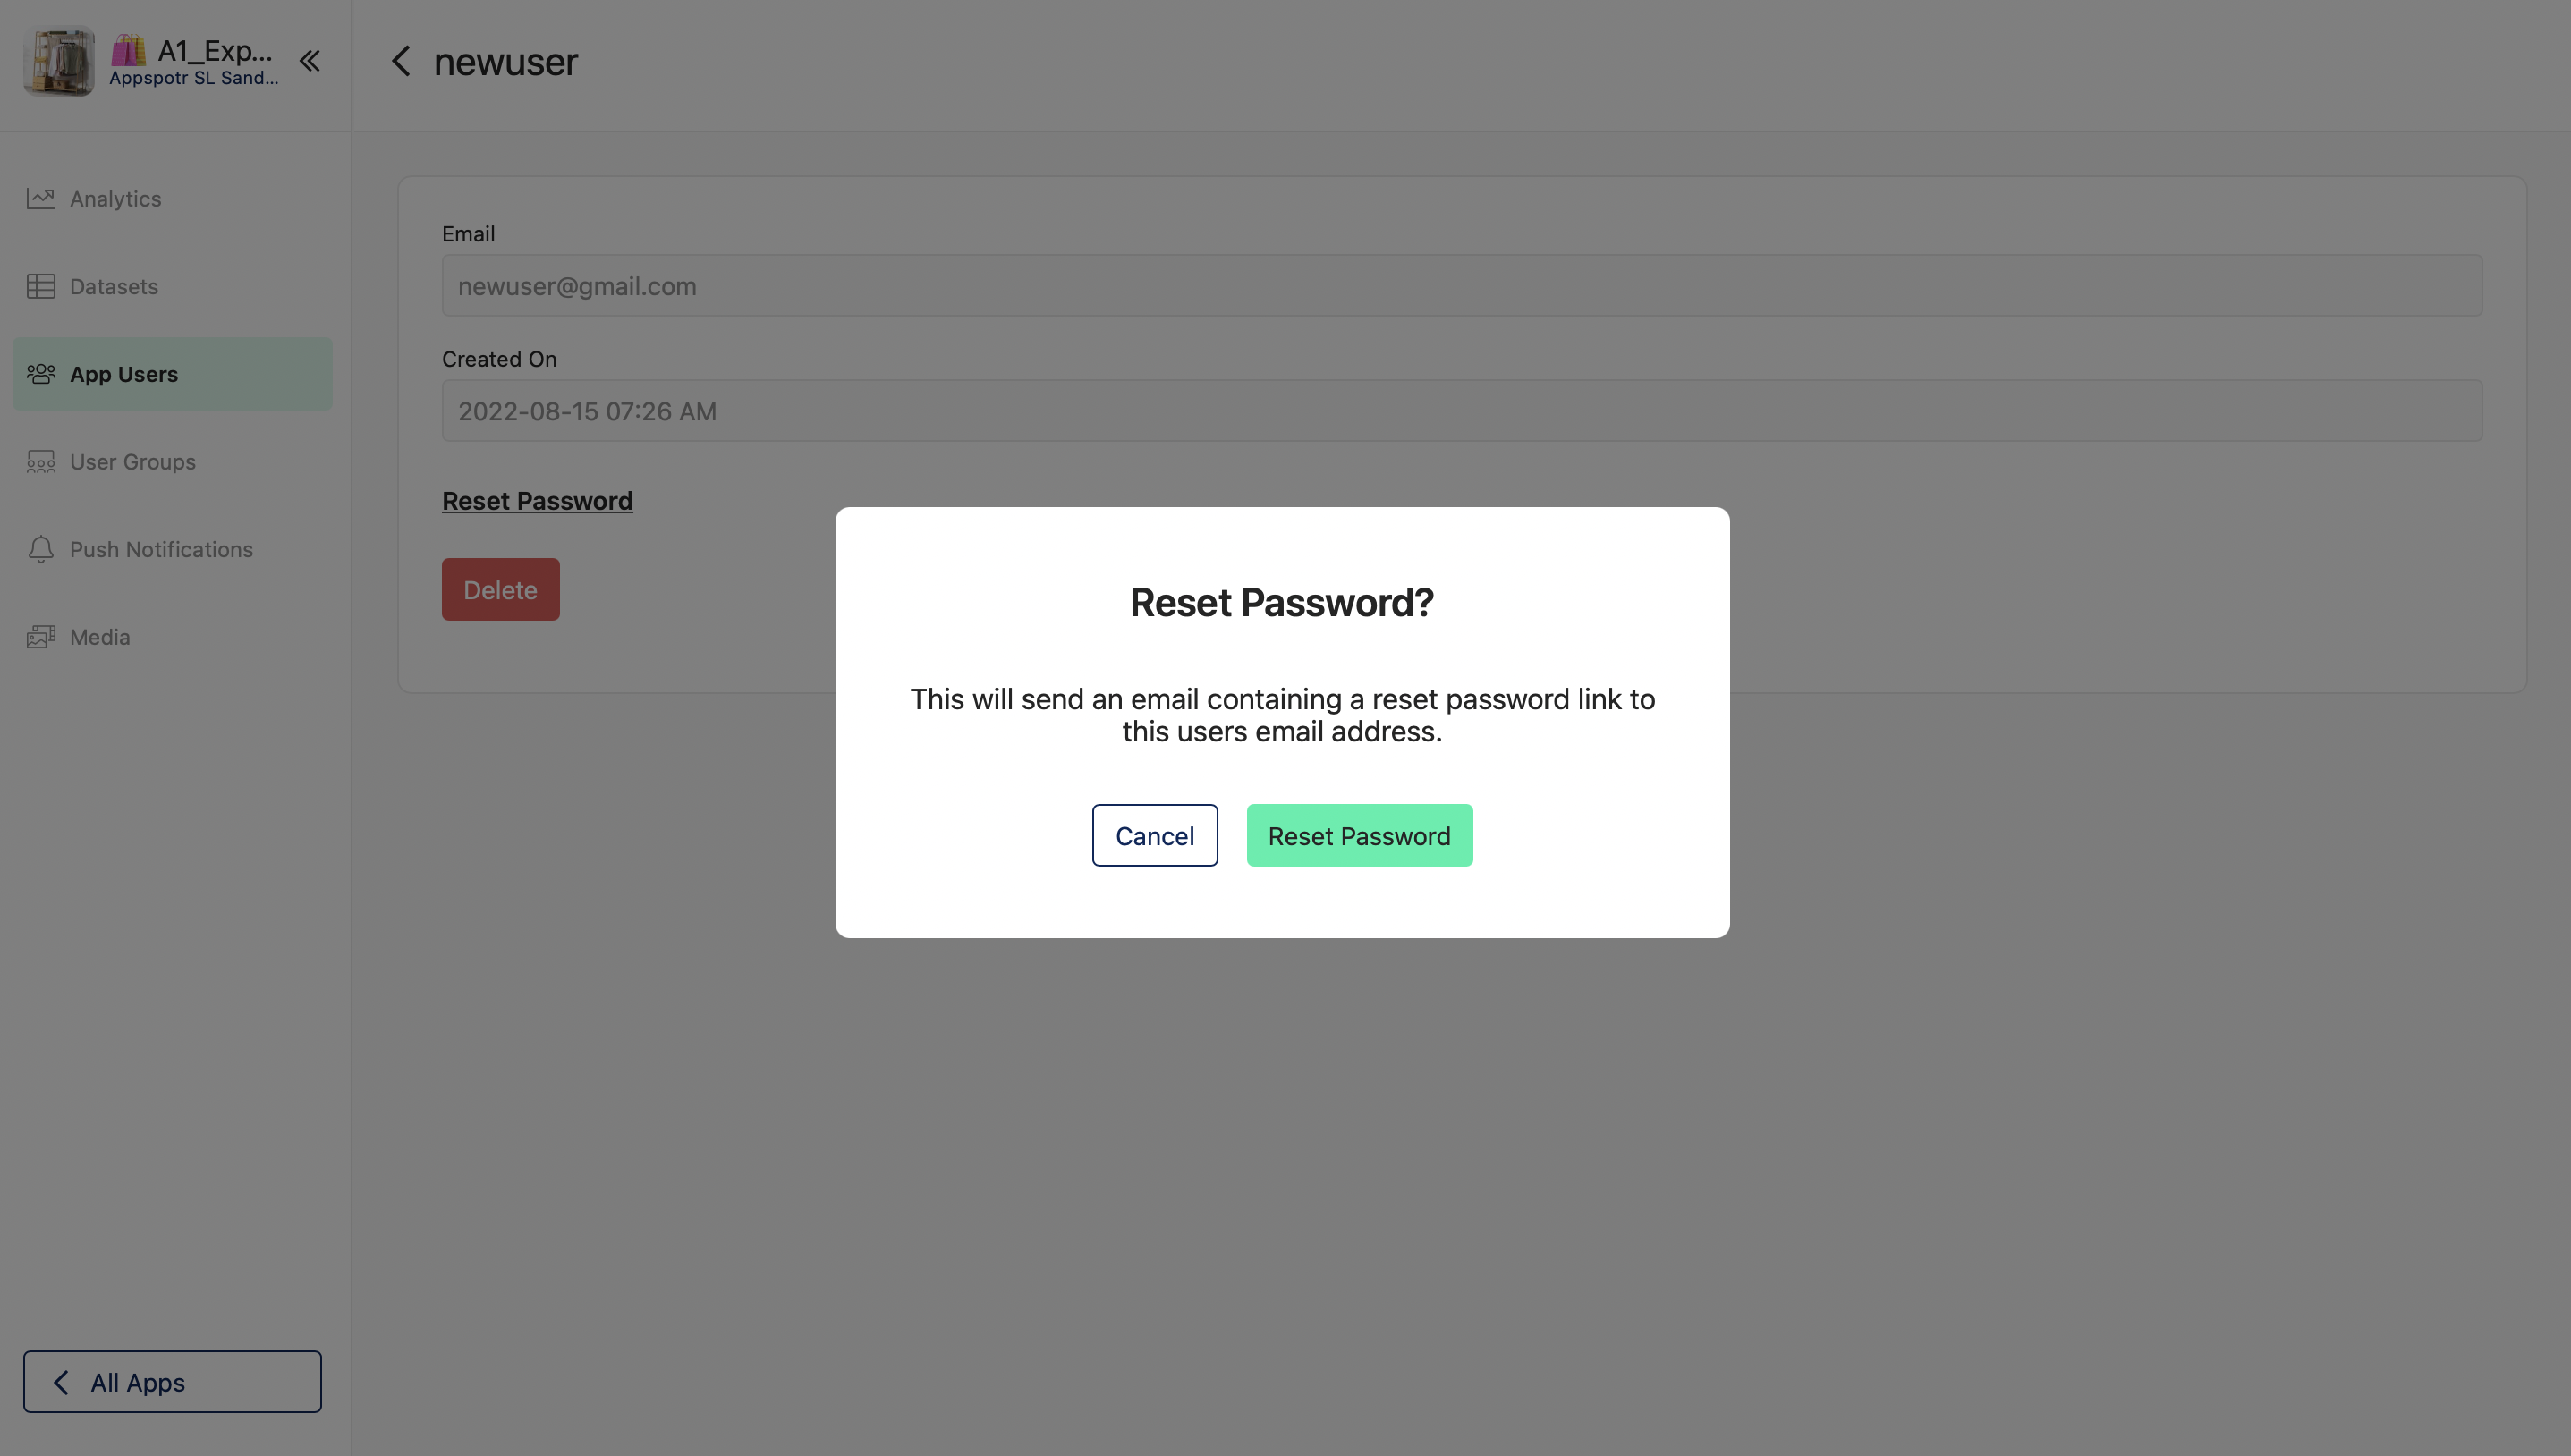
Resetting Password - Optional
Click on the required user and click on Reset Password
-
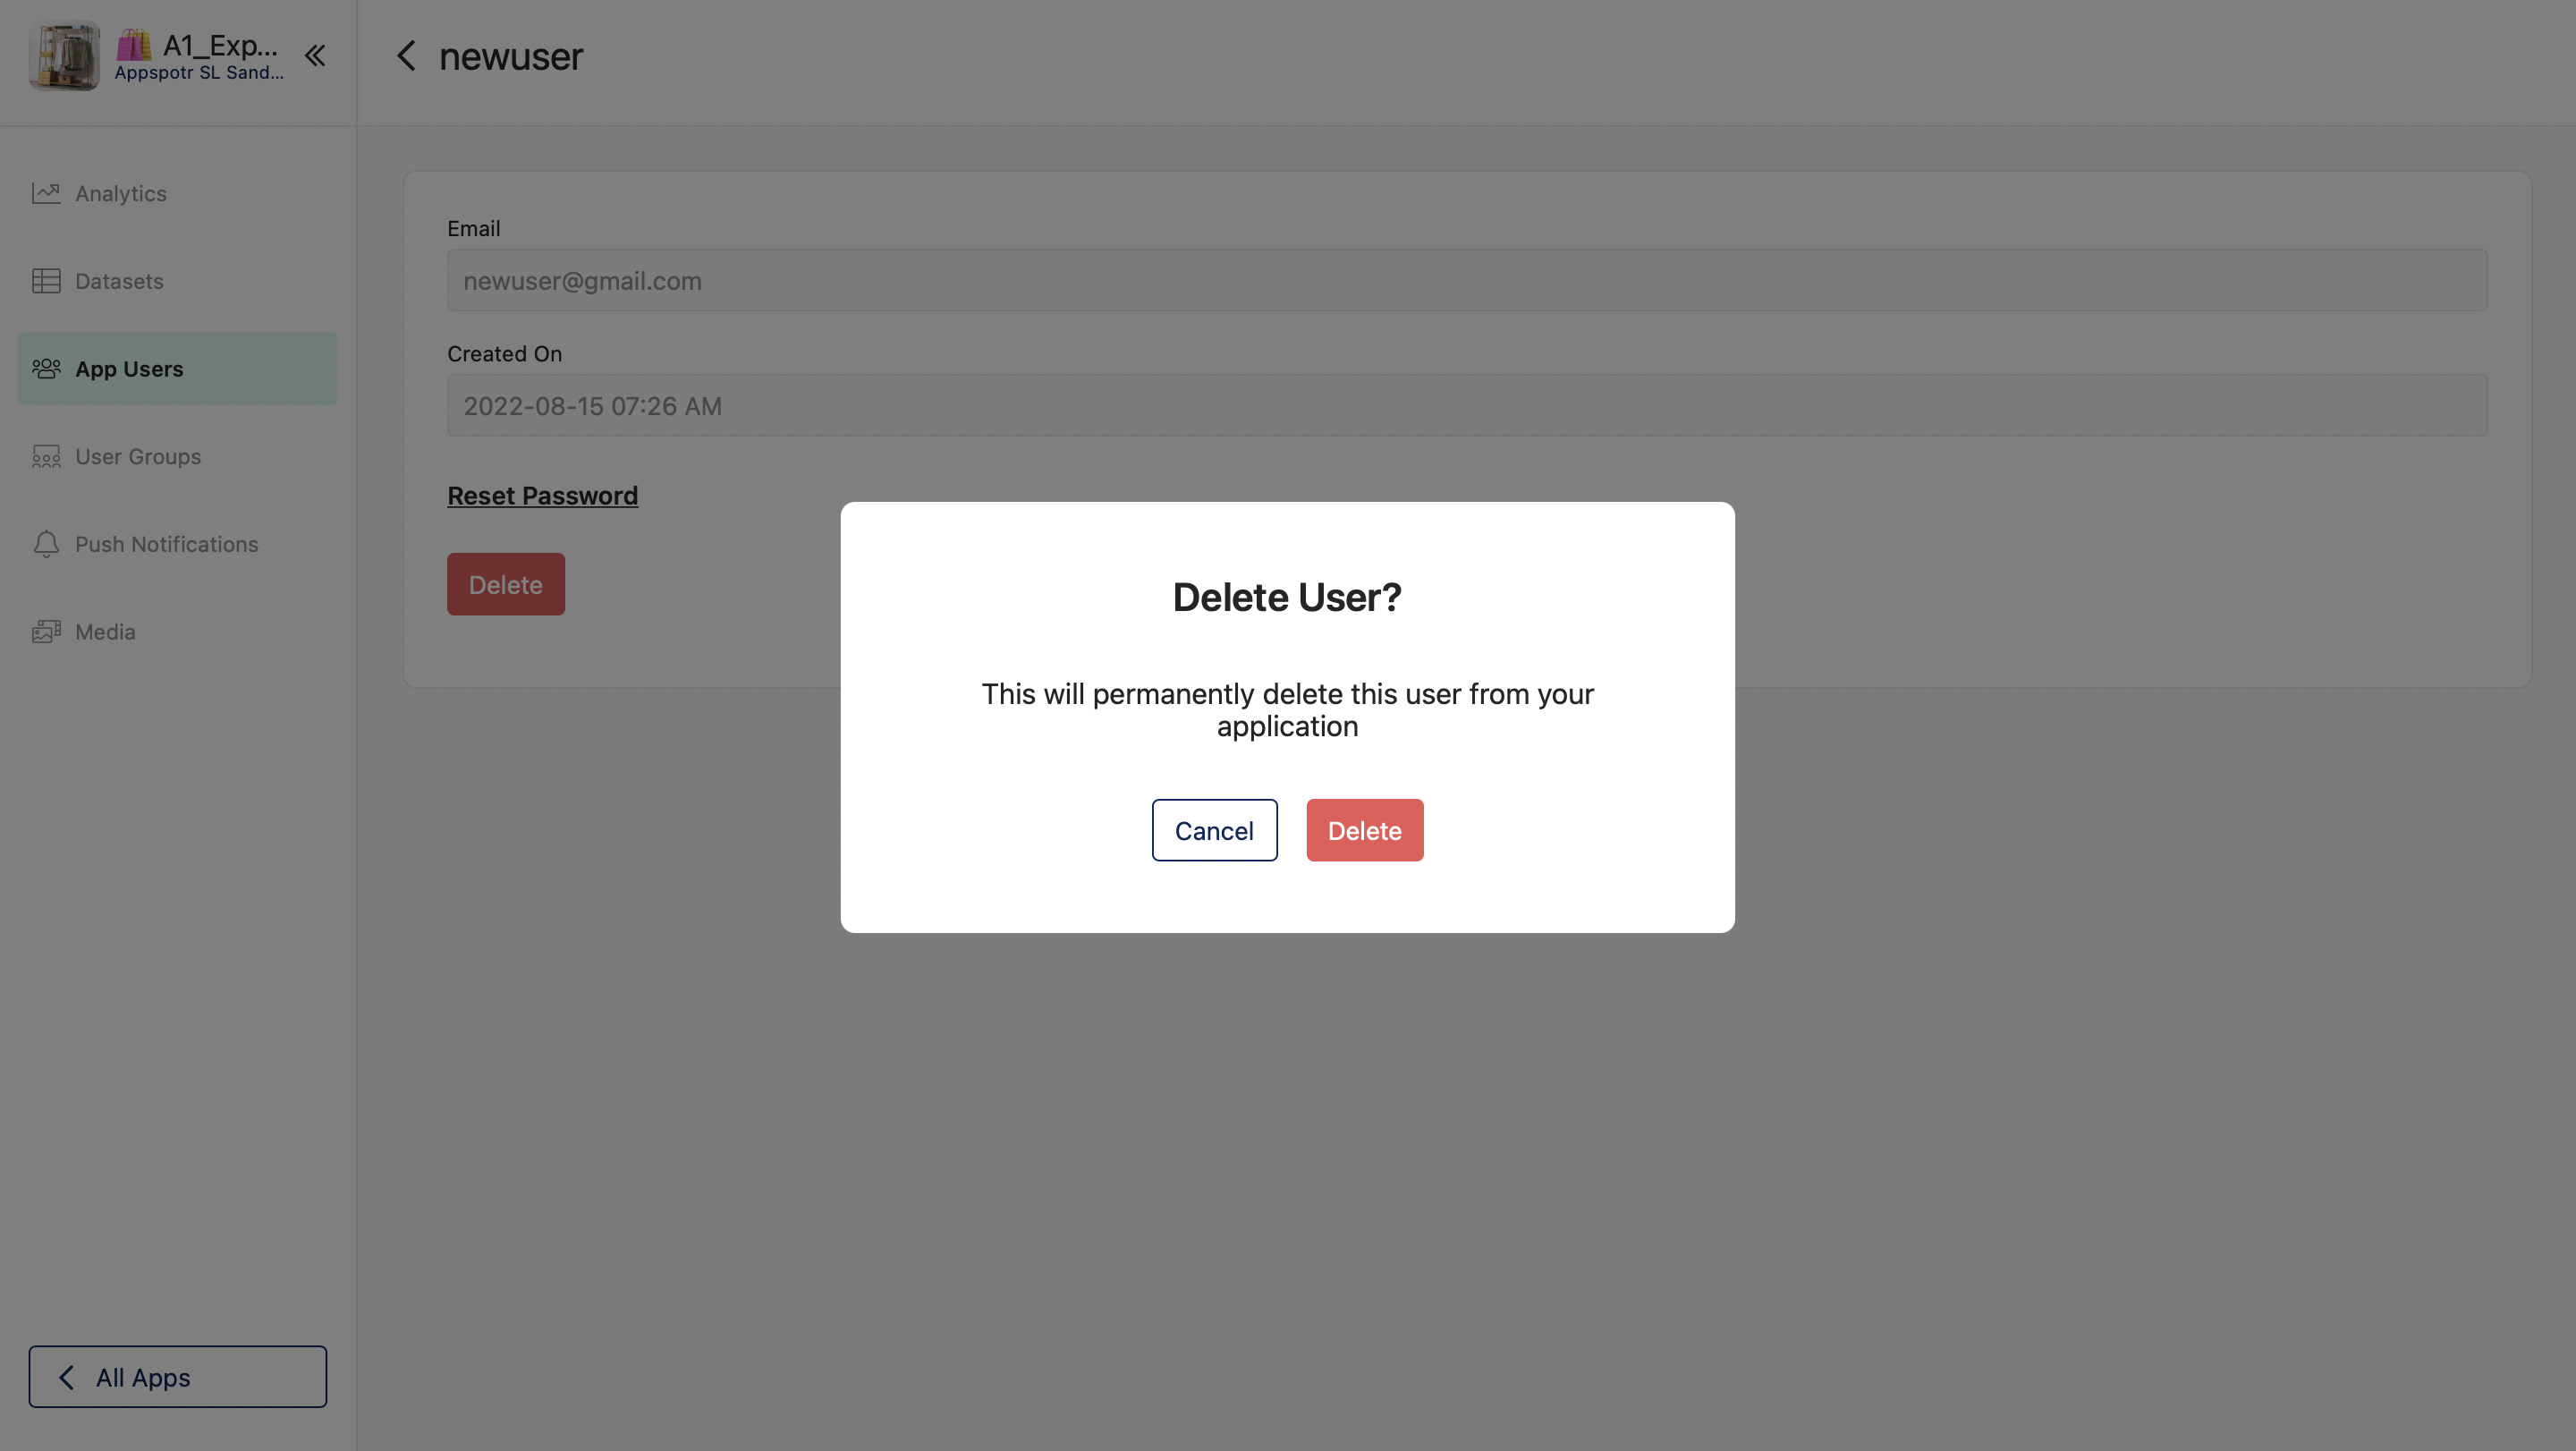
Deleting User - Optional
Click on the required user and click on Delete
Learn more about App Users
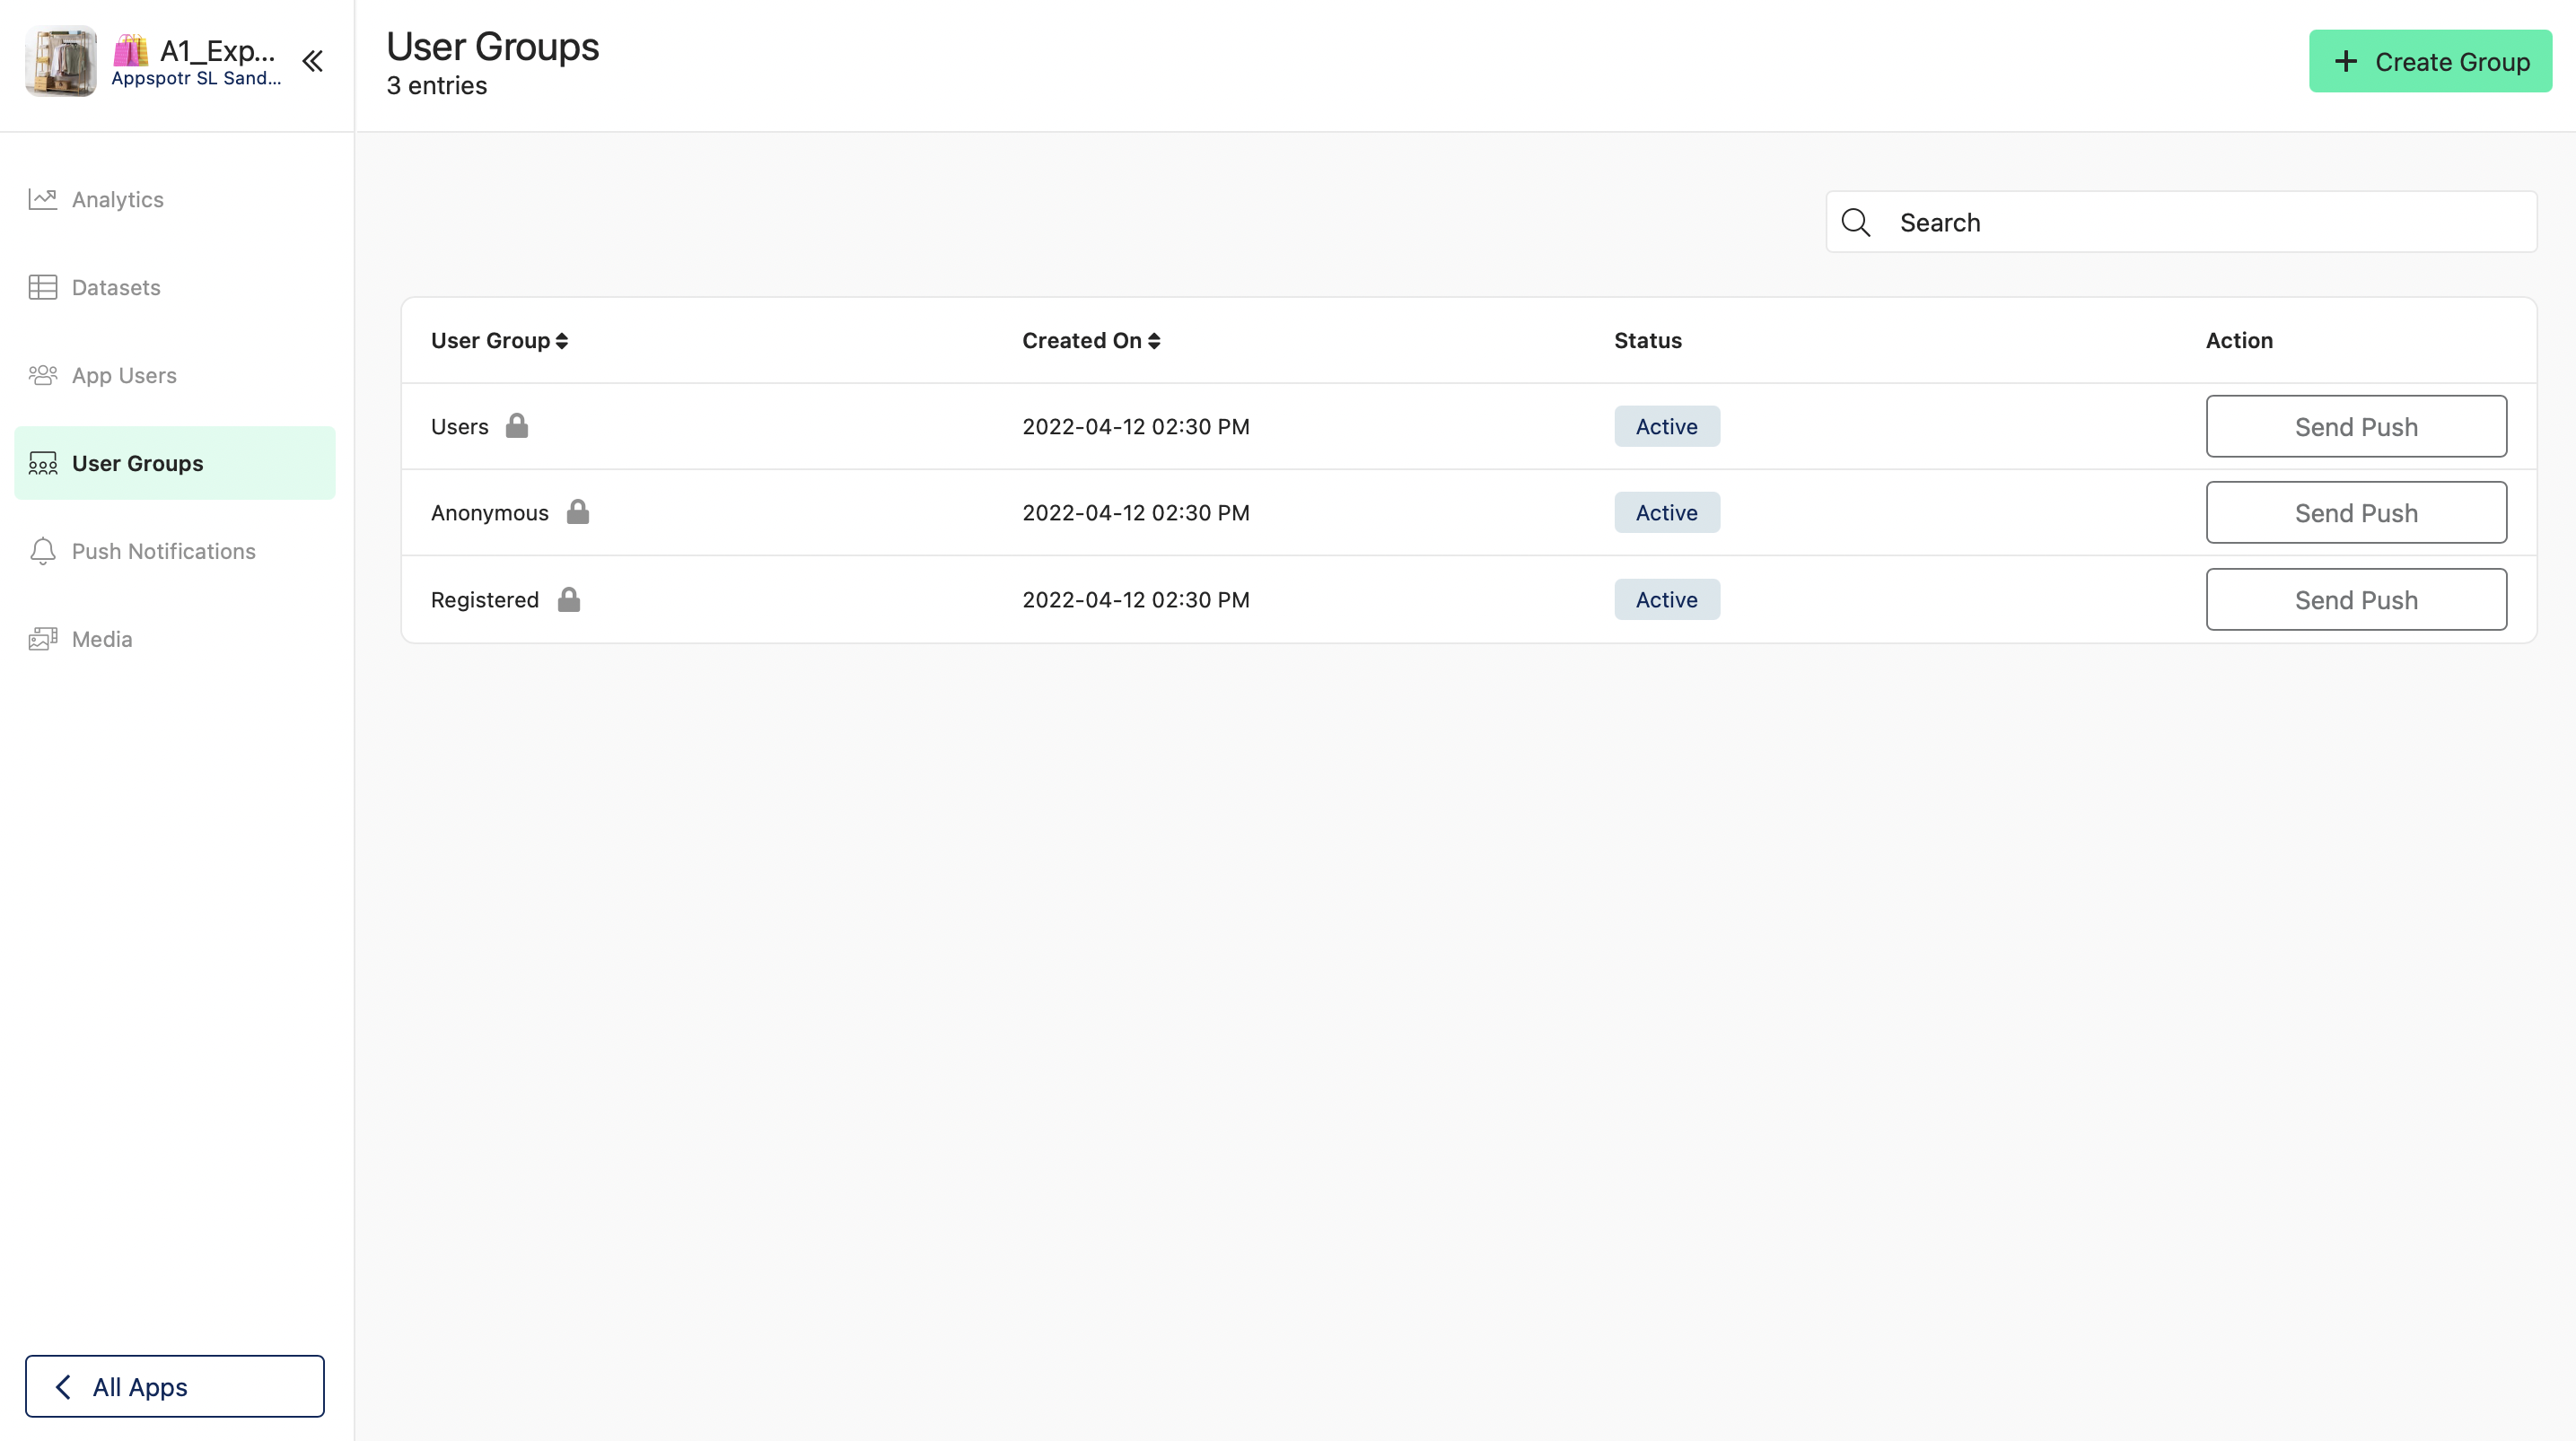
User Groups
Click on User Groups from the side bar

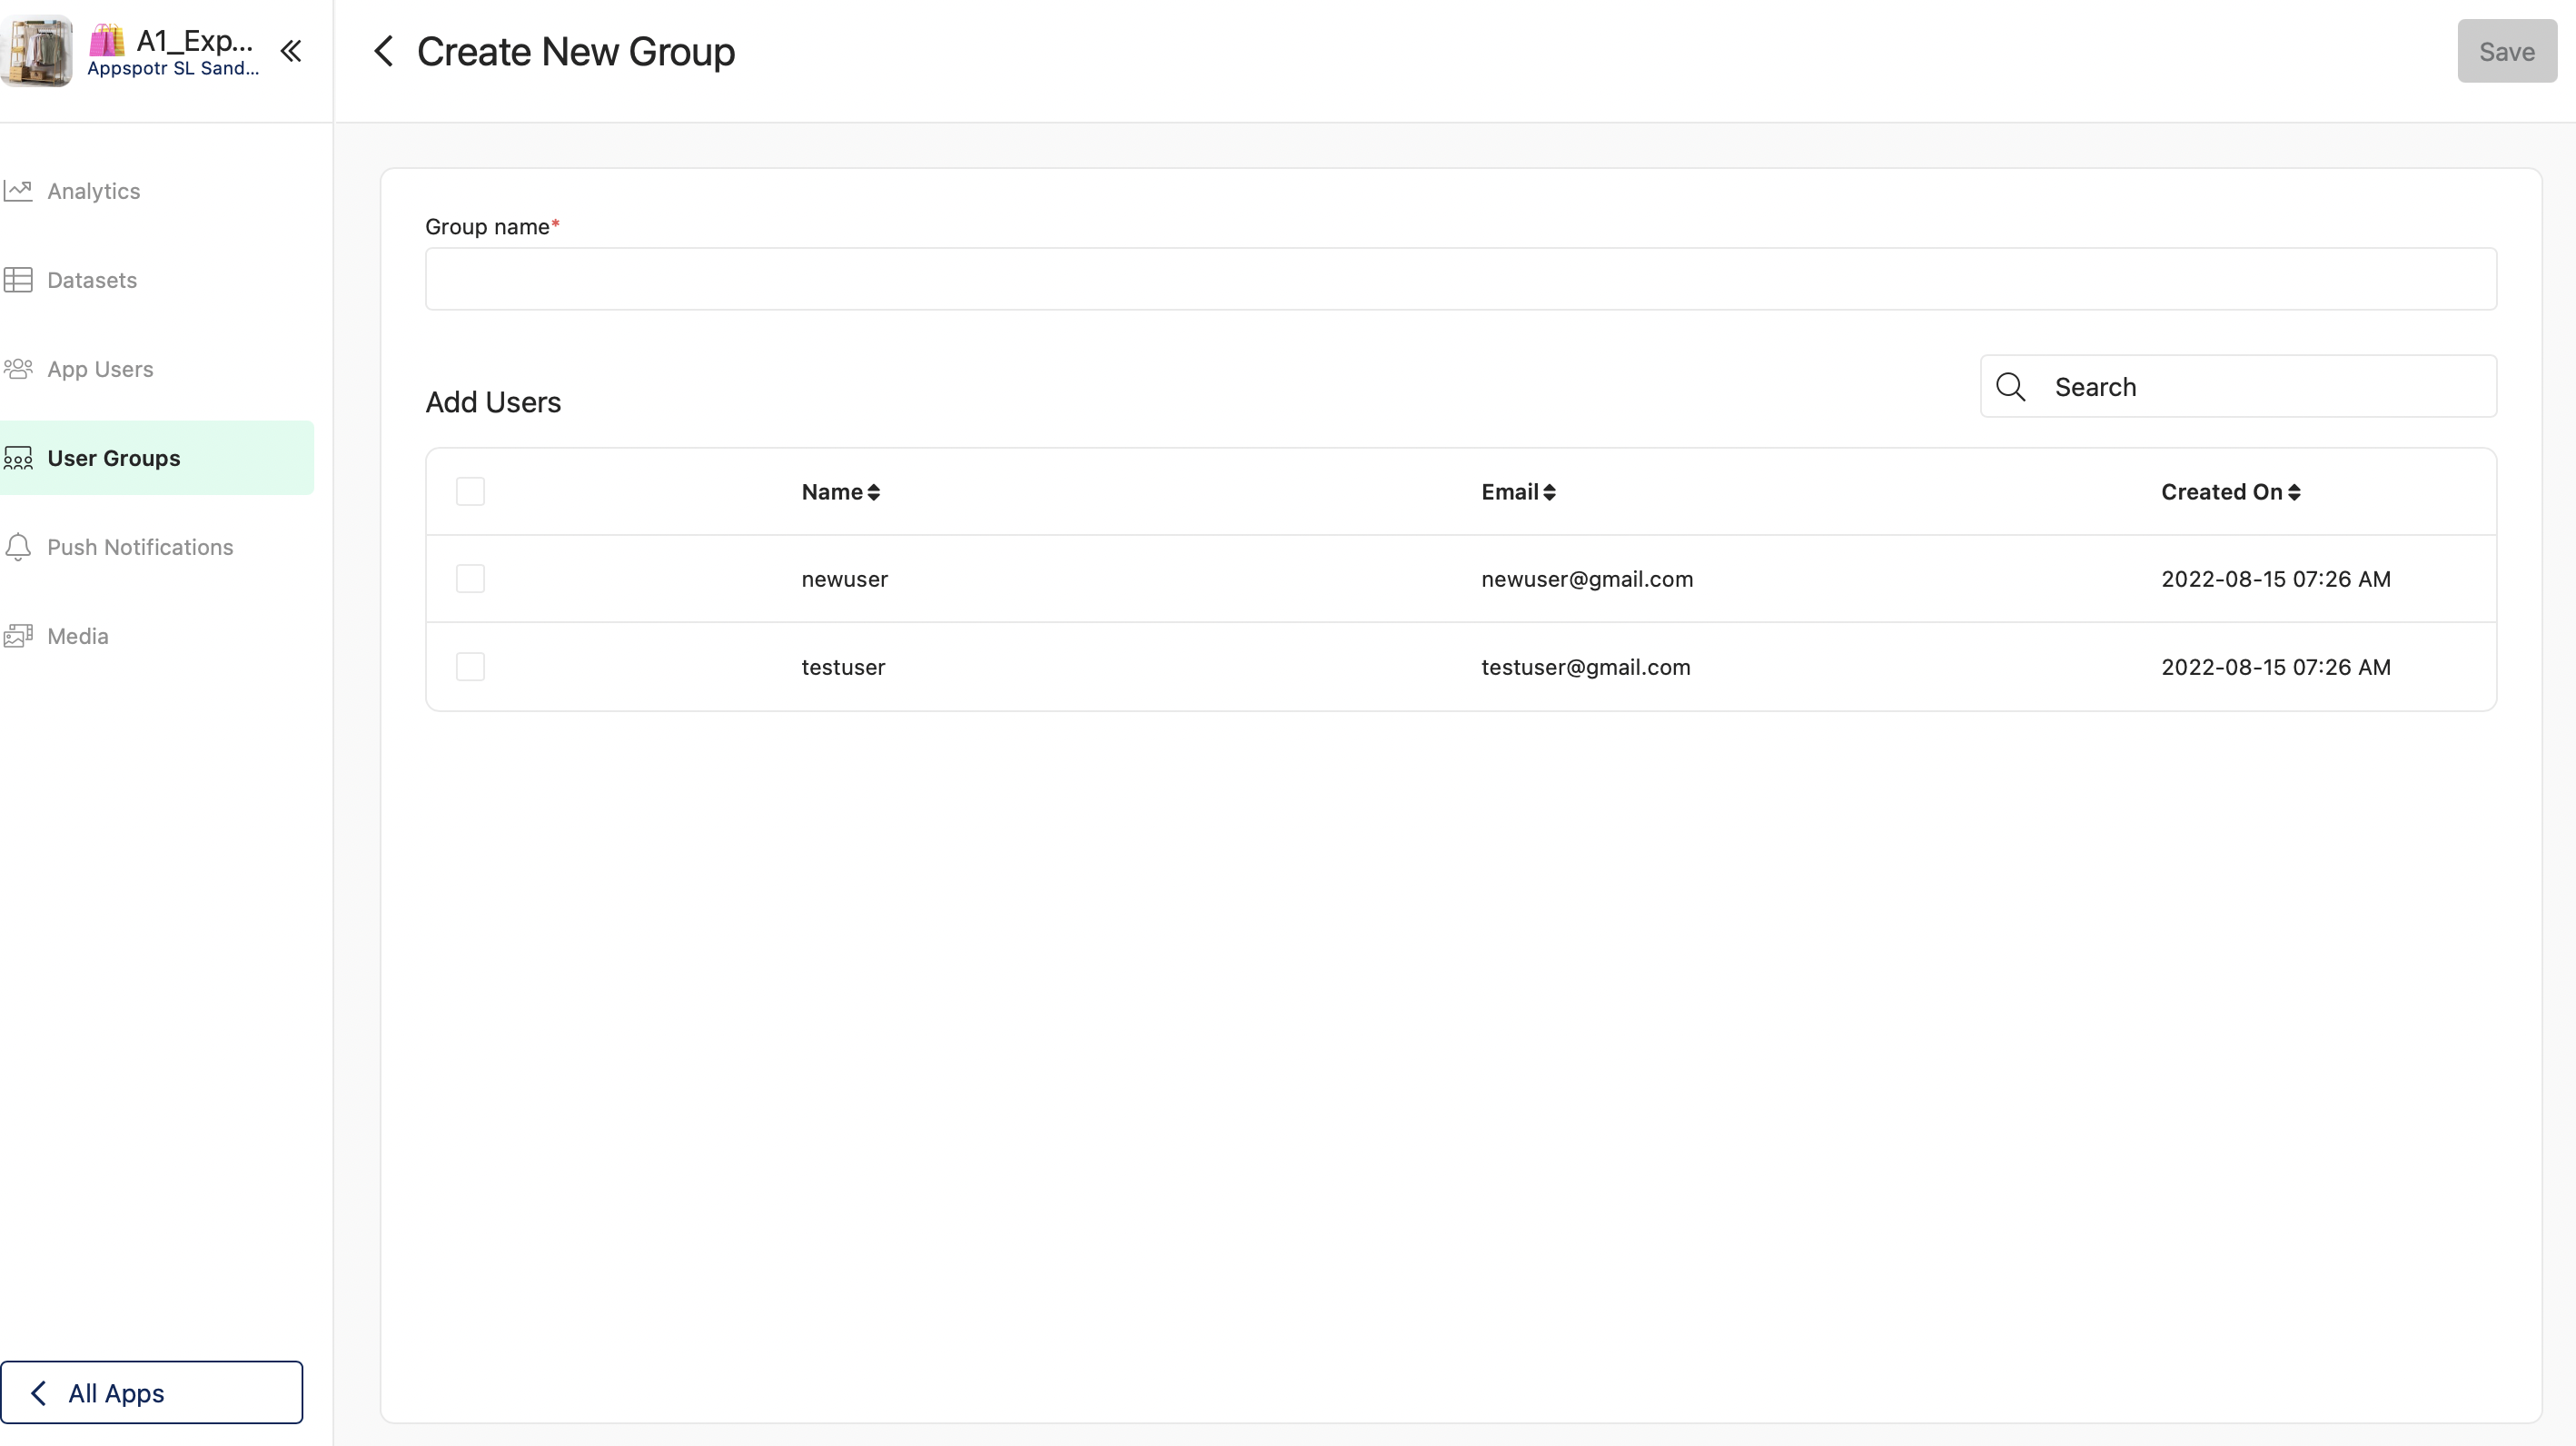
Create Group
-
Click on Create Group
-
Add Group name
-
Add Users - You can select the required users from the list of users of your app
-
Click on Save
The New User group will appear on the User Group List
Once you click on a User Group you can view all the users inside of it.
If you want you can remove users by clicking on Remove here.
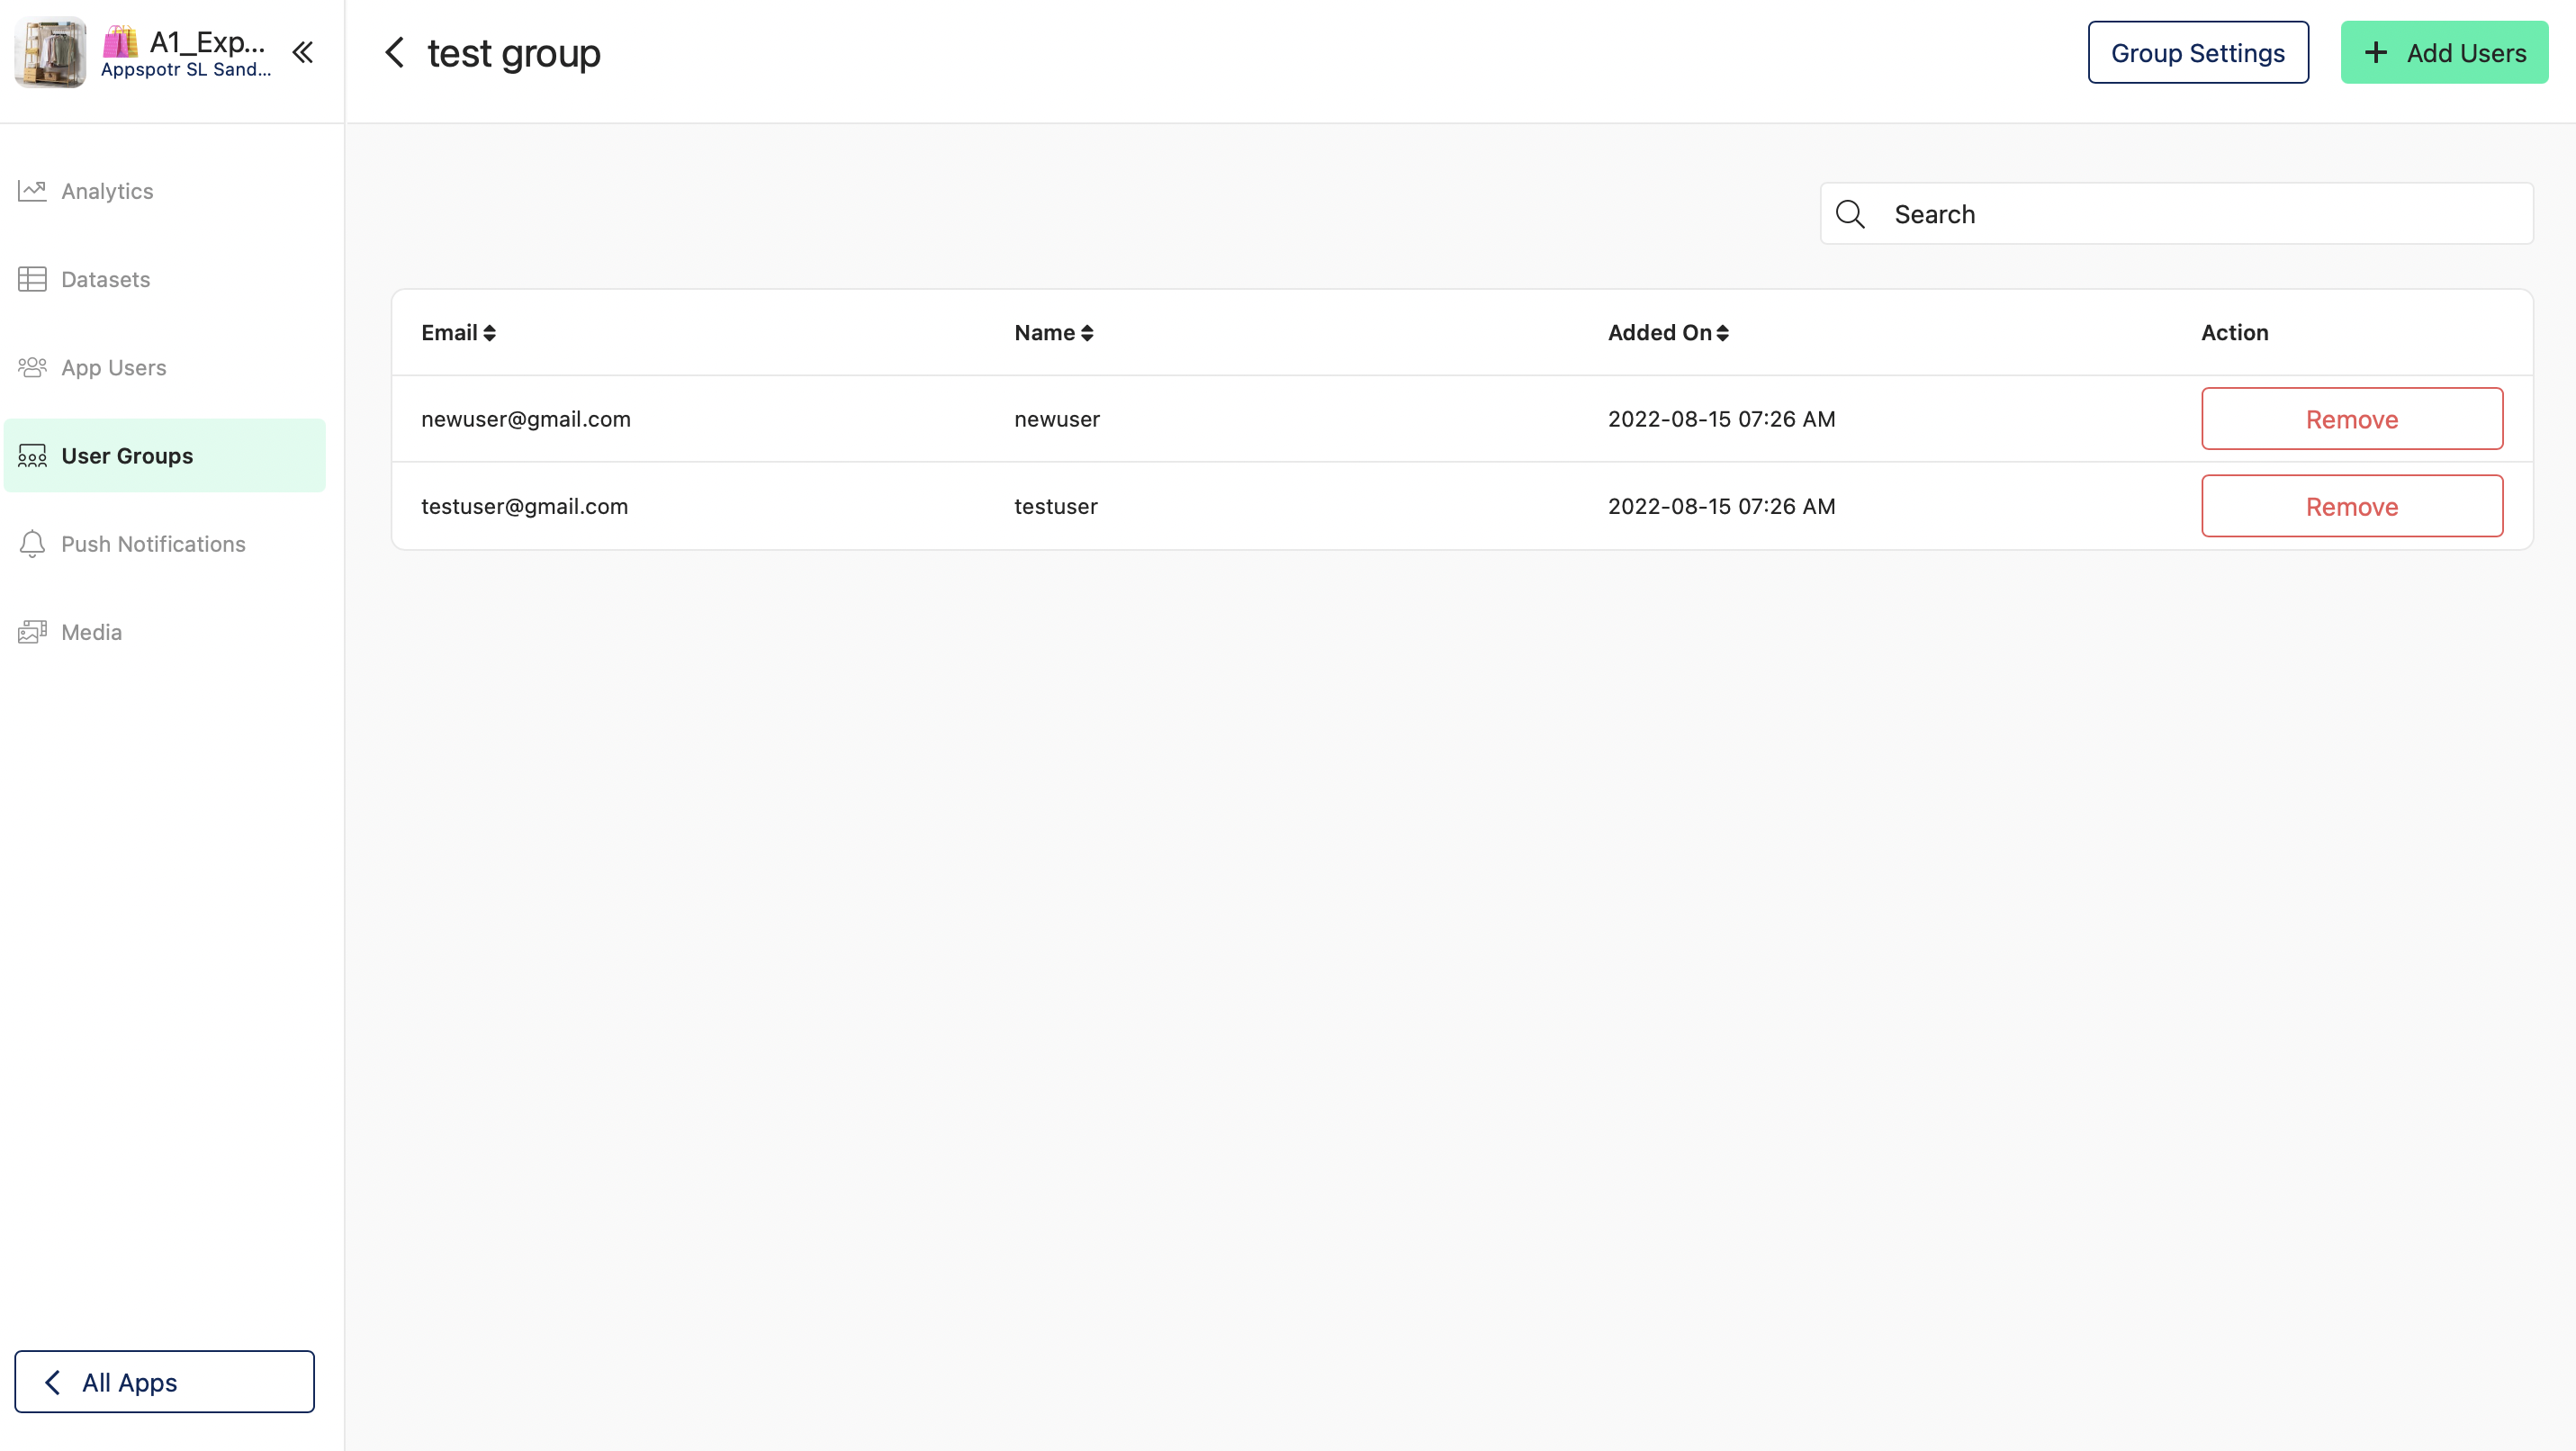
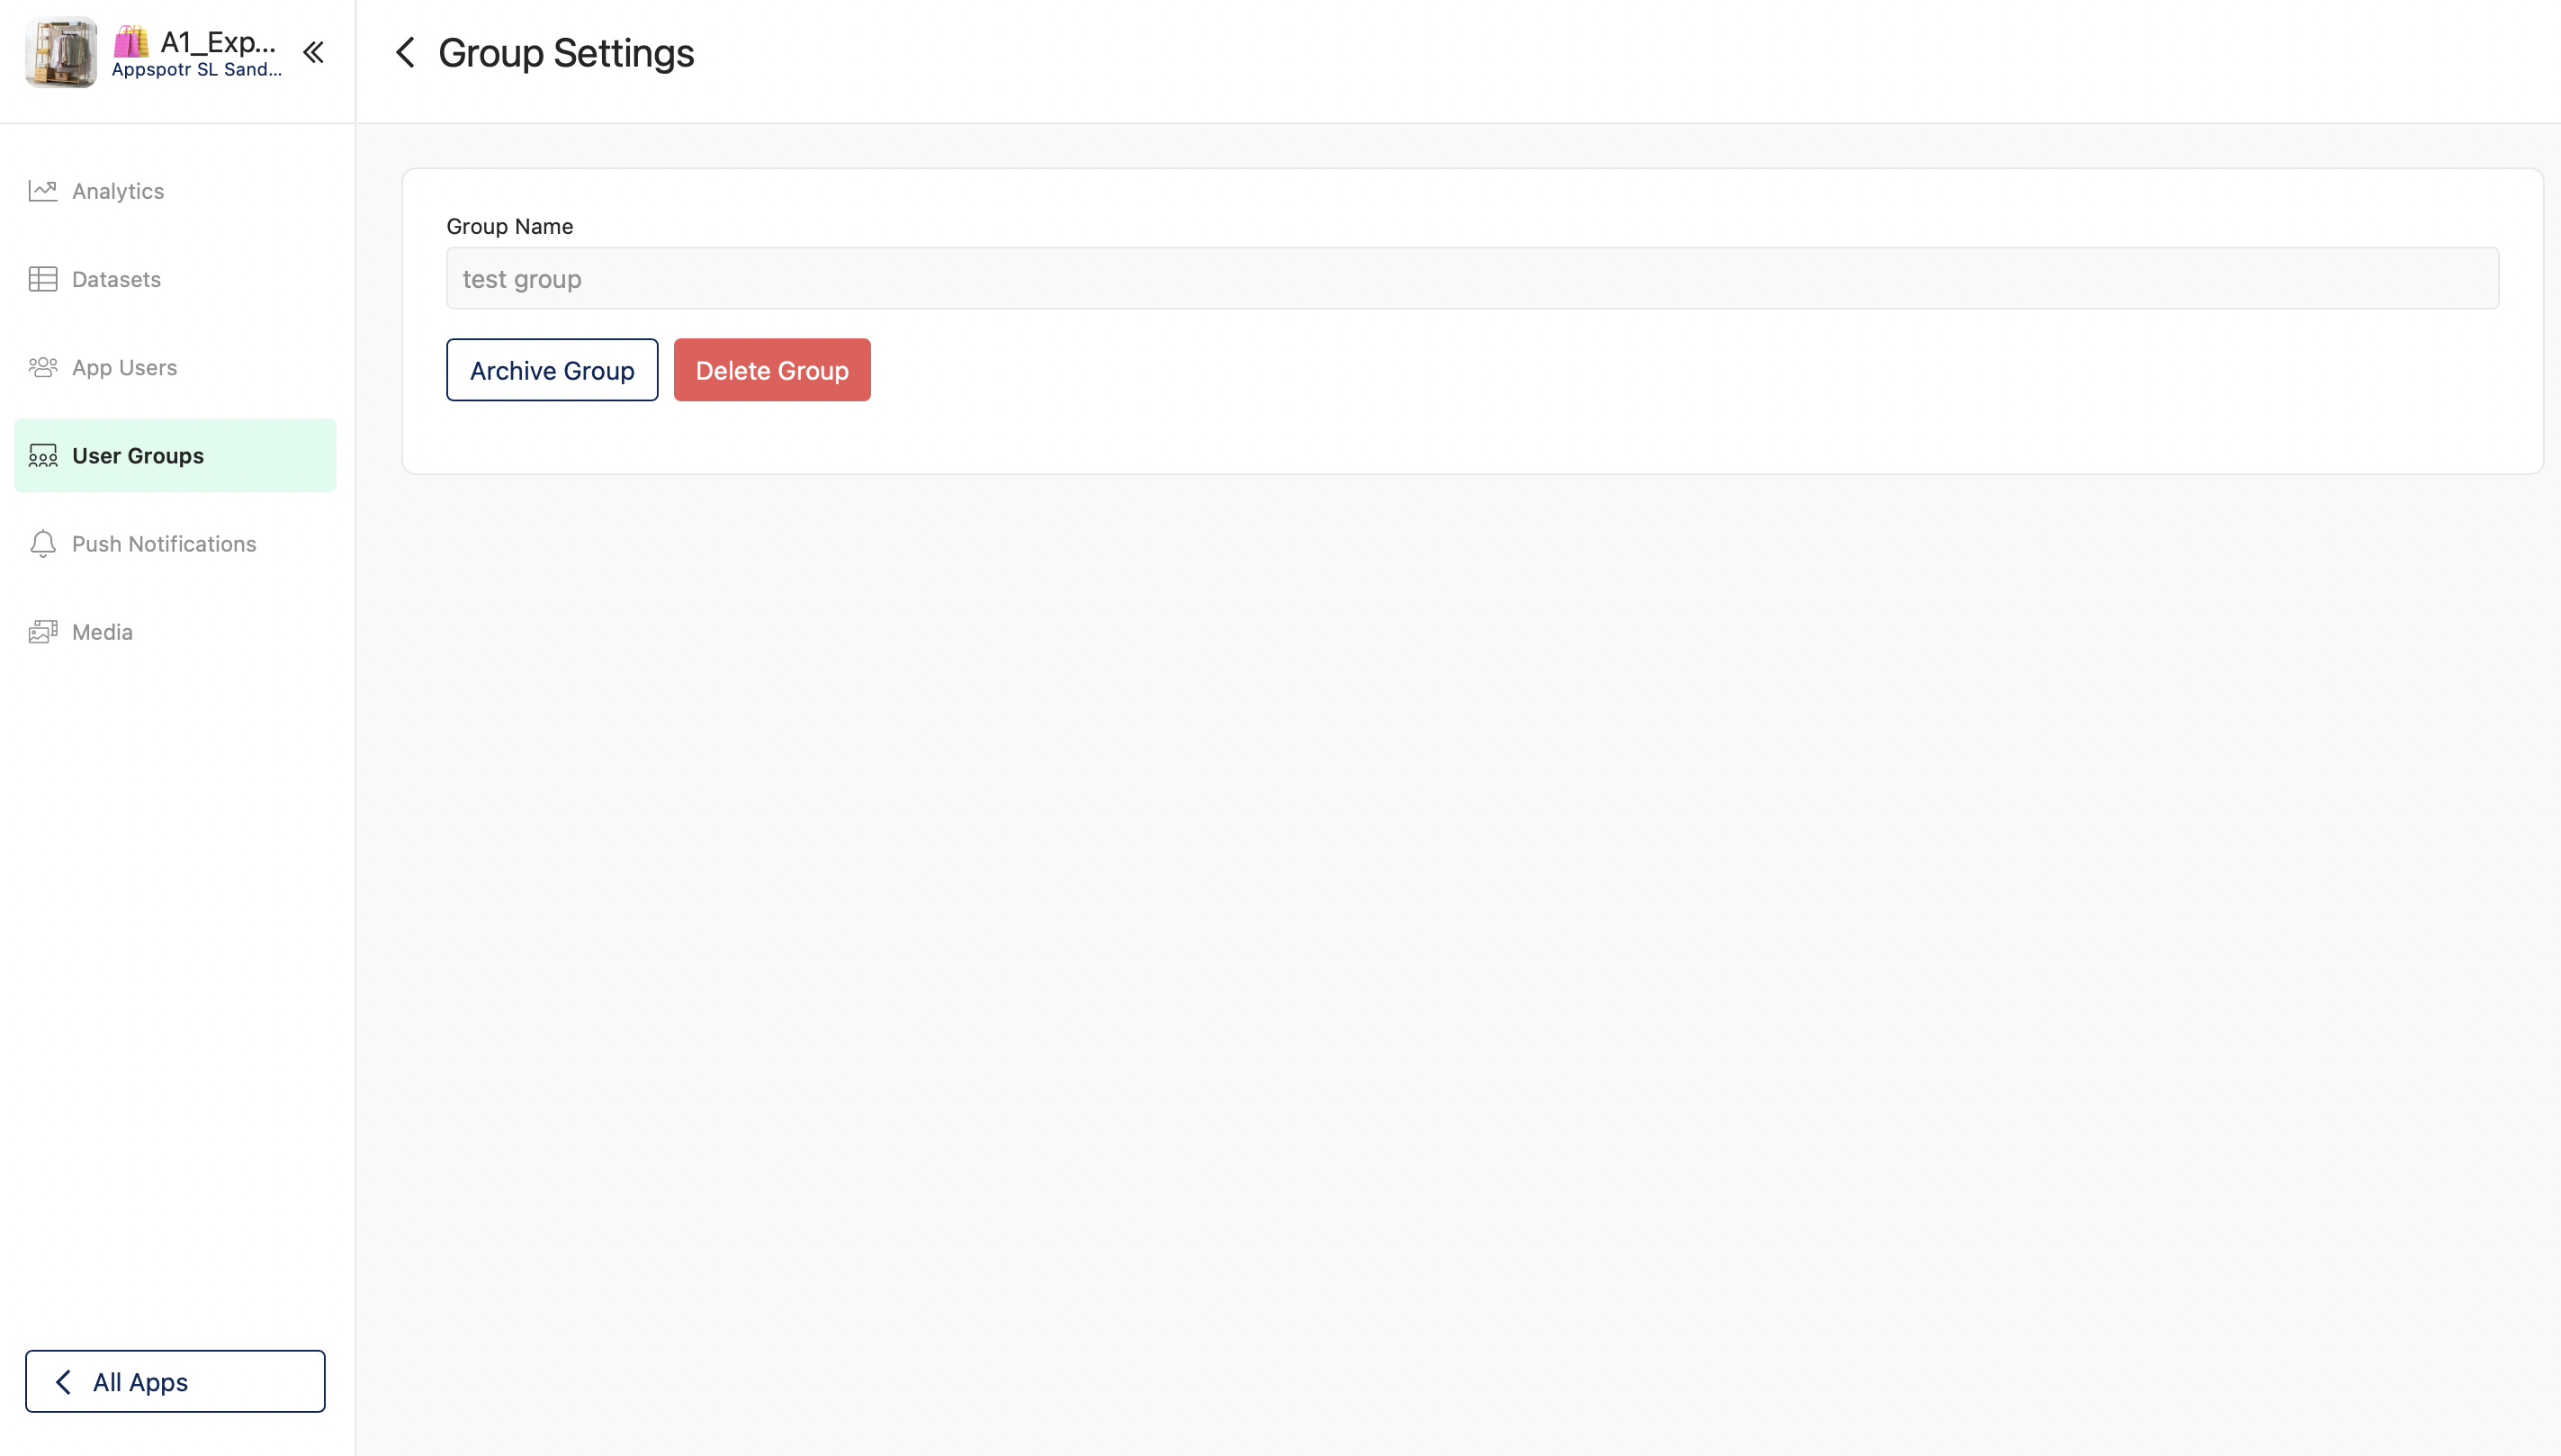
To Archive or Delete the group, you can click on Group Settings.
Note: The Send Push option here is only available if you have configured Push Notifications from the Appspotr CMS
Learn more about User Groups
Push Notifications
This option will only be available if you have configured Push Notifications from the Appspotr CMS
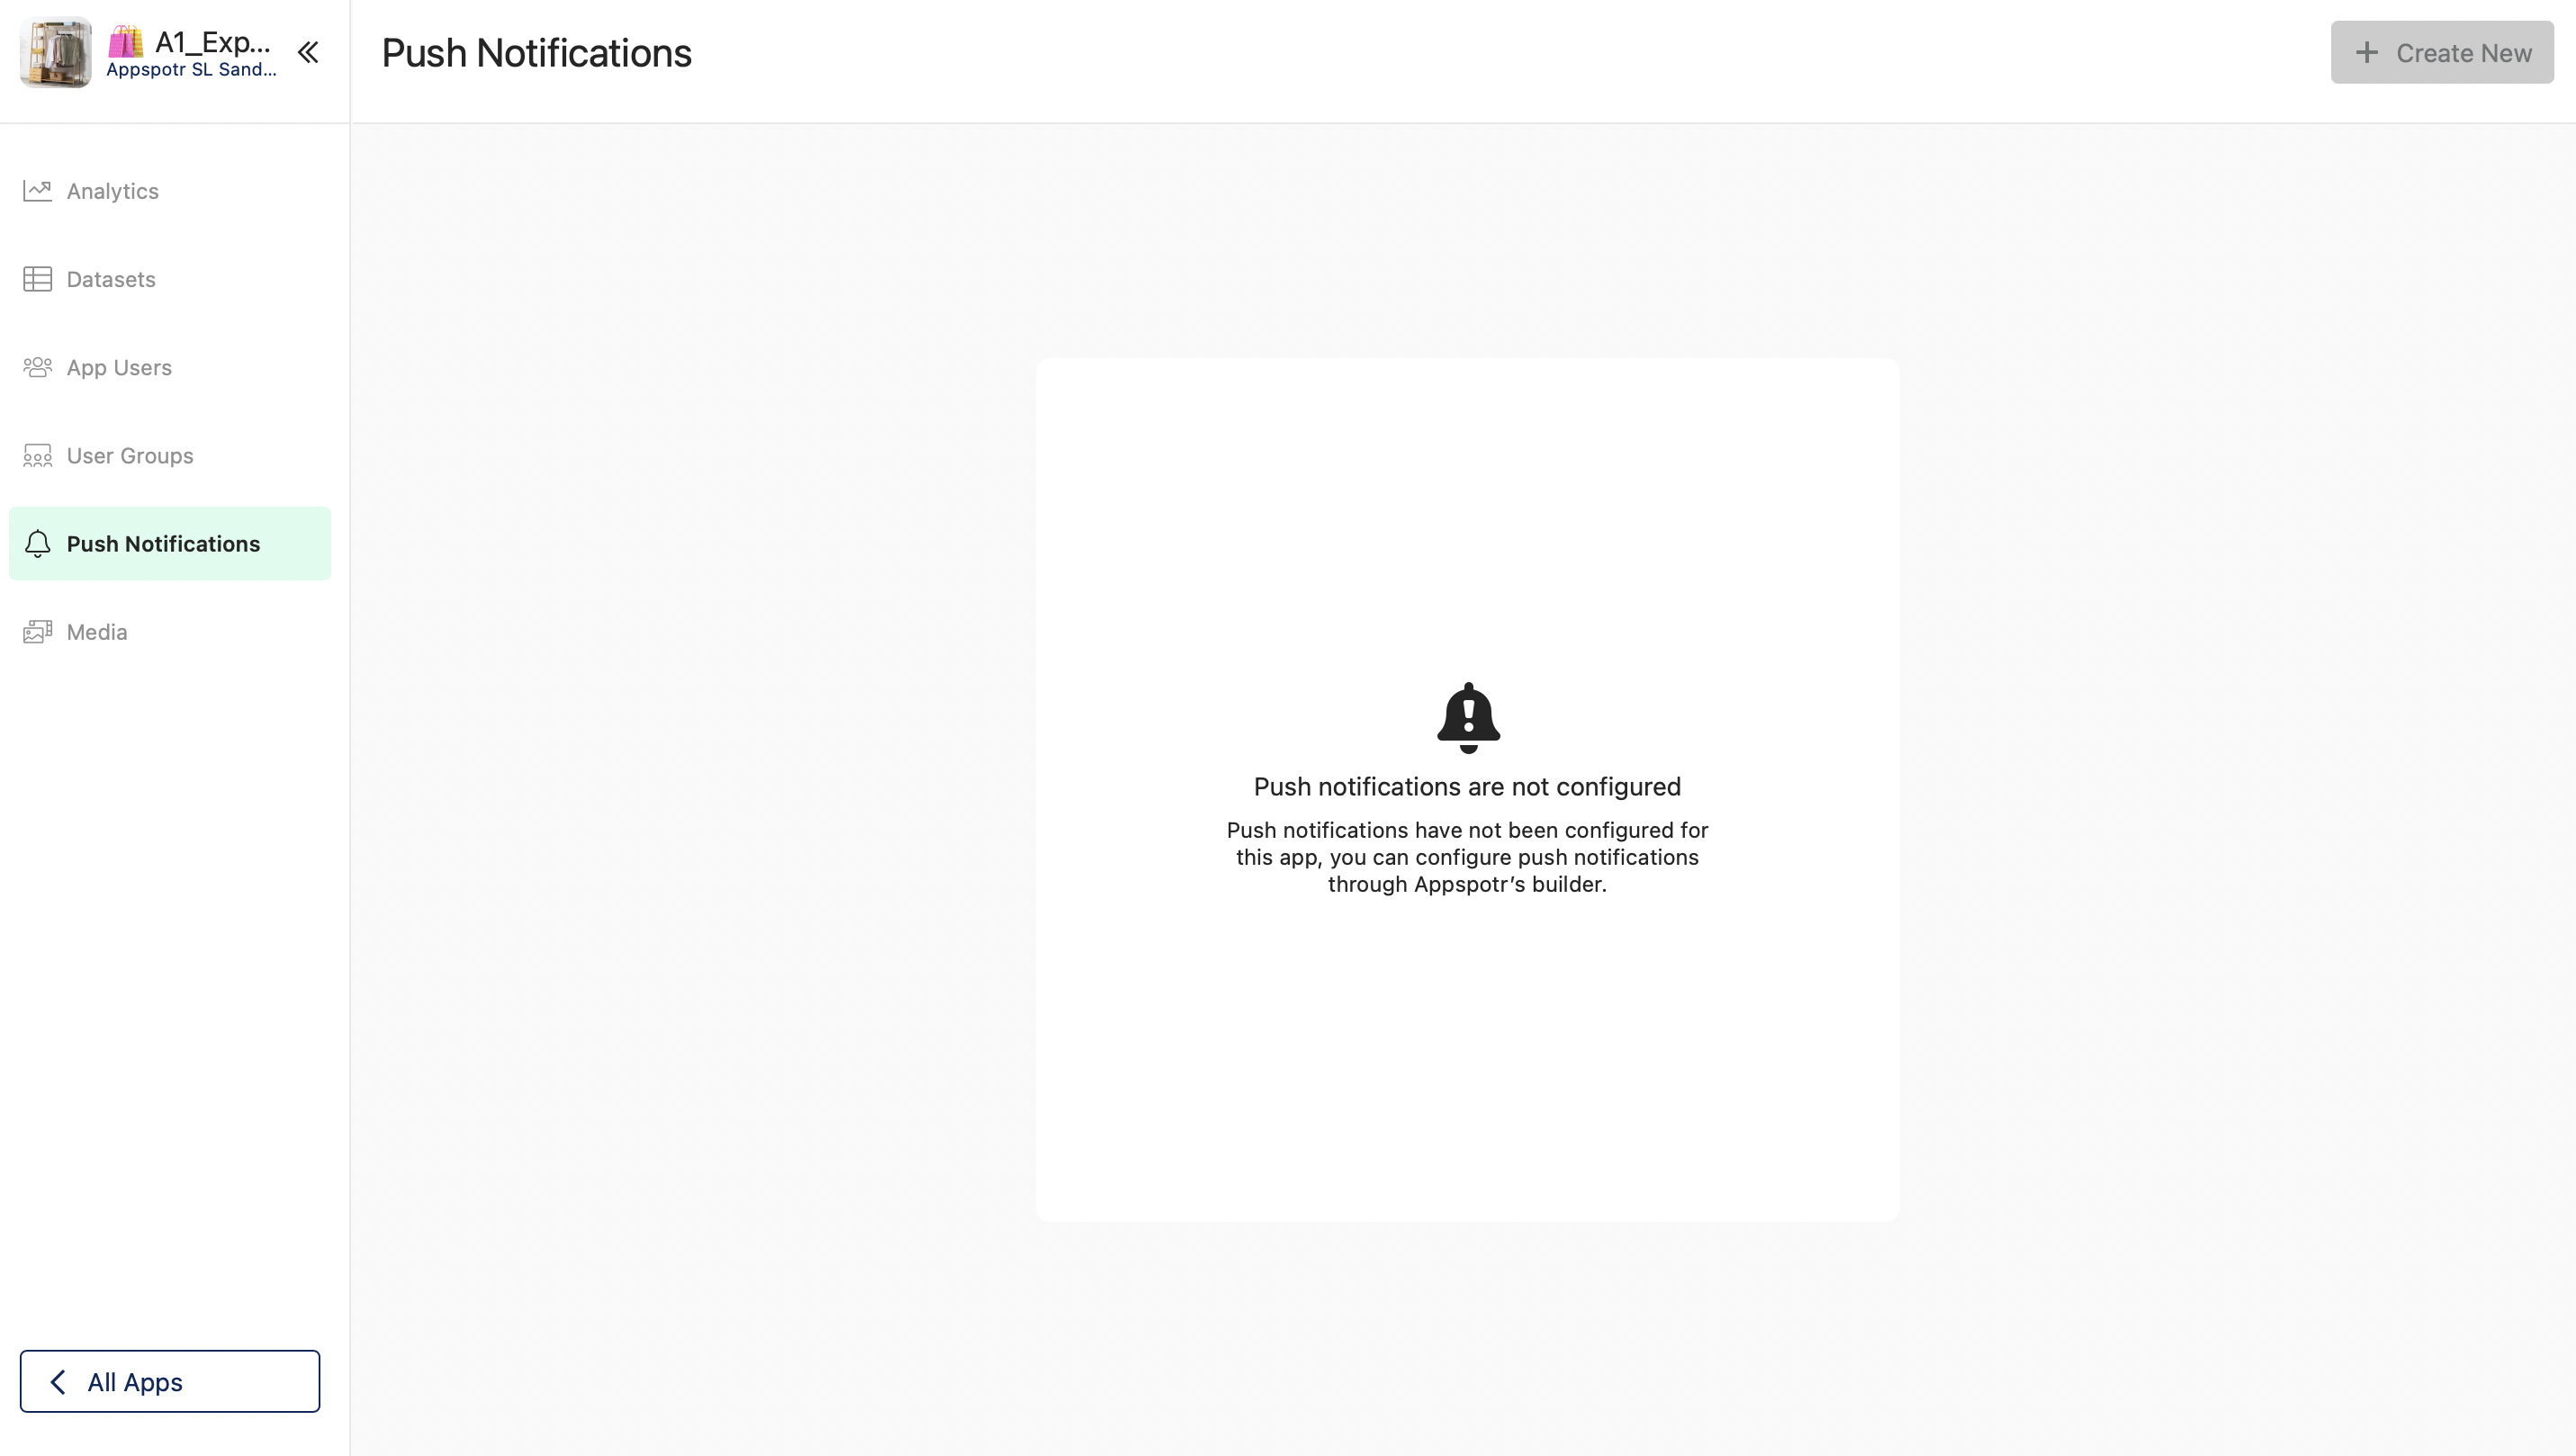
Click on Push Notifications from the side bar.
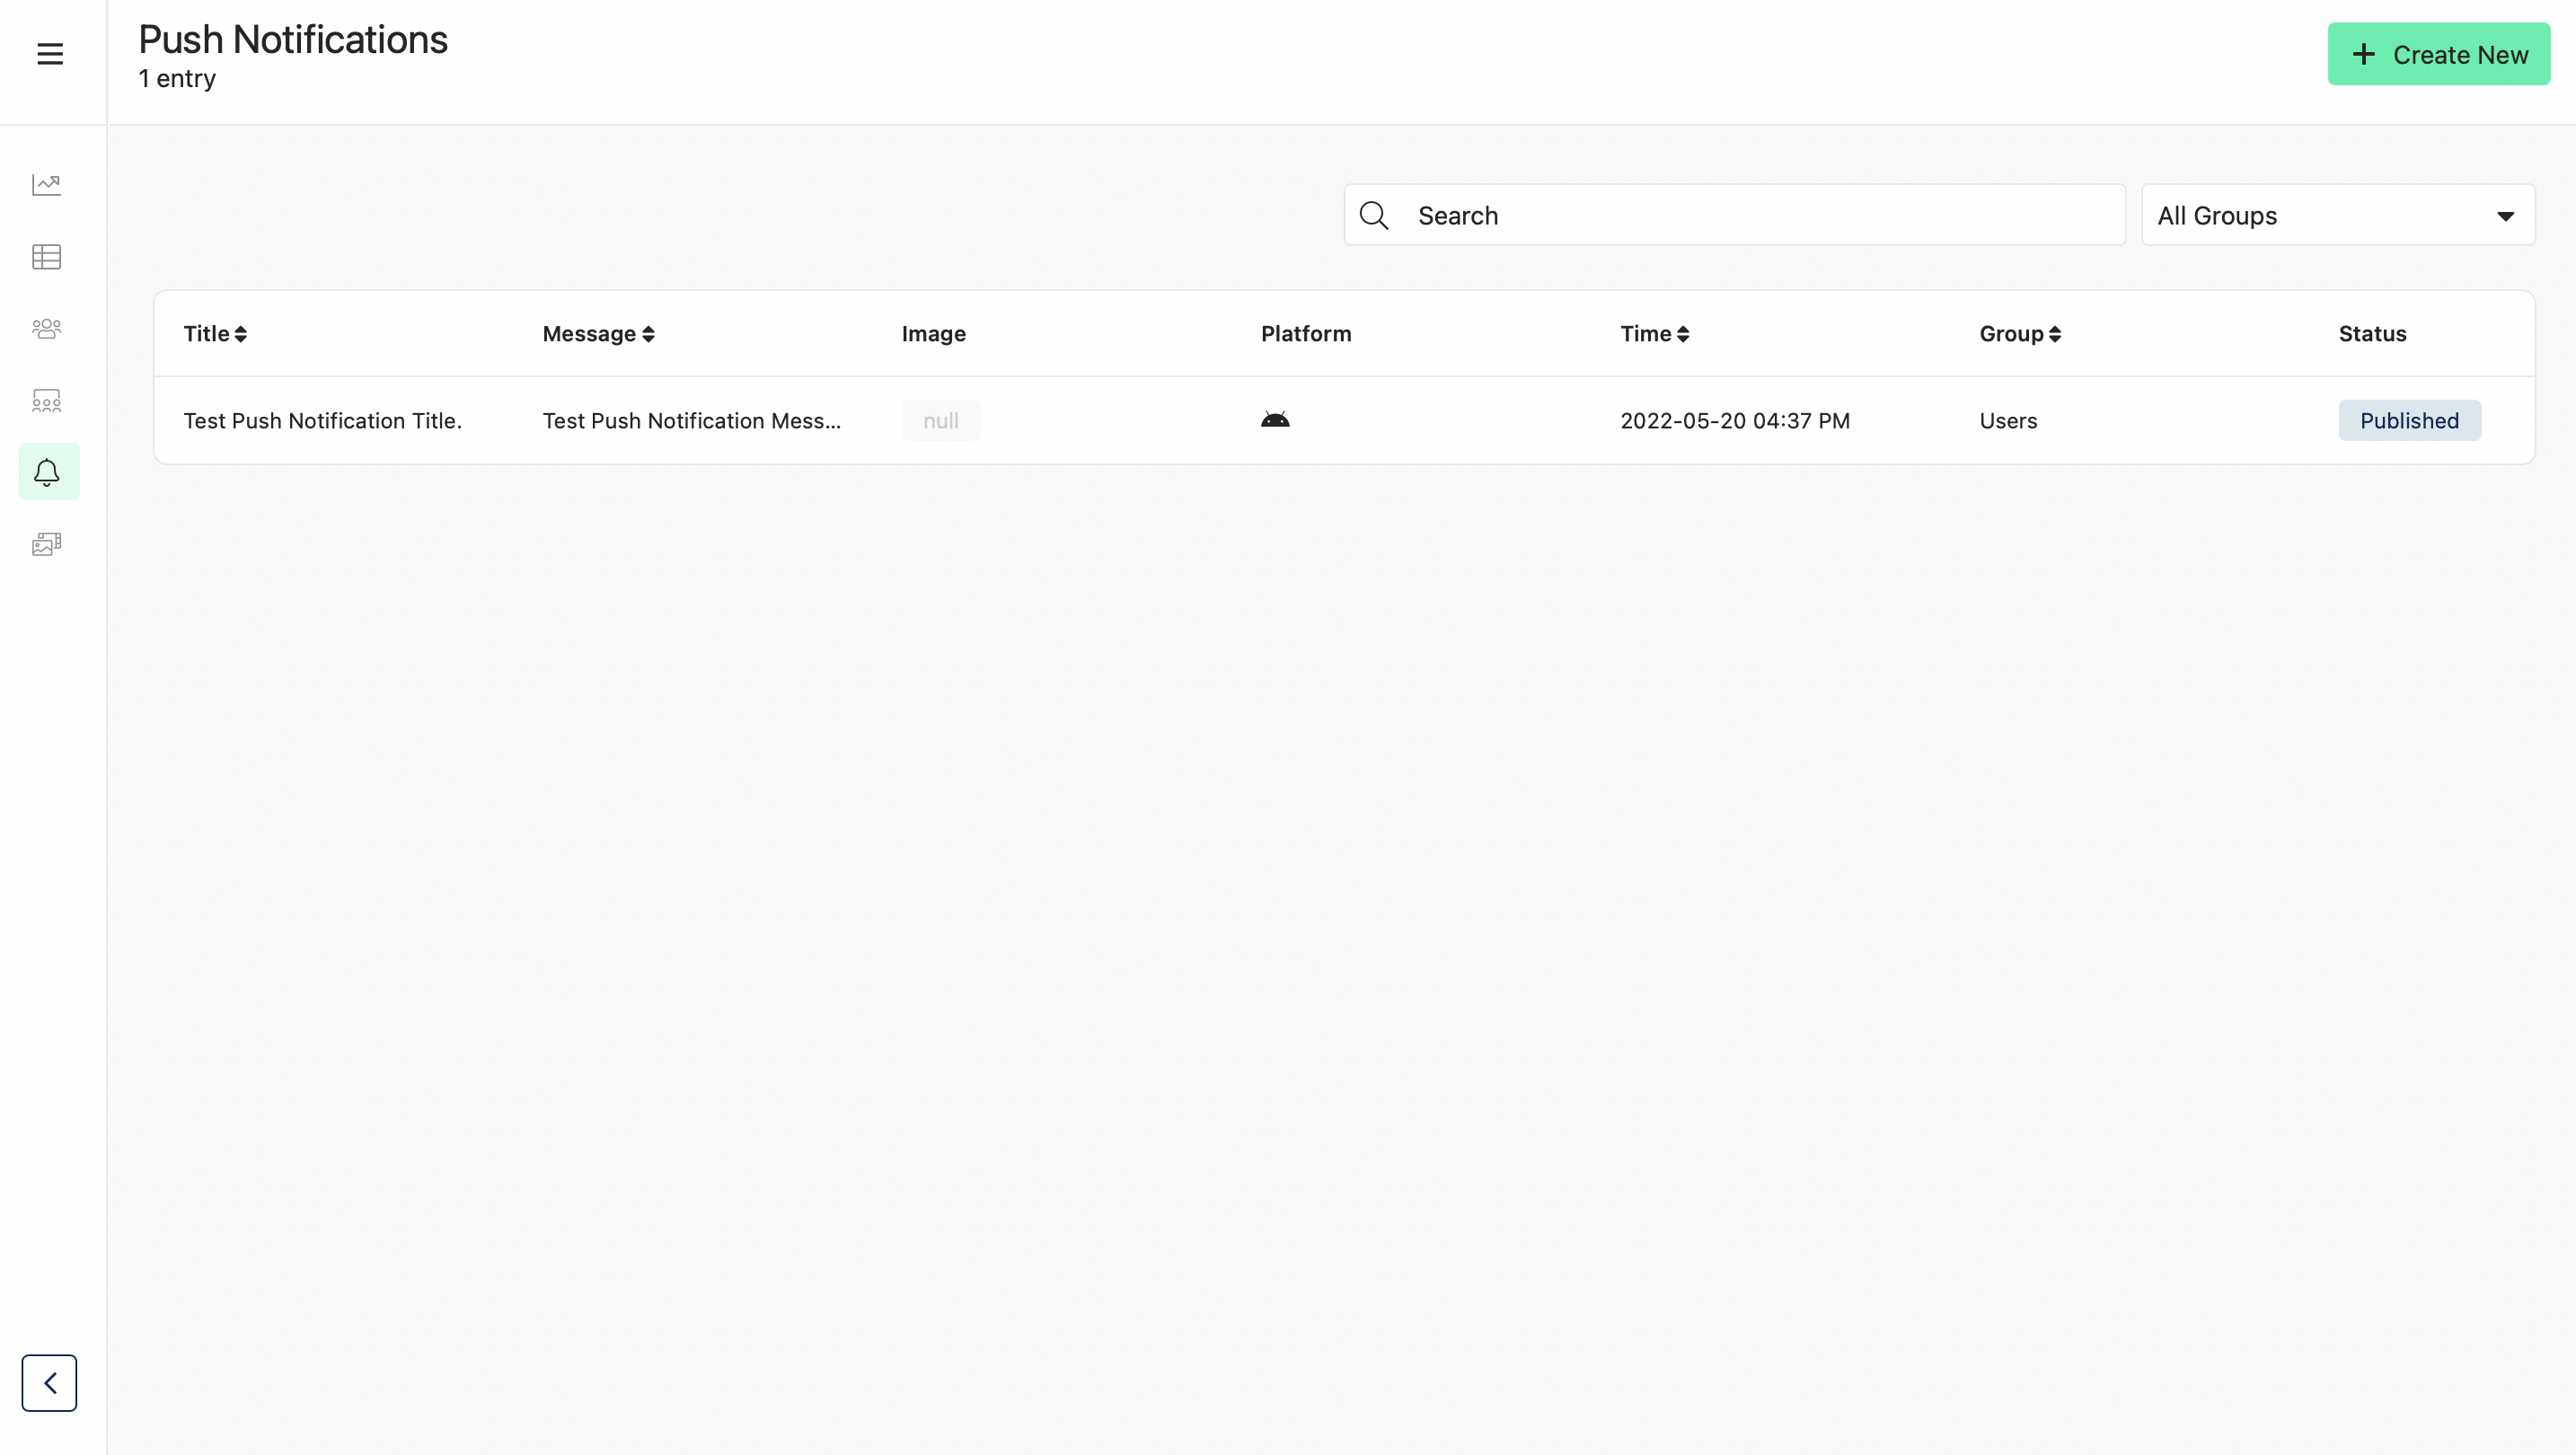
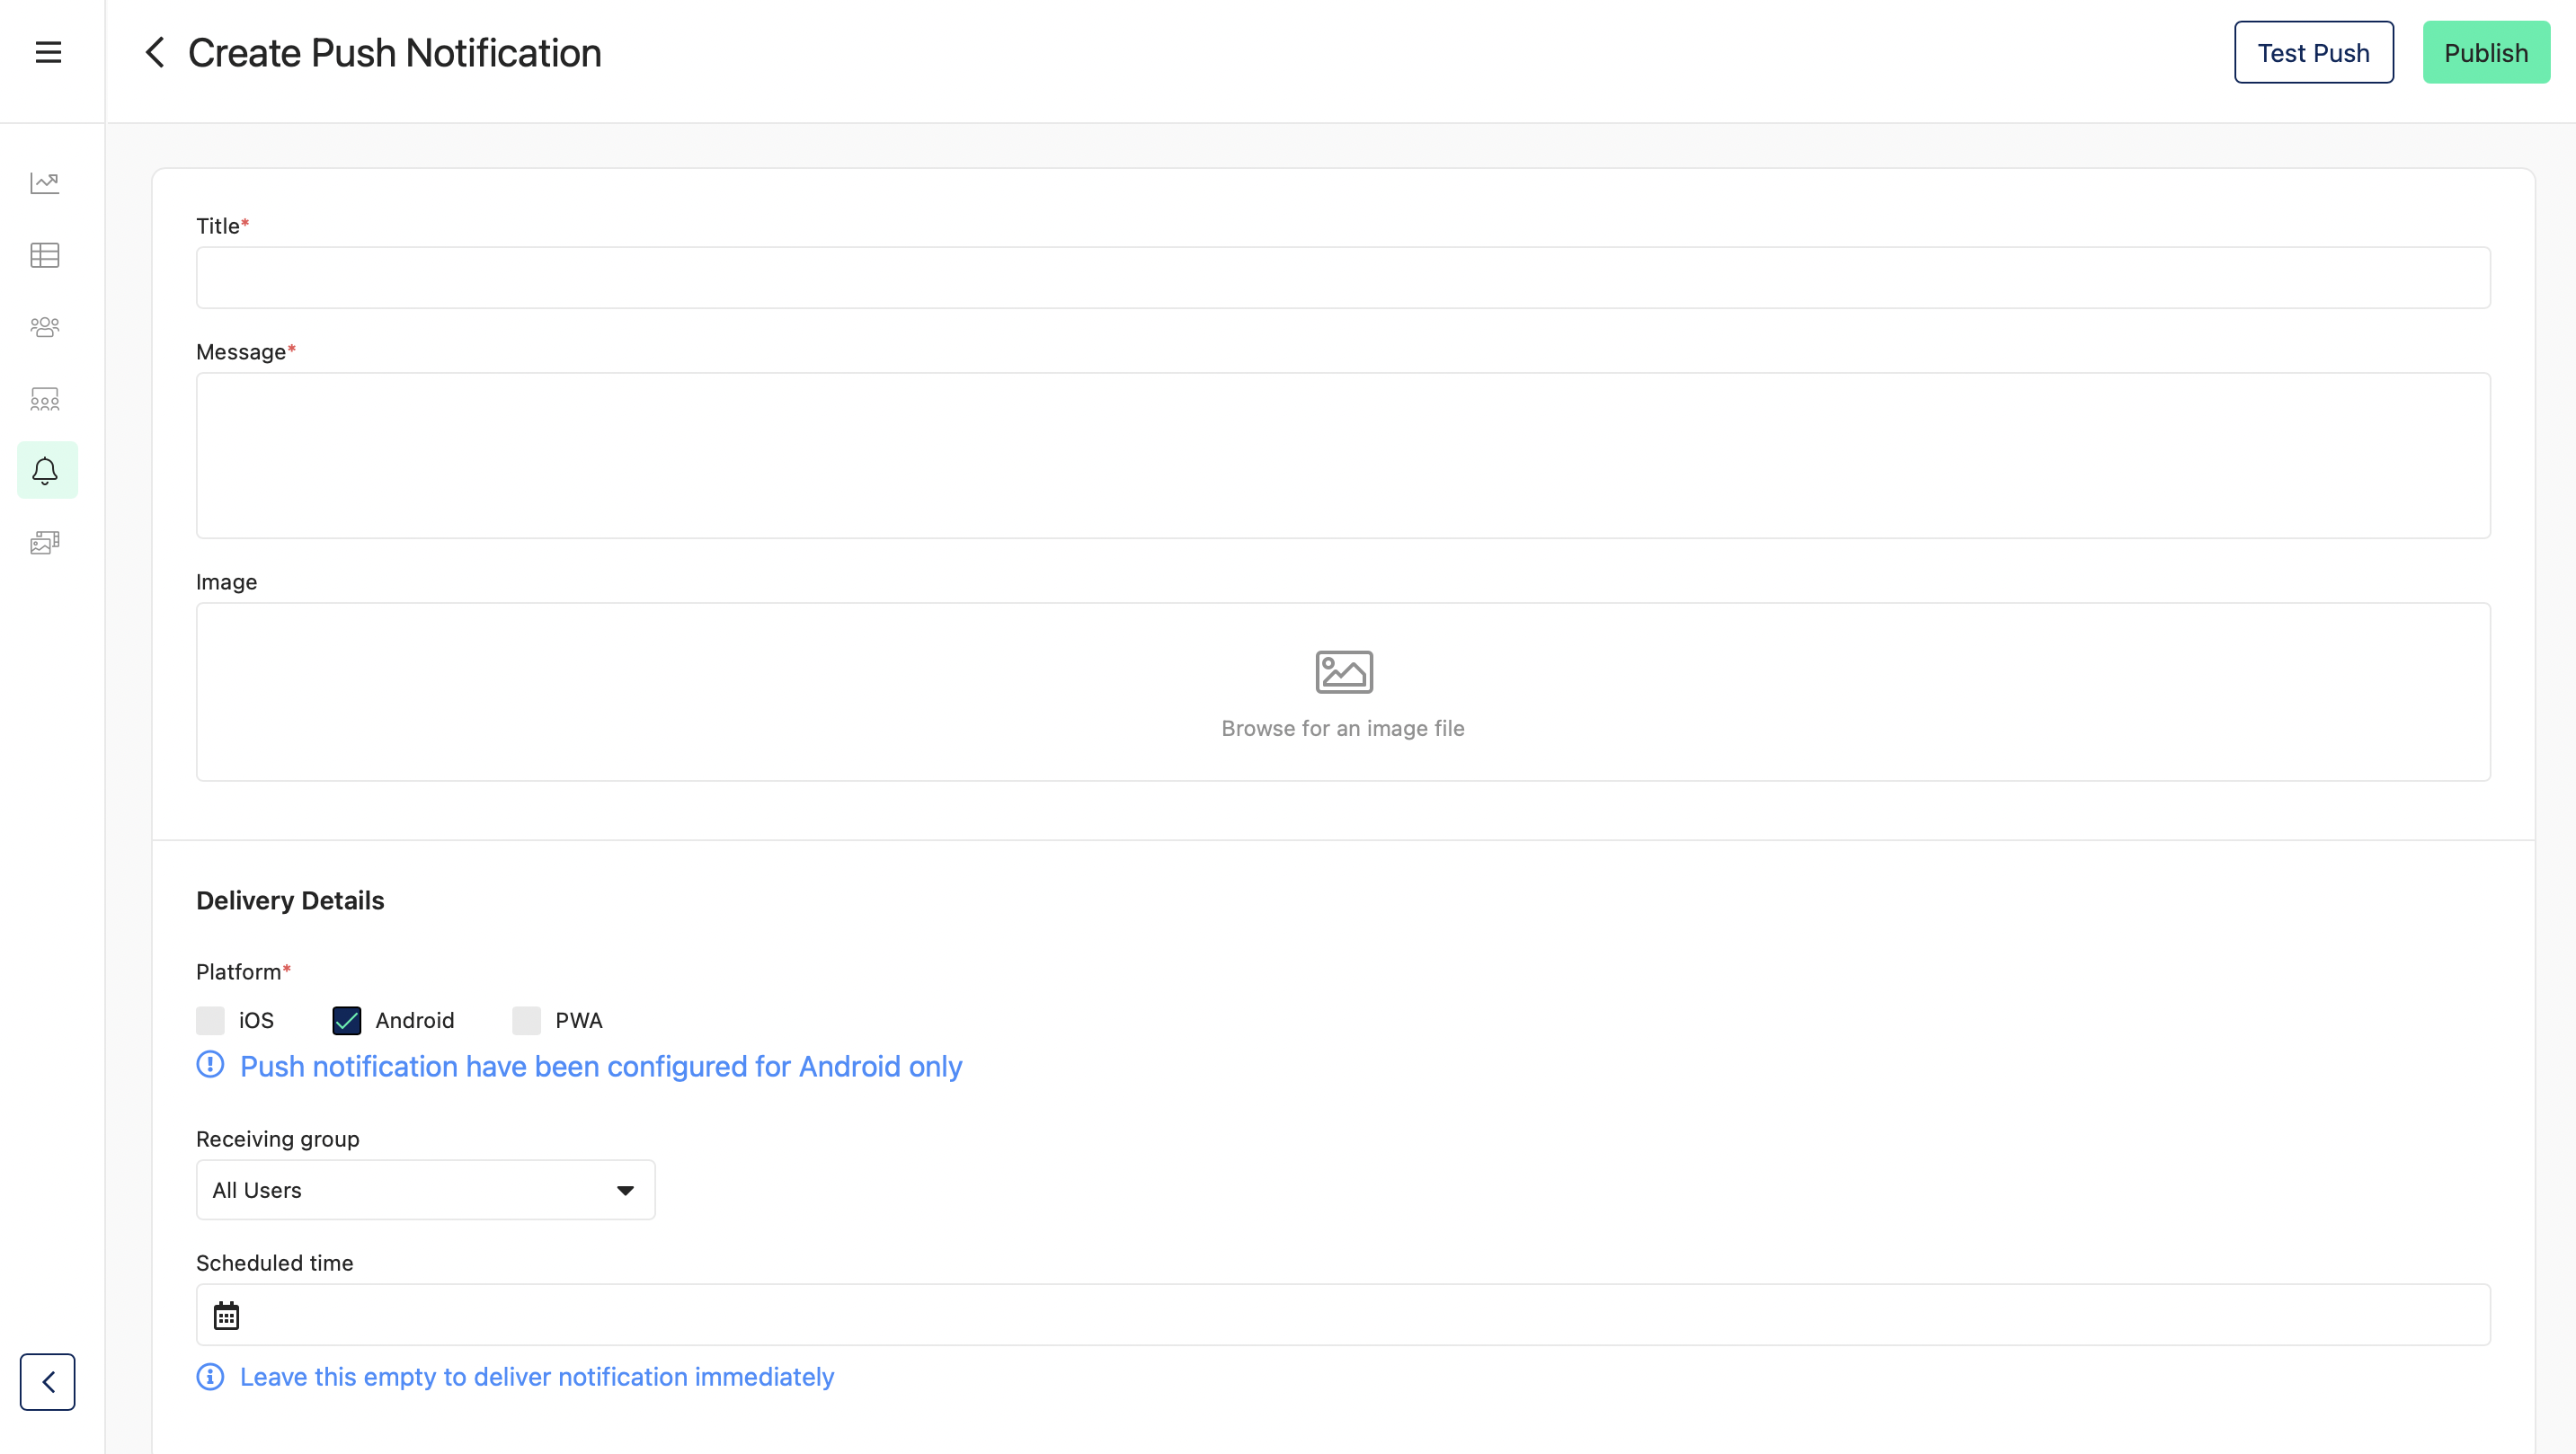
Create New Push Notification
-
Click on Create New
-
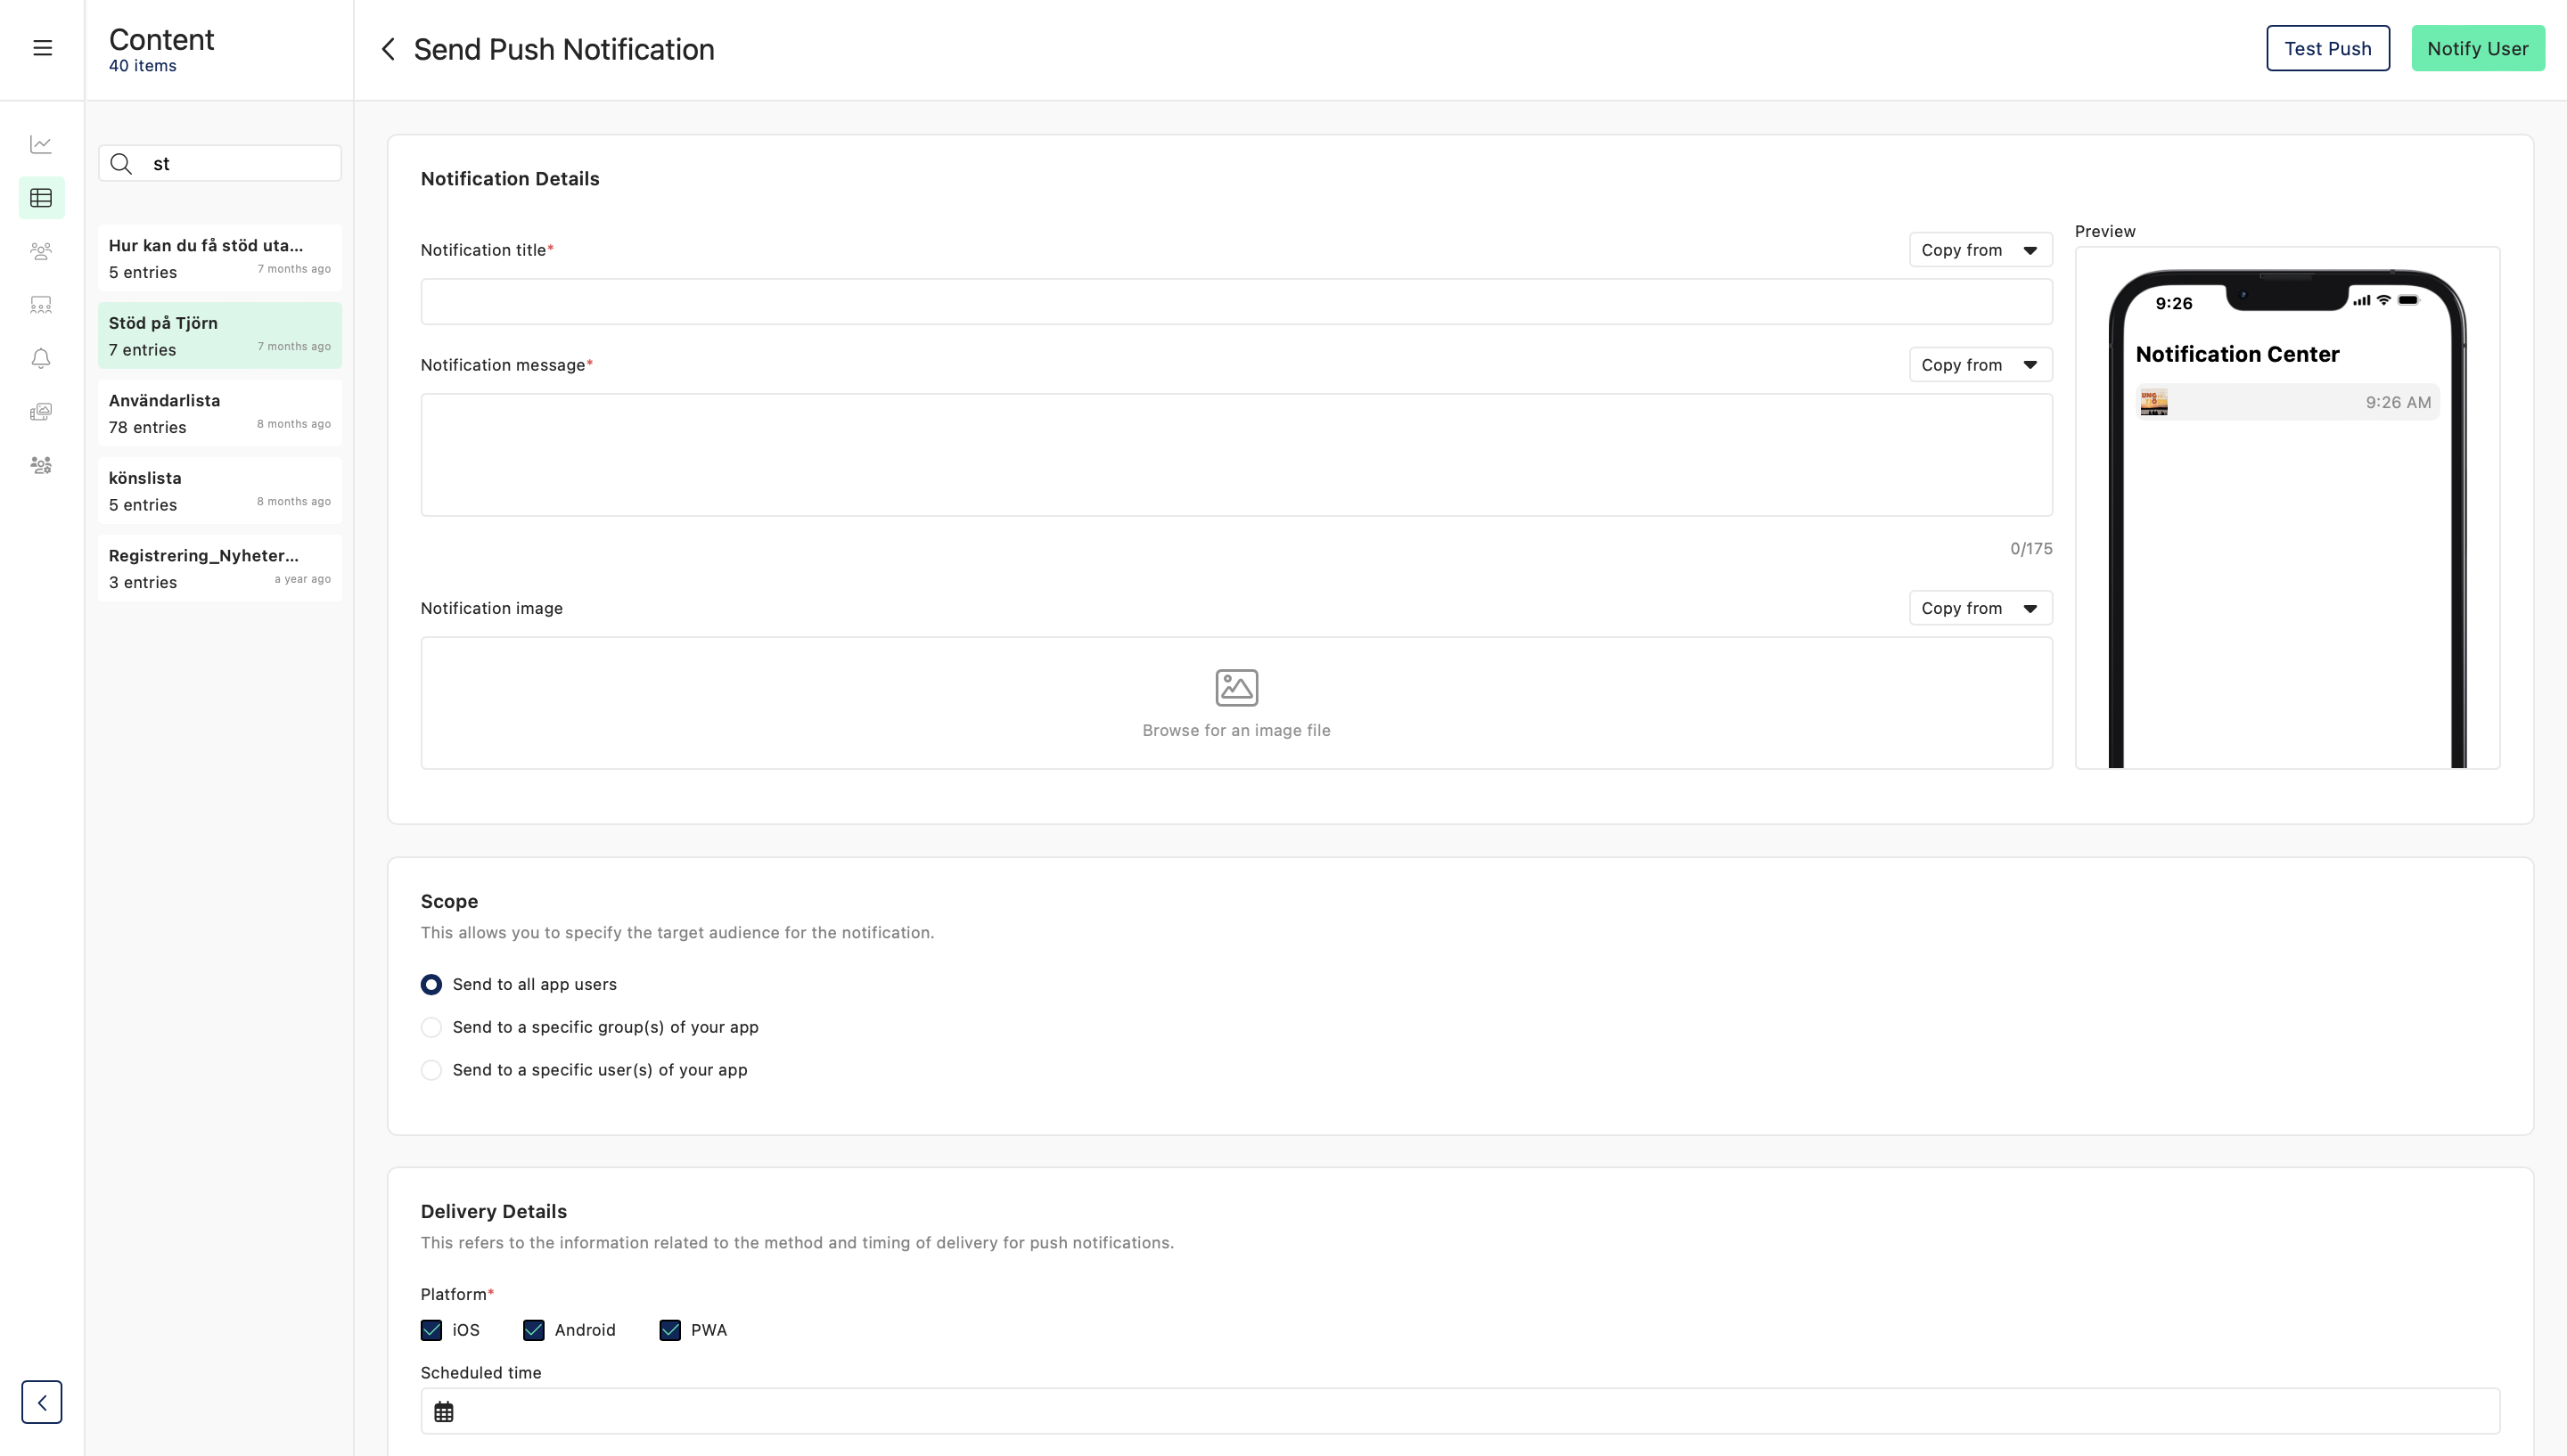
Fill in the fields according to your requirements
-
Pick the scope for the push notification
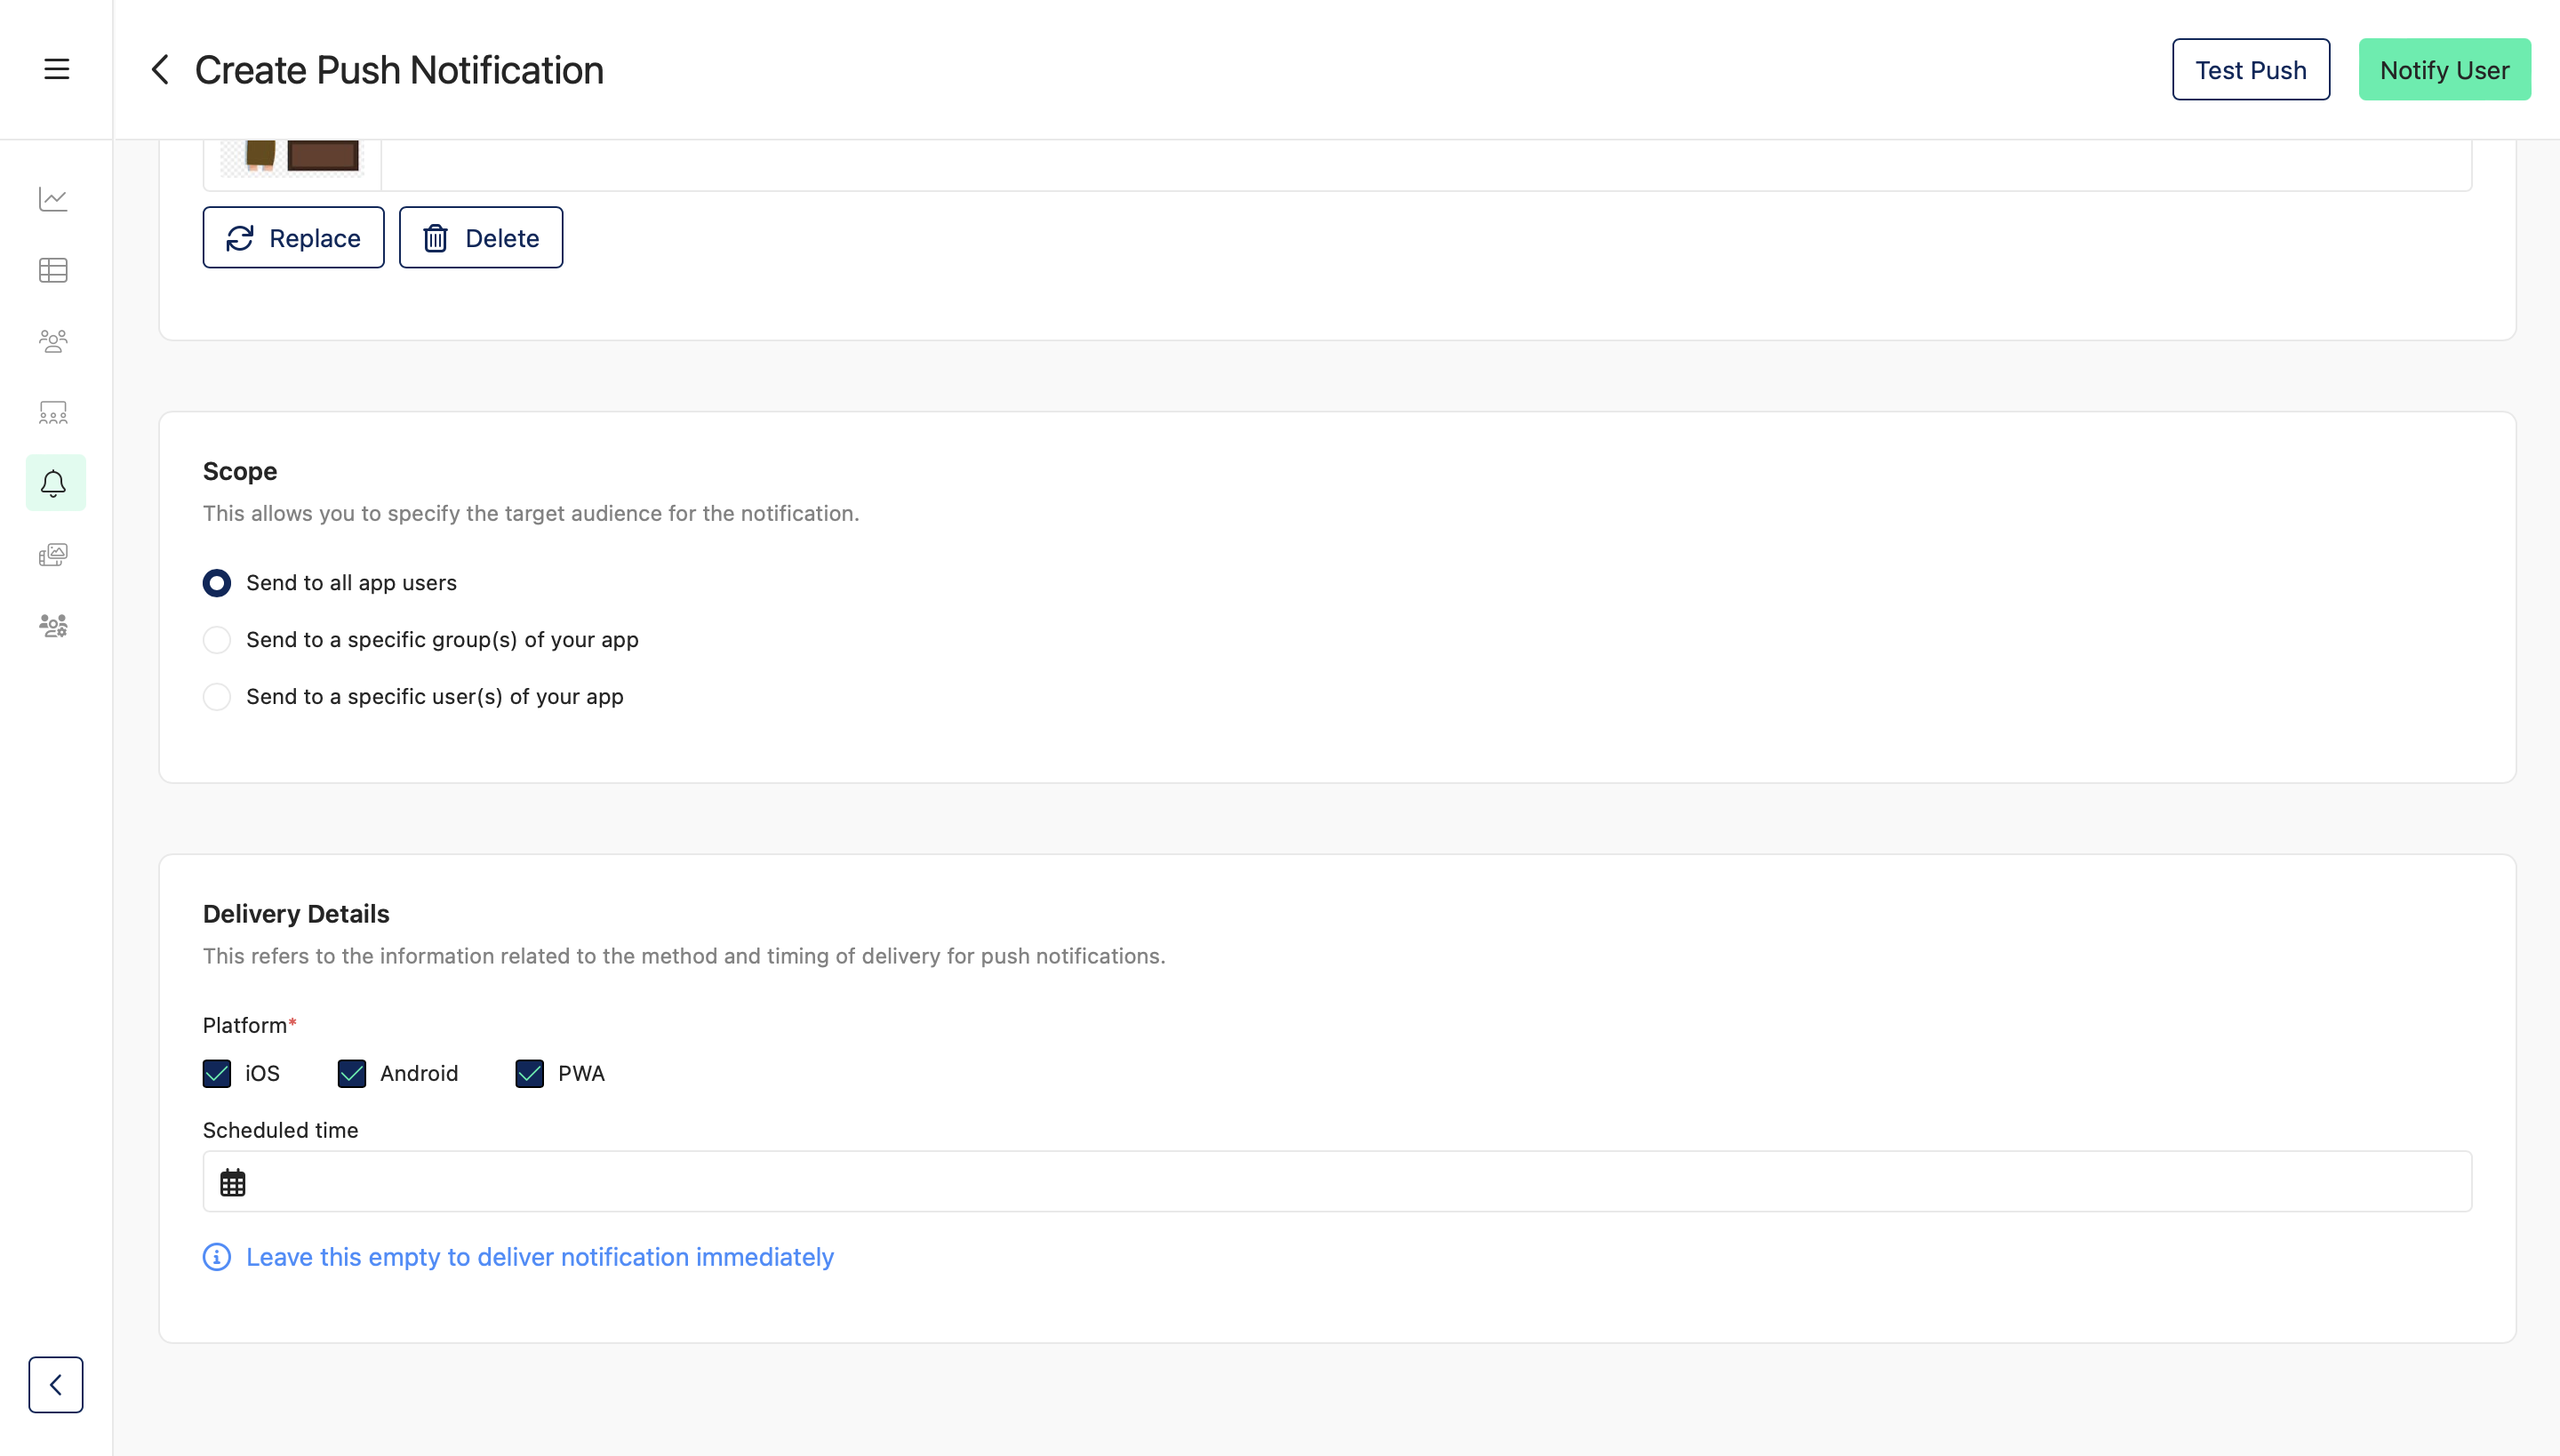
Here you can select from ‘Send to all app users’, ‘Send to a specific group(s) of your app’ and ‘Send to a specific user(s) of your app’
Send to all app users - The push notification will be sent to everyone who uses the app
Send to a specific group(s) of your app - By turning on this option you can pick one or multiple user groups(have been defined earlier) for the push notification
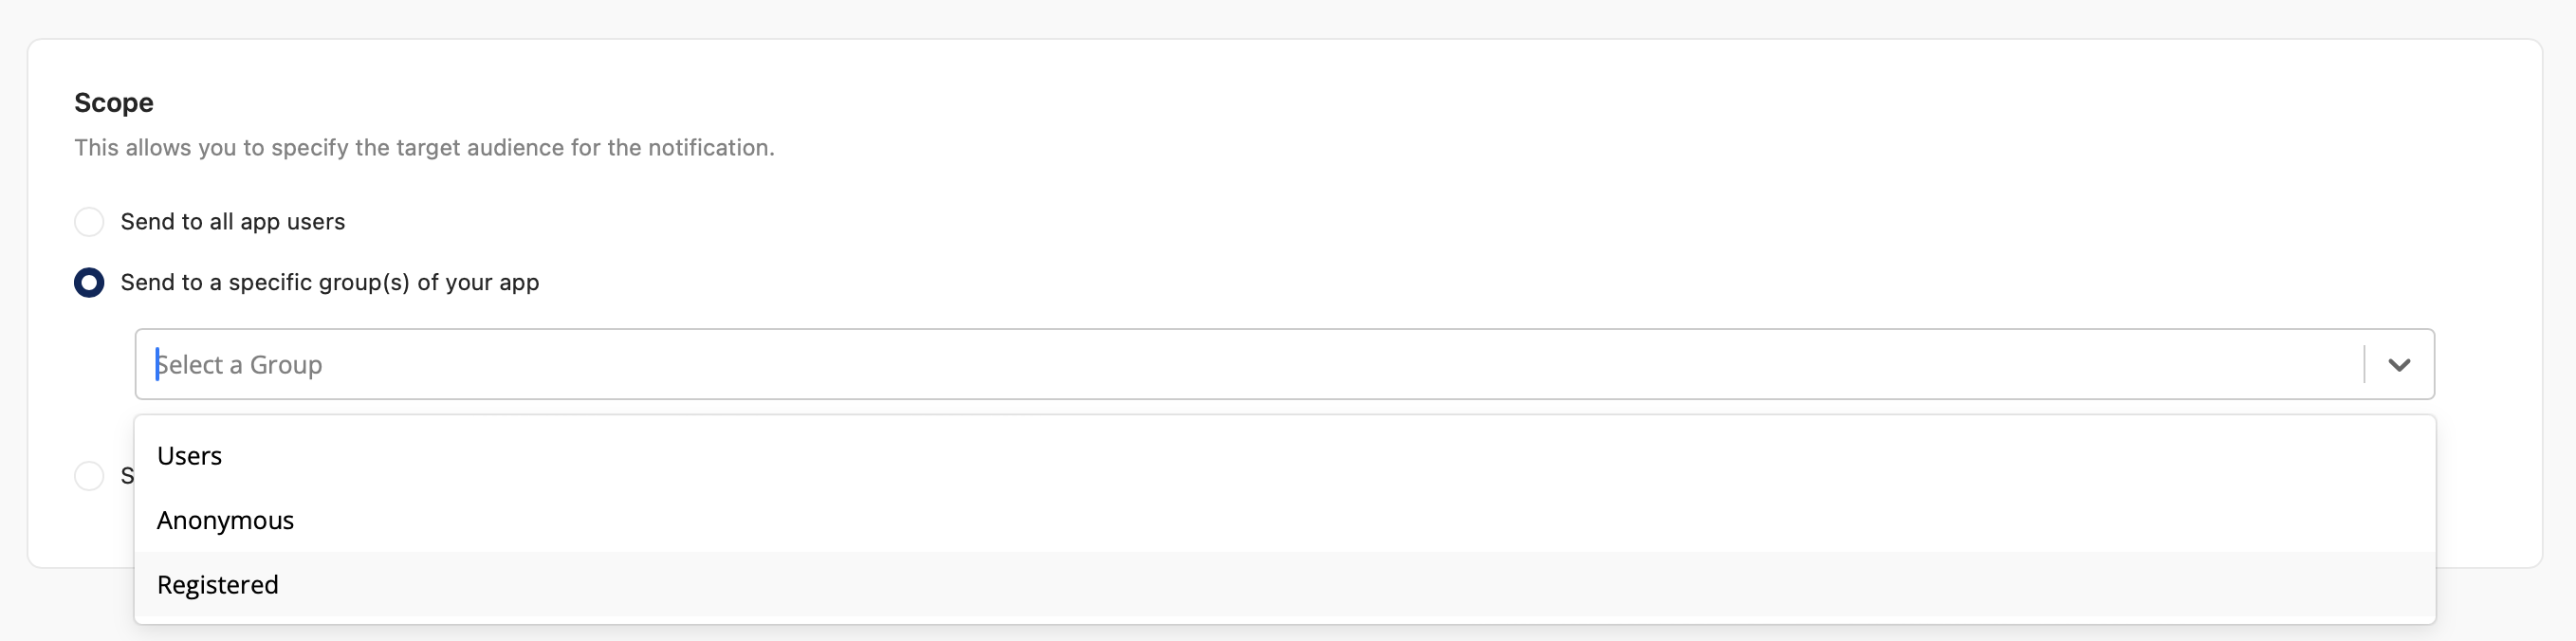

-
You can either Test the Push notification or Publish it right away.
Note: When creating a new Push Notification you can select the Receiving groups manually, but if you click on the Send Push button on User Groups, you can create push notifications for a specific group.
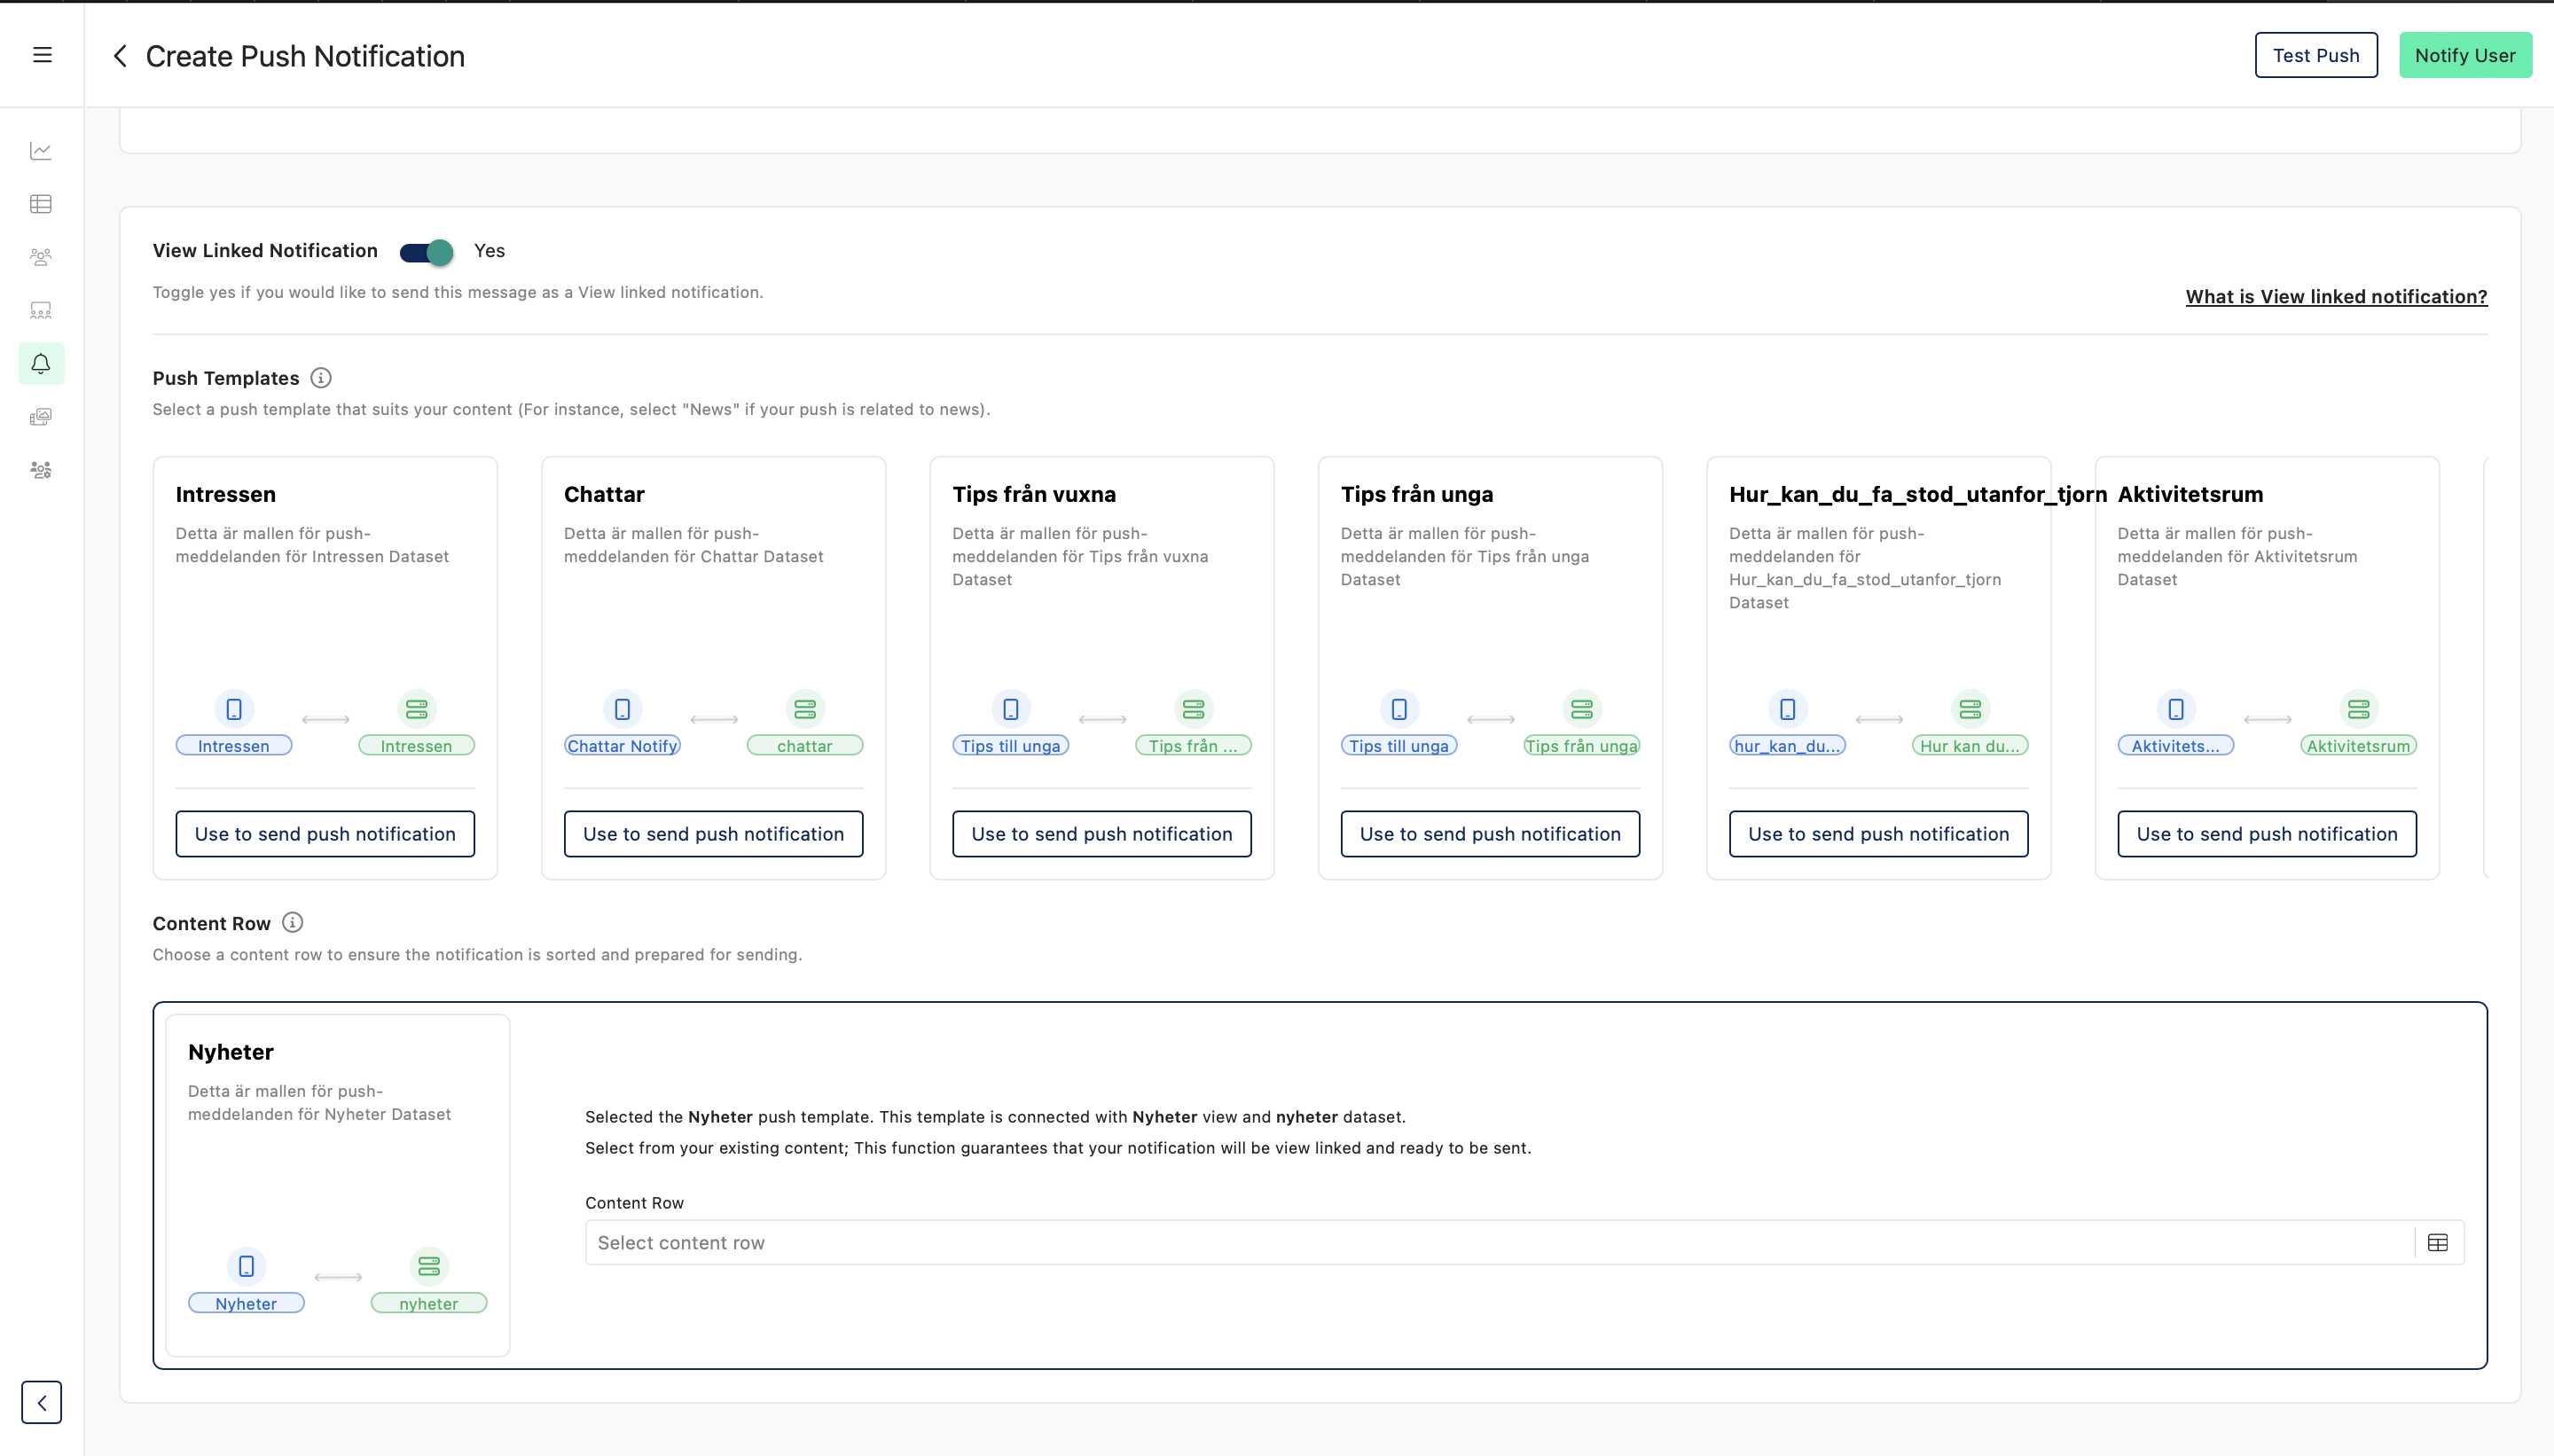
Using Mapped Push Notifications
To use mapped push notifications on Content Manager you have to first map them on CMS.
Click on Content Click on the relevant dataset item
Click on Create Push Notification
Fill the details required for the push notification
Once you toggle the View Linked Notification, you will be able to see the push mapping template already selected, If there is only one push mapping template. The content item (row) selection will be up to the content manager user’s discretion. It determines the data that will be displayed to app users when they click on the push notification when it is received in the app. The row selection is mandatory in the content manger if the selected push template has been configured, to require row data, by the app builder
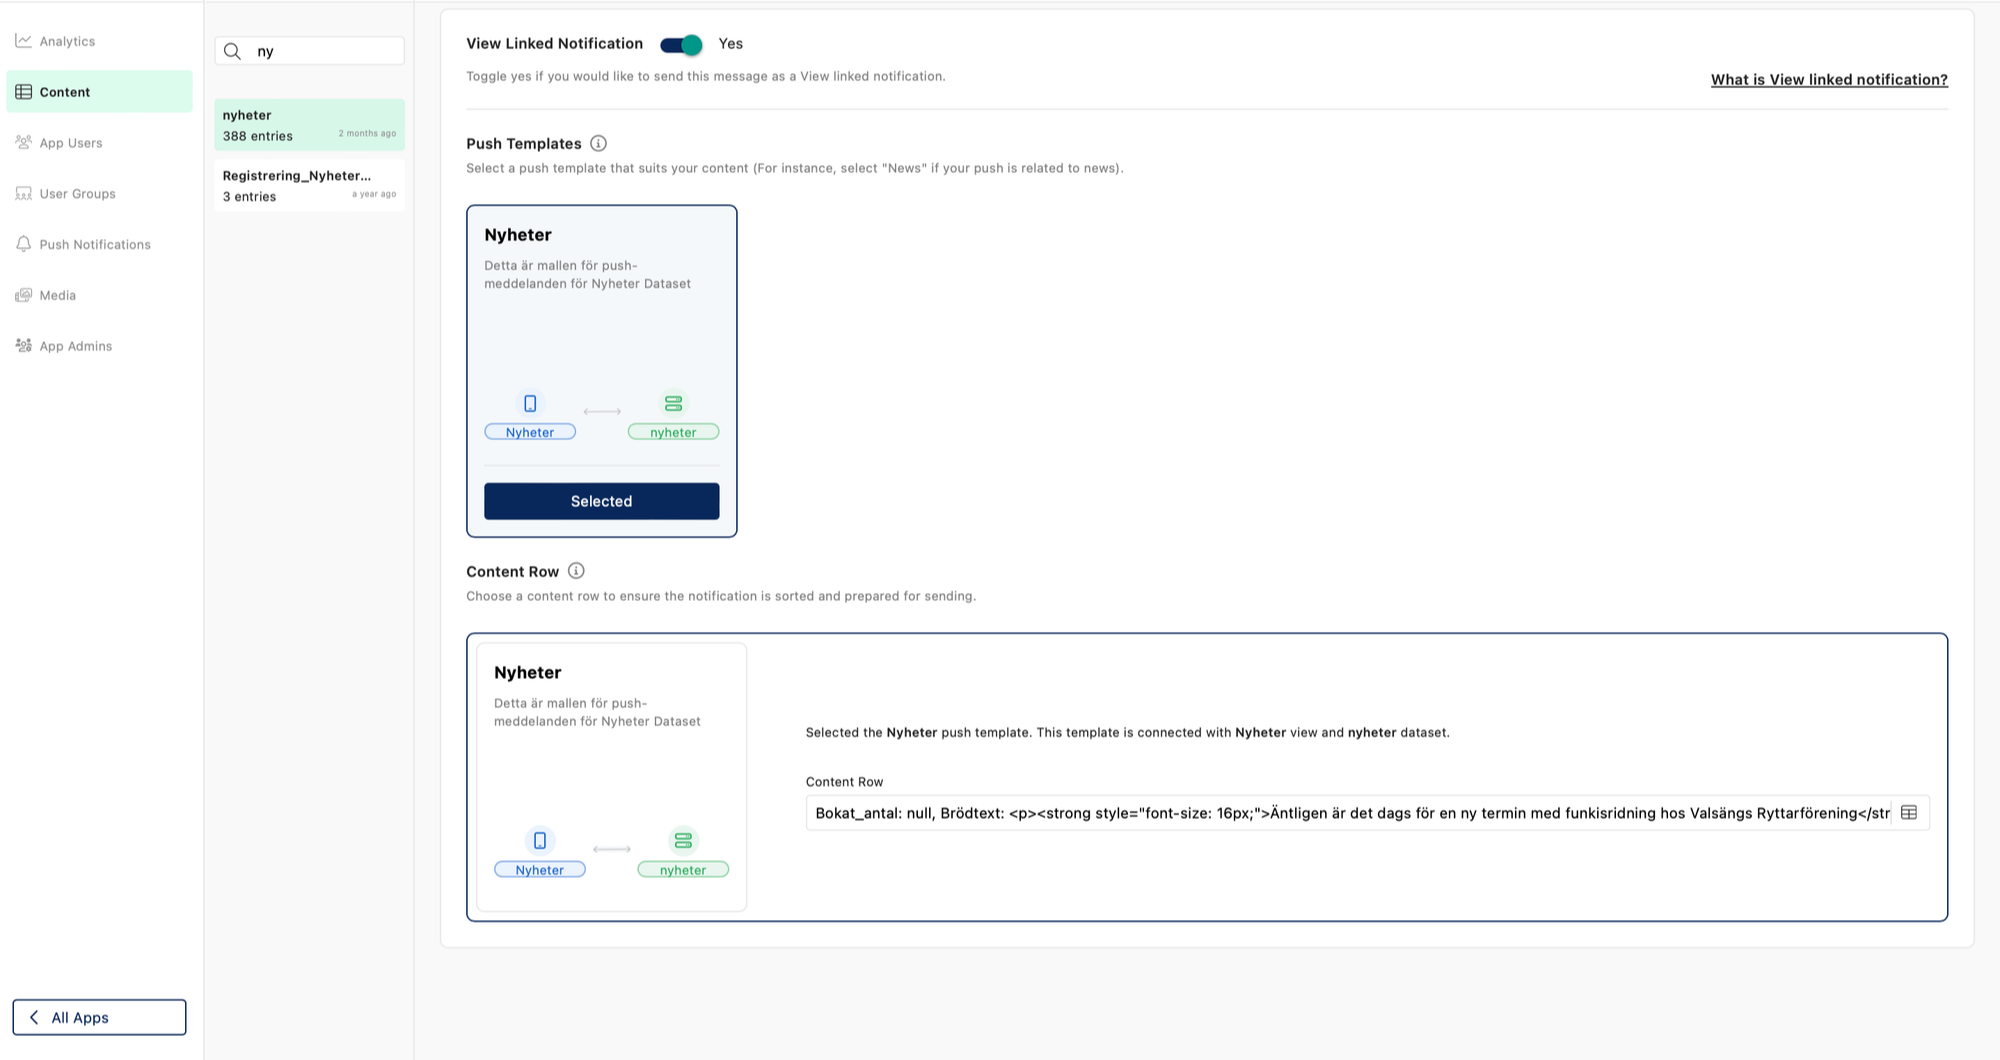
You can do the same process through the Push Notifications tab as well.
Learn more about push notifications
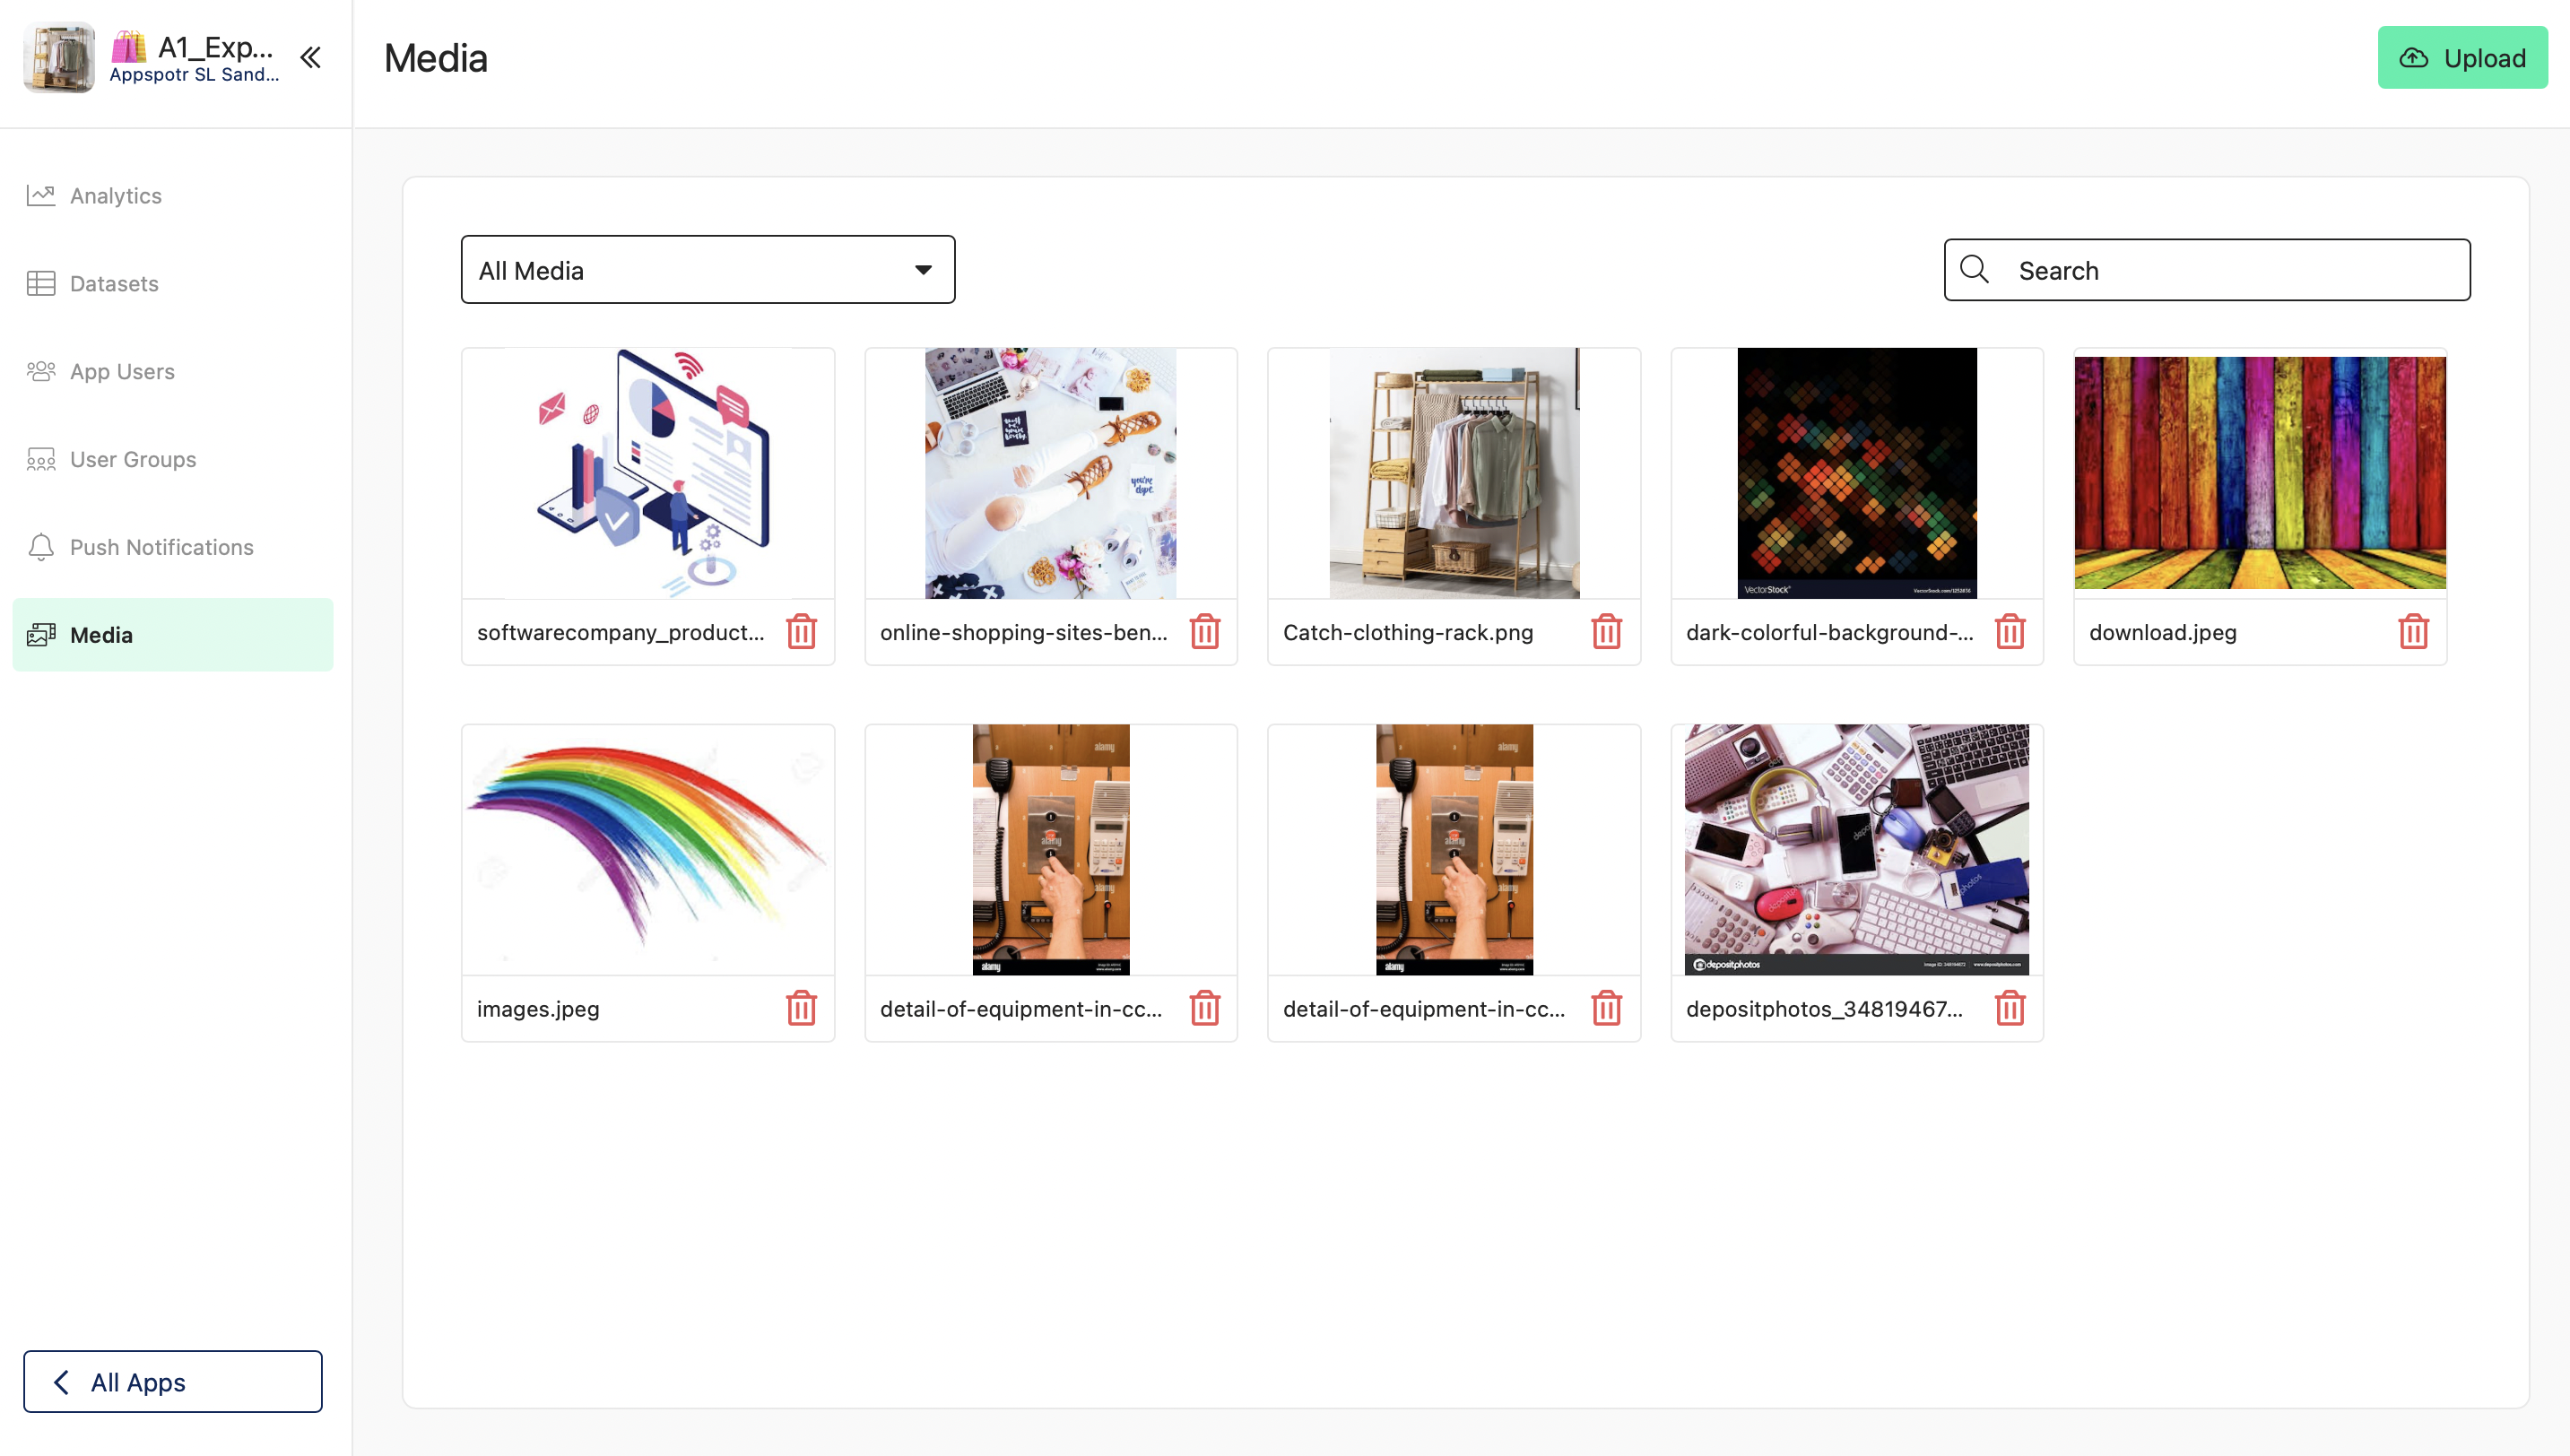
Media
Click on Media from the side bar
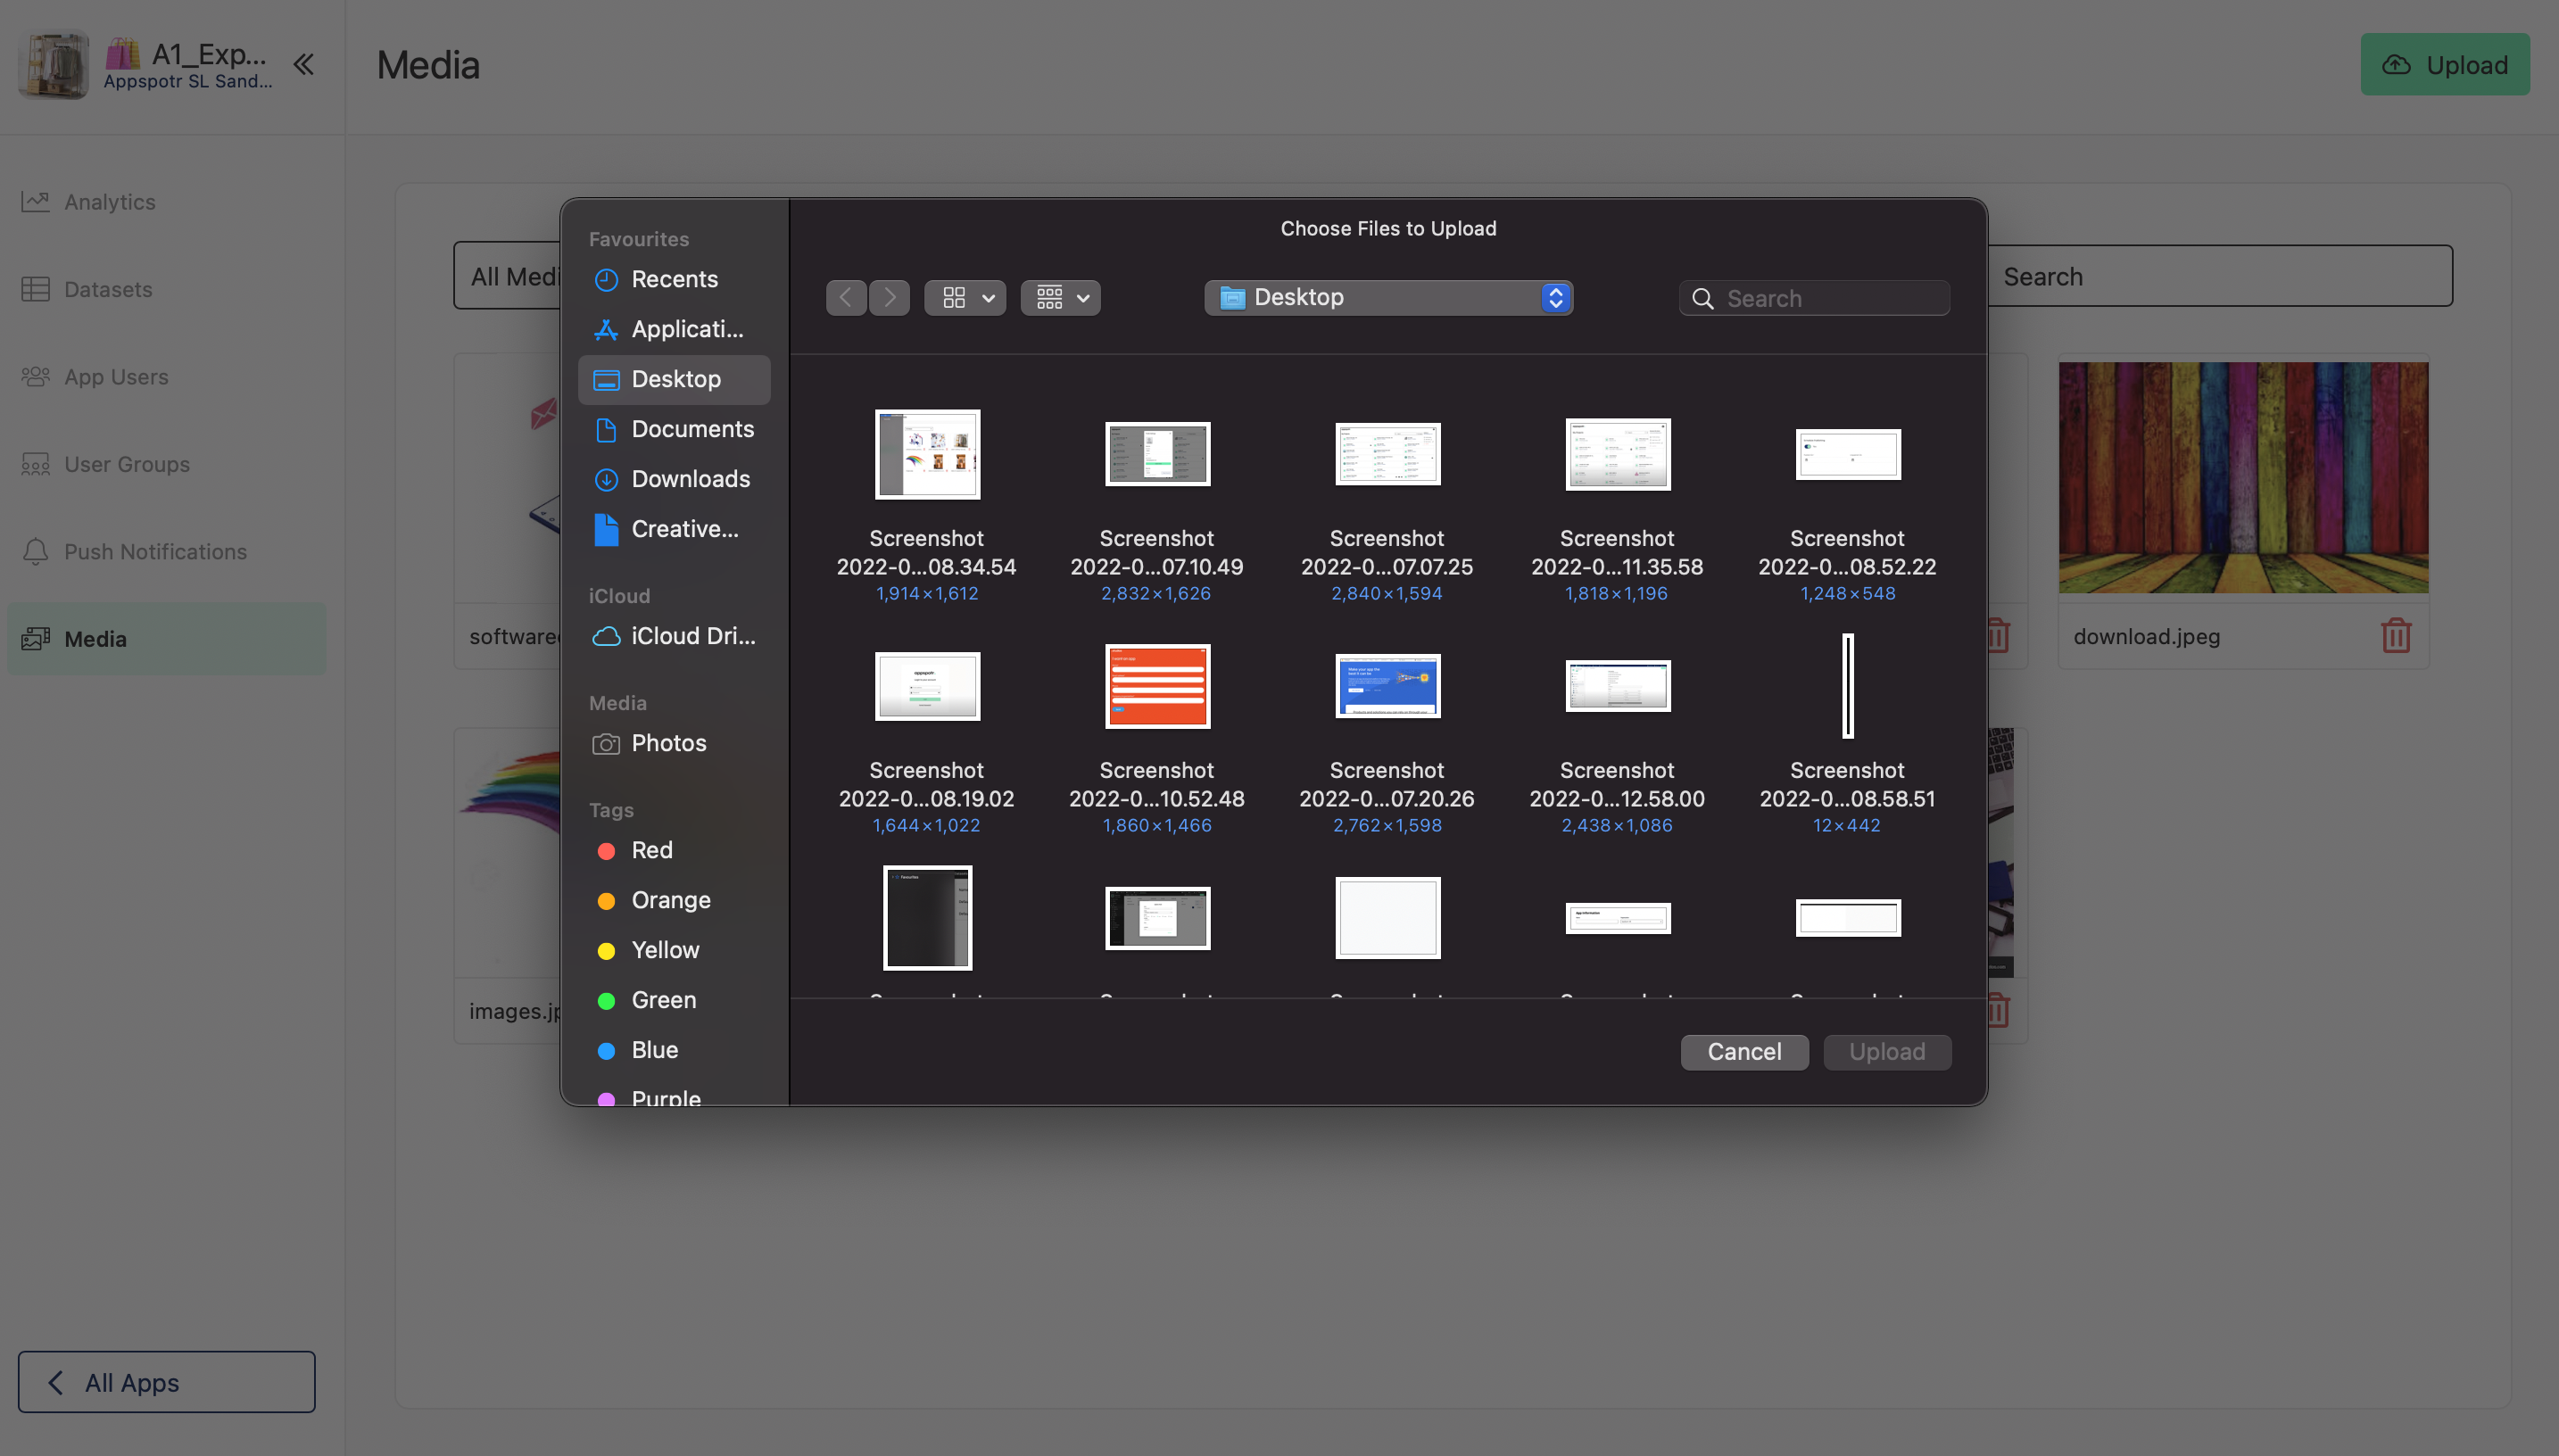
Upload Media
-
Click on Upload
You can select to add media from Camera, Gallery or Files if you are using the iPad App. And if you are using the Web Application, you can select relevant media from your computer.
Here you have the preview option to view a media. You can click on an image or file to preview it.
You can filter the media by clicking on the All Media drop down.
Learn more about Media