Use integration in Patchwork
Overview
Using integration in Patchwork is done in three steps
-
Create an integration
-
Create the view that will receive data from the integration
-
Connect the integration with the view
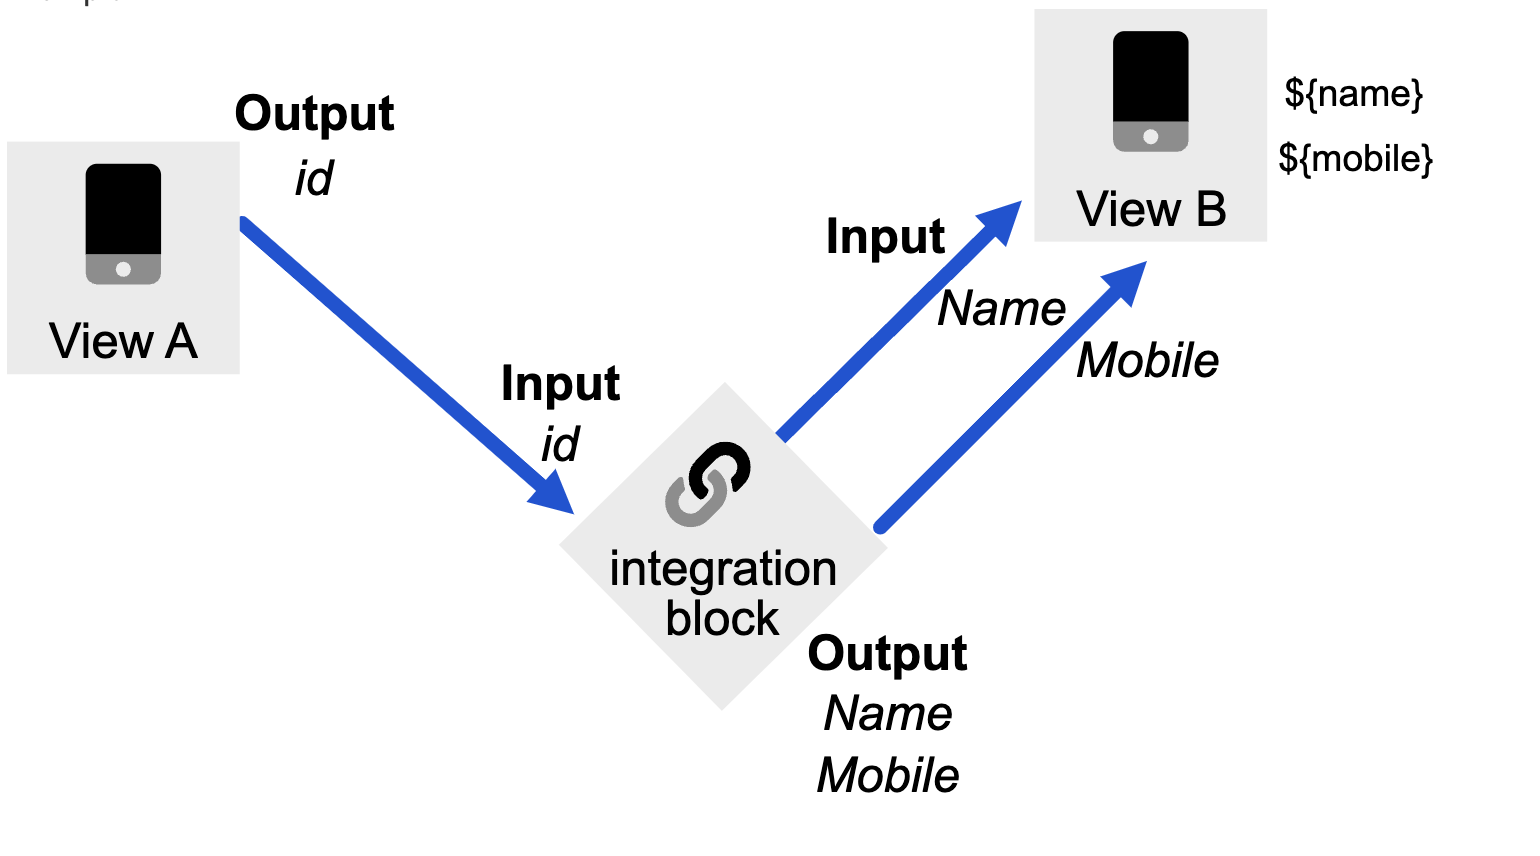
Now let’s see how you can use integration in Patchwork.
Create an integration
First step would be to create an integration
In order to use data from the API response, you need to map it out properly. This is done in the “output” section of the API-endpoint editor.
The output settings can be found in the panel on the right hand side of the integration editor.
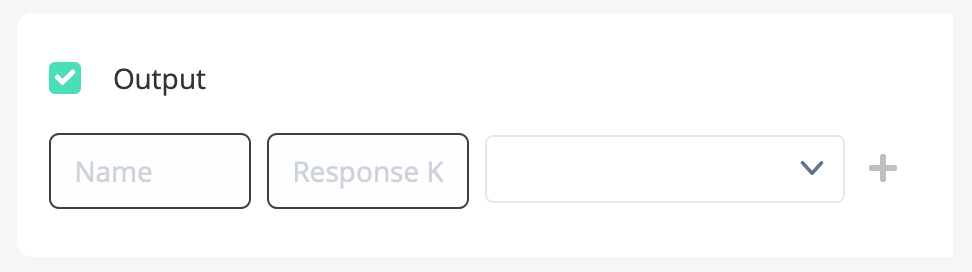
The fields in the output panel are: Name, Response Key and Type.
Name is very important as it will be used to flow data out of the integration to other views.
Response key is the path to the data in the API’s response.
Type is the type of data that the output corresponds to (ie. Text, Number, etc)
In the example below, the API-endpoint returns this payload:
[
  {
    "id": 789,
    "title": "My title"
    "content": "Lorem ipsum dolor sit amet, consectetur adipiscing elit.
                Fusce ultricies molestie neque non consectetur.
                Sed varius libero sit amet dolor porttitor, sit amet
                posuere justo molestie."
  },
  {
    "id": 788,
    "title": "Other title",
    "content": "More content here ..."
  }
]
To map one of the objects to an output, you specify its order in the “response key”-field.

In the example above the fields id, title and content are mapped to the
first entry in the payload.
This is denoted by the “0” in the beginning of the Response Key-field.
When you have mapped the outputs you are ready for the next step.
Create the view
Navigate to Design > Views and create a new view. This view will be receiving data from the integration.
Begin by creating inputs where we can flow data into the view. From the example above, we have three inputs: id, title and content. Navigate to the “View properties”-tab and in the “Input” section, create three inputs.
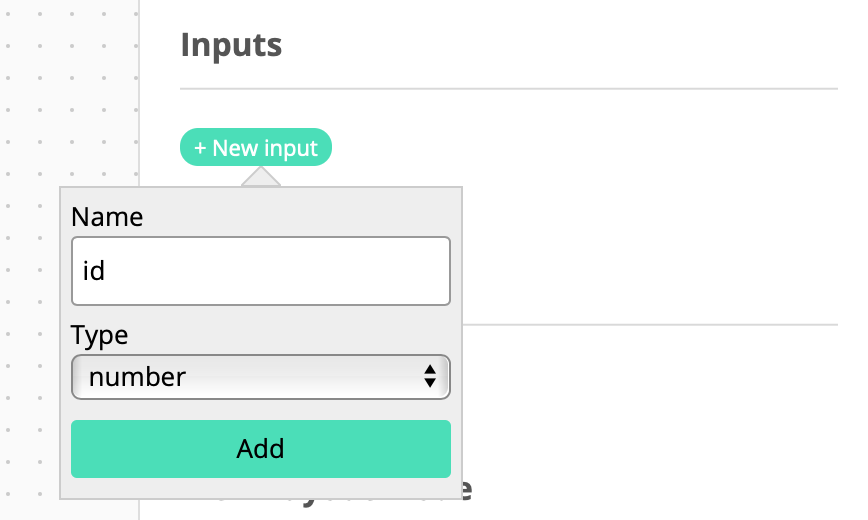
Create three properties: id (number), title (text) and content (text).
Proceed by adding two text display components to this view.
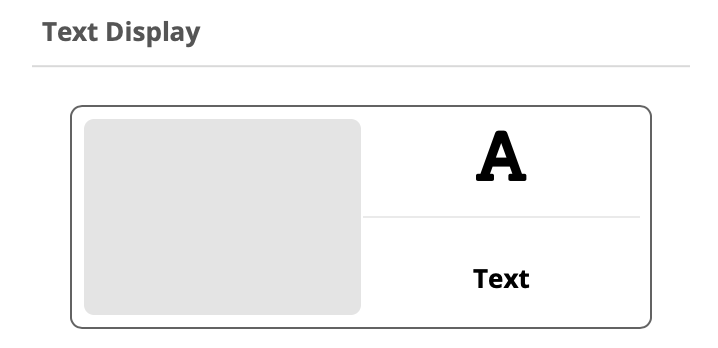
Now select one of the components and in the right-hand menu switch to
the “Component properties” tab.
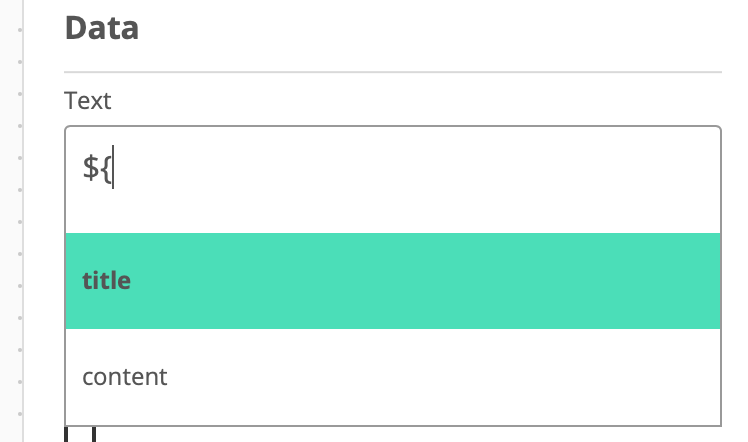
Click the Text field in the Data section and begin typing $\{
This will activate the auto-completion function and display the possible
inputs that can be mapped into this component:
Complete the process by mapping all inputs to components.
Complete the process by mapping all inputs to components.
Connect the integration with the view
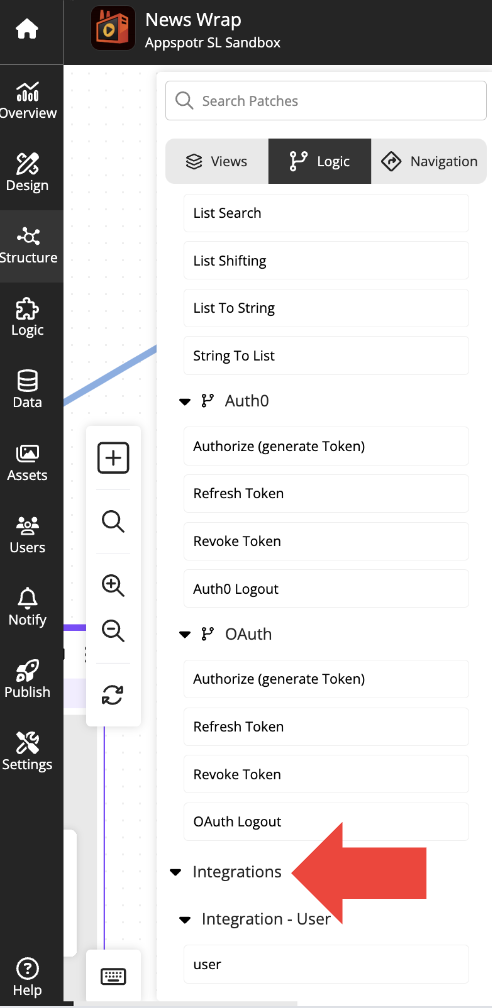
Navigate to Structure Builder
Click on Add patch > Integrations
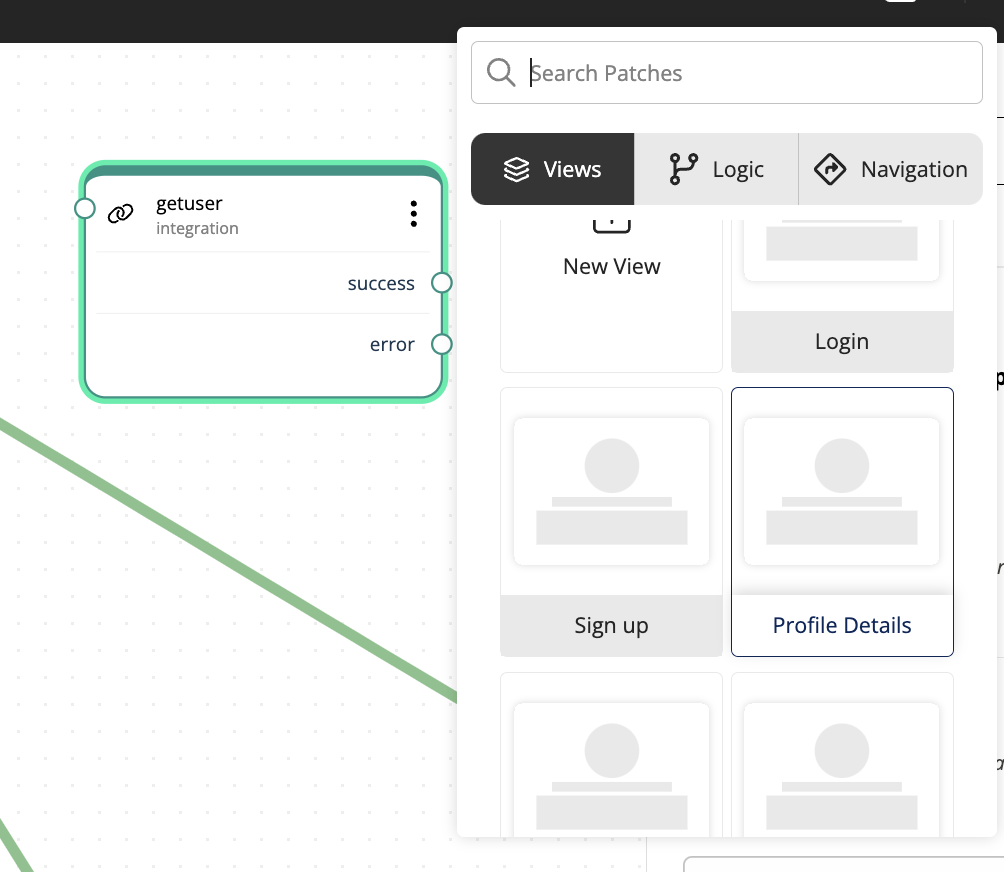
Add another patch and select the view you created in the previous step of this tutorial.
Next, select the API-integration patch that you dragged onto the patchwork canvas.
Specify which integration you want to use and which method you want to call.
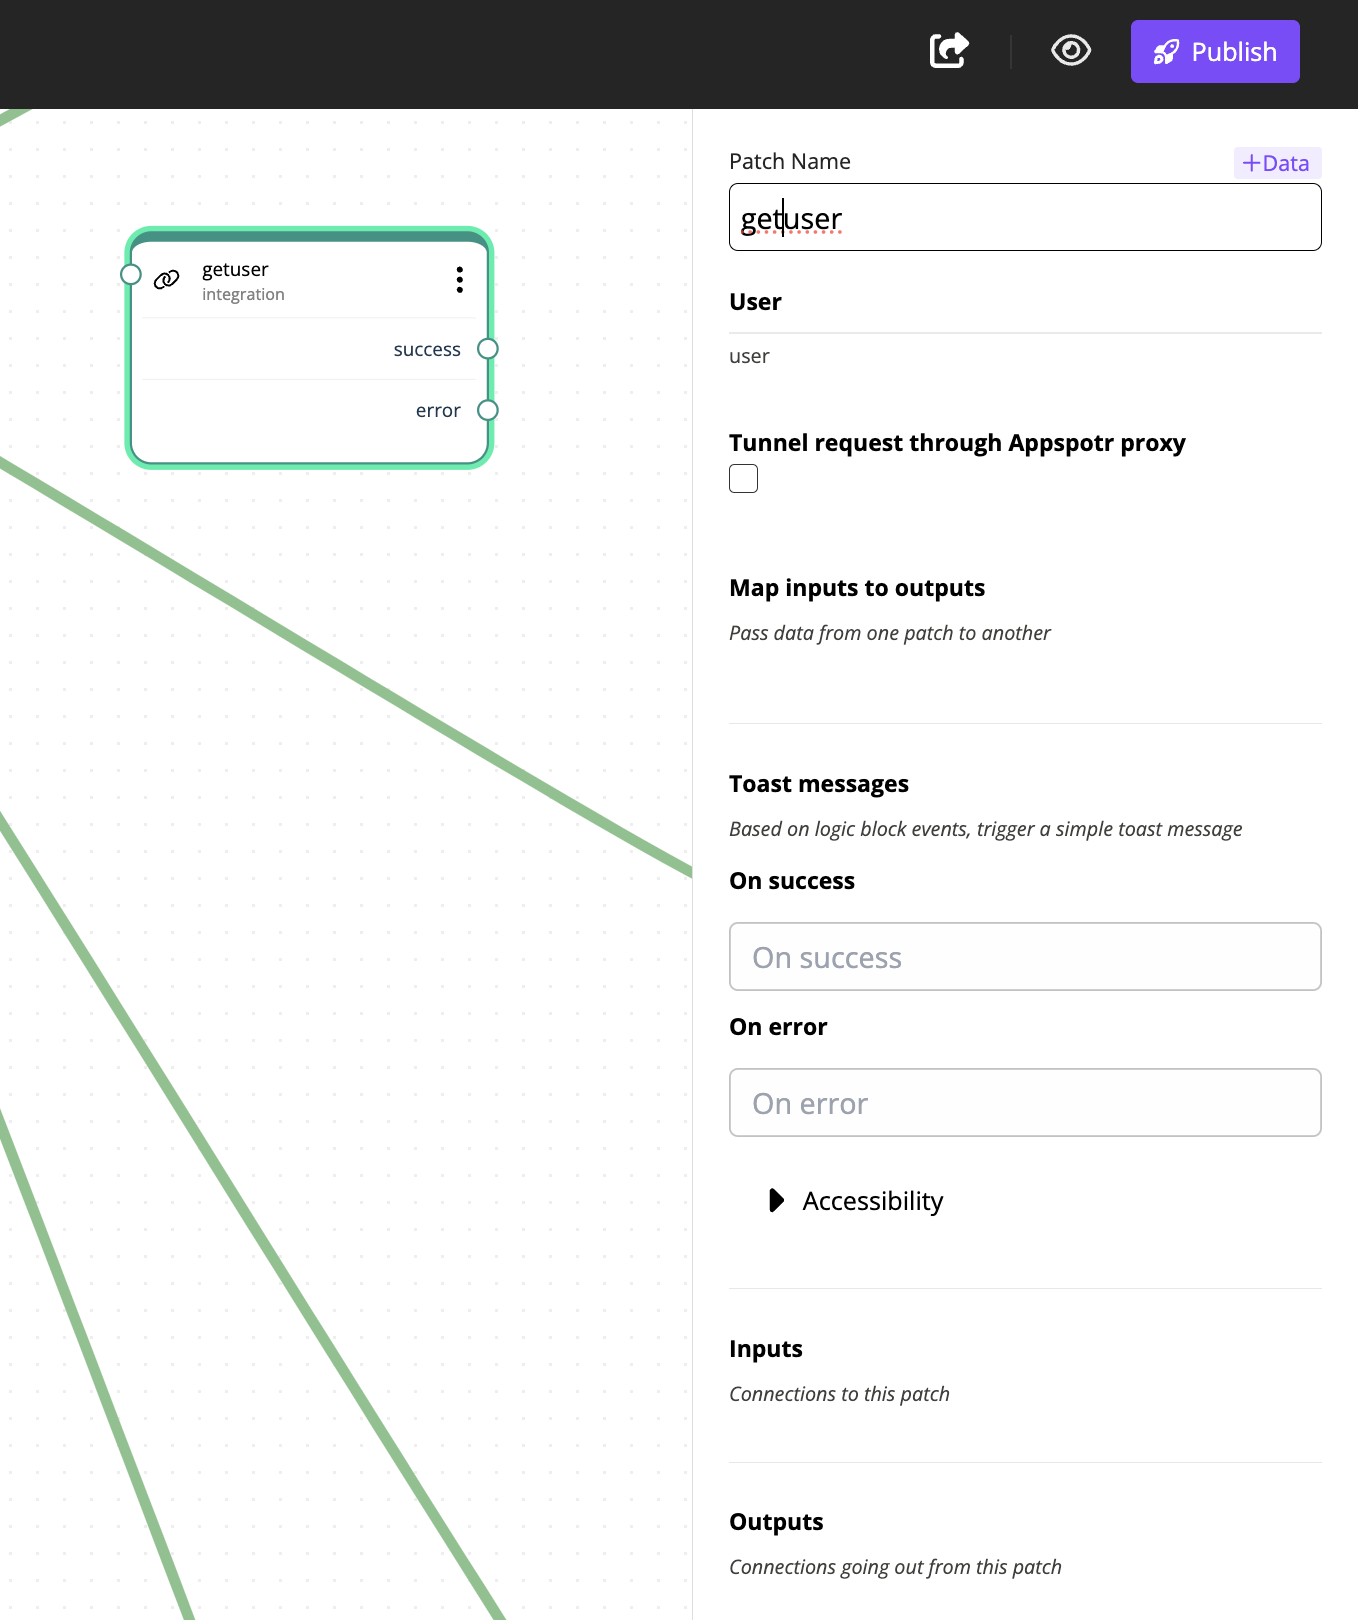
Now connect the “Success” edge to the view-patch
Click on the Connection
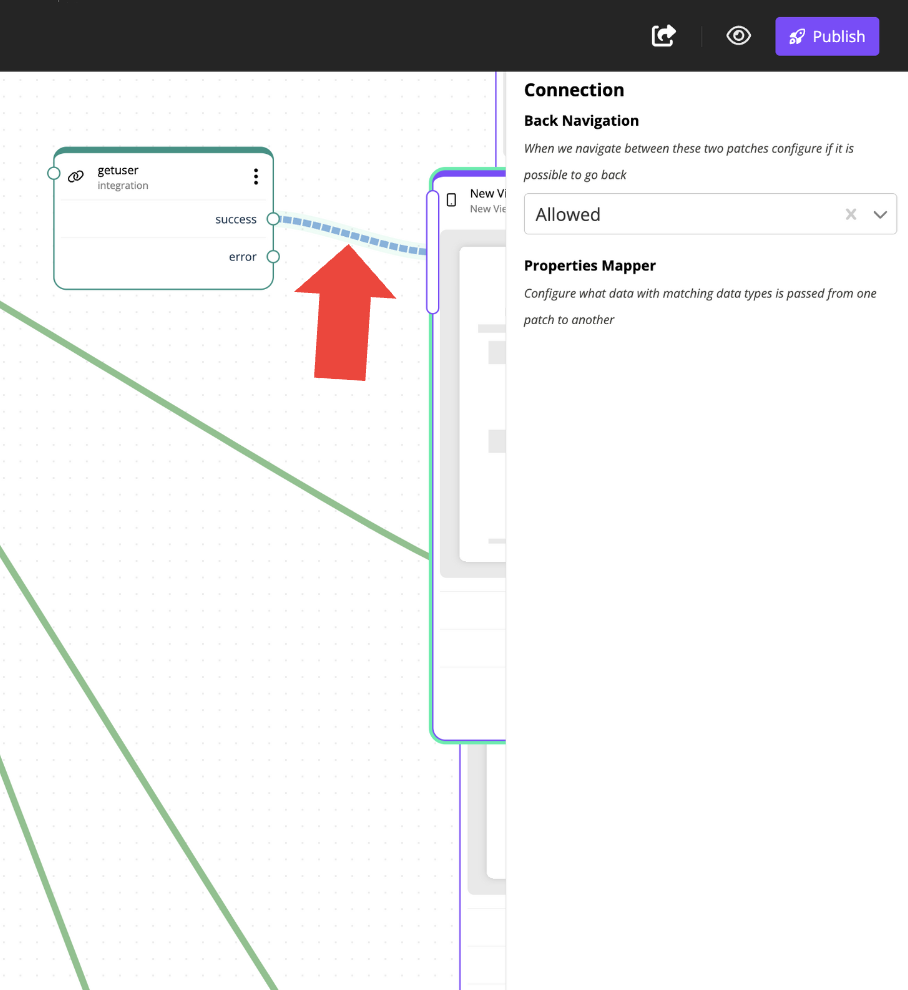
Fill in the Connection and Input Mapper
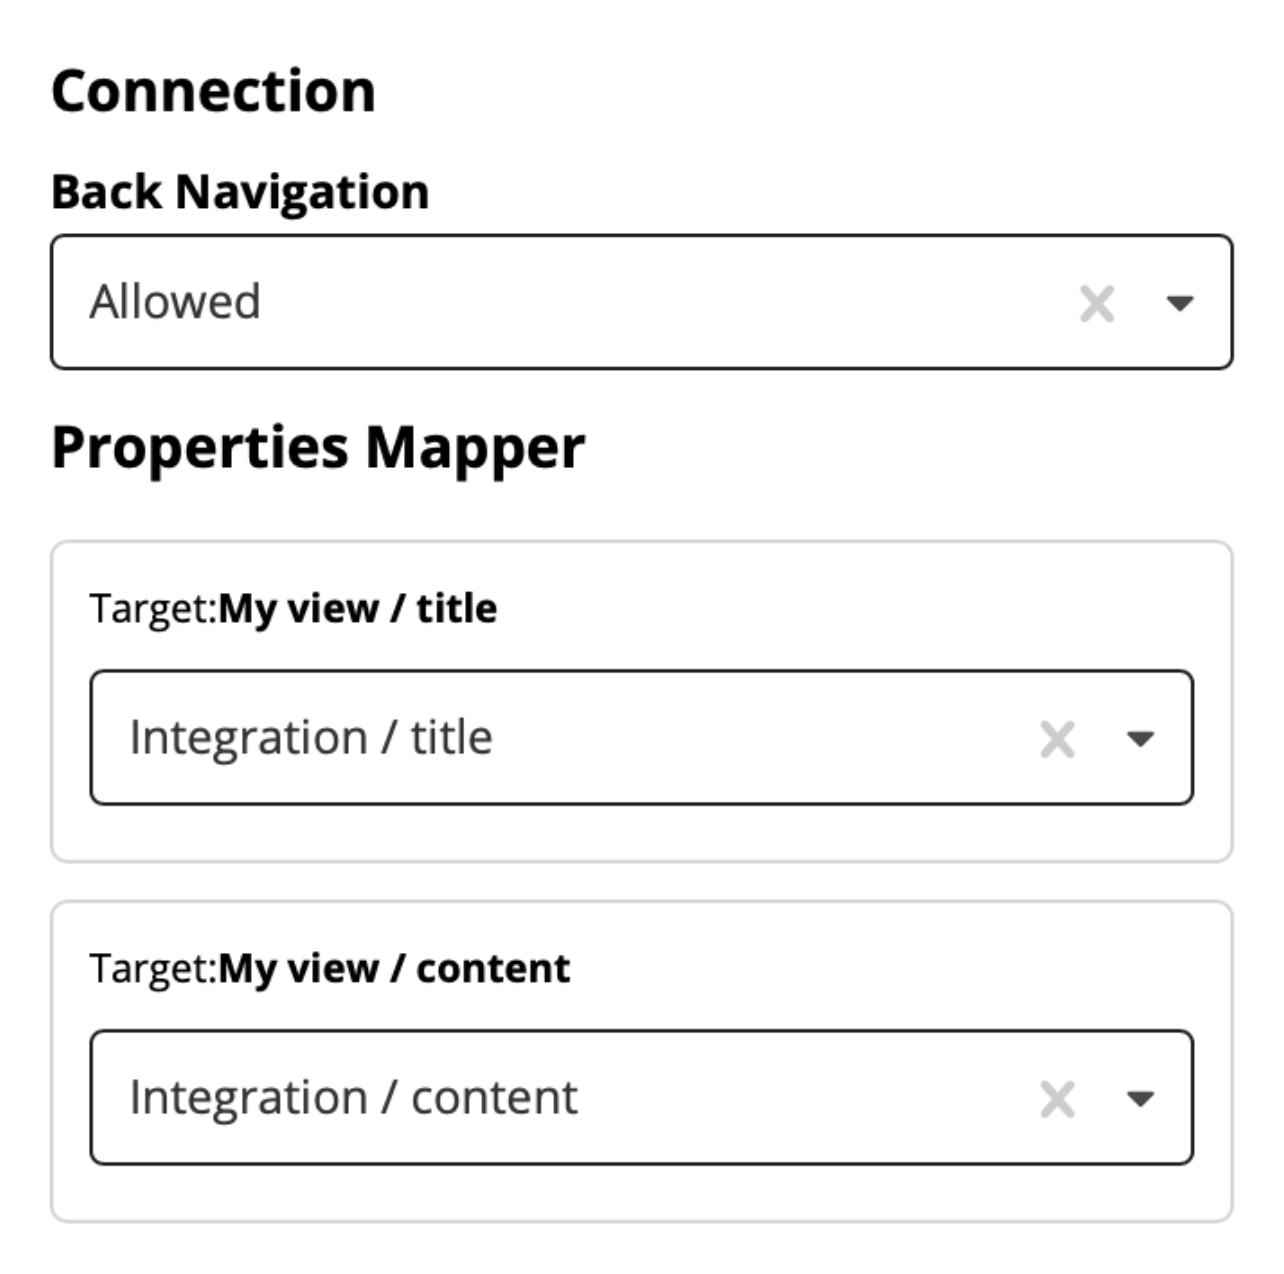
In this panel the lnputs of the view can be connected to the outputs of the API-endpoint.
When this is done, you’re all set and your integration should be up and running