Connecting Appspotr with Zapier
Once you have created your app through Appspotr you might want to automate certain functions and tasks. You can use Zapier to connect your Appspotr app with any other app available in the Zapier integration list. It lets you connect over 4000 apps with your Appspotr App while using it as an Action event step or a Trigger event step.
A connection in Zapier is called a "Zap" Each Zap has two components: Trigger and Action. A trigger is an event that starts a Zap while the action is an event a Zap performs after it is triggered.
What triggers and actions does Zapier support?
Triggers
-
New Dataset in App - Triggers when a new Dataset is created
-
New Dataset Item in Dataset - Triggers when a new Dataset item is created.
-
Updated Dataset Item in Dataset - Triggers when a Dataset Item is updated in a Dataset
-
Deleted Dataset Item in Dataset - Triggers when an item is deleted in a Dataset.
How to connect Zapier your Appspotr App
To use the Zapier integration you should have an Appspotr account, an app created through Appspotr, and a Zapier account.
The basic steps that you have to follow to create and publish a Zap are:
-
Generate API Key
-
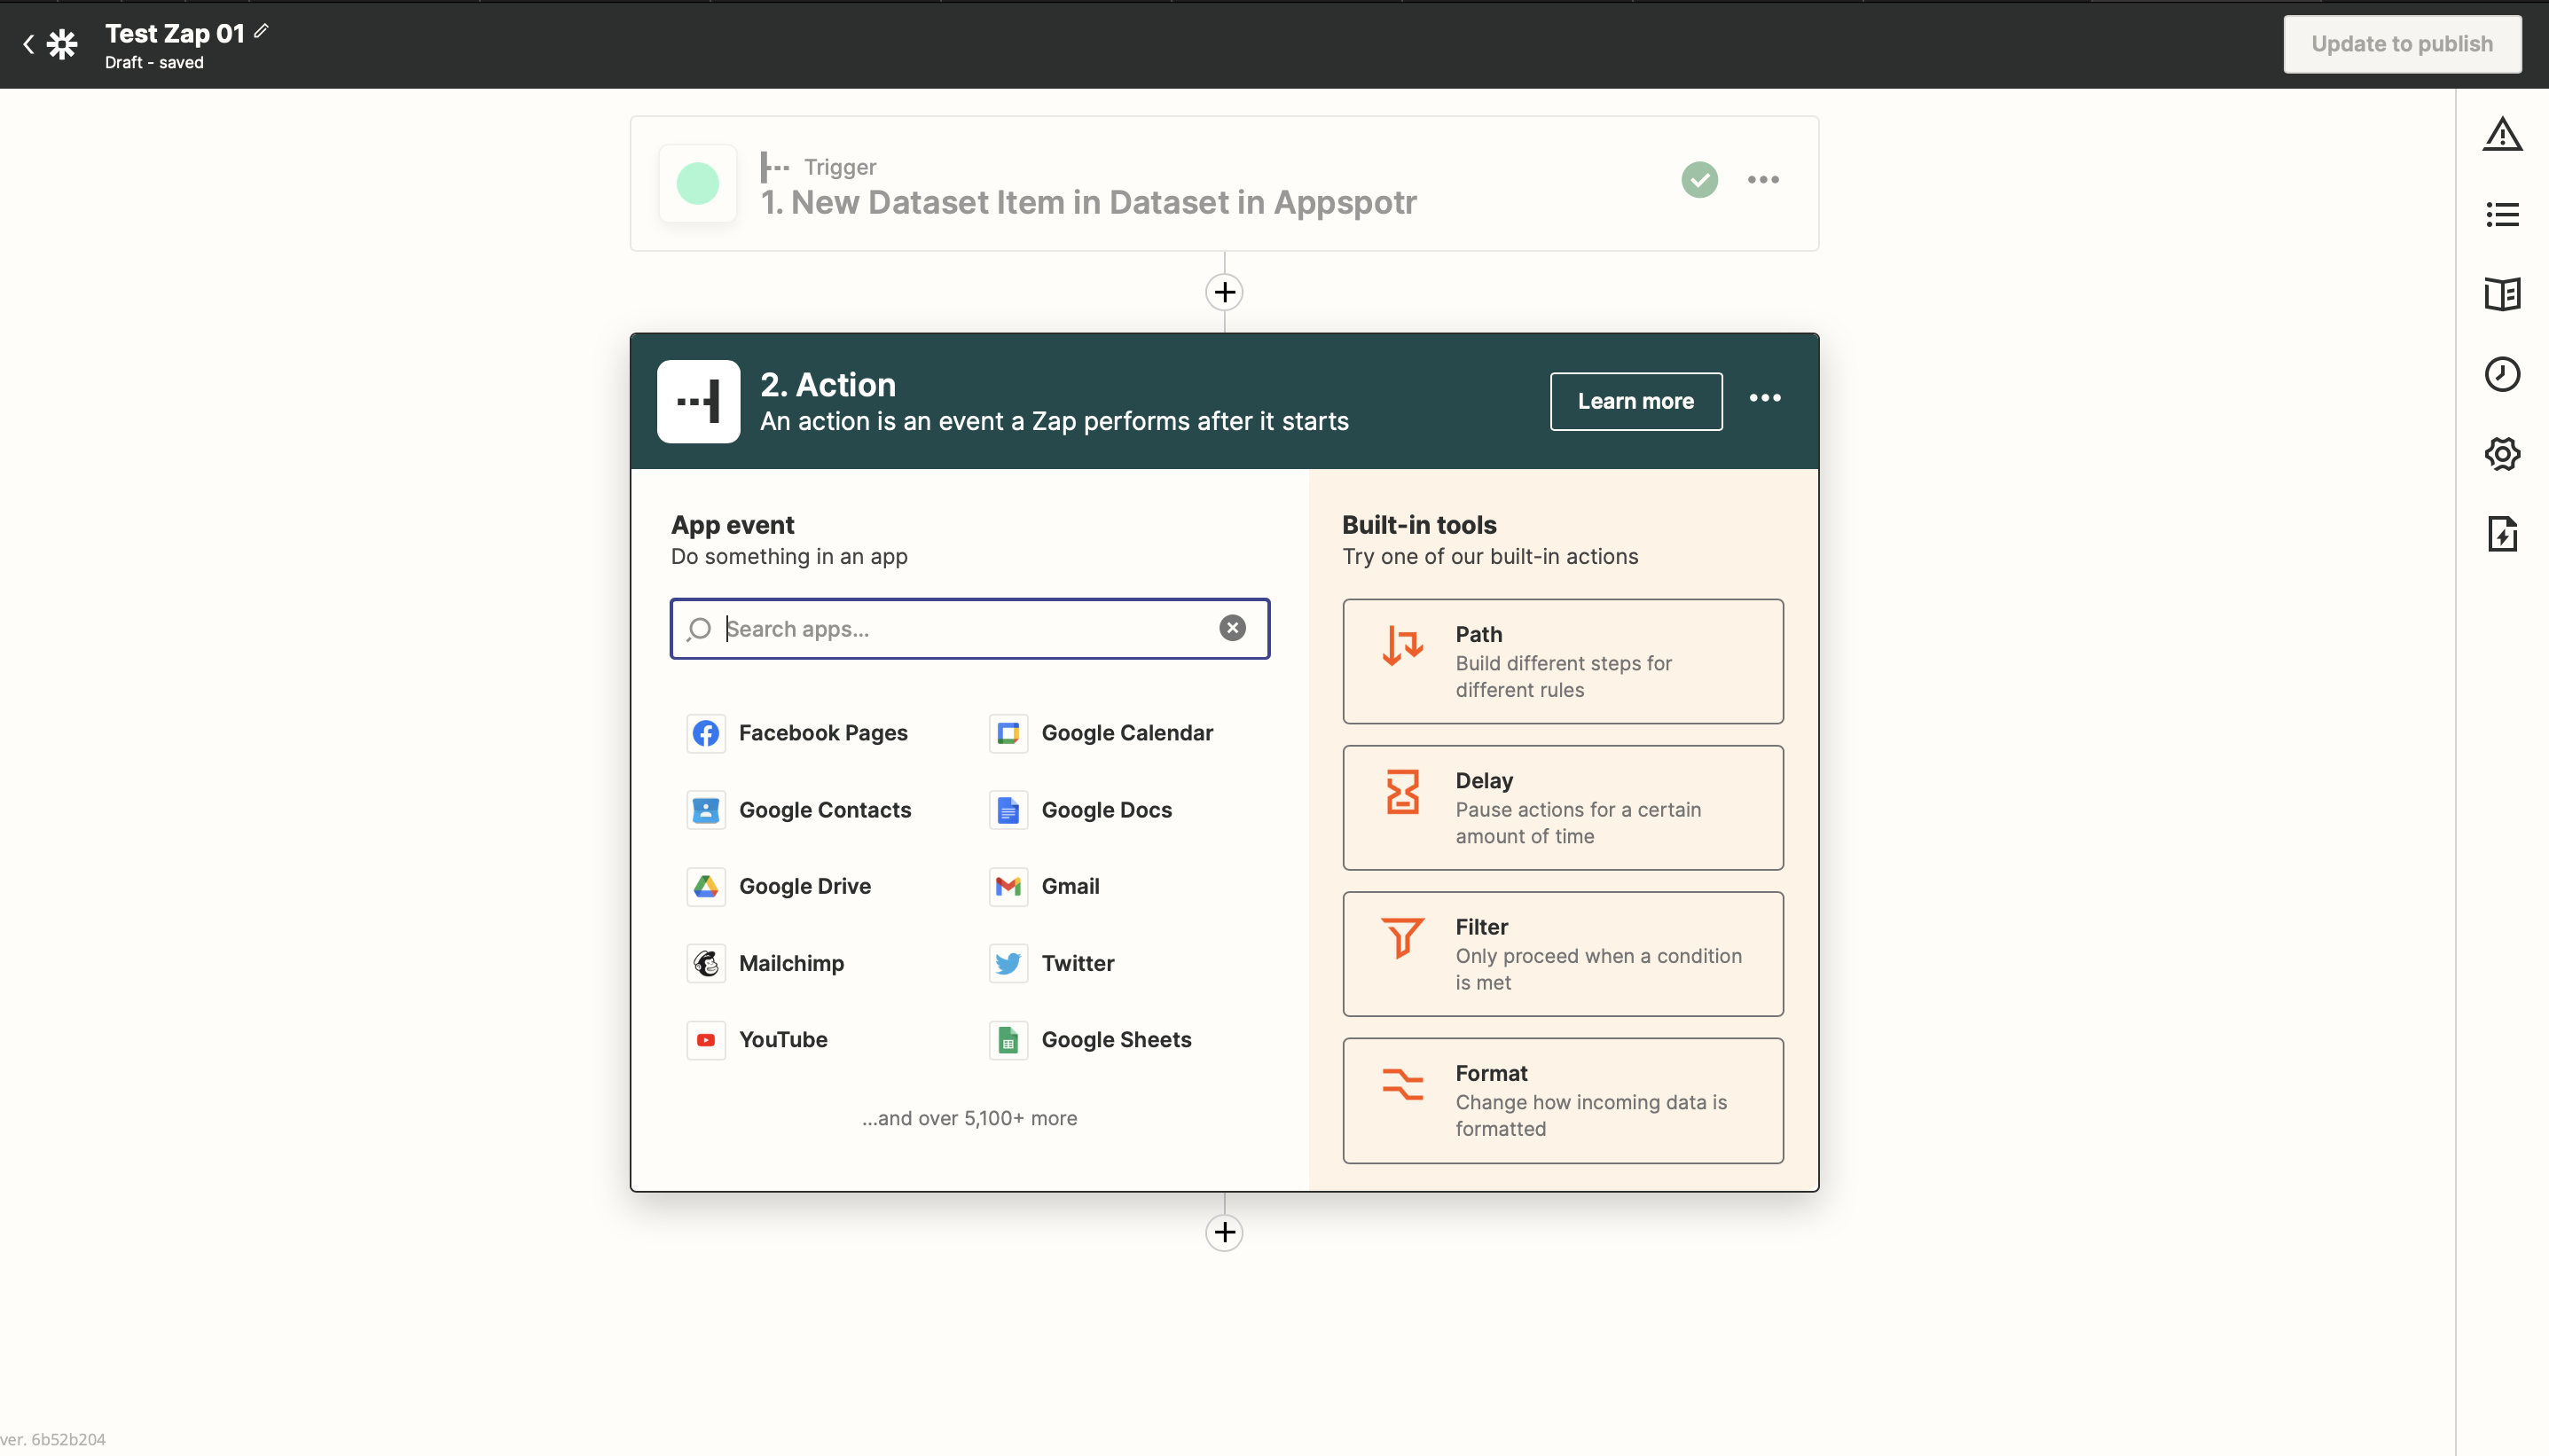
Create Zap
-
Trigger
-
Select App and Event
-
Connect App
-
Set up trigger
-
Test trigger
-
-
Action
-
Select App and Event
-
Connect App
-
Set up Action
-
Test Action
-
Now let’s look into those steps in detail.
-
Generate API Key
In this step, you will be explained how to connect your pre-created app to your Zapier account.
-
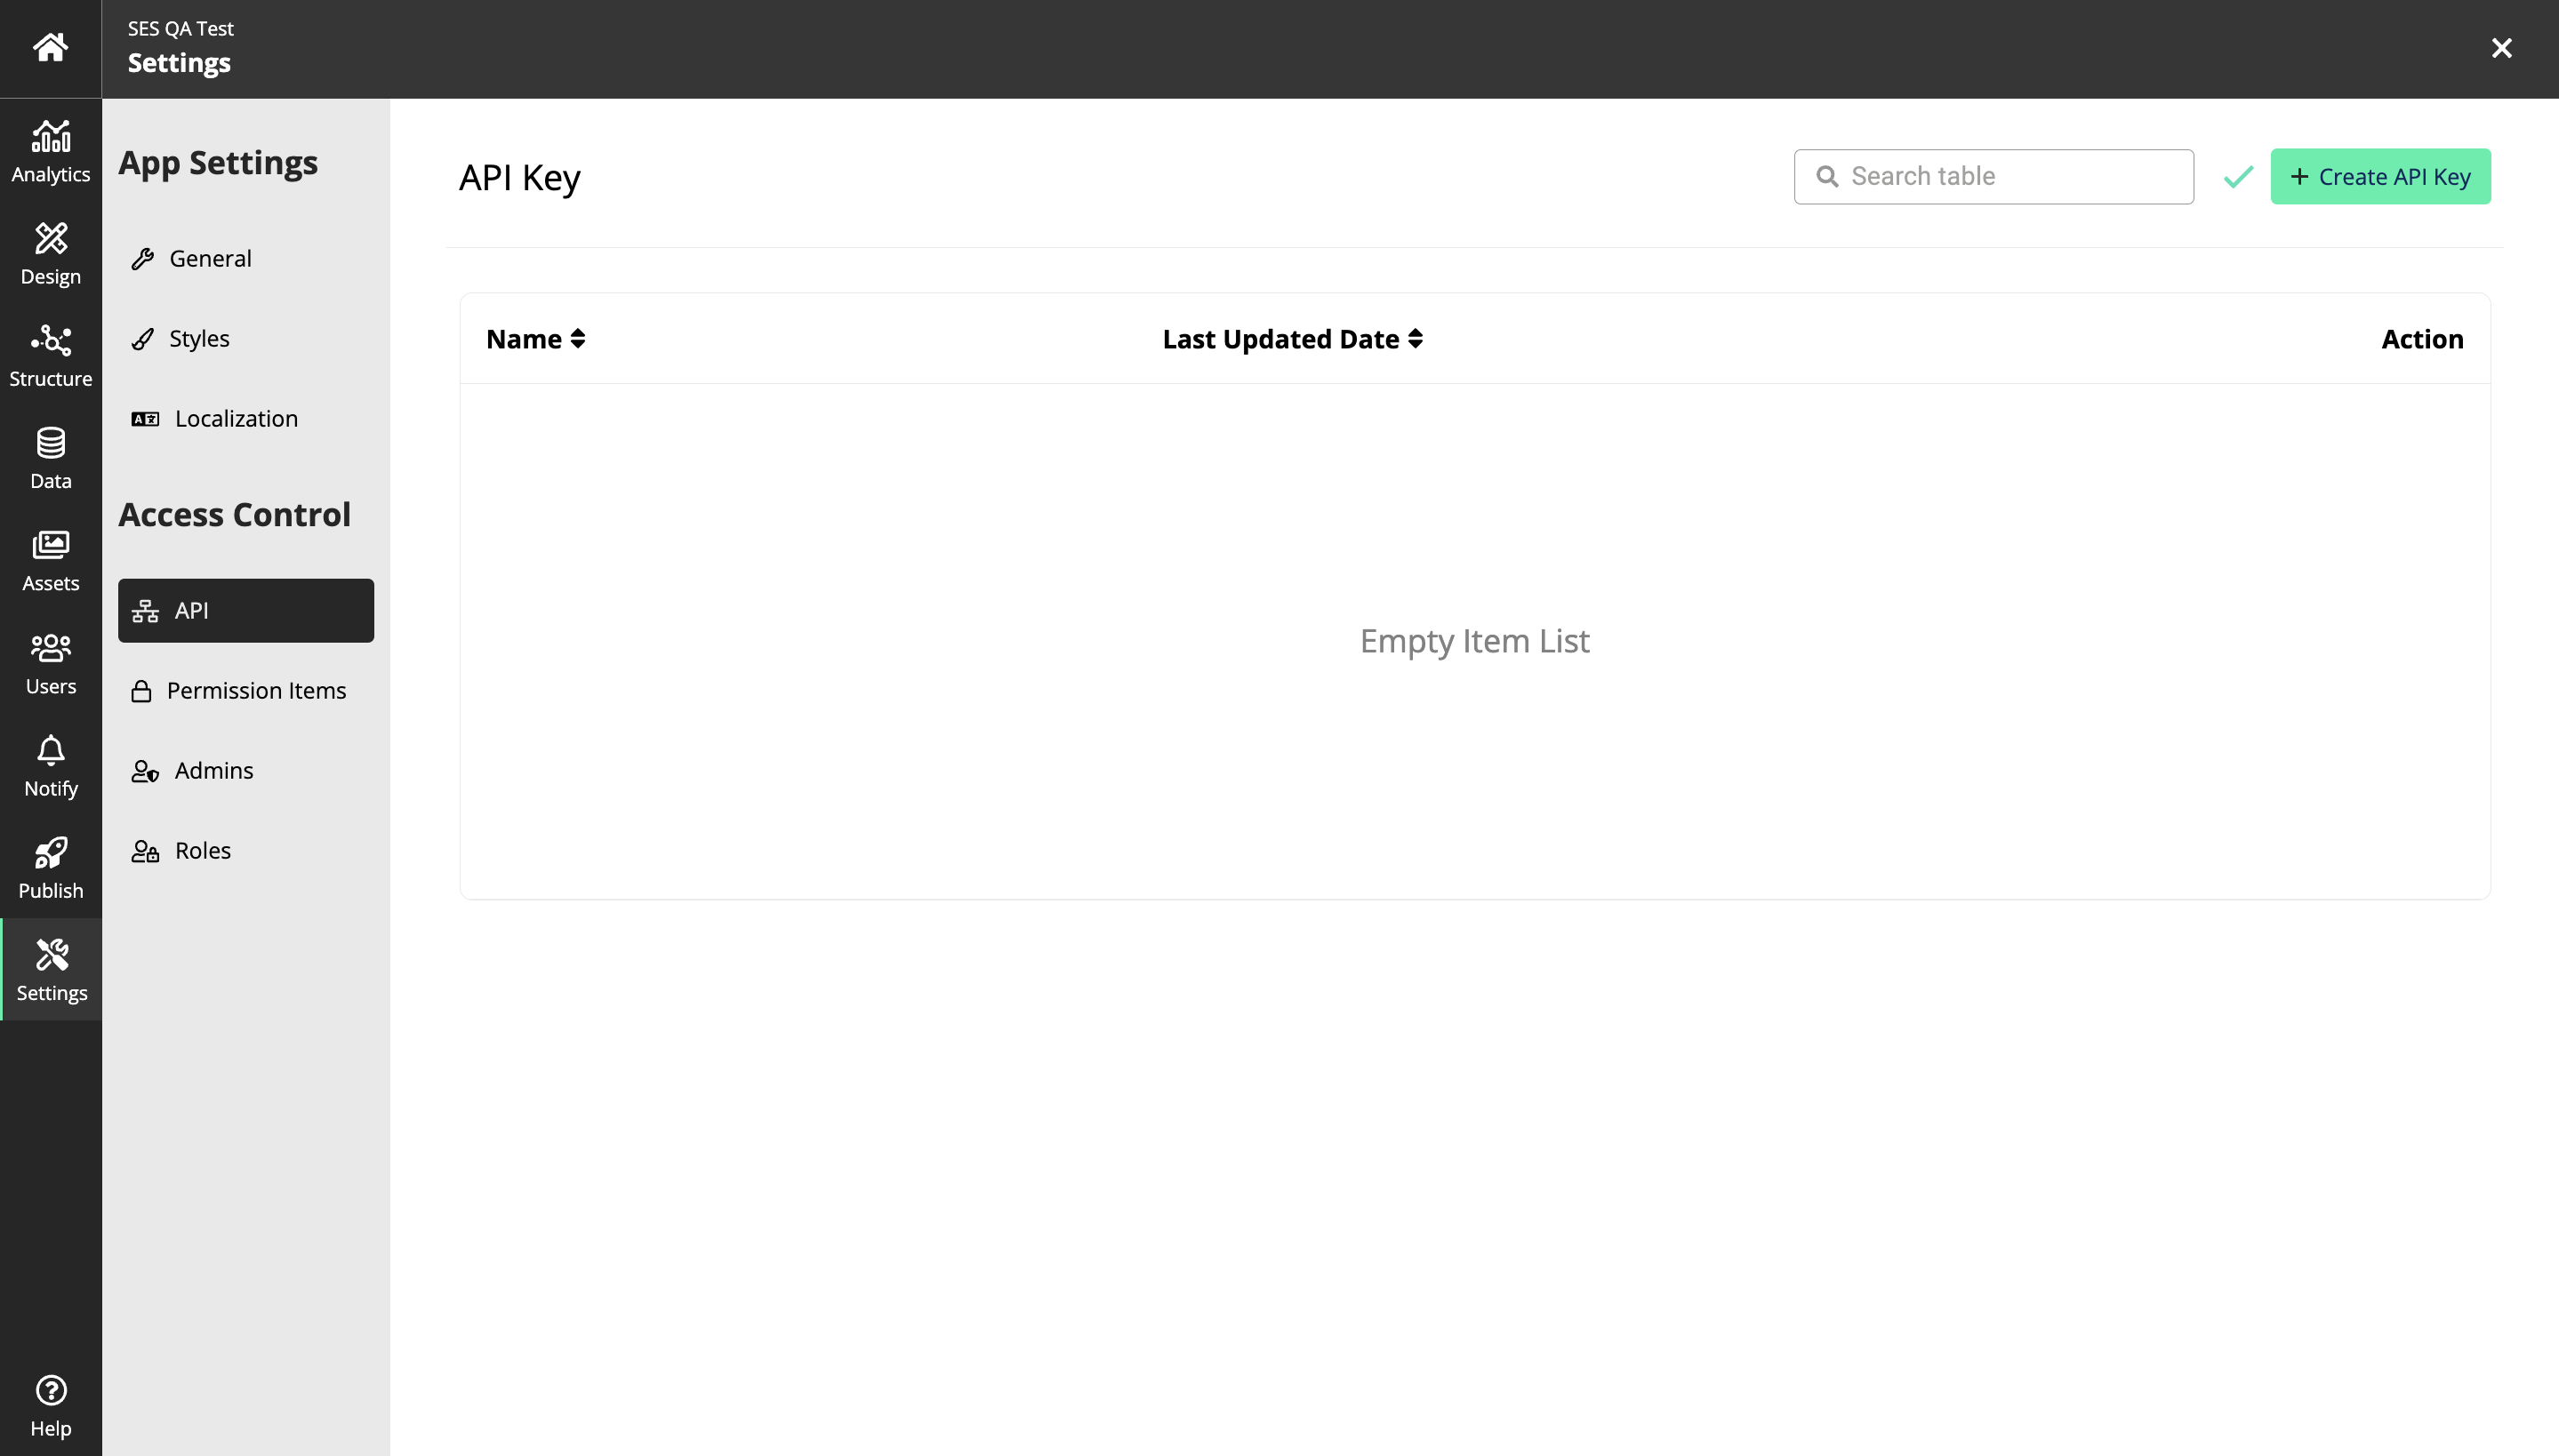
Open your app
-
Navigate to Settings > API
-
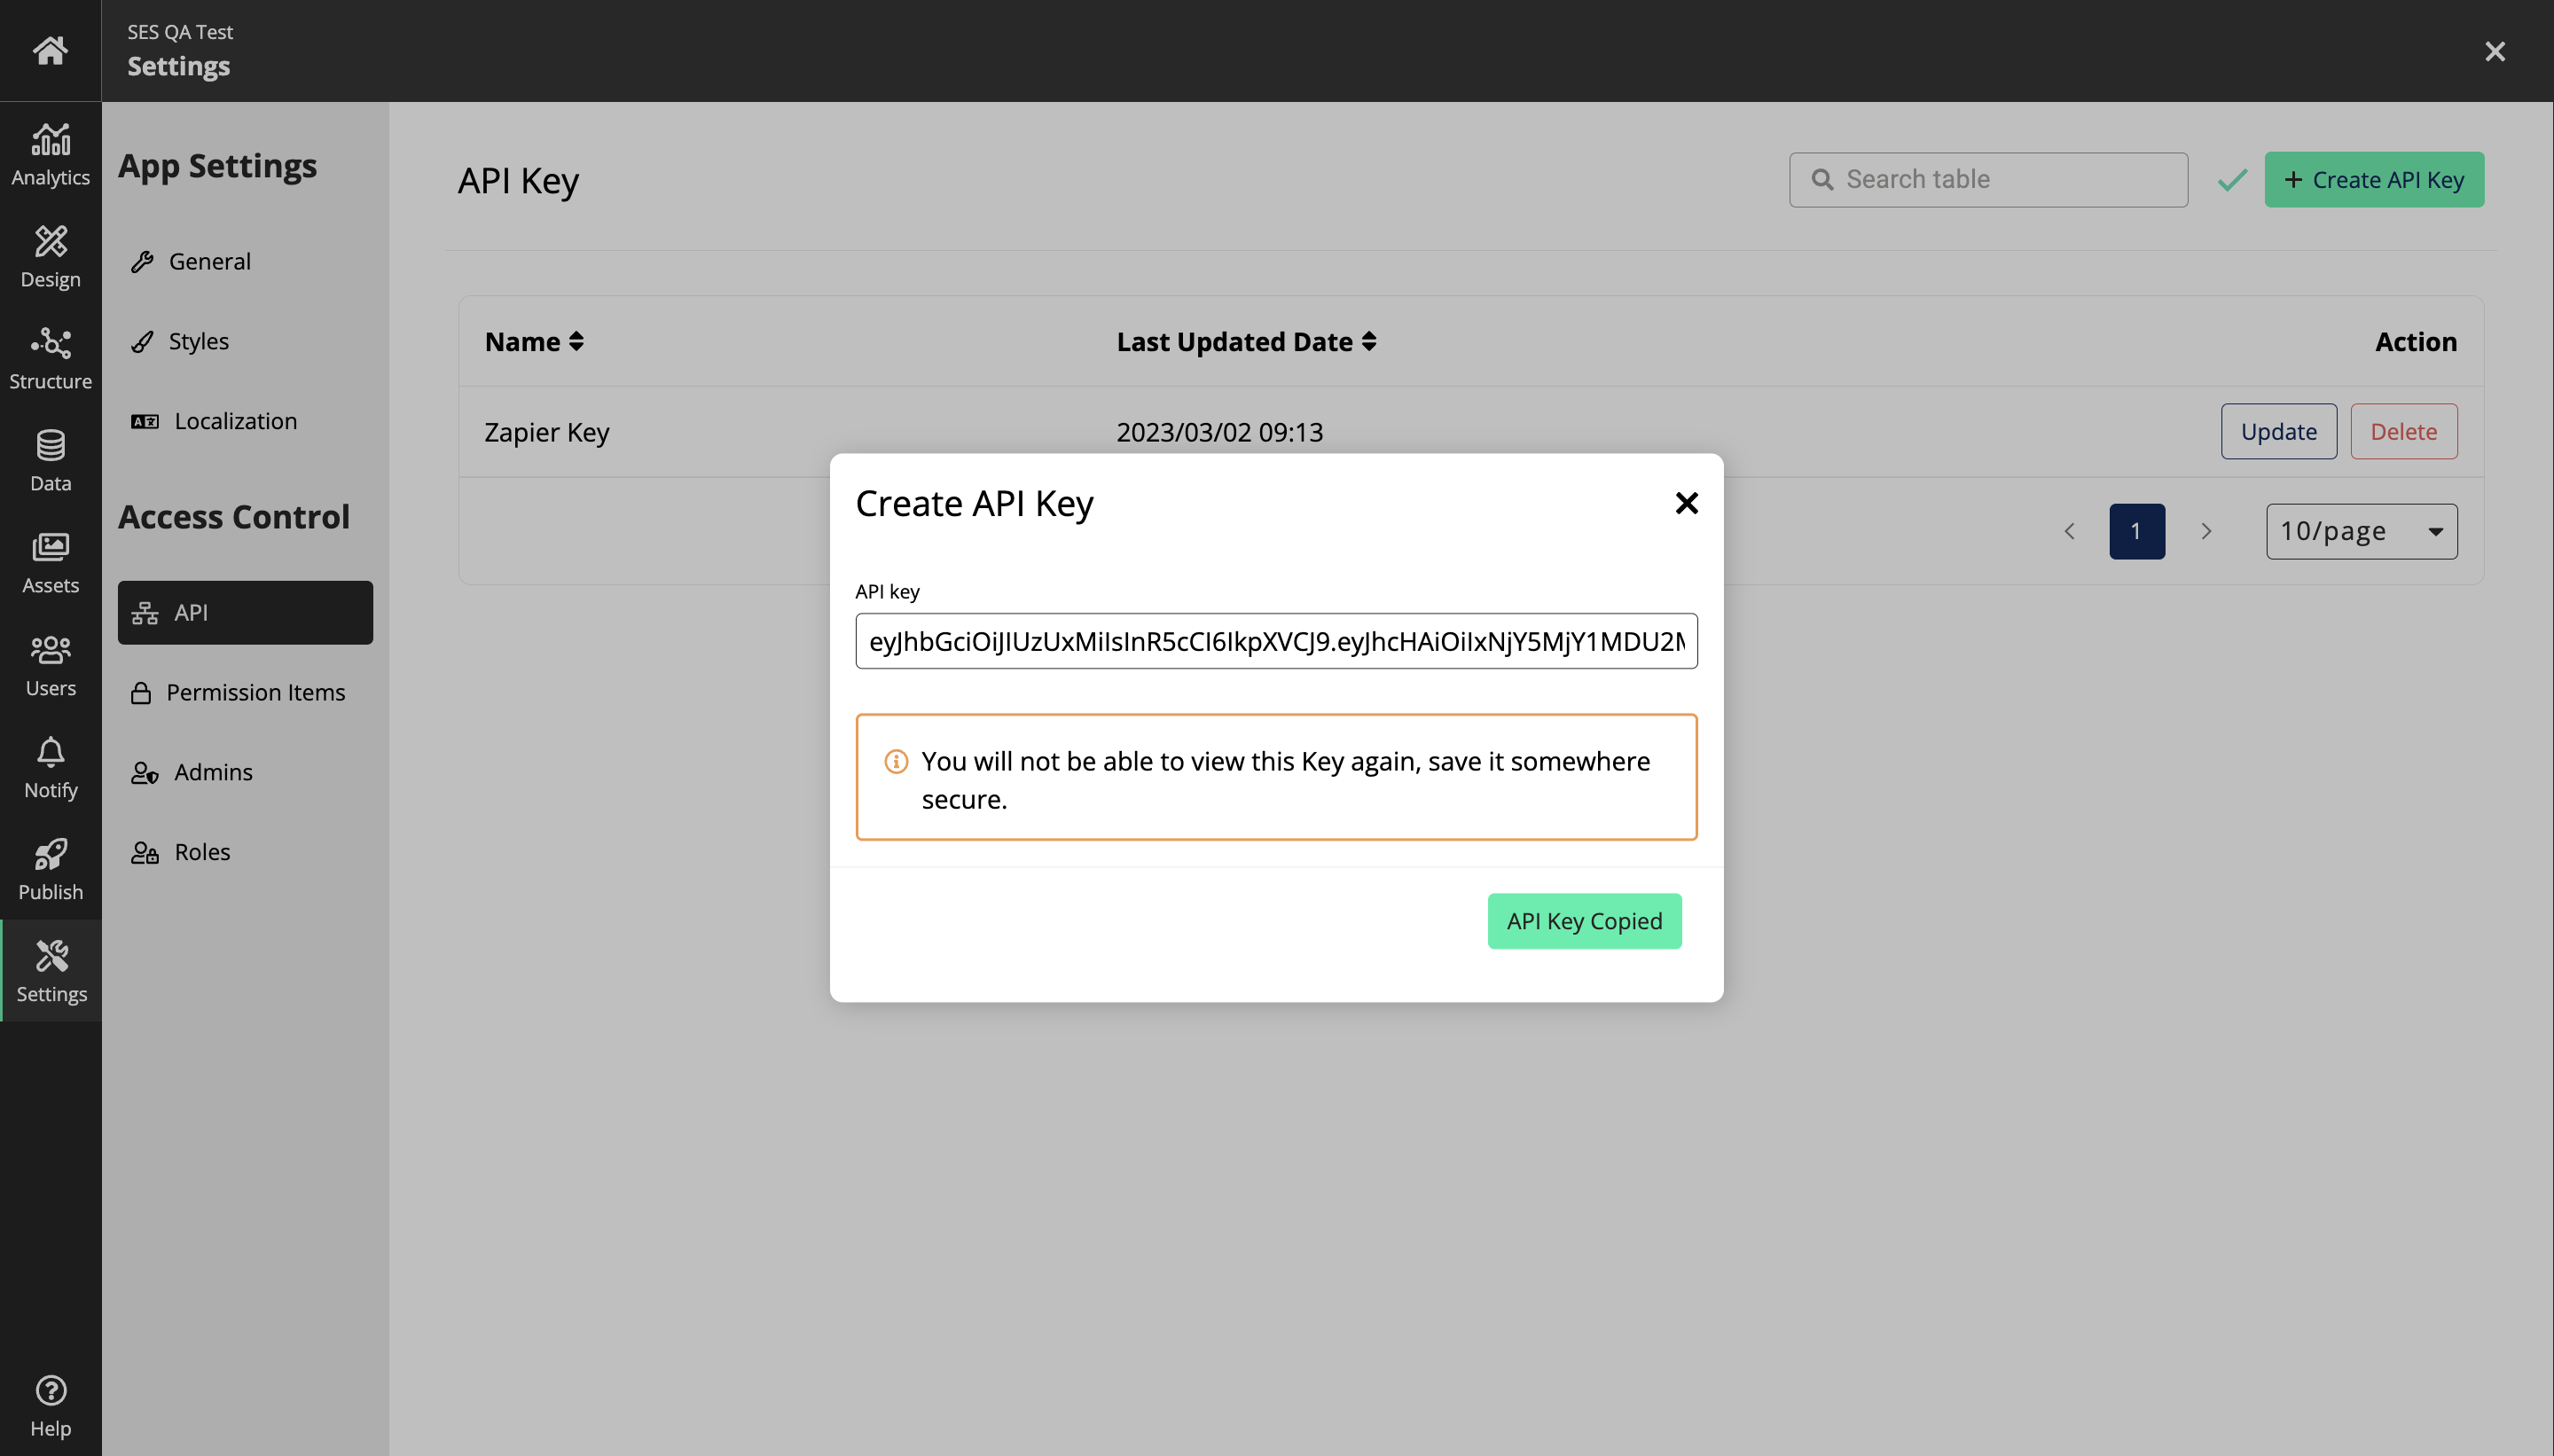
Click on Create API Key
-
Provide the API Key Name and Click on Create New Key
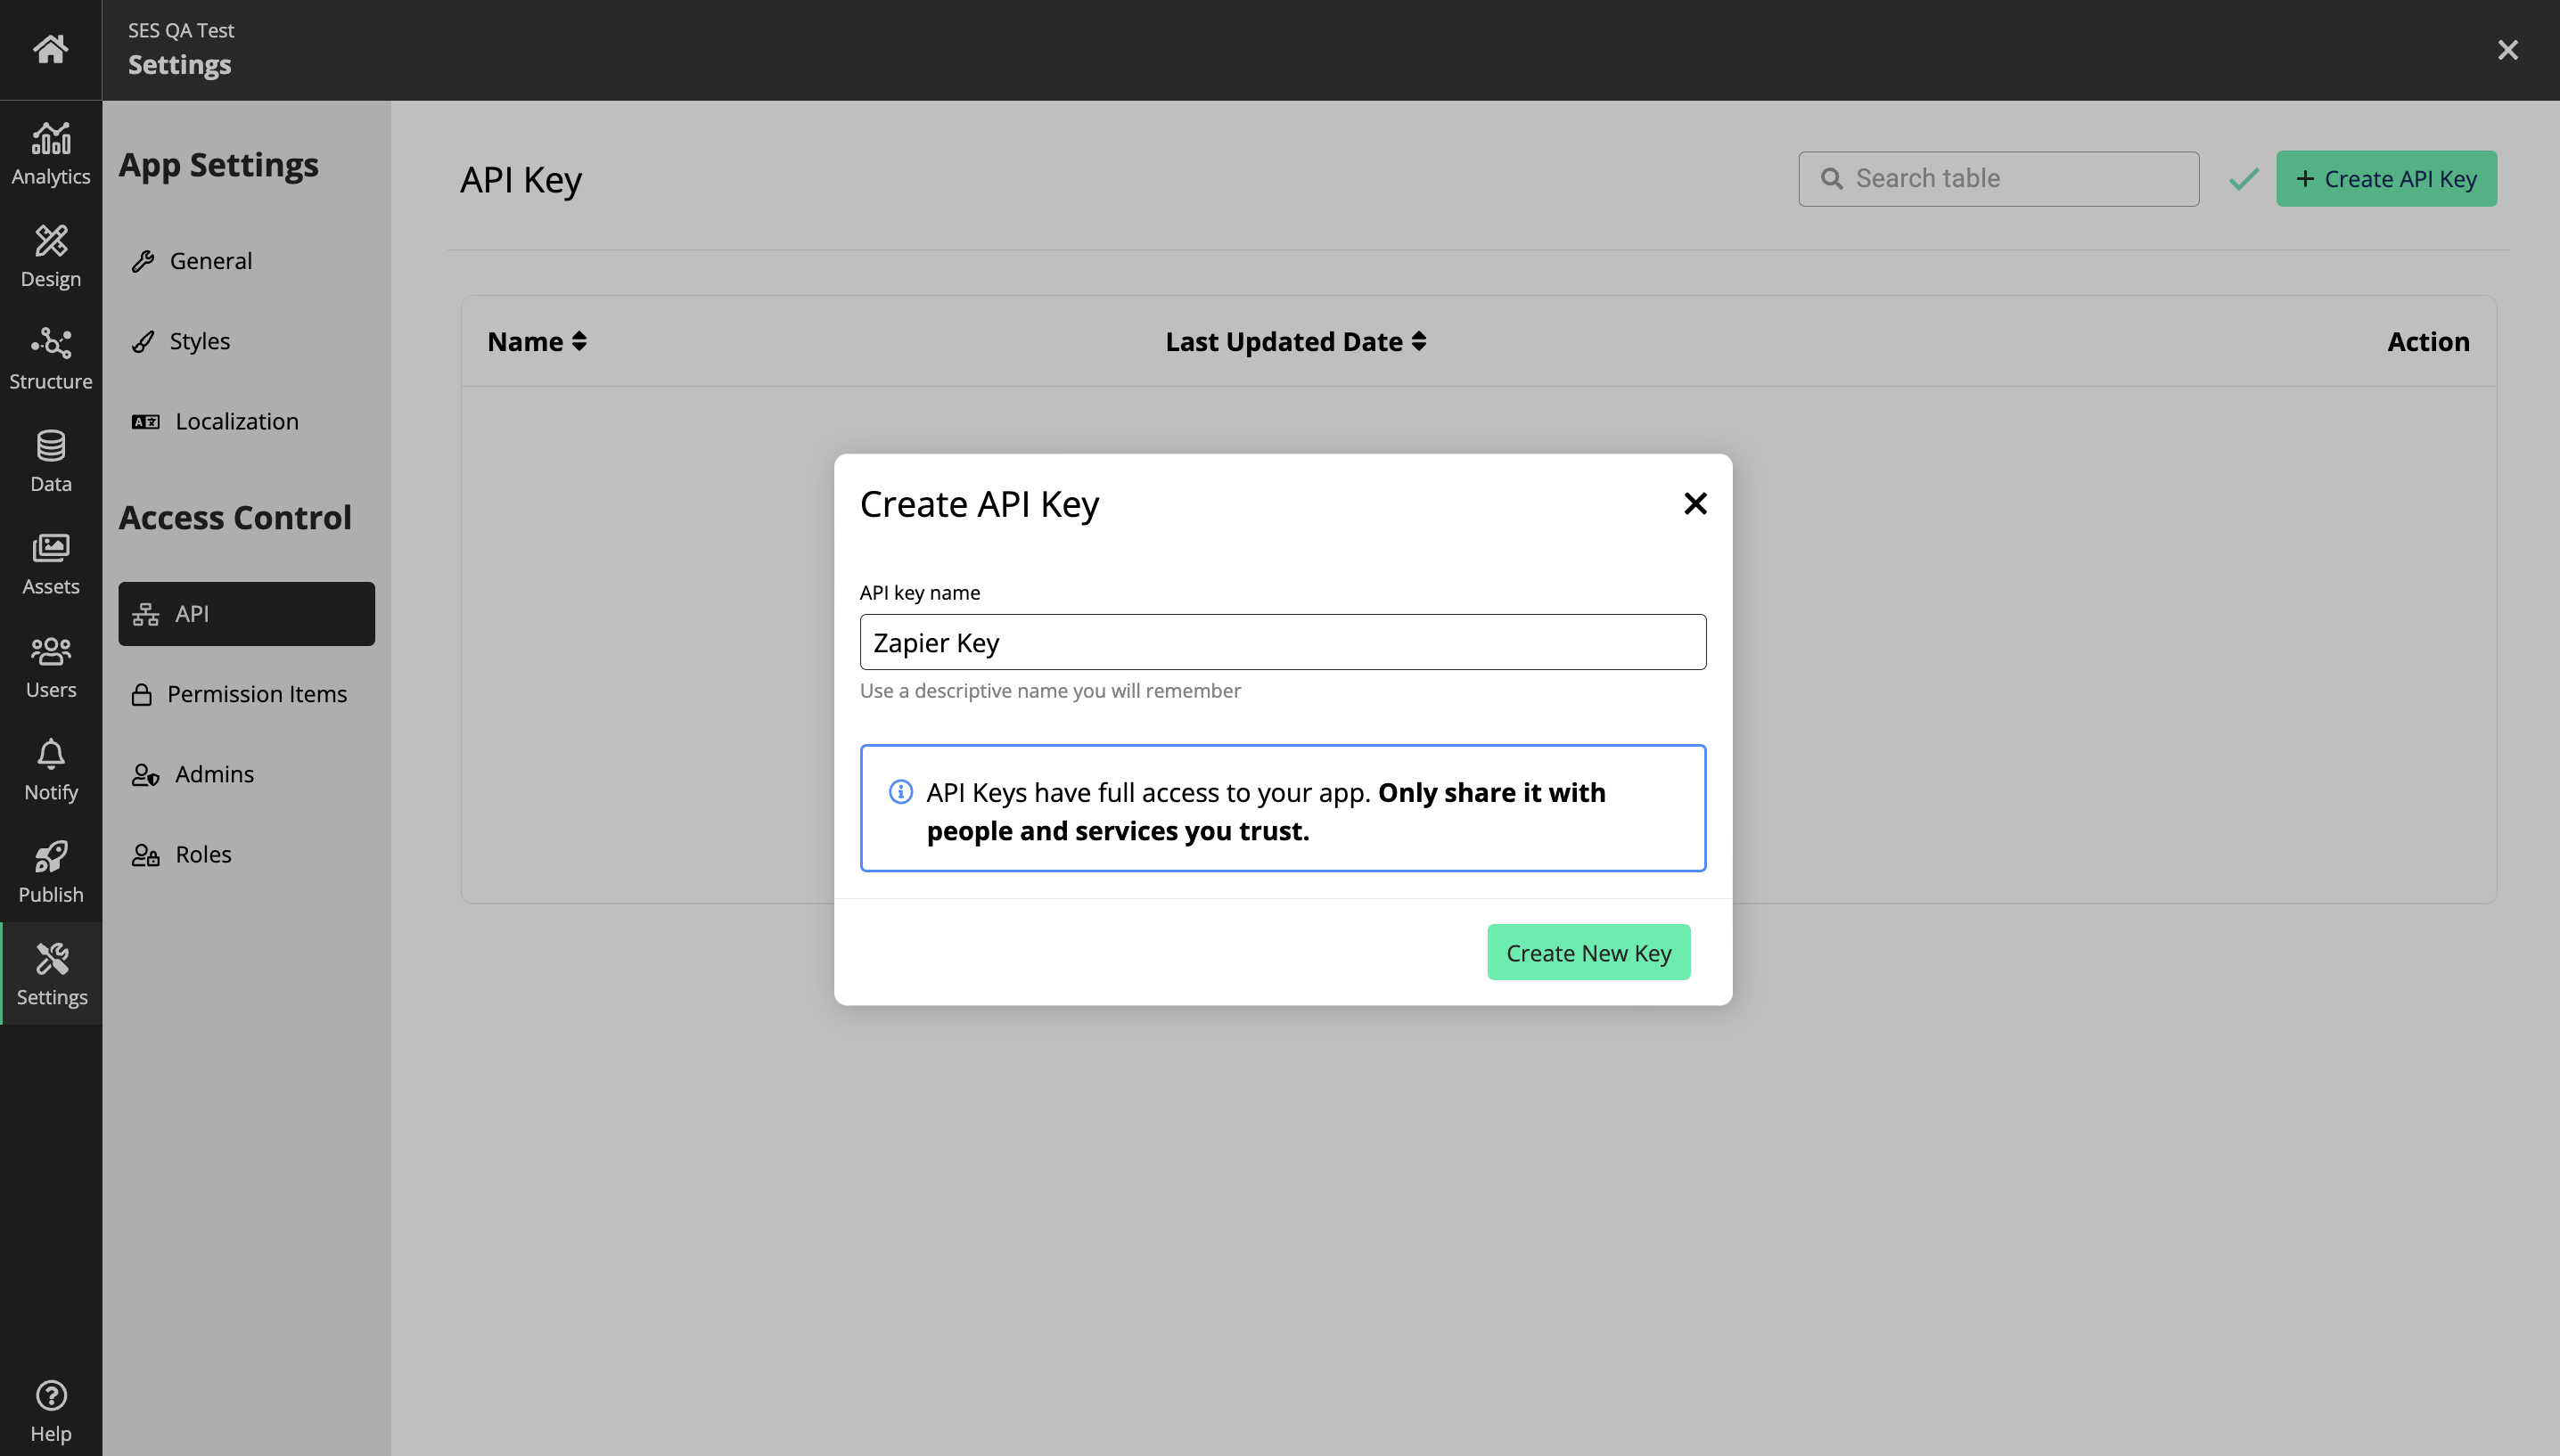
Note: Make sure that you use a descriptive name you will remember and API Keys have full access to your app. Only share it with people and services you trust.
An API Key is always scoped to the App in which it’s created. When an Appspotr Key is connected to Zapier, the connection is named after the App name.
-
Copy the generated API Key
Note: You will not be able to view this Key again, save it somewhere secure. Appspotr warns about keeping the API Key safe since it will give full access to an app.
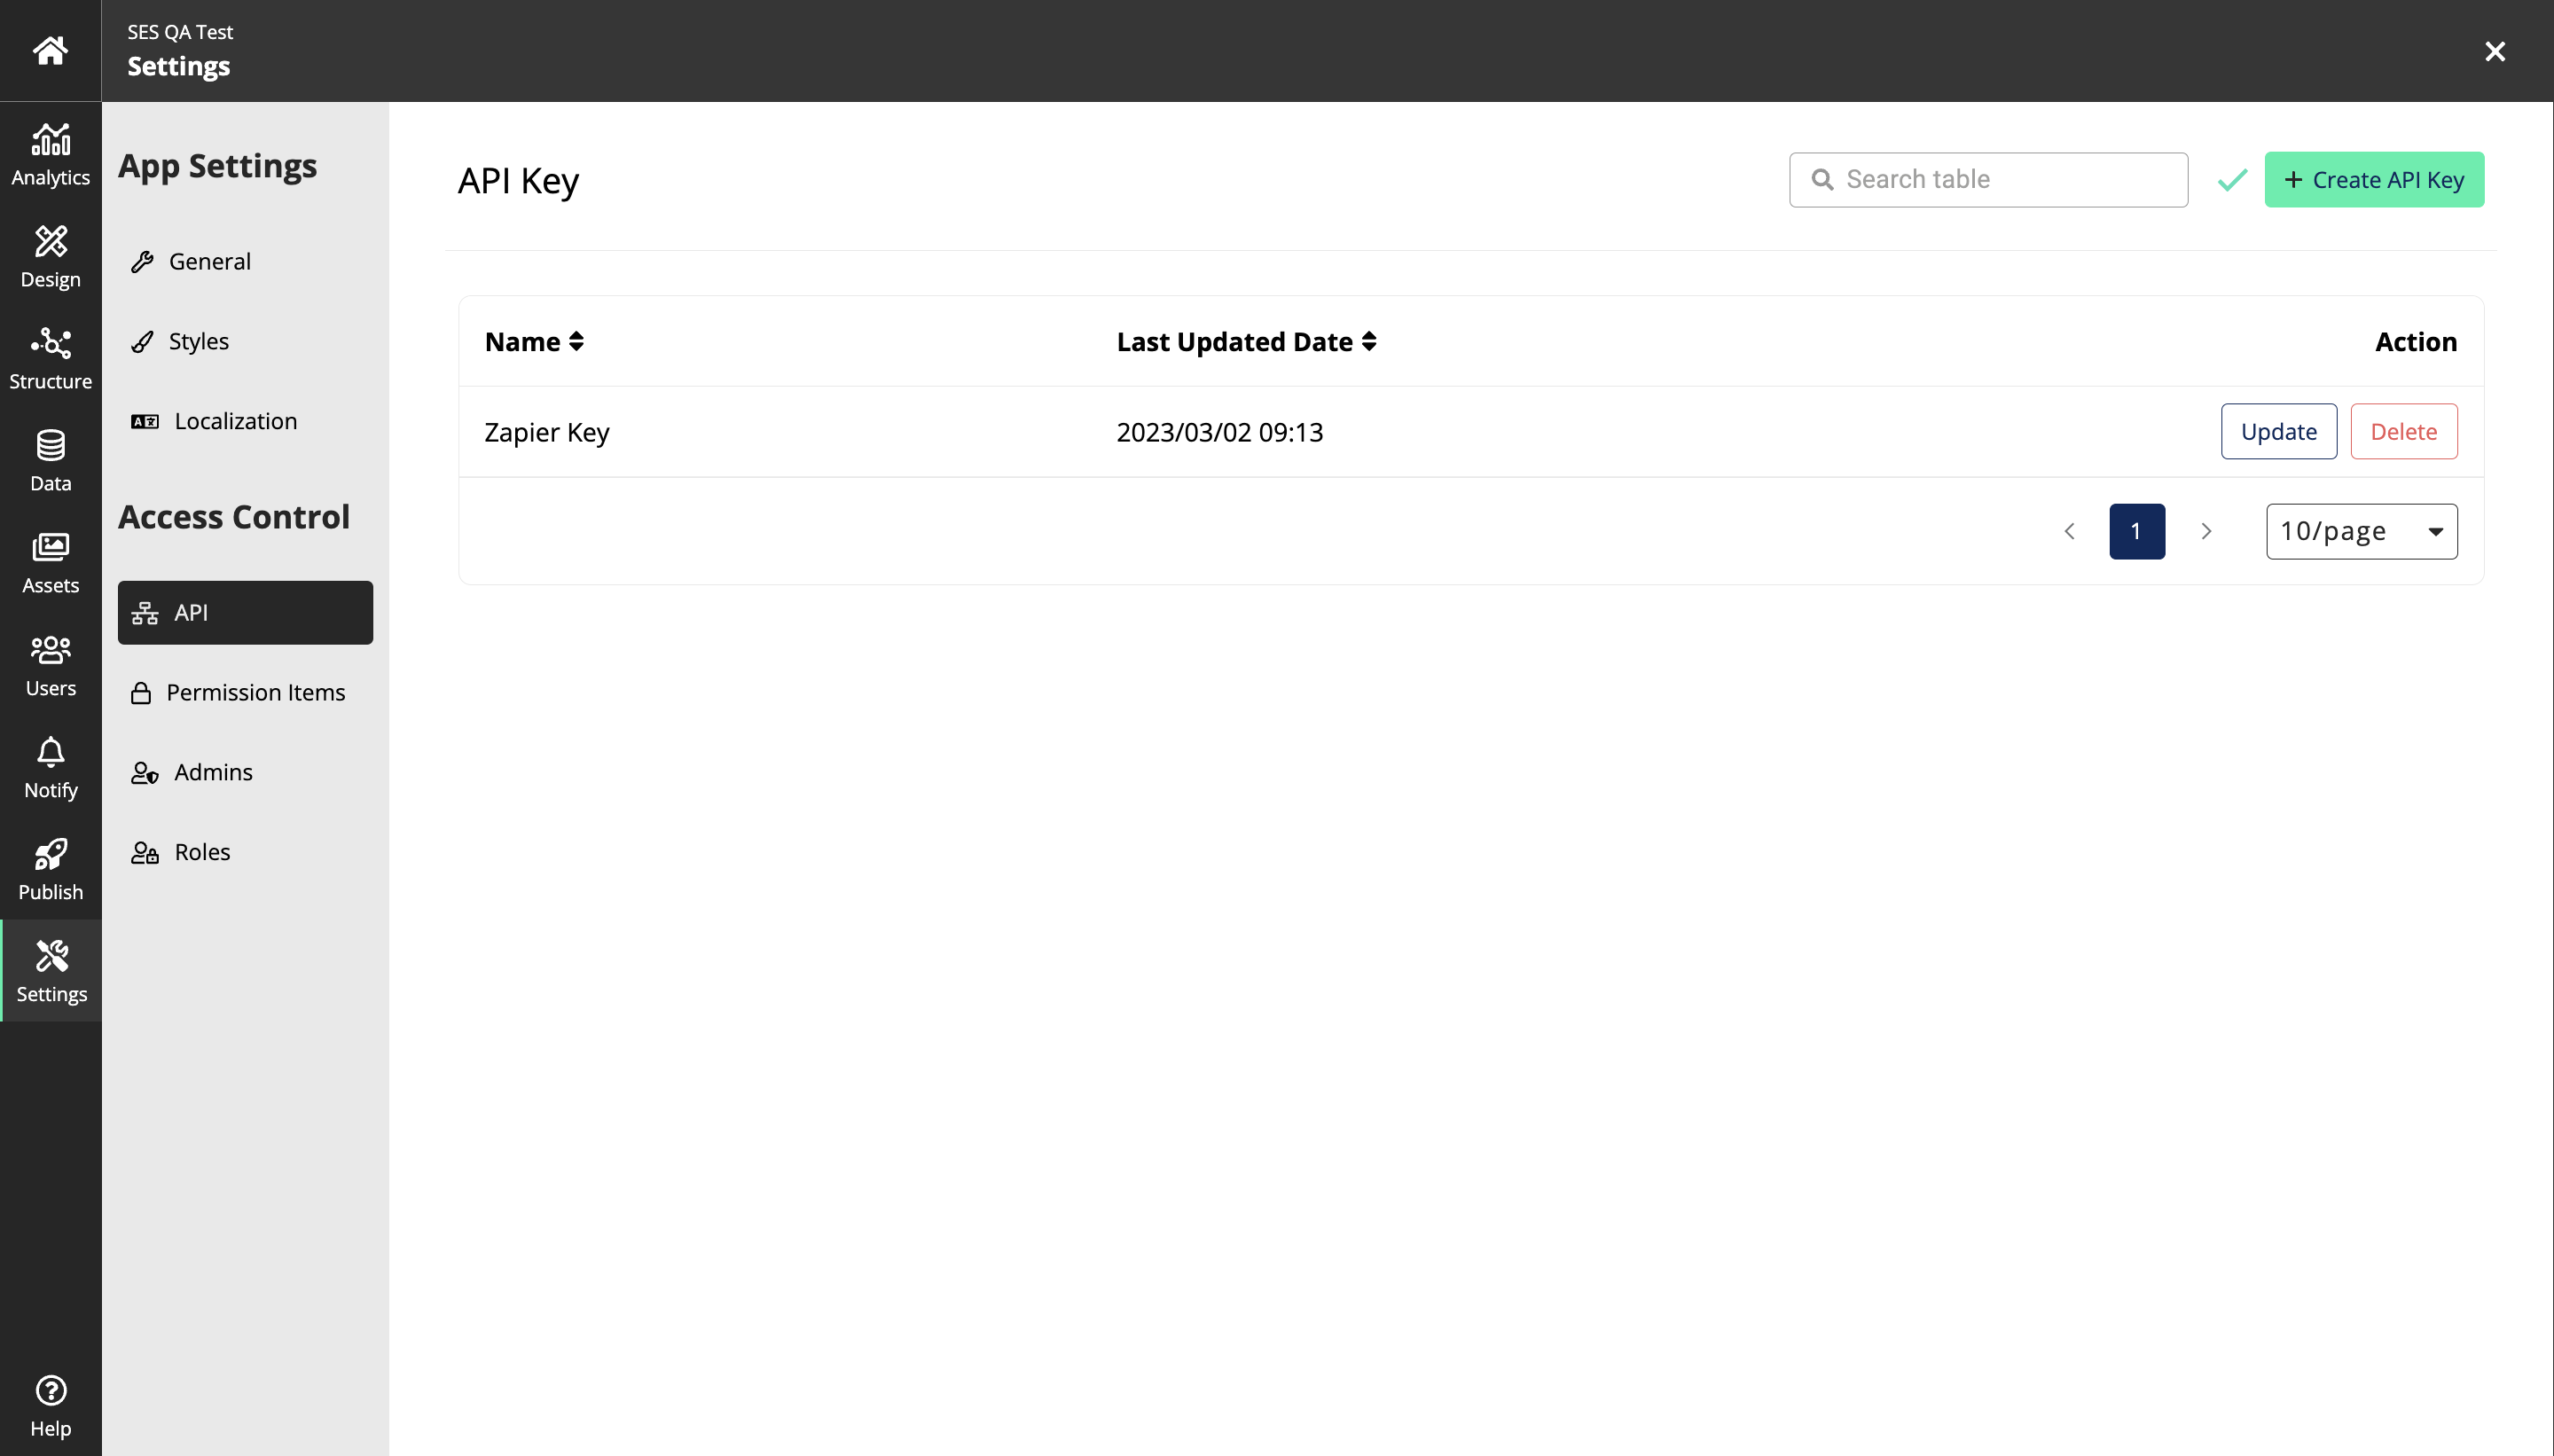
Once you have properly added the API, it will display in the API Key list
-
Create Zap
In this step, you will be explained how to create a Zap through Zapier
-
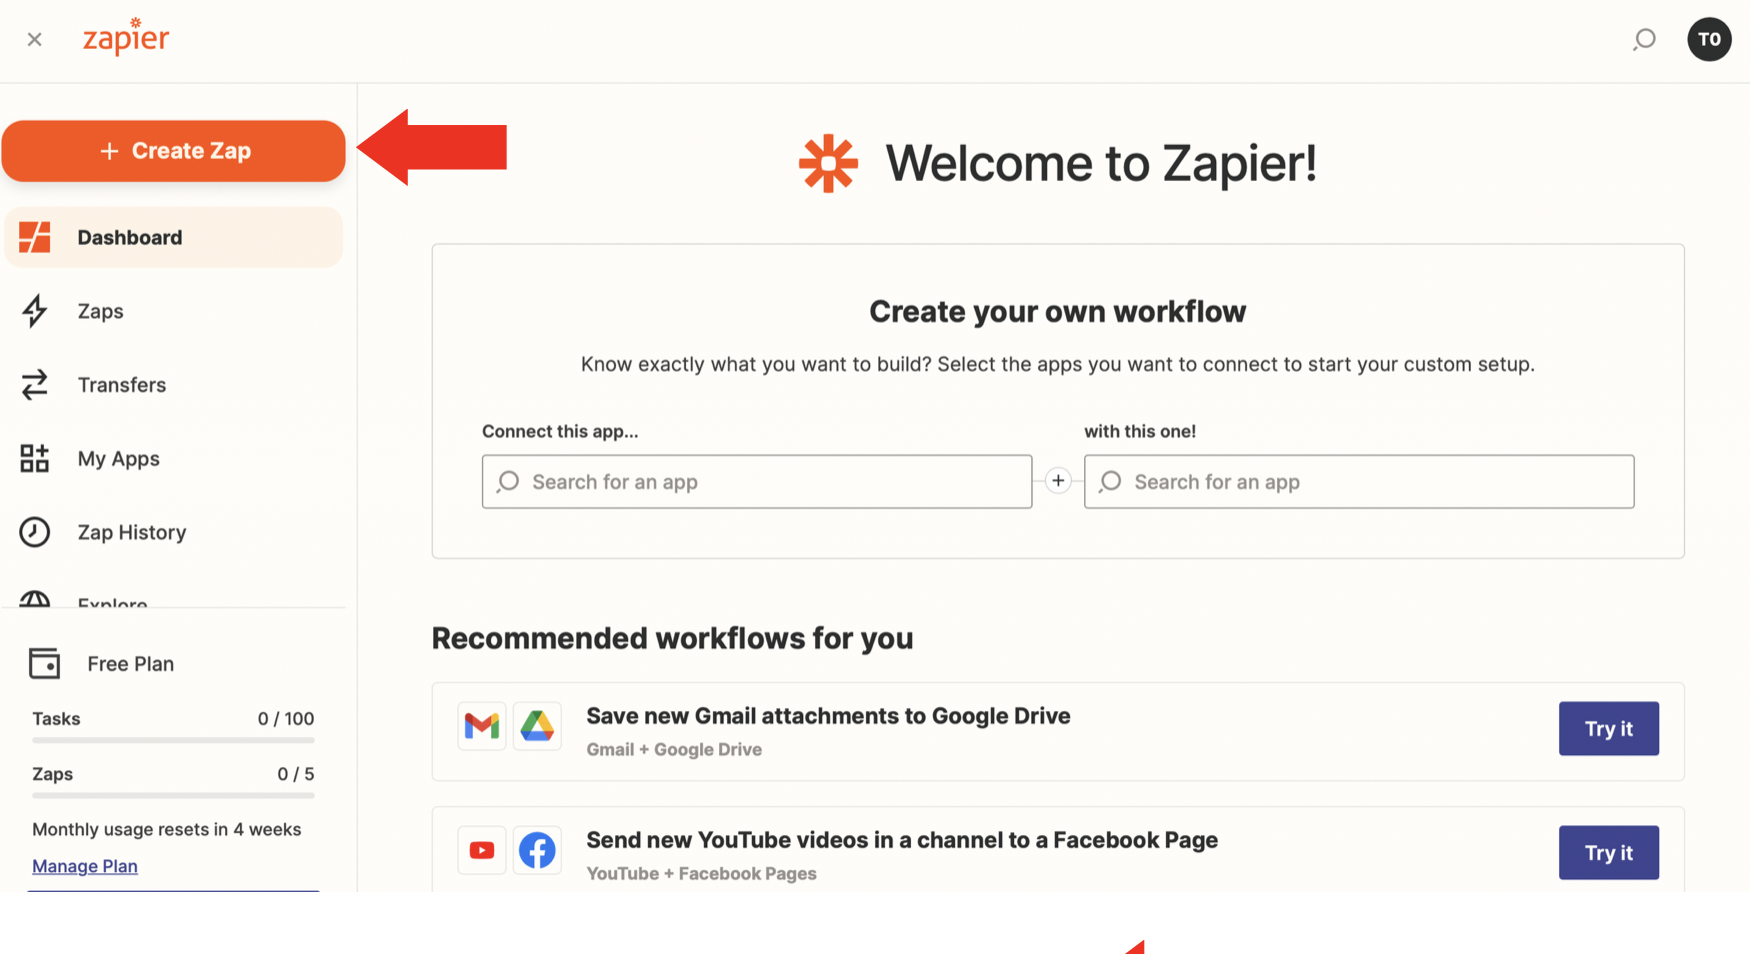
Log in to your Zapier account
-
Click on + Create Zap
-
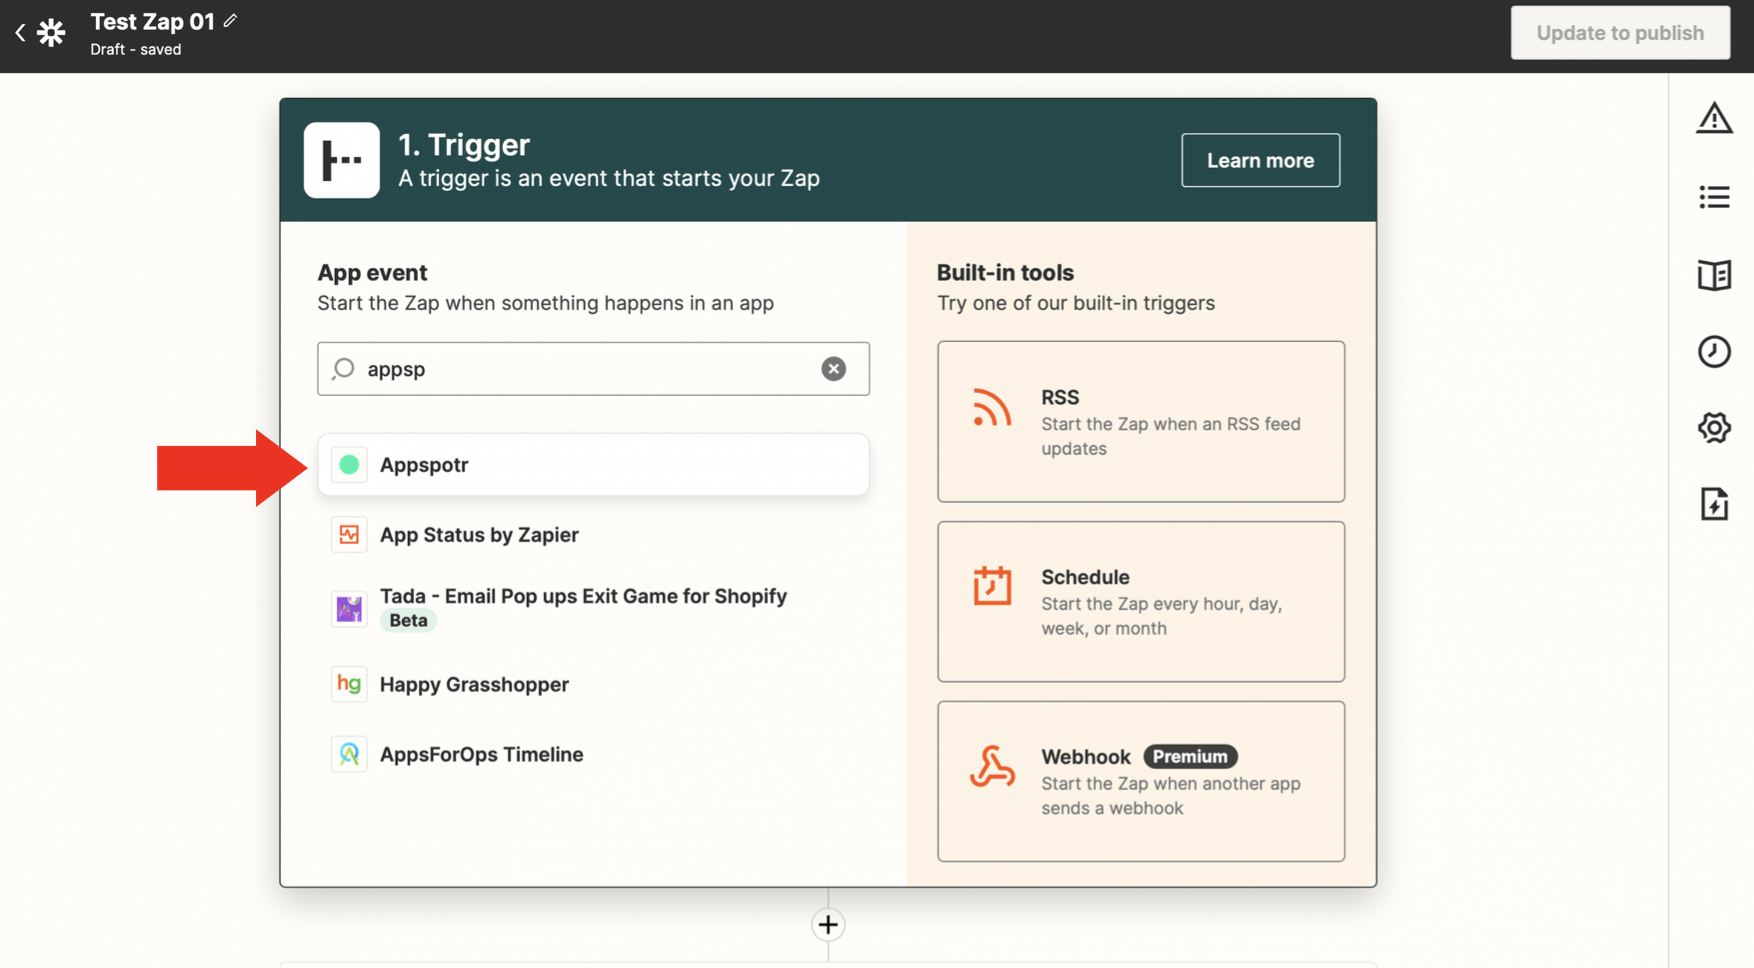
Select Trigger
-
Choose app & Event - Select Appspotr from the app list and select the required Event from the event list
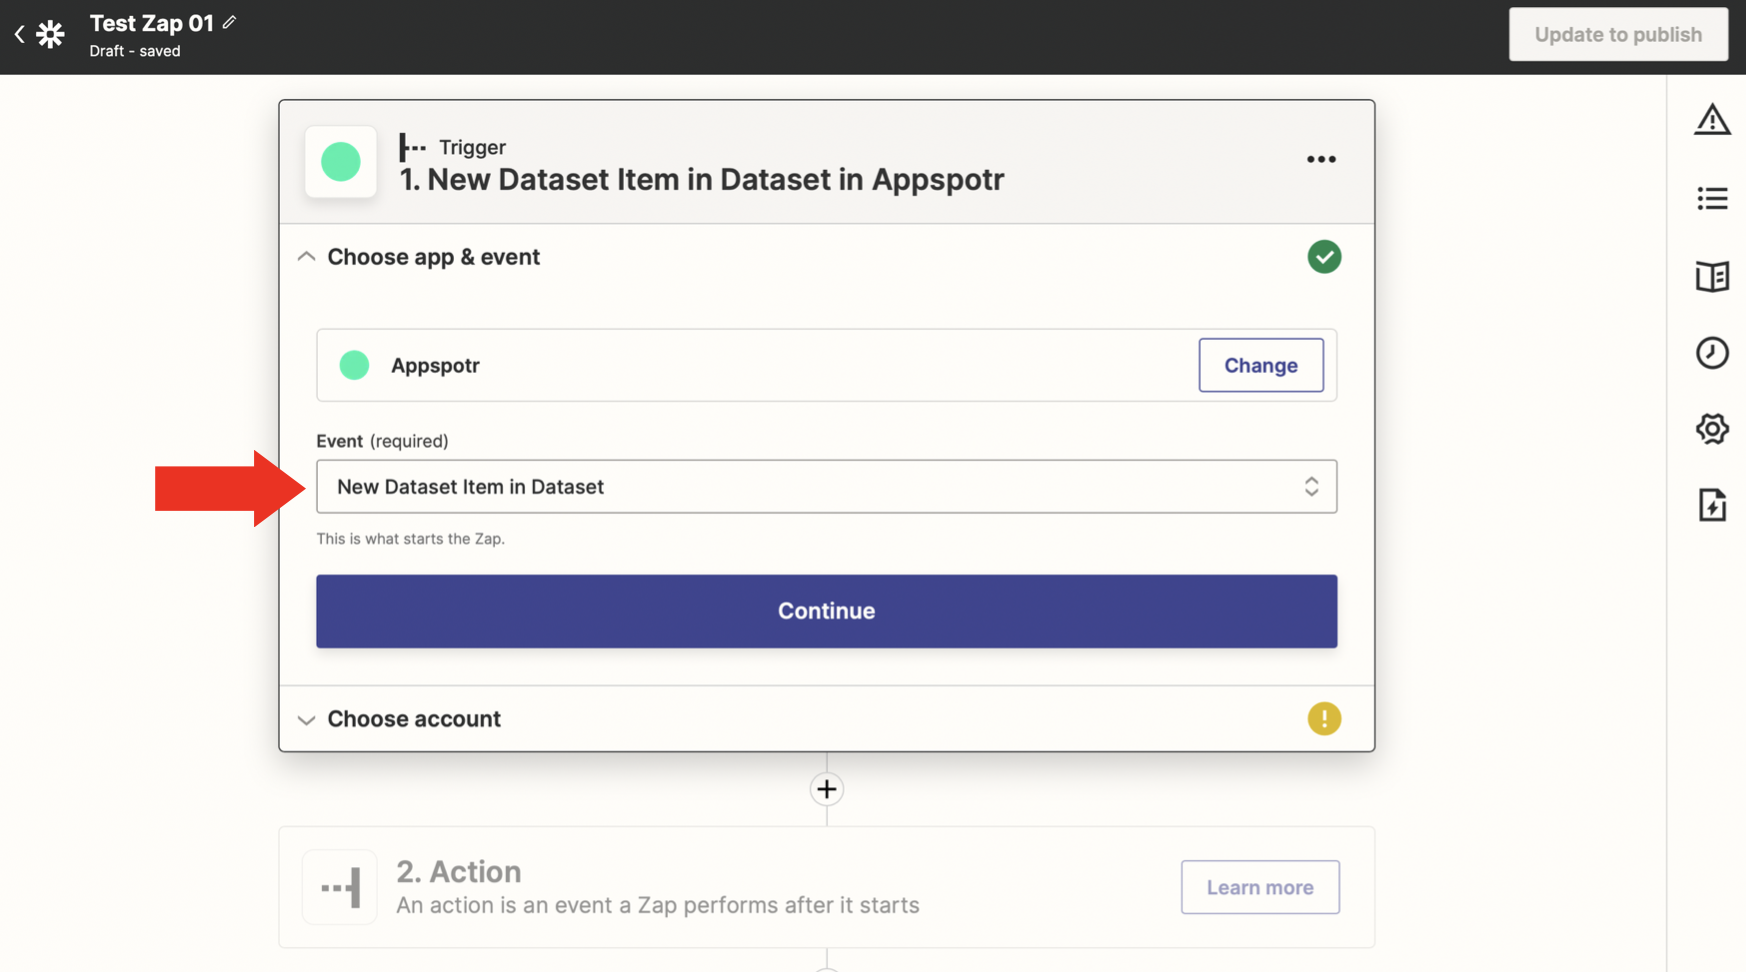
Note: In this guide, we have selected New Dataset Item in Dataset Trigger which Triggers when a new Dataset item is created.
-
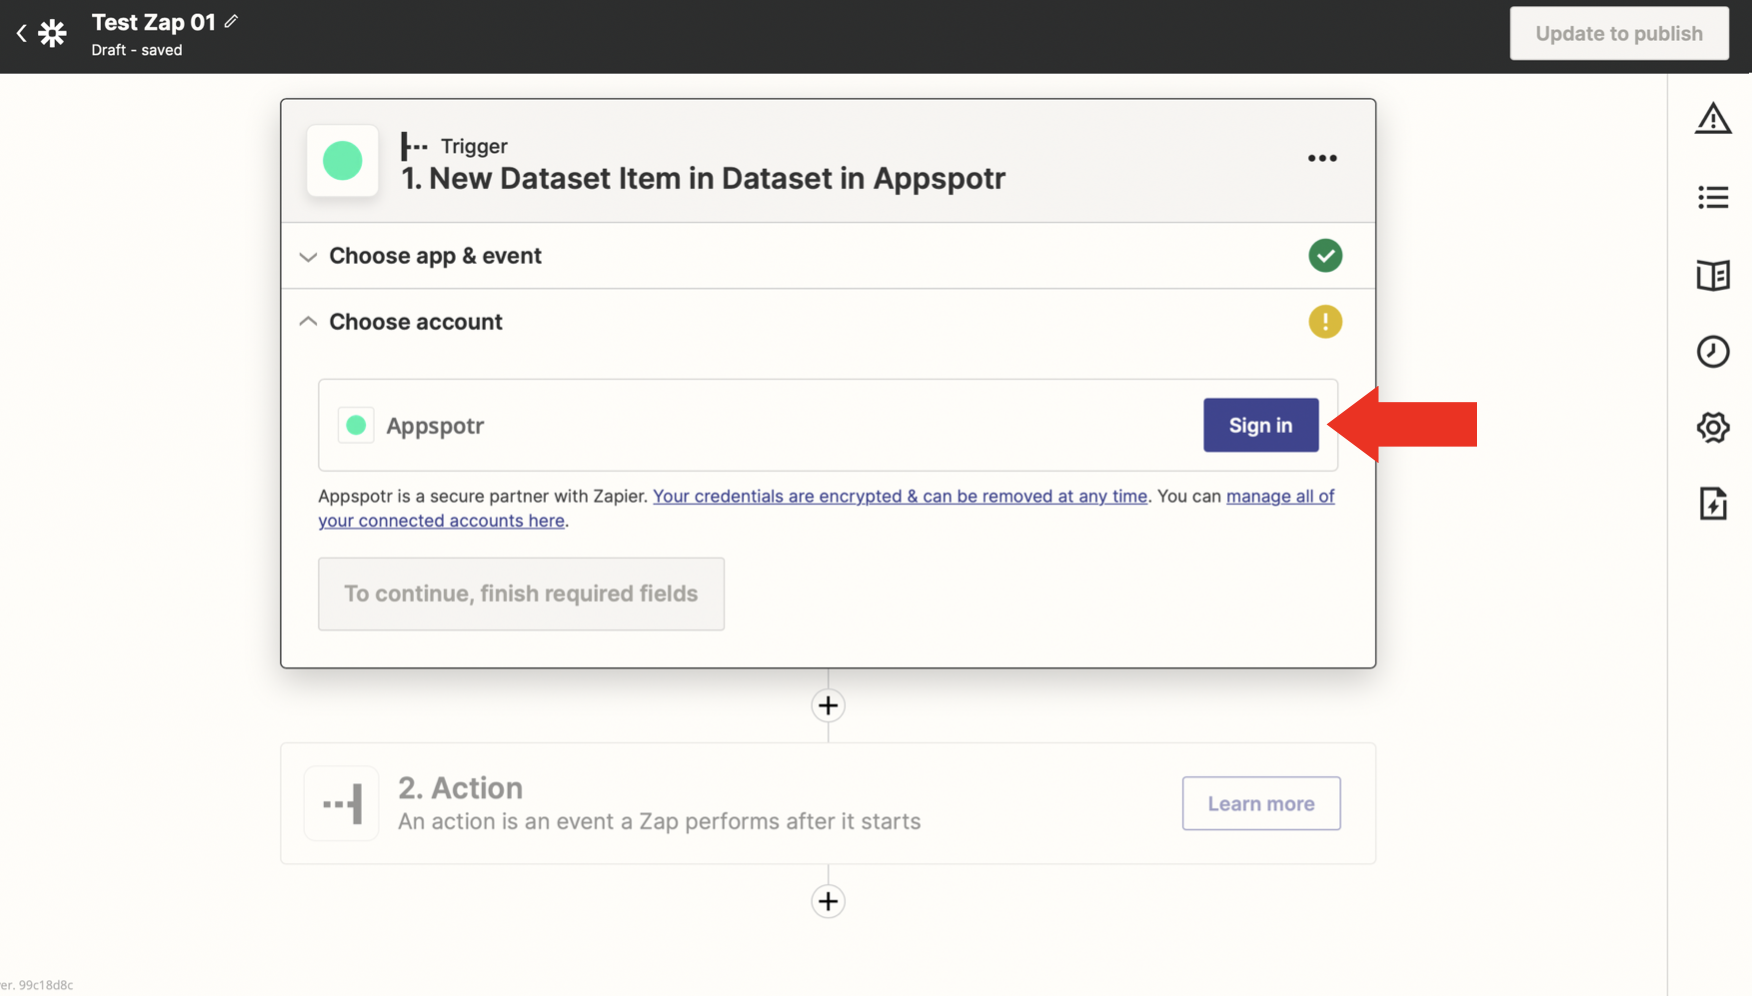
Connect Account - Connect your Appspotr app to Zapier
-
Click on + Connect a New Account - You will be directed to a new tab/ window
-
Paste the API Key that you had copied earlier
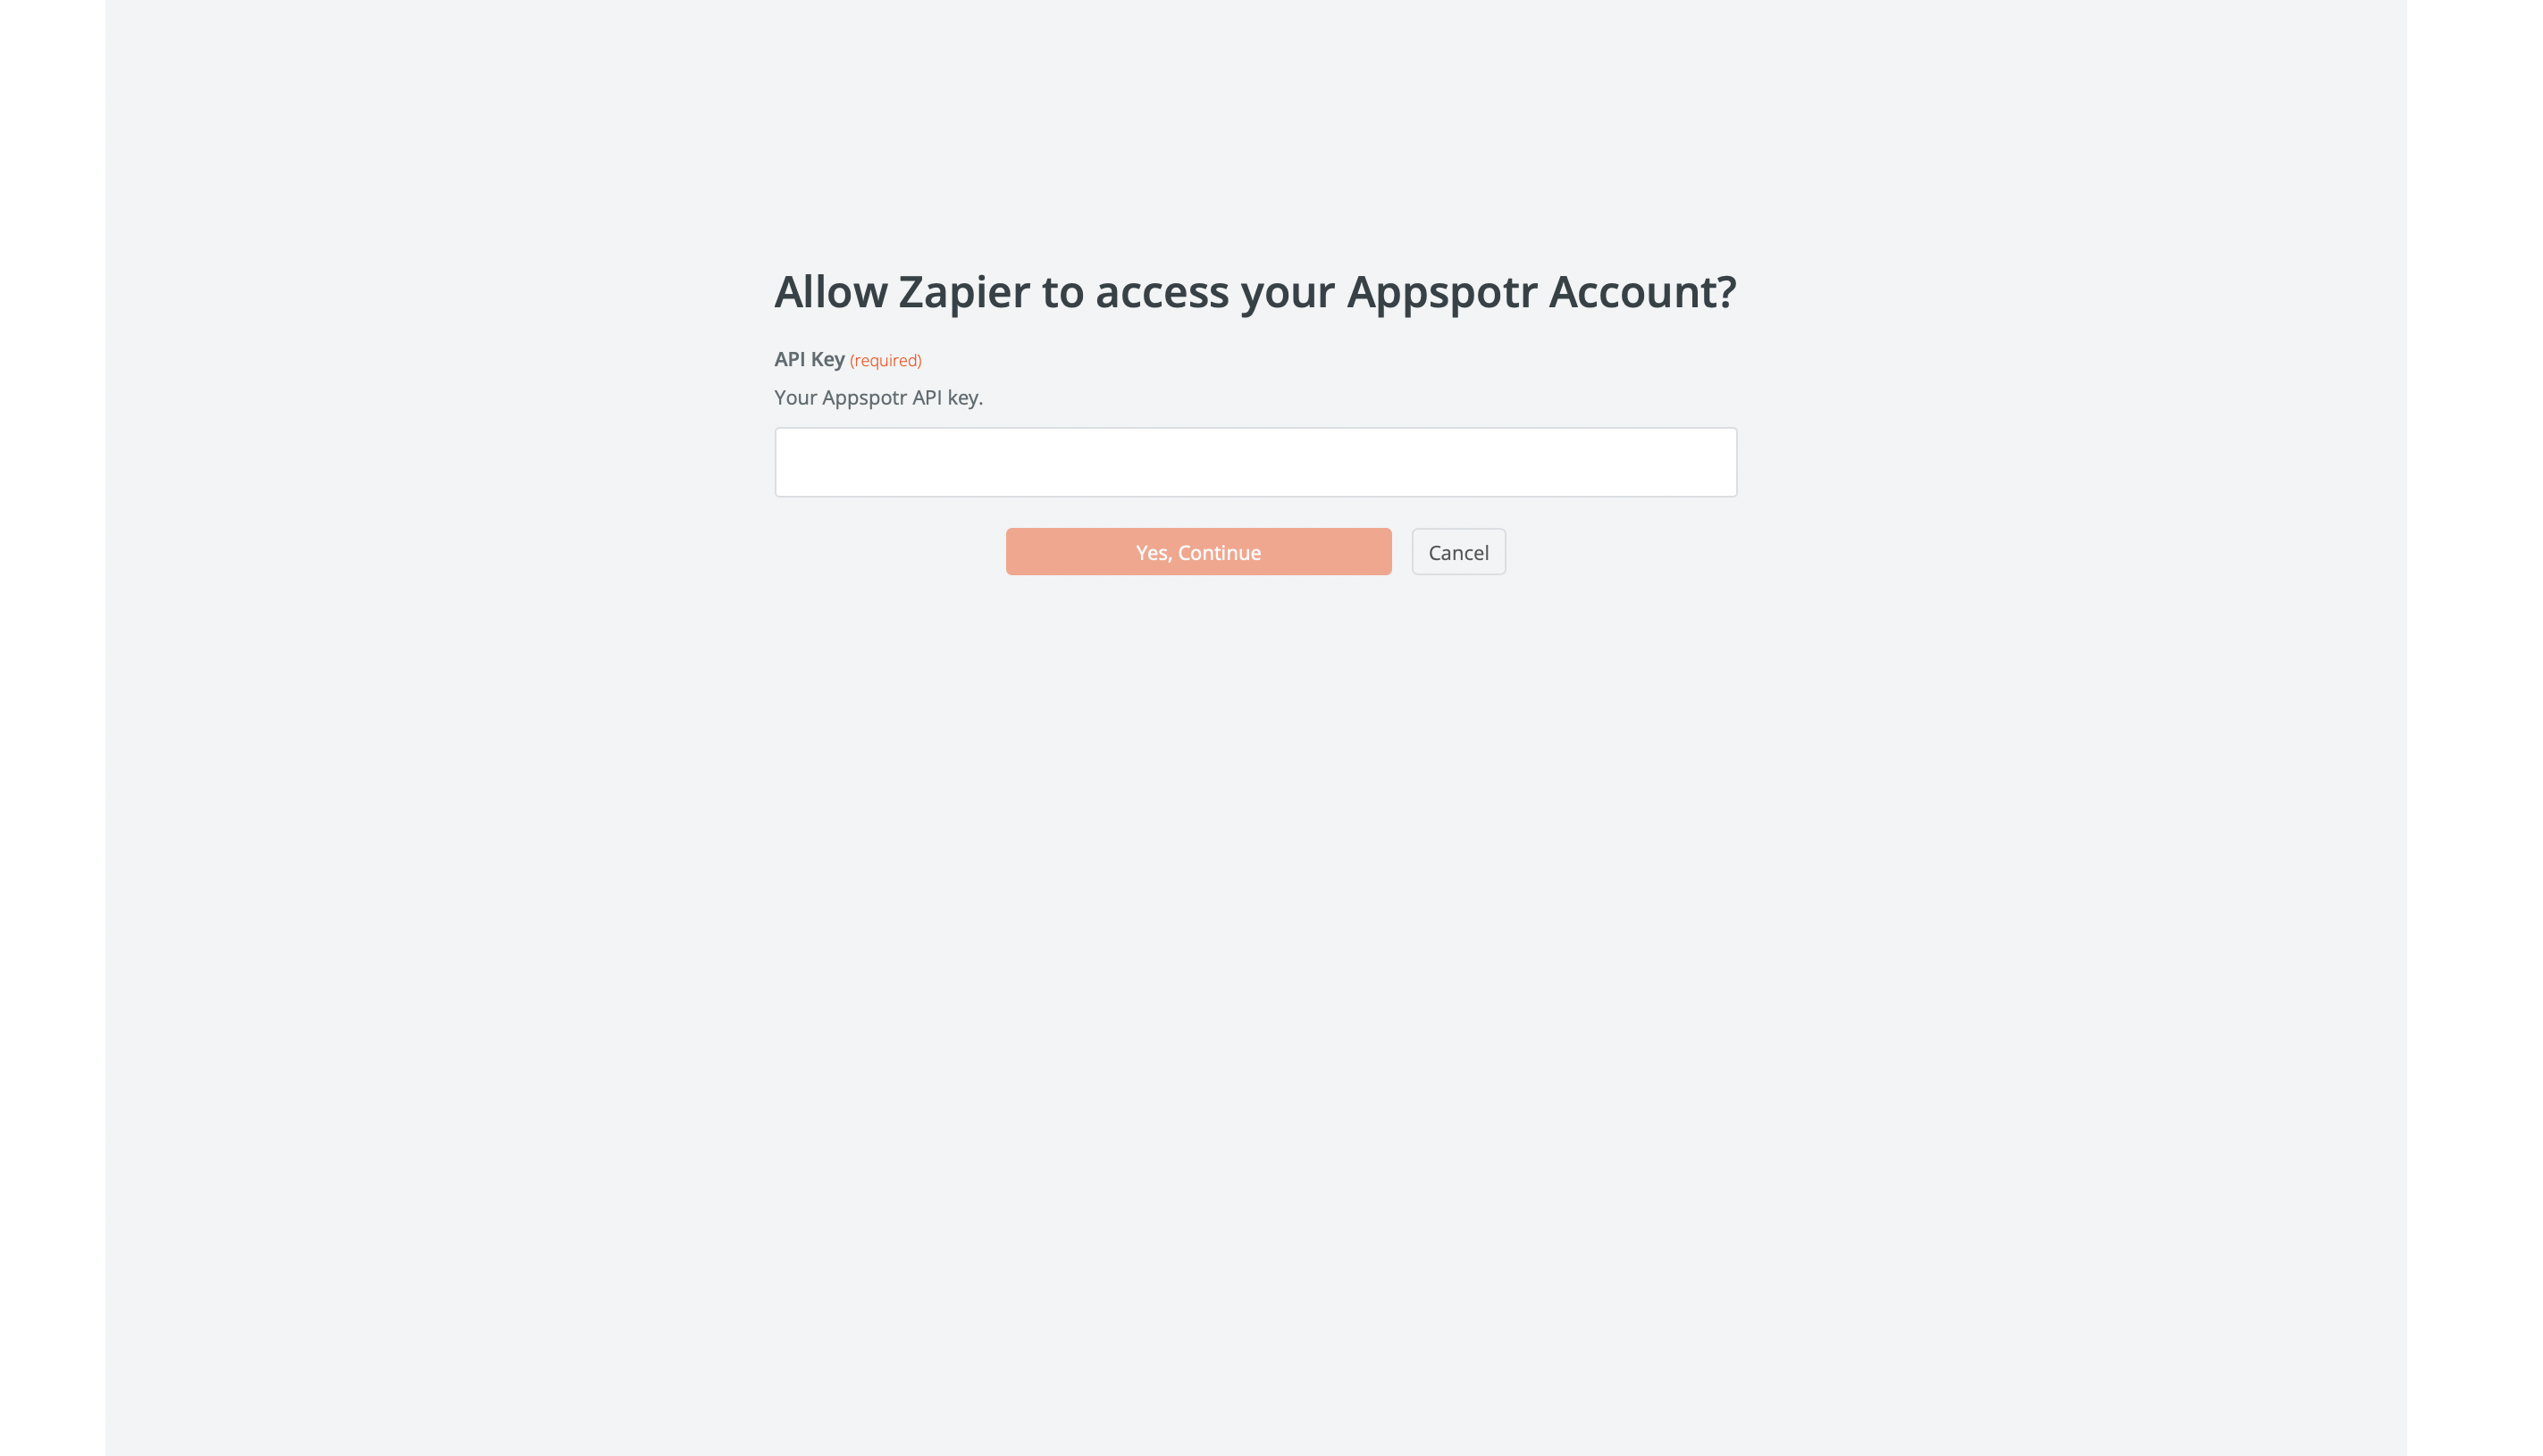
If the API Key is valid you will be redirected to the previous tab/ window. Your newly connected app will be available in the app list.
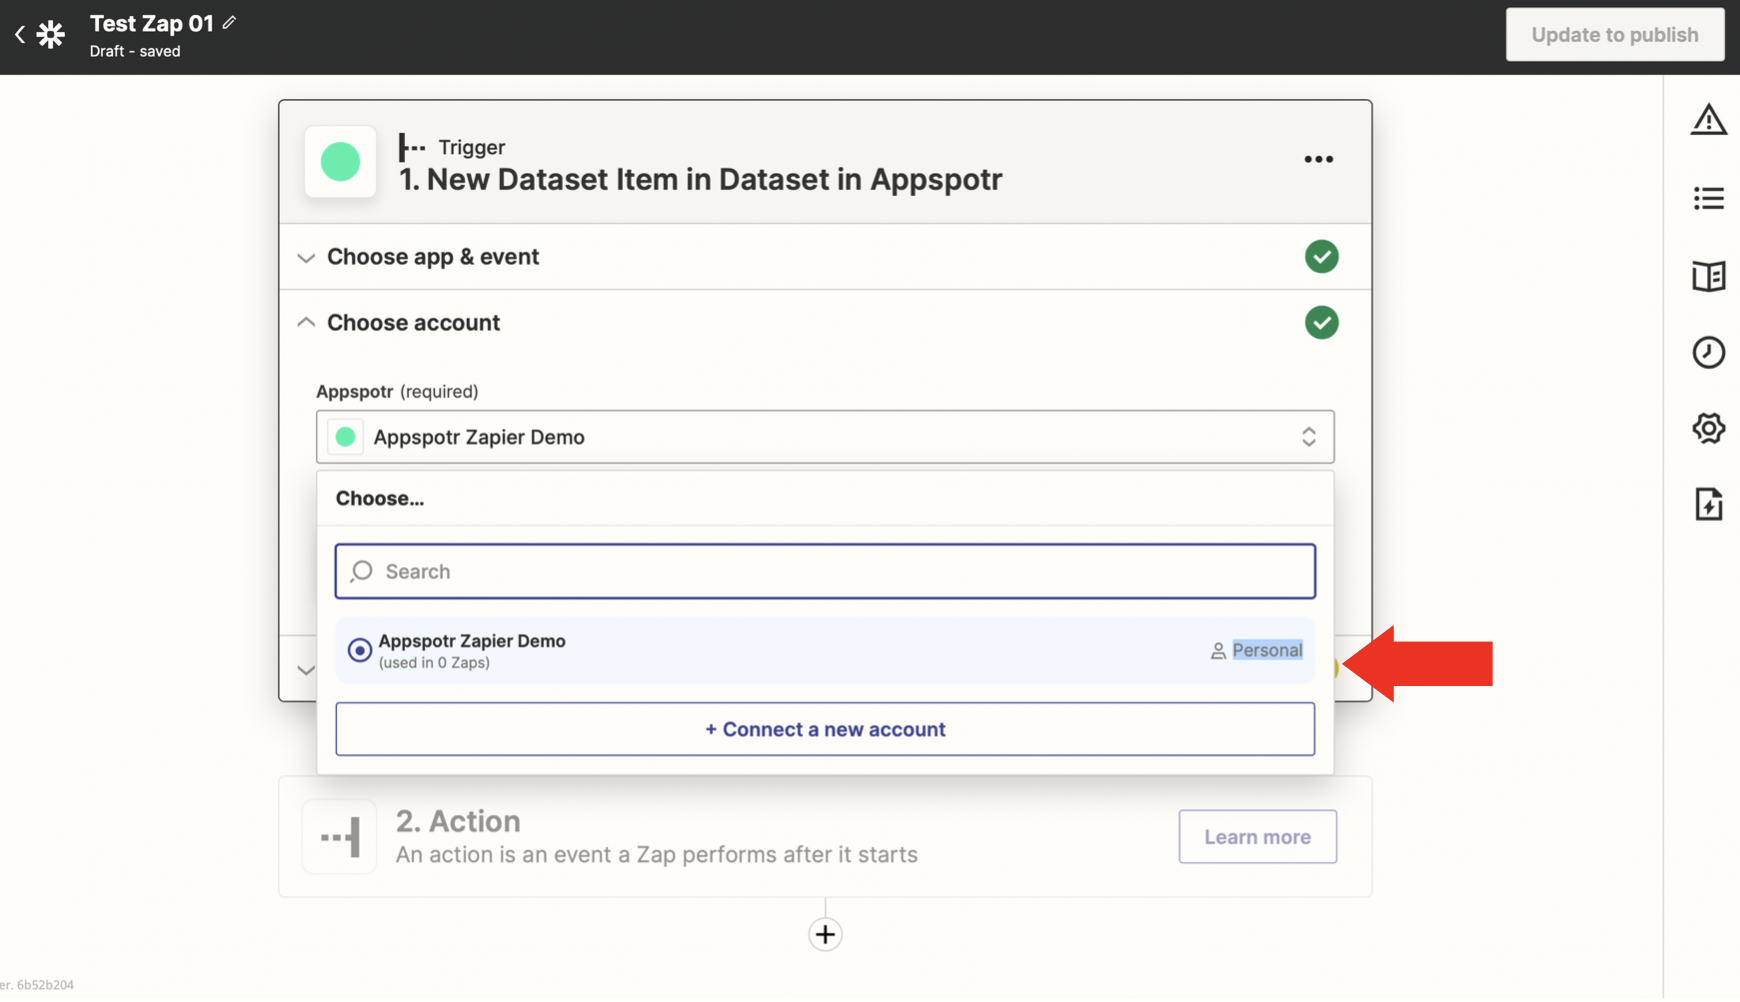
Note: If you have connected multiple apps to Zapier you can select the relevant app from the app list.
-
Set Trigger - To set up the trigger select the Dataset ID to be filtered from

-
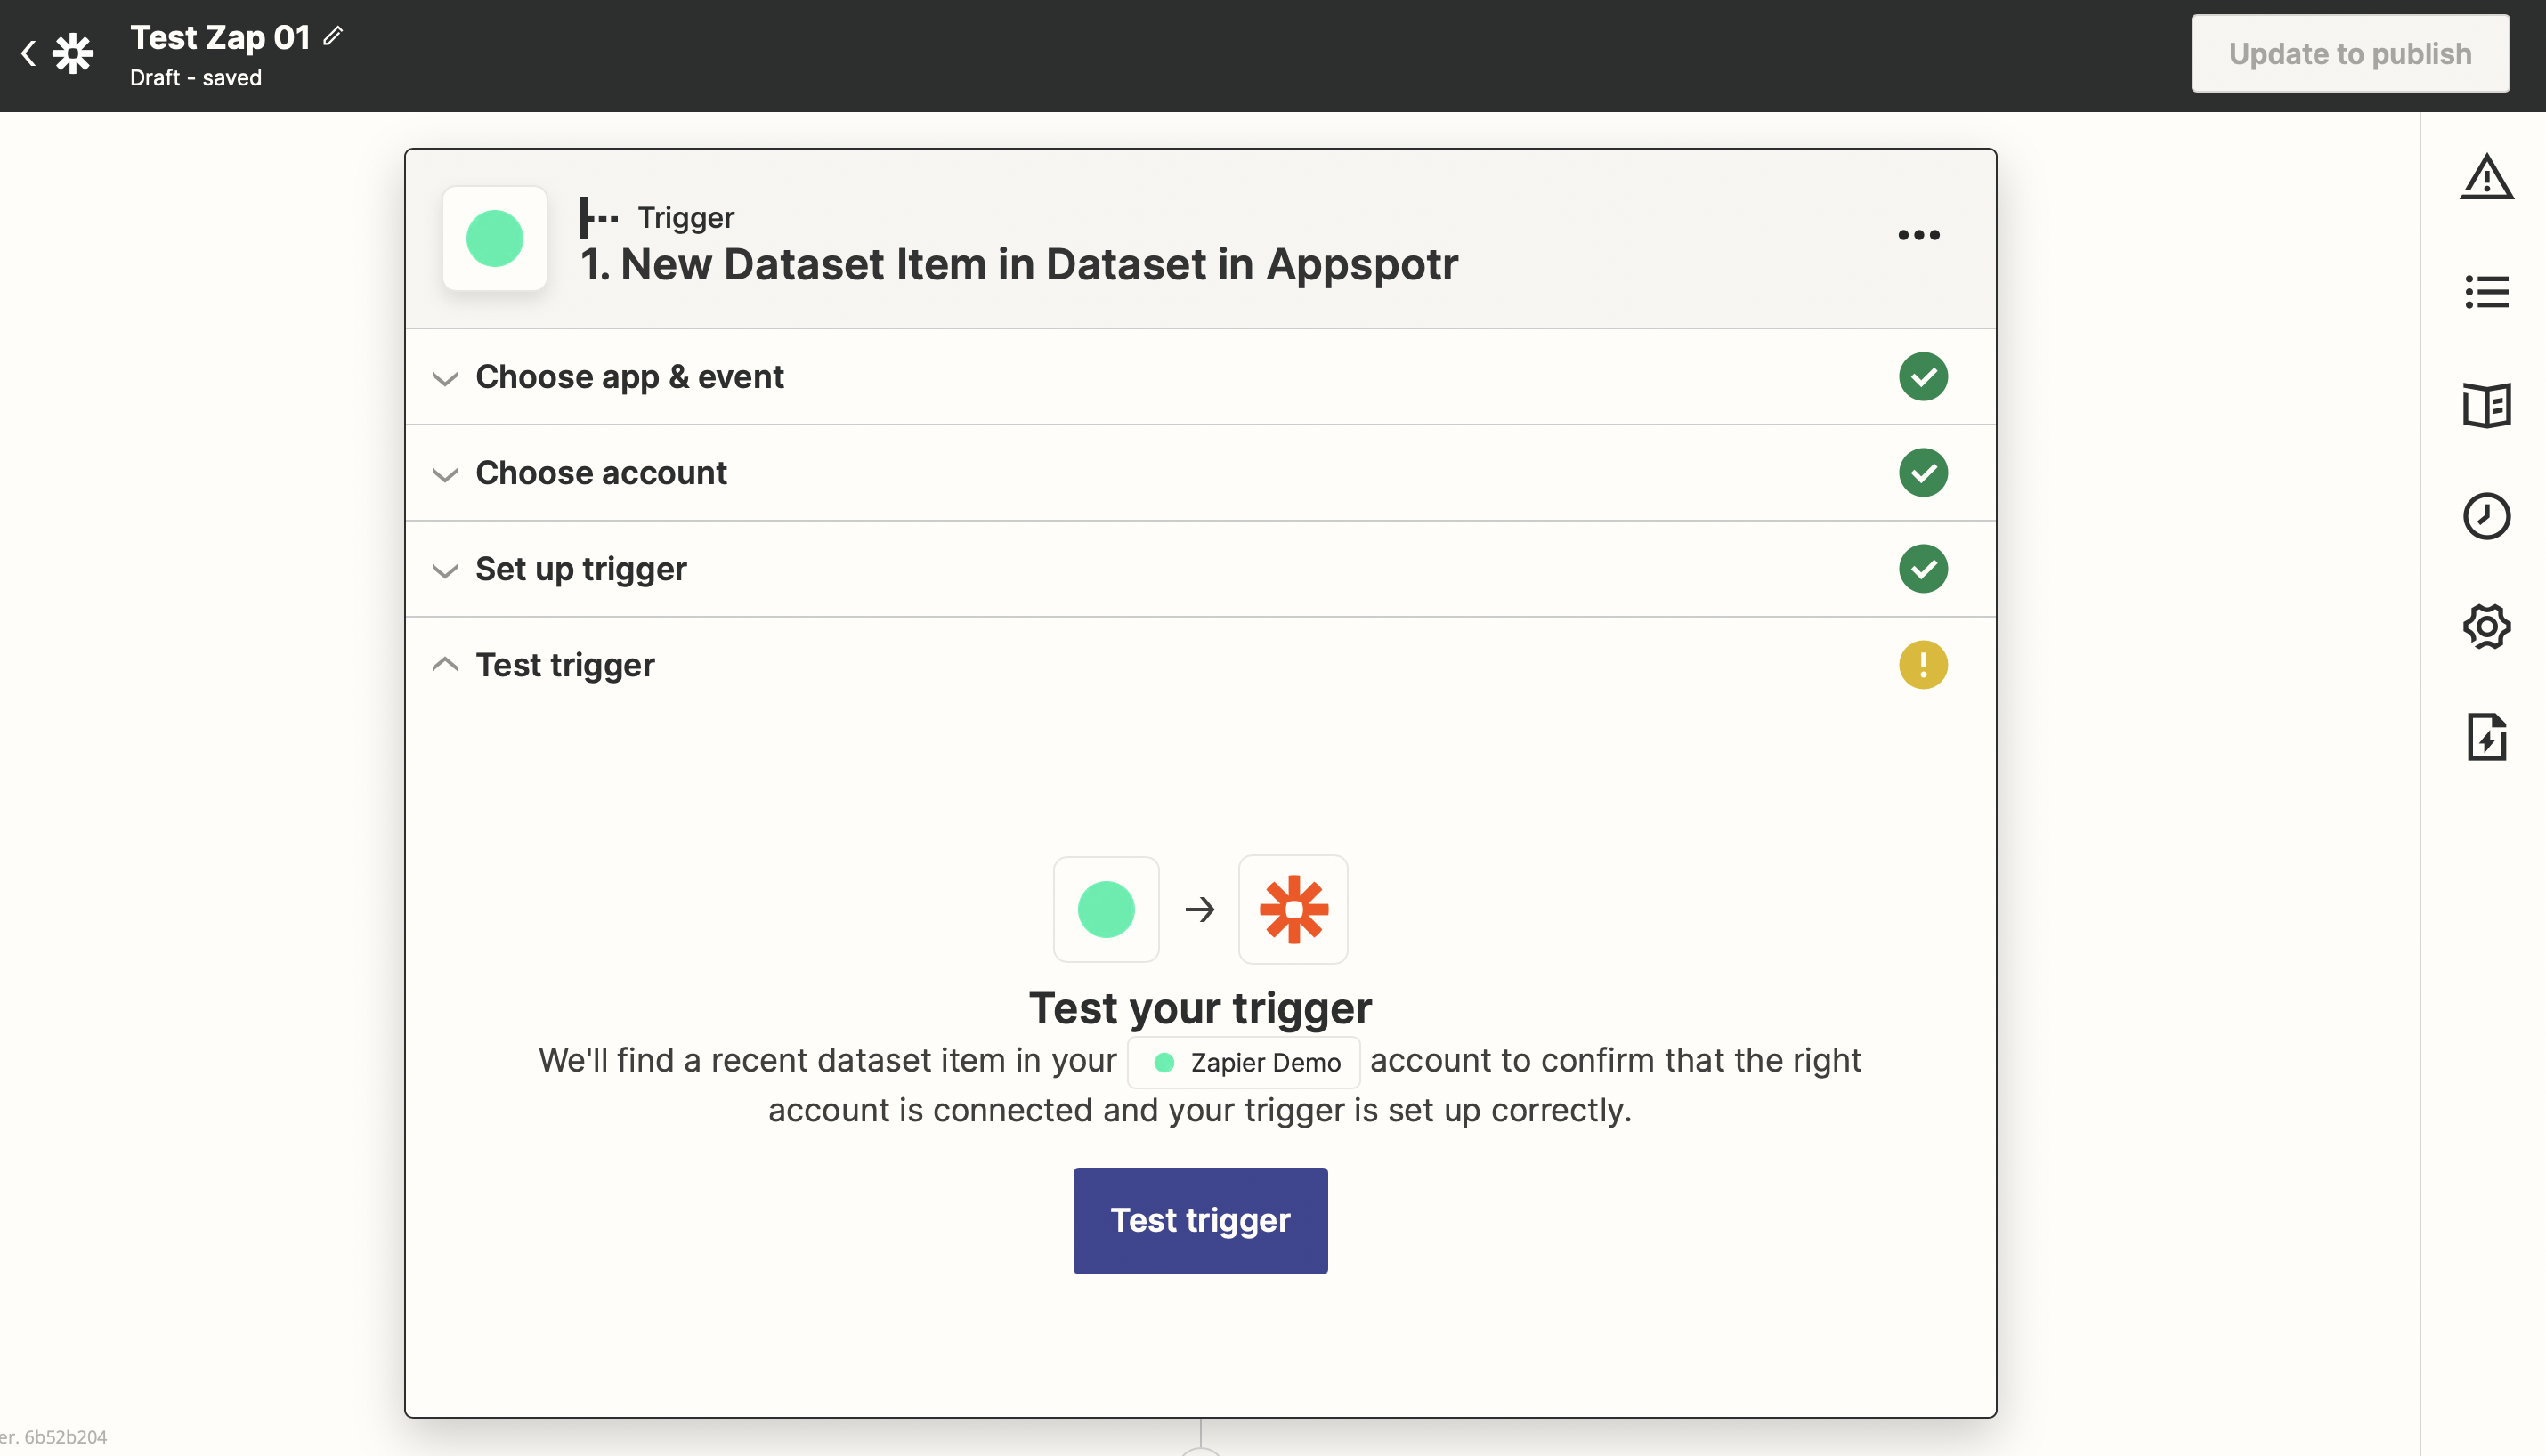
Test trigger - Zapier will find a recent dataset item in your aptr_cms account to confirm that the right account is and your trigger is set up correctly.
Once the selected dataset is found in your Appspotr account Zapier will test the trigger against three dataset items to confirm that the trigger is created successfully. The data pulled from each sample dataset could be viewed below.
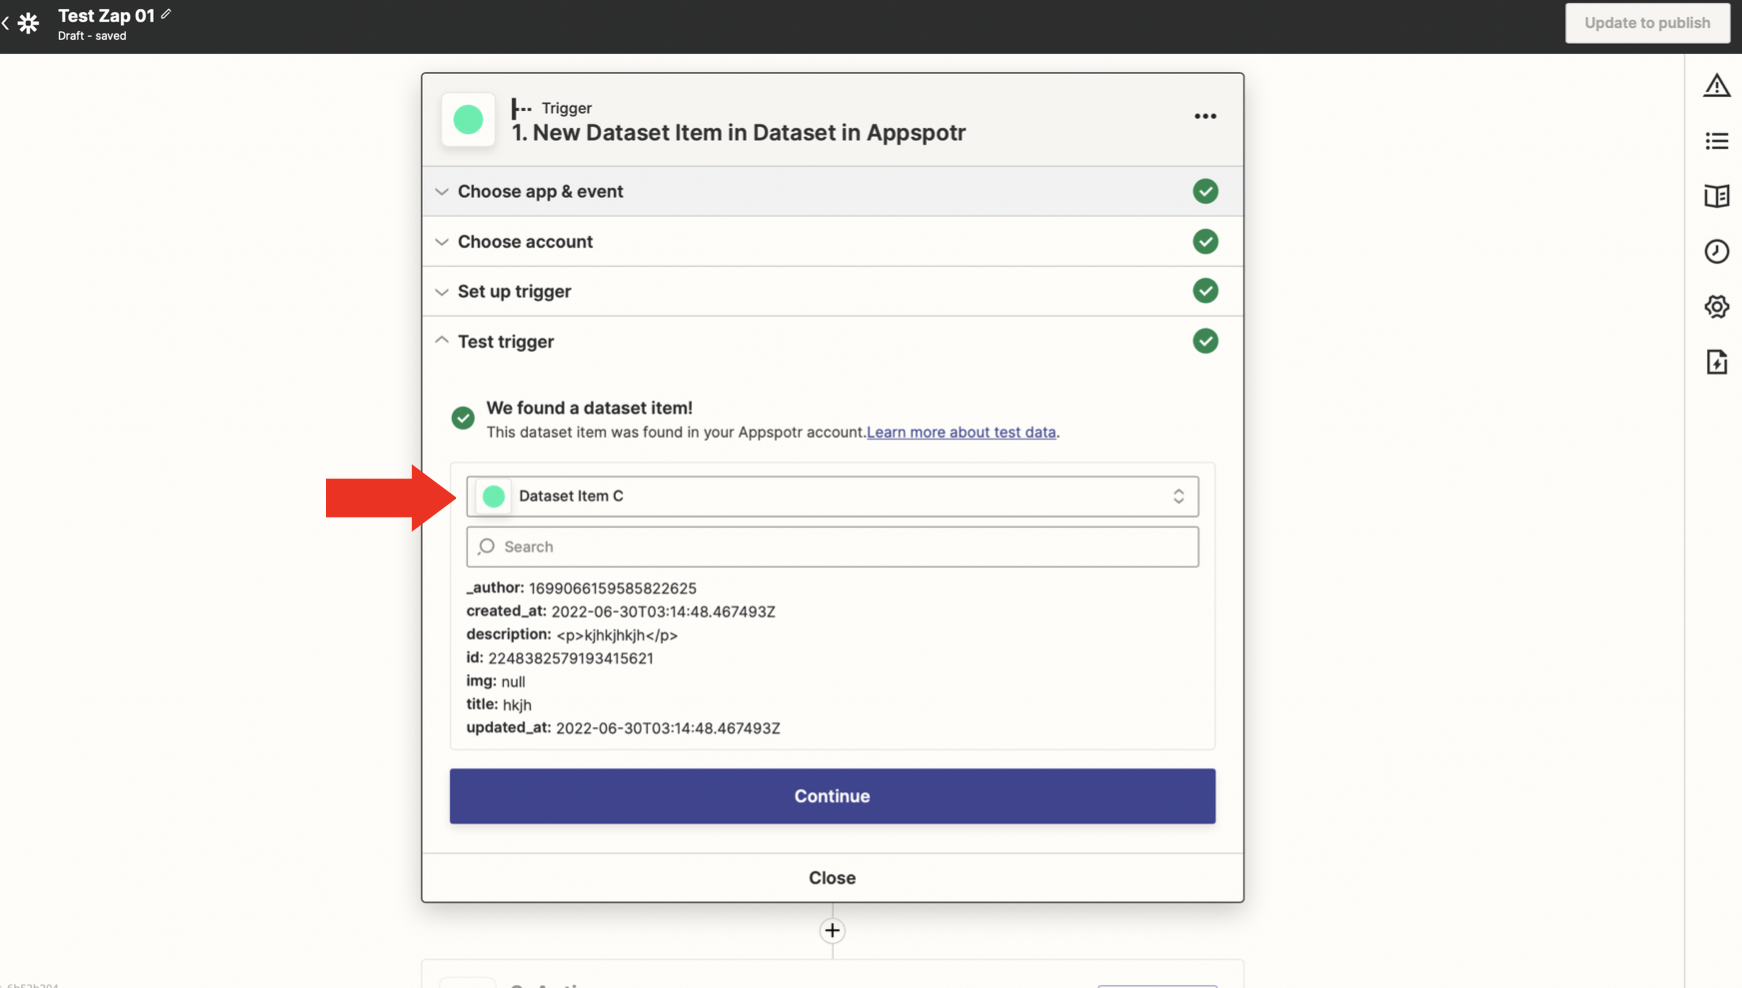
Now, Appspotr “New dataset item” trigger is set as the trigger of the zap that you’re creating, you can move forward with an Action event either through Appspotr itself or through any other app.