Grid
Overview
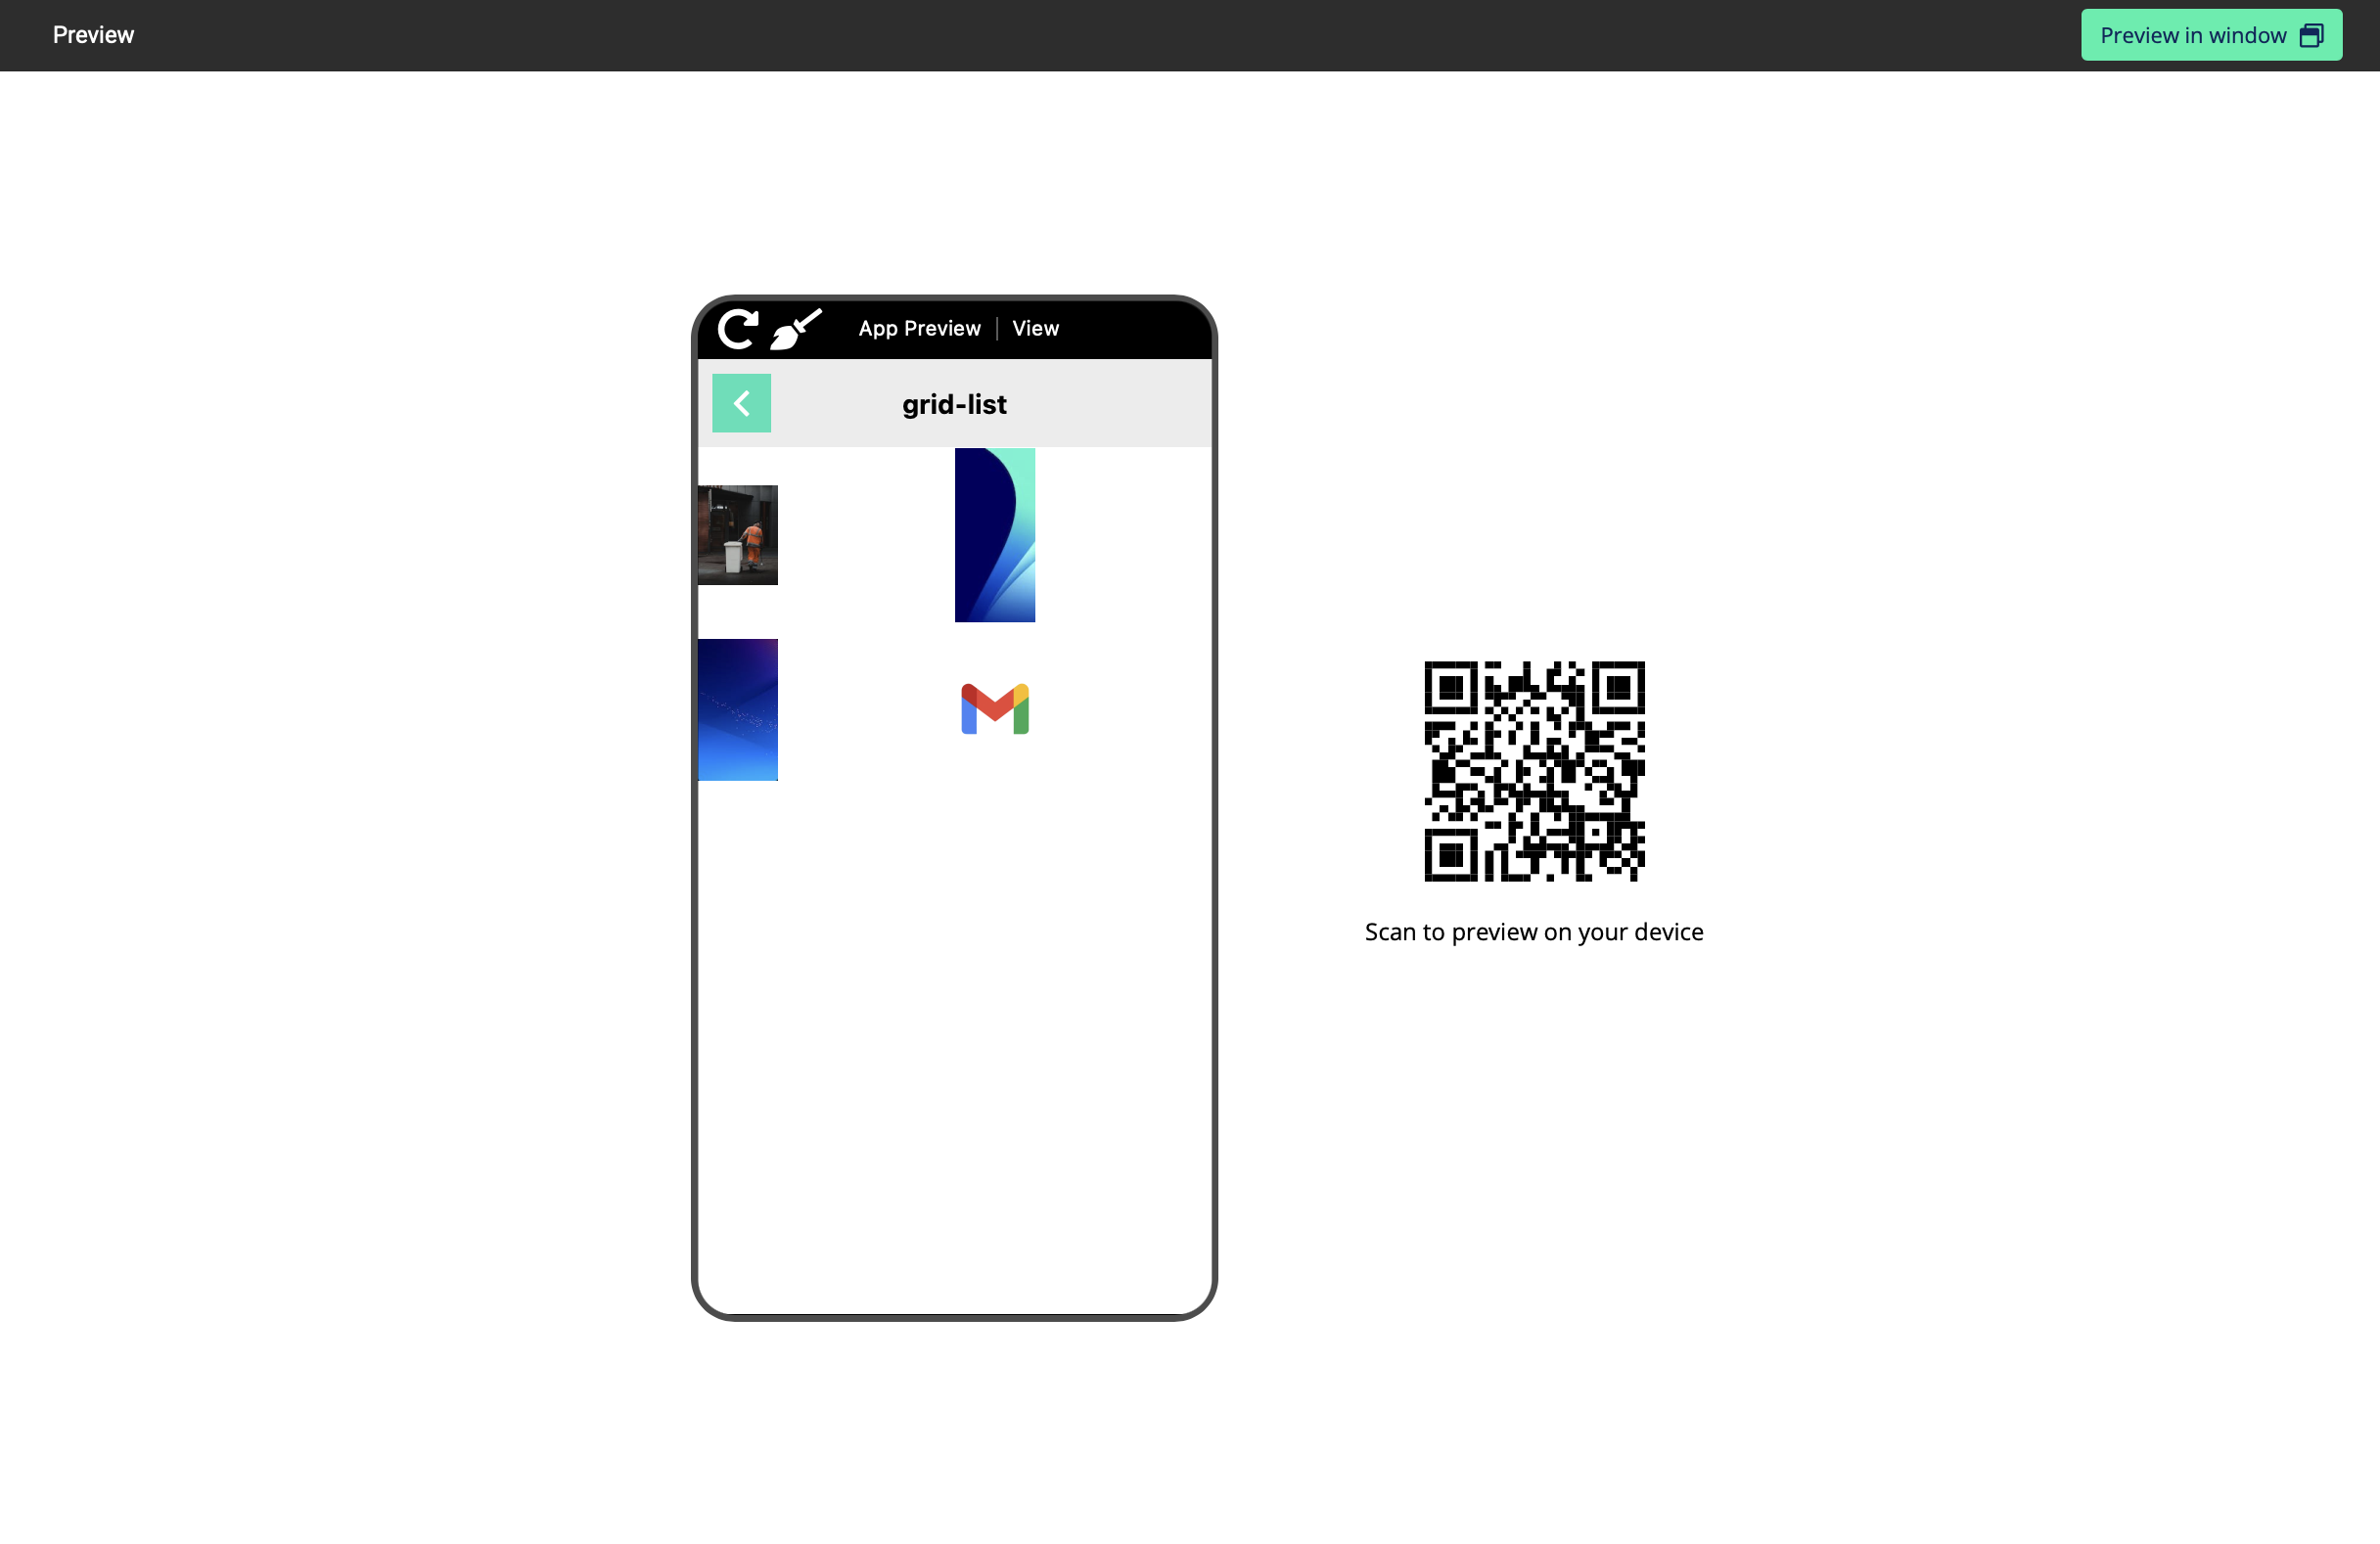
Grid is a component that can show content in the form of a grid. It can contain lists, galleries, maps, or other information. This gives you more direct control over your layout and design. With the grid component, you can reposition and resize items anywhere within the grid to produce powerful, responsive layouts — faster.
You can find the grid component in the List view of the Appspotr View Builder.
In this guide, we’ll discuss how to create a Grid Component and how the result would look in your App.
Create Grid Component
-
Open your app
-
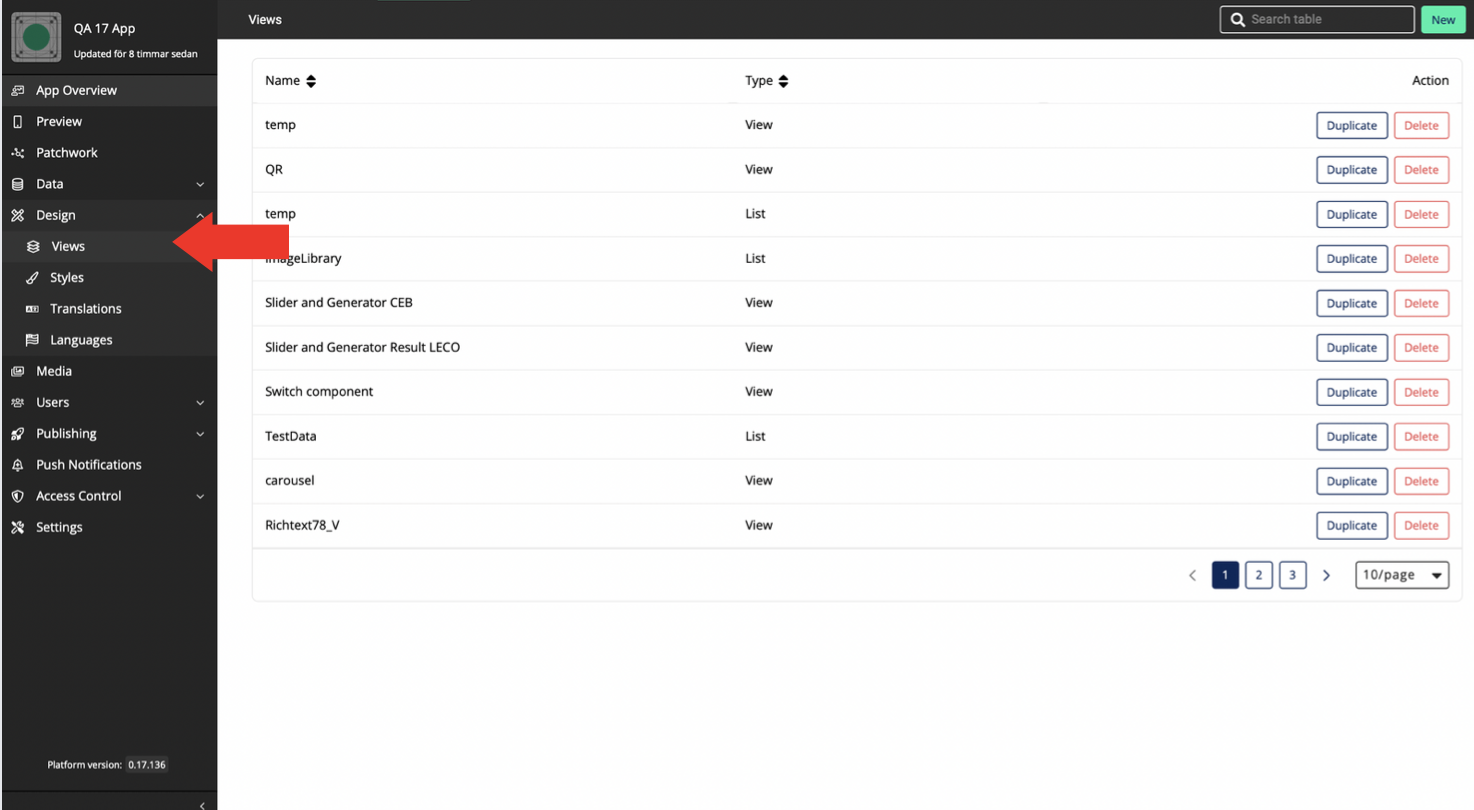
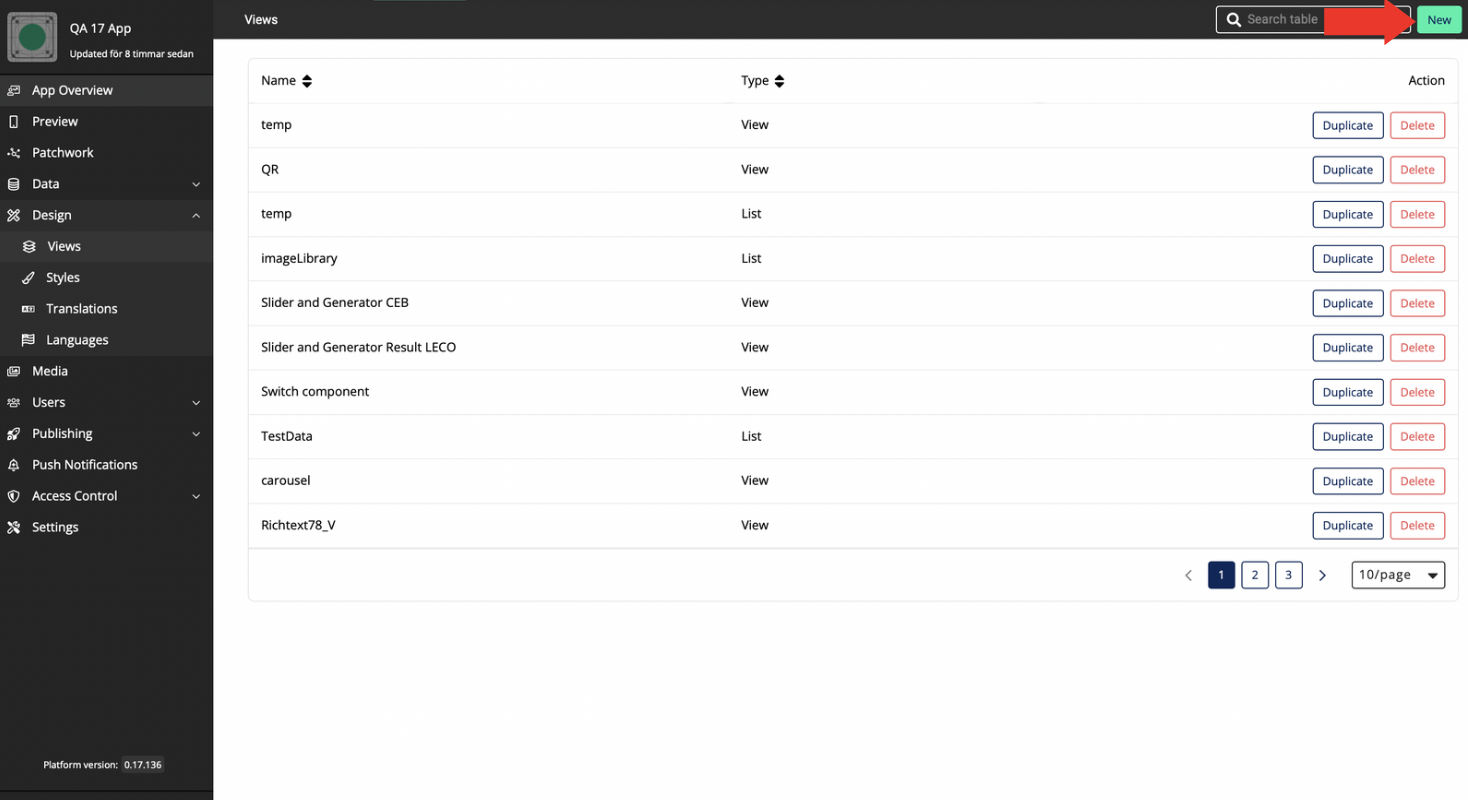
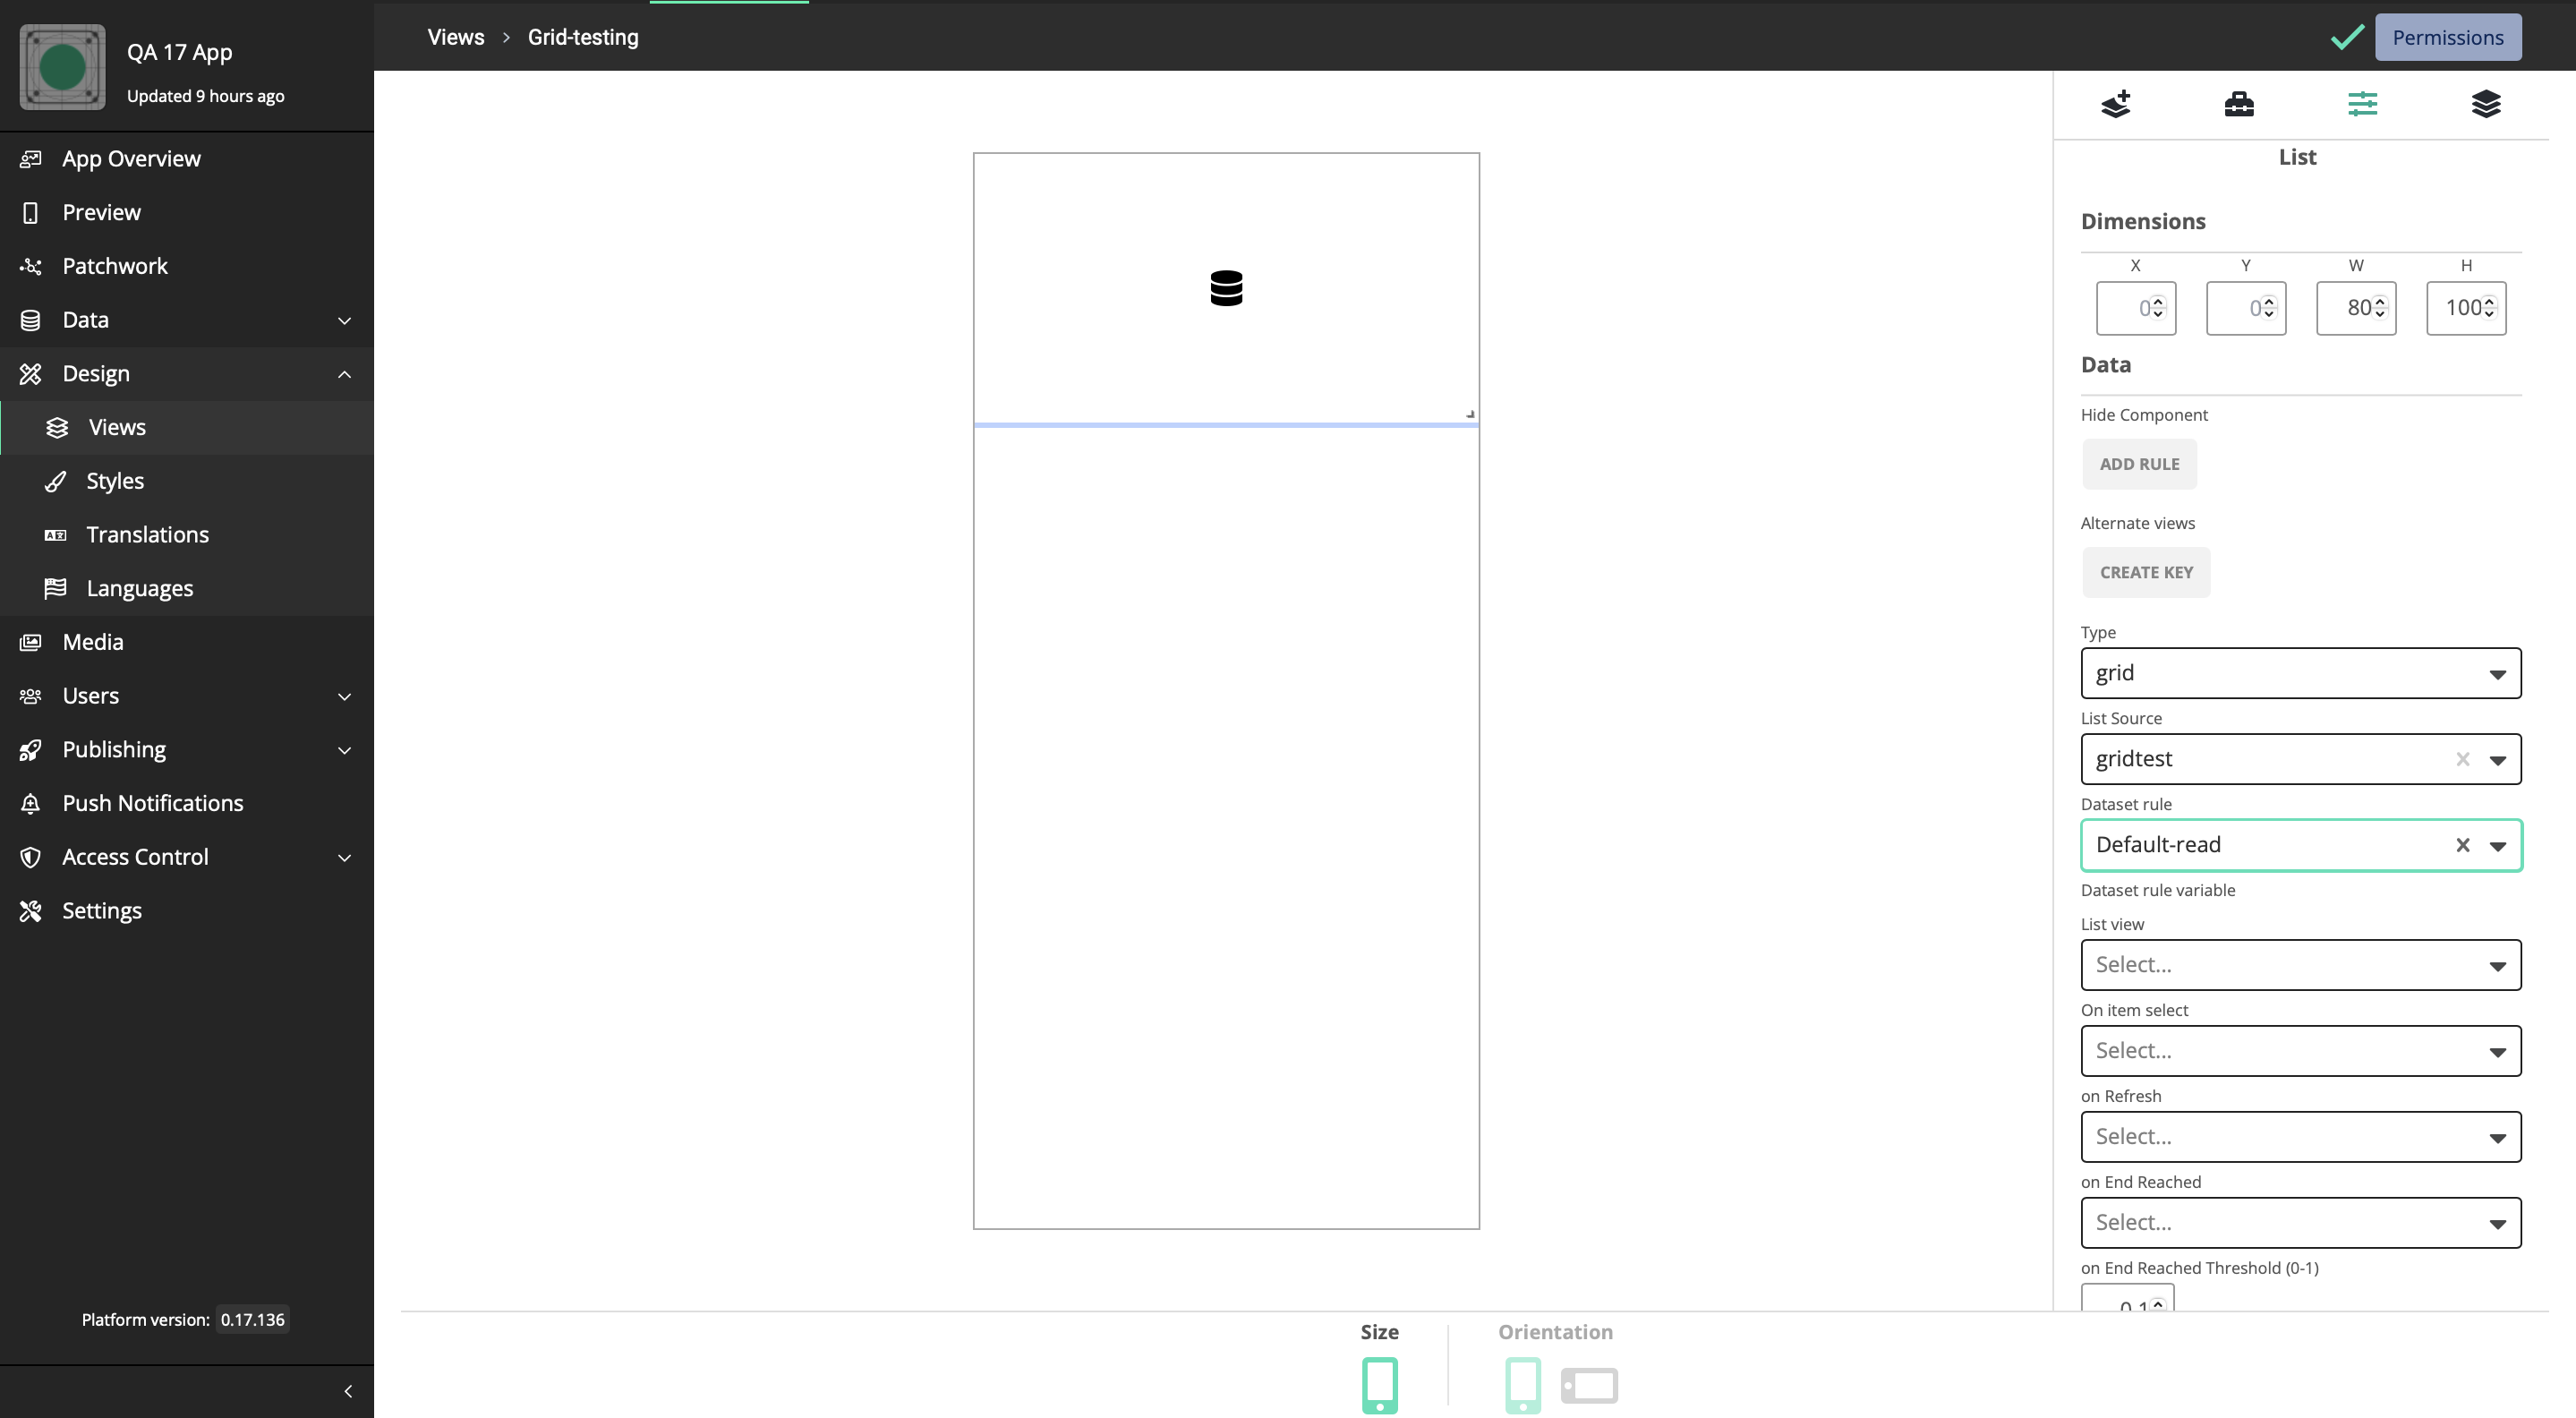
Navigate to Design > Views
-
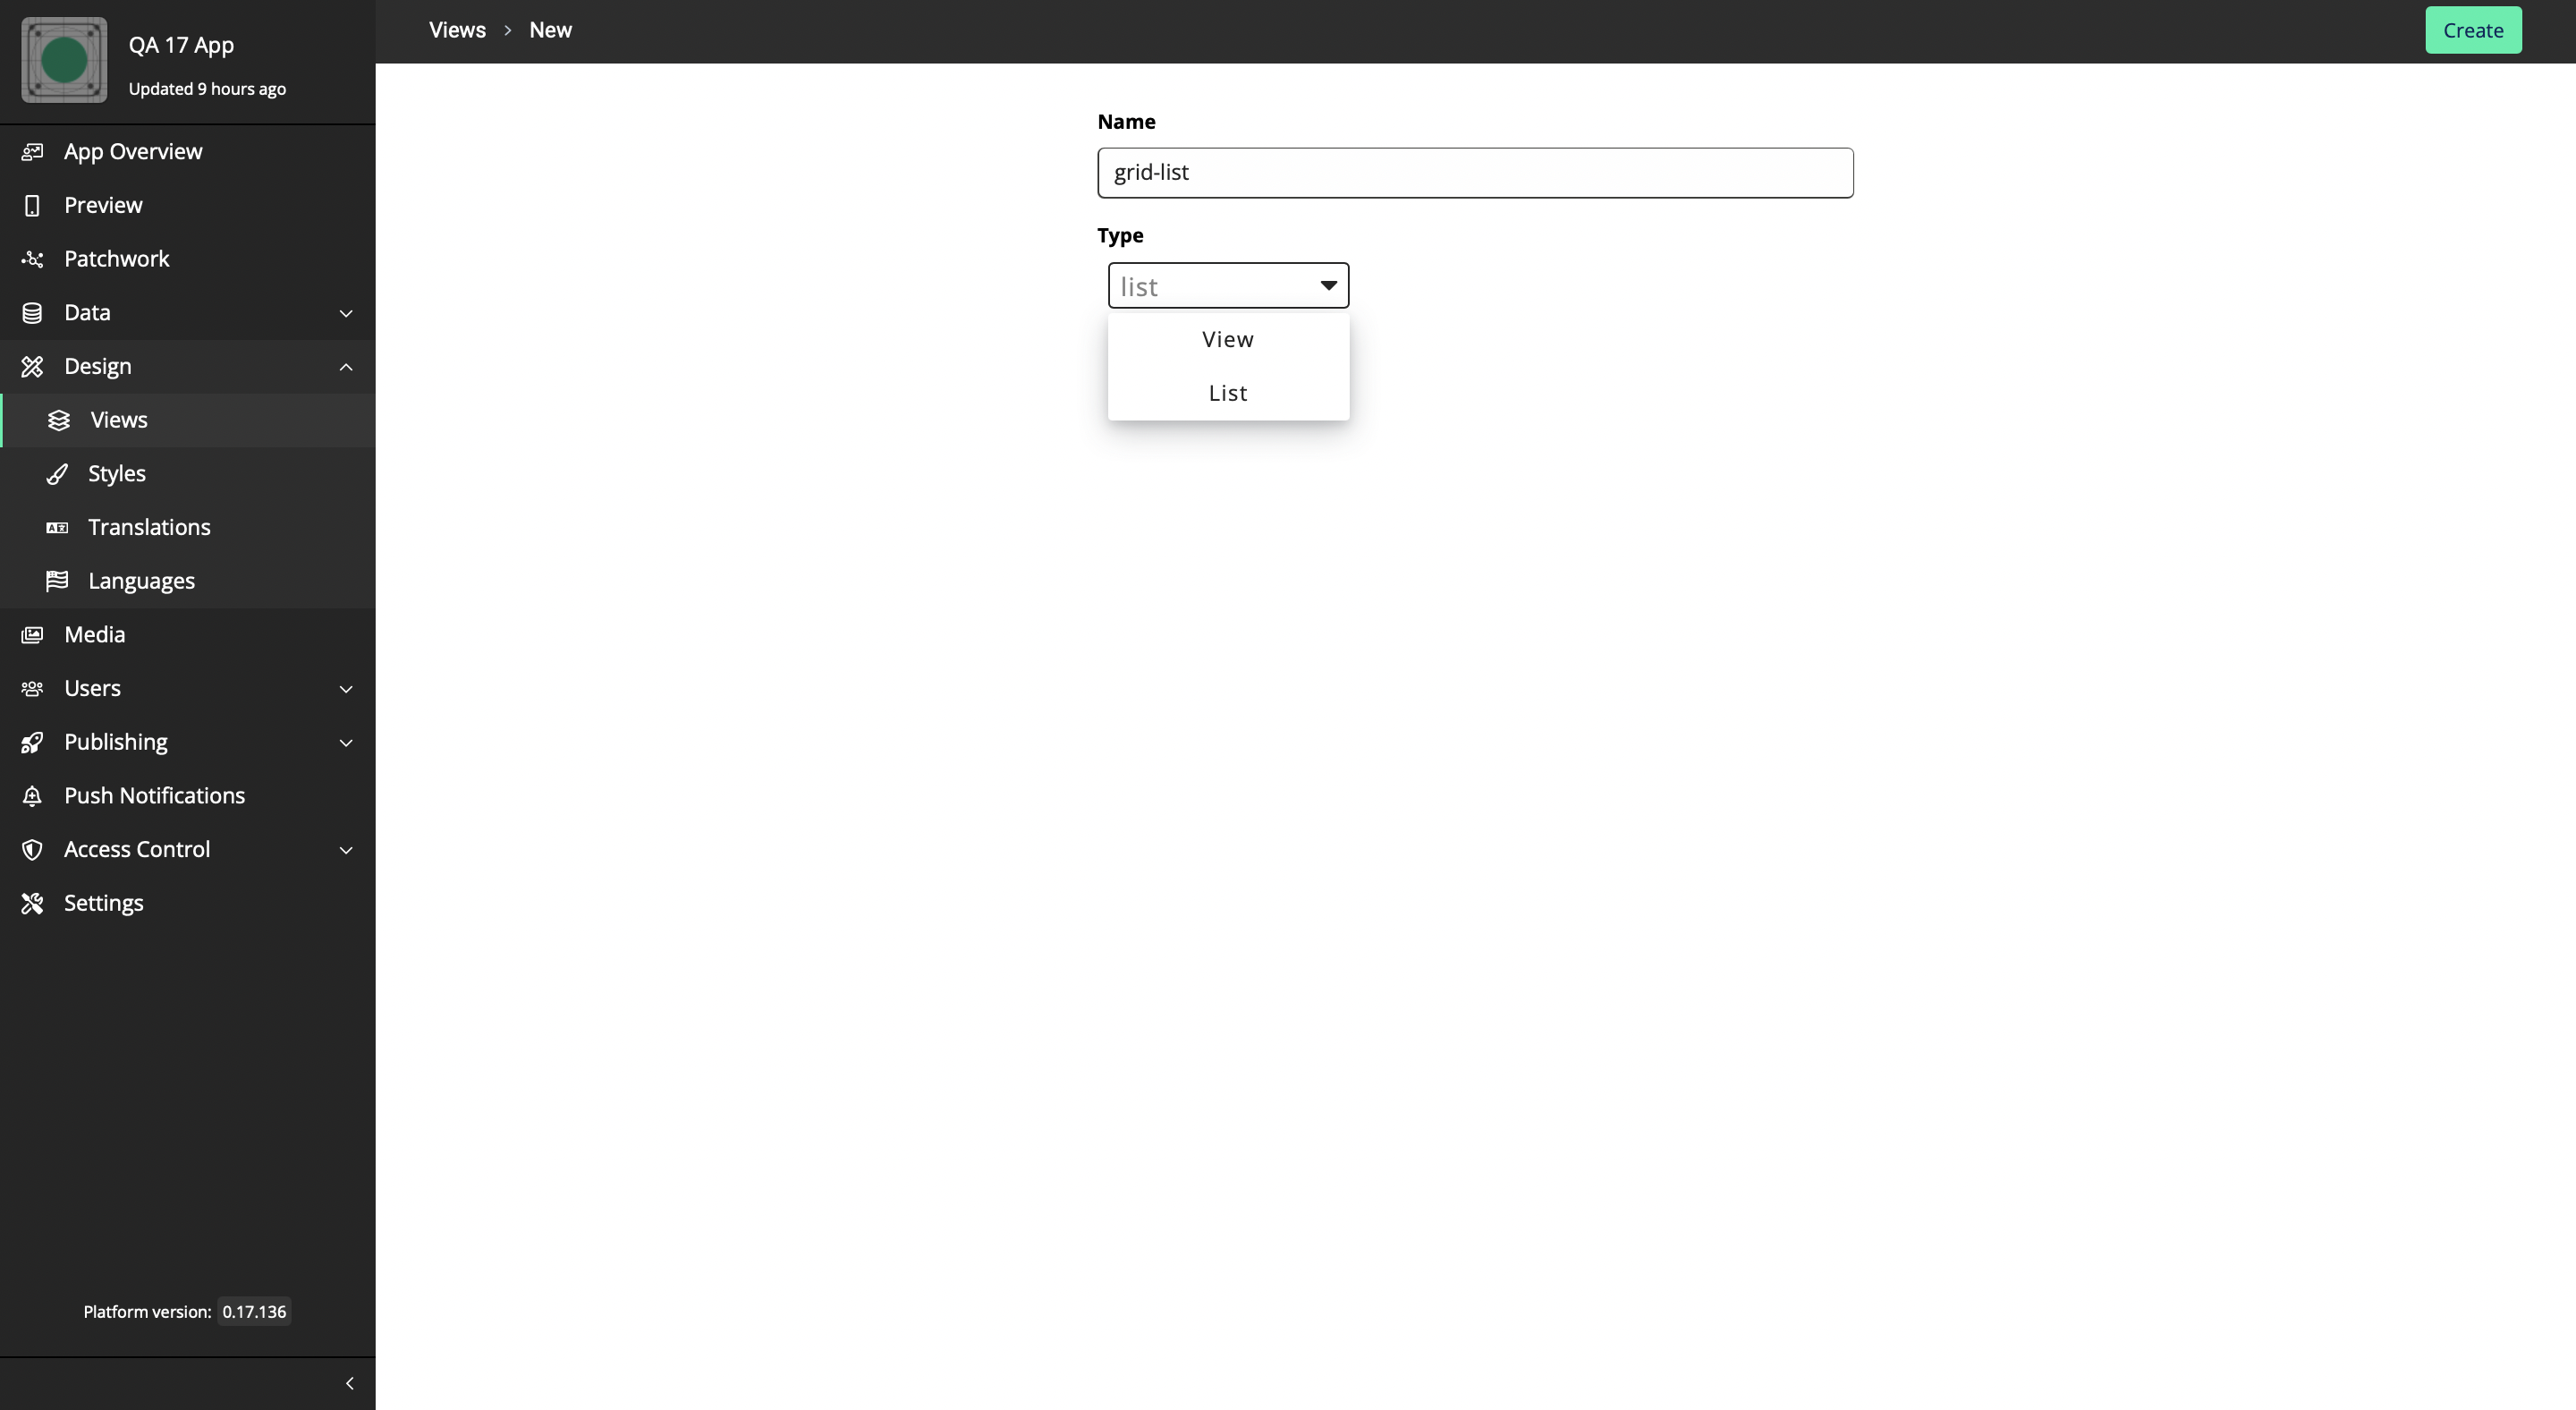
Click on New to create a View
-
Provide a name and Create the view

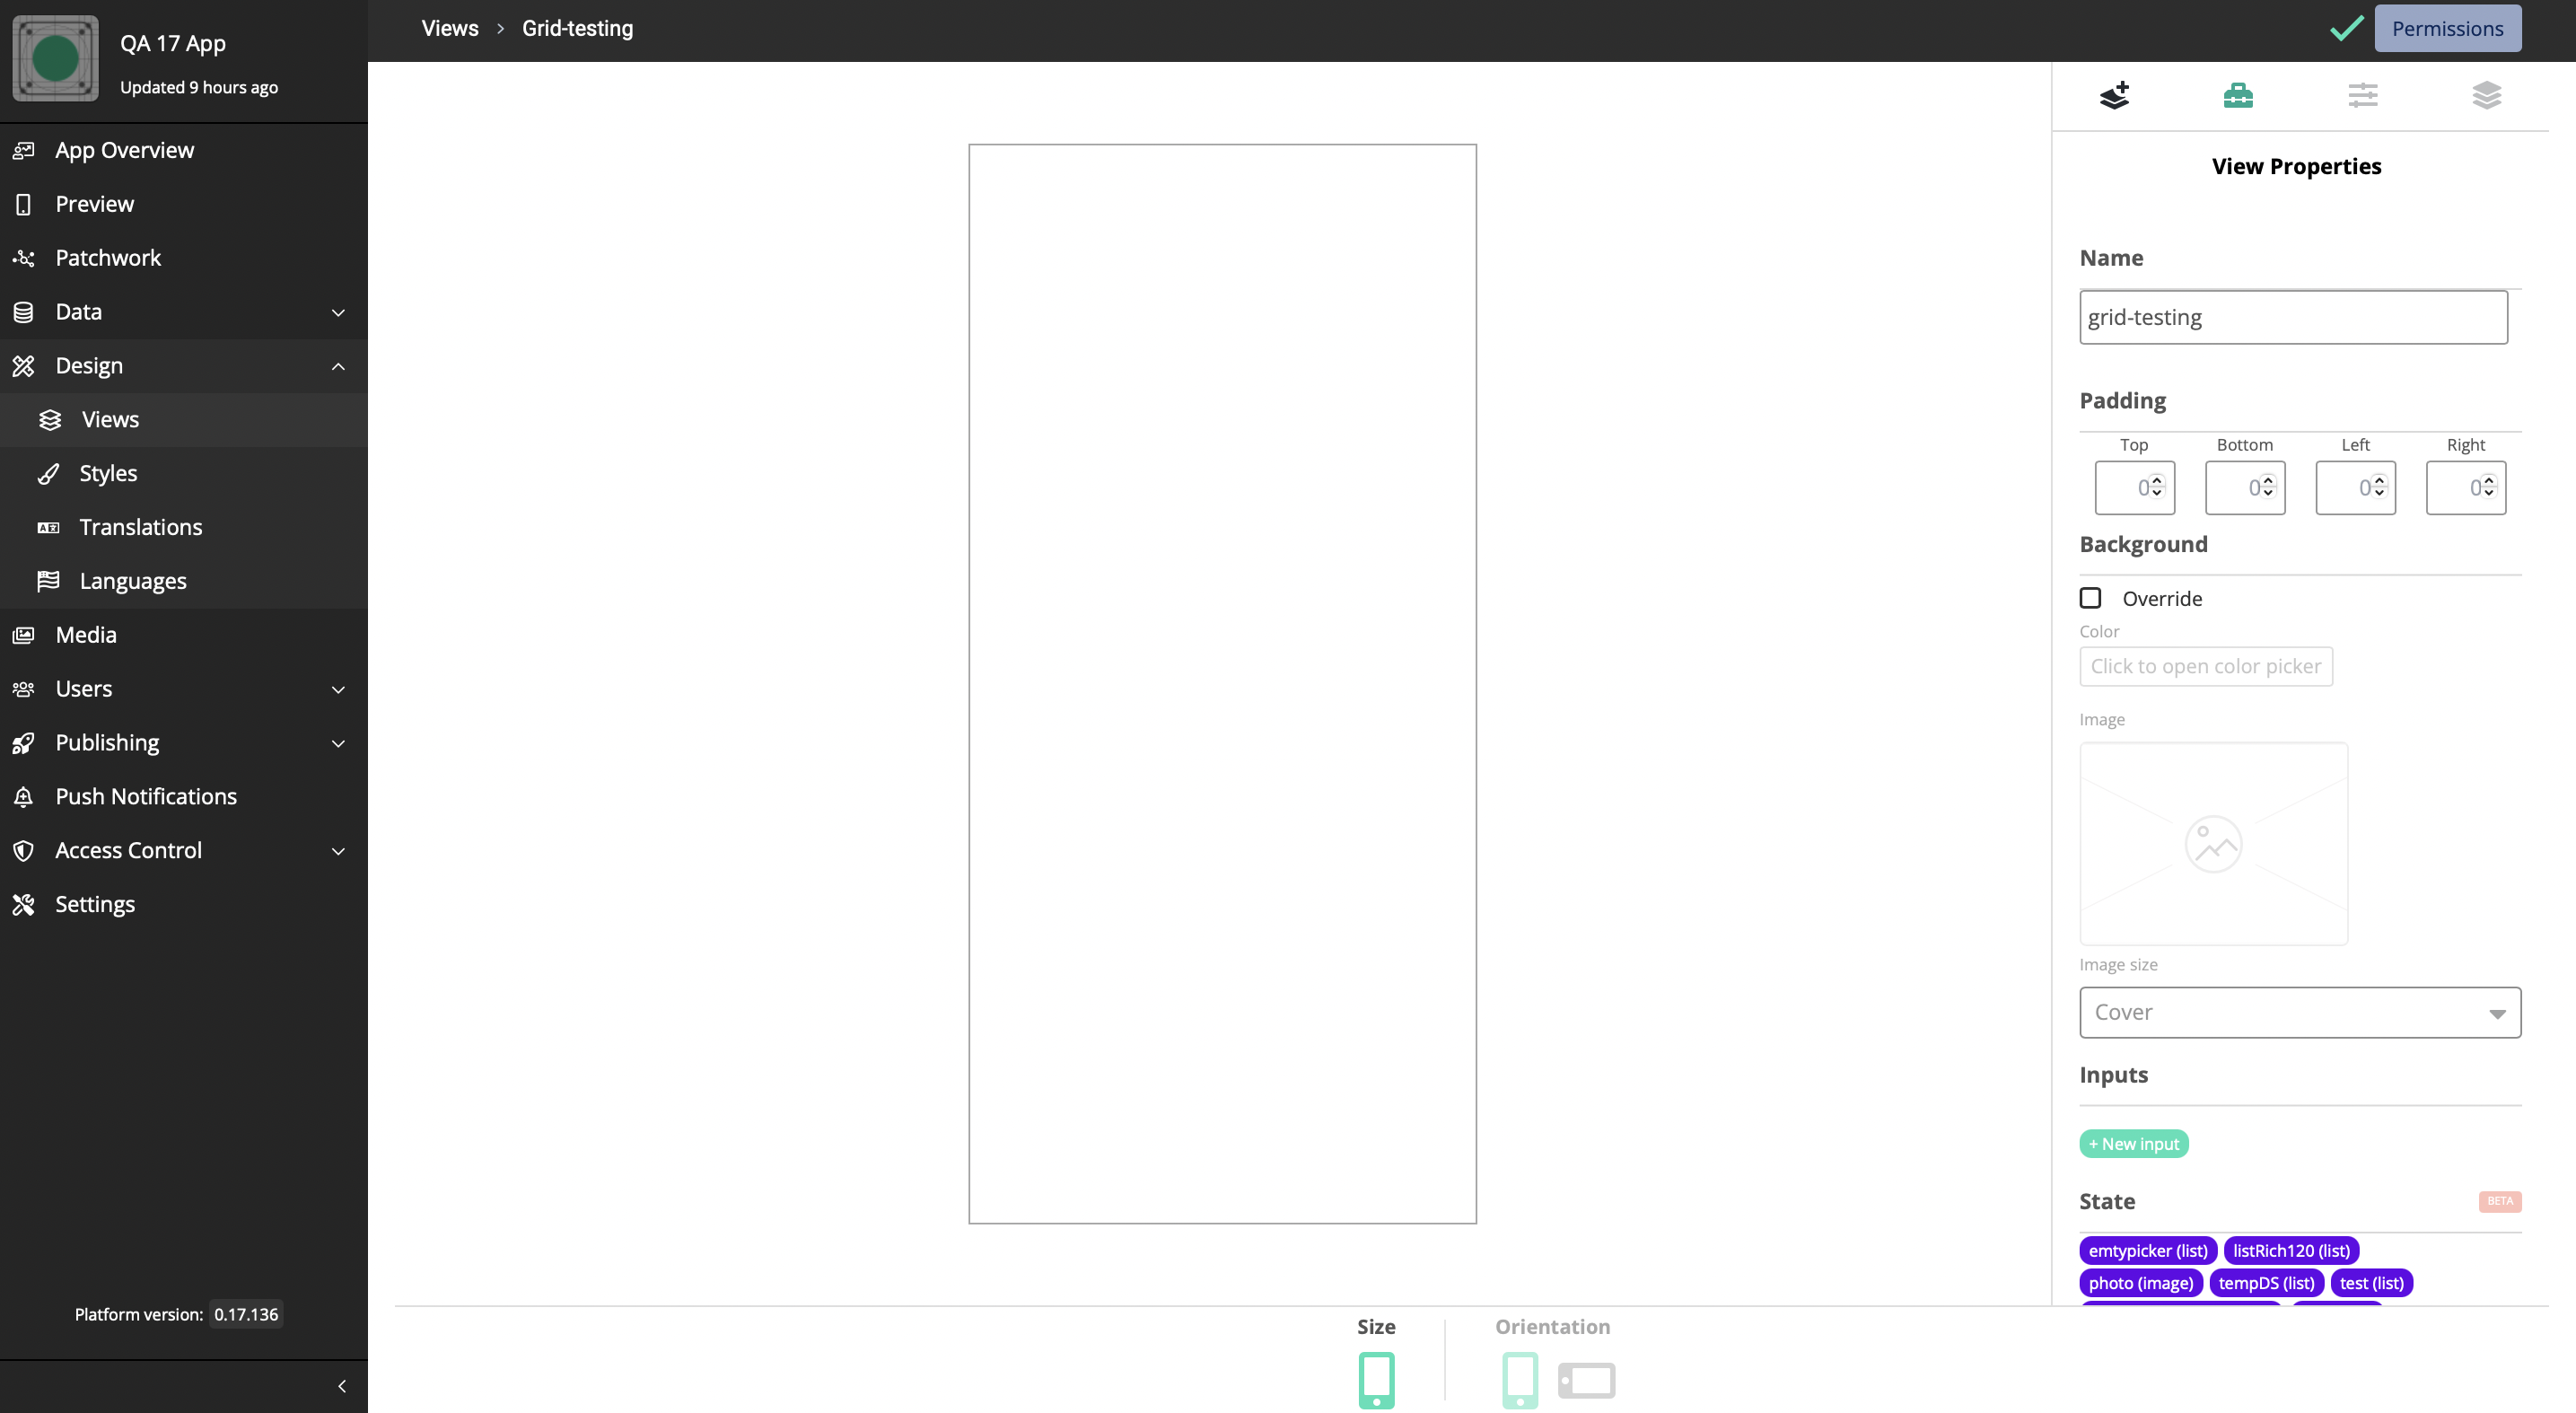
You will then be navigated to the View Builder for the new view that you added.
-
Add a List Component
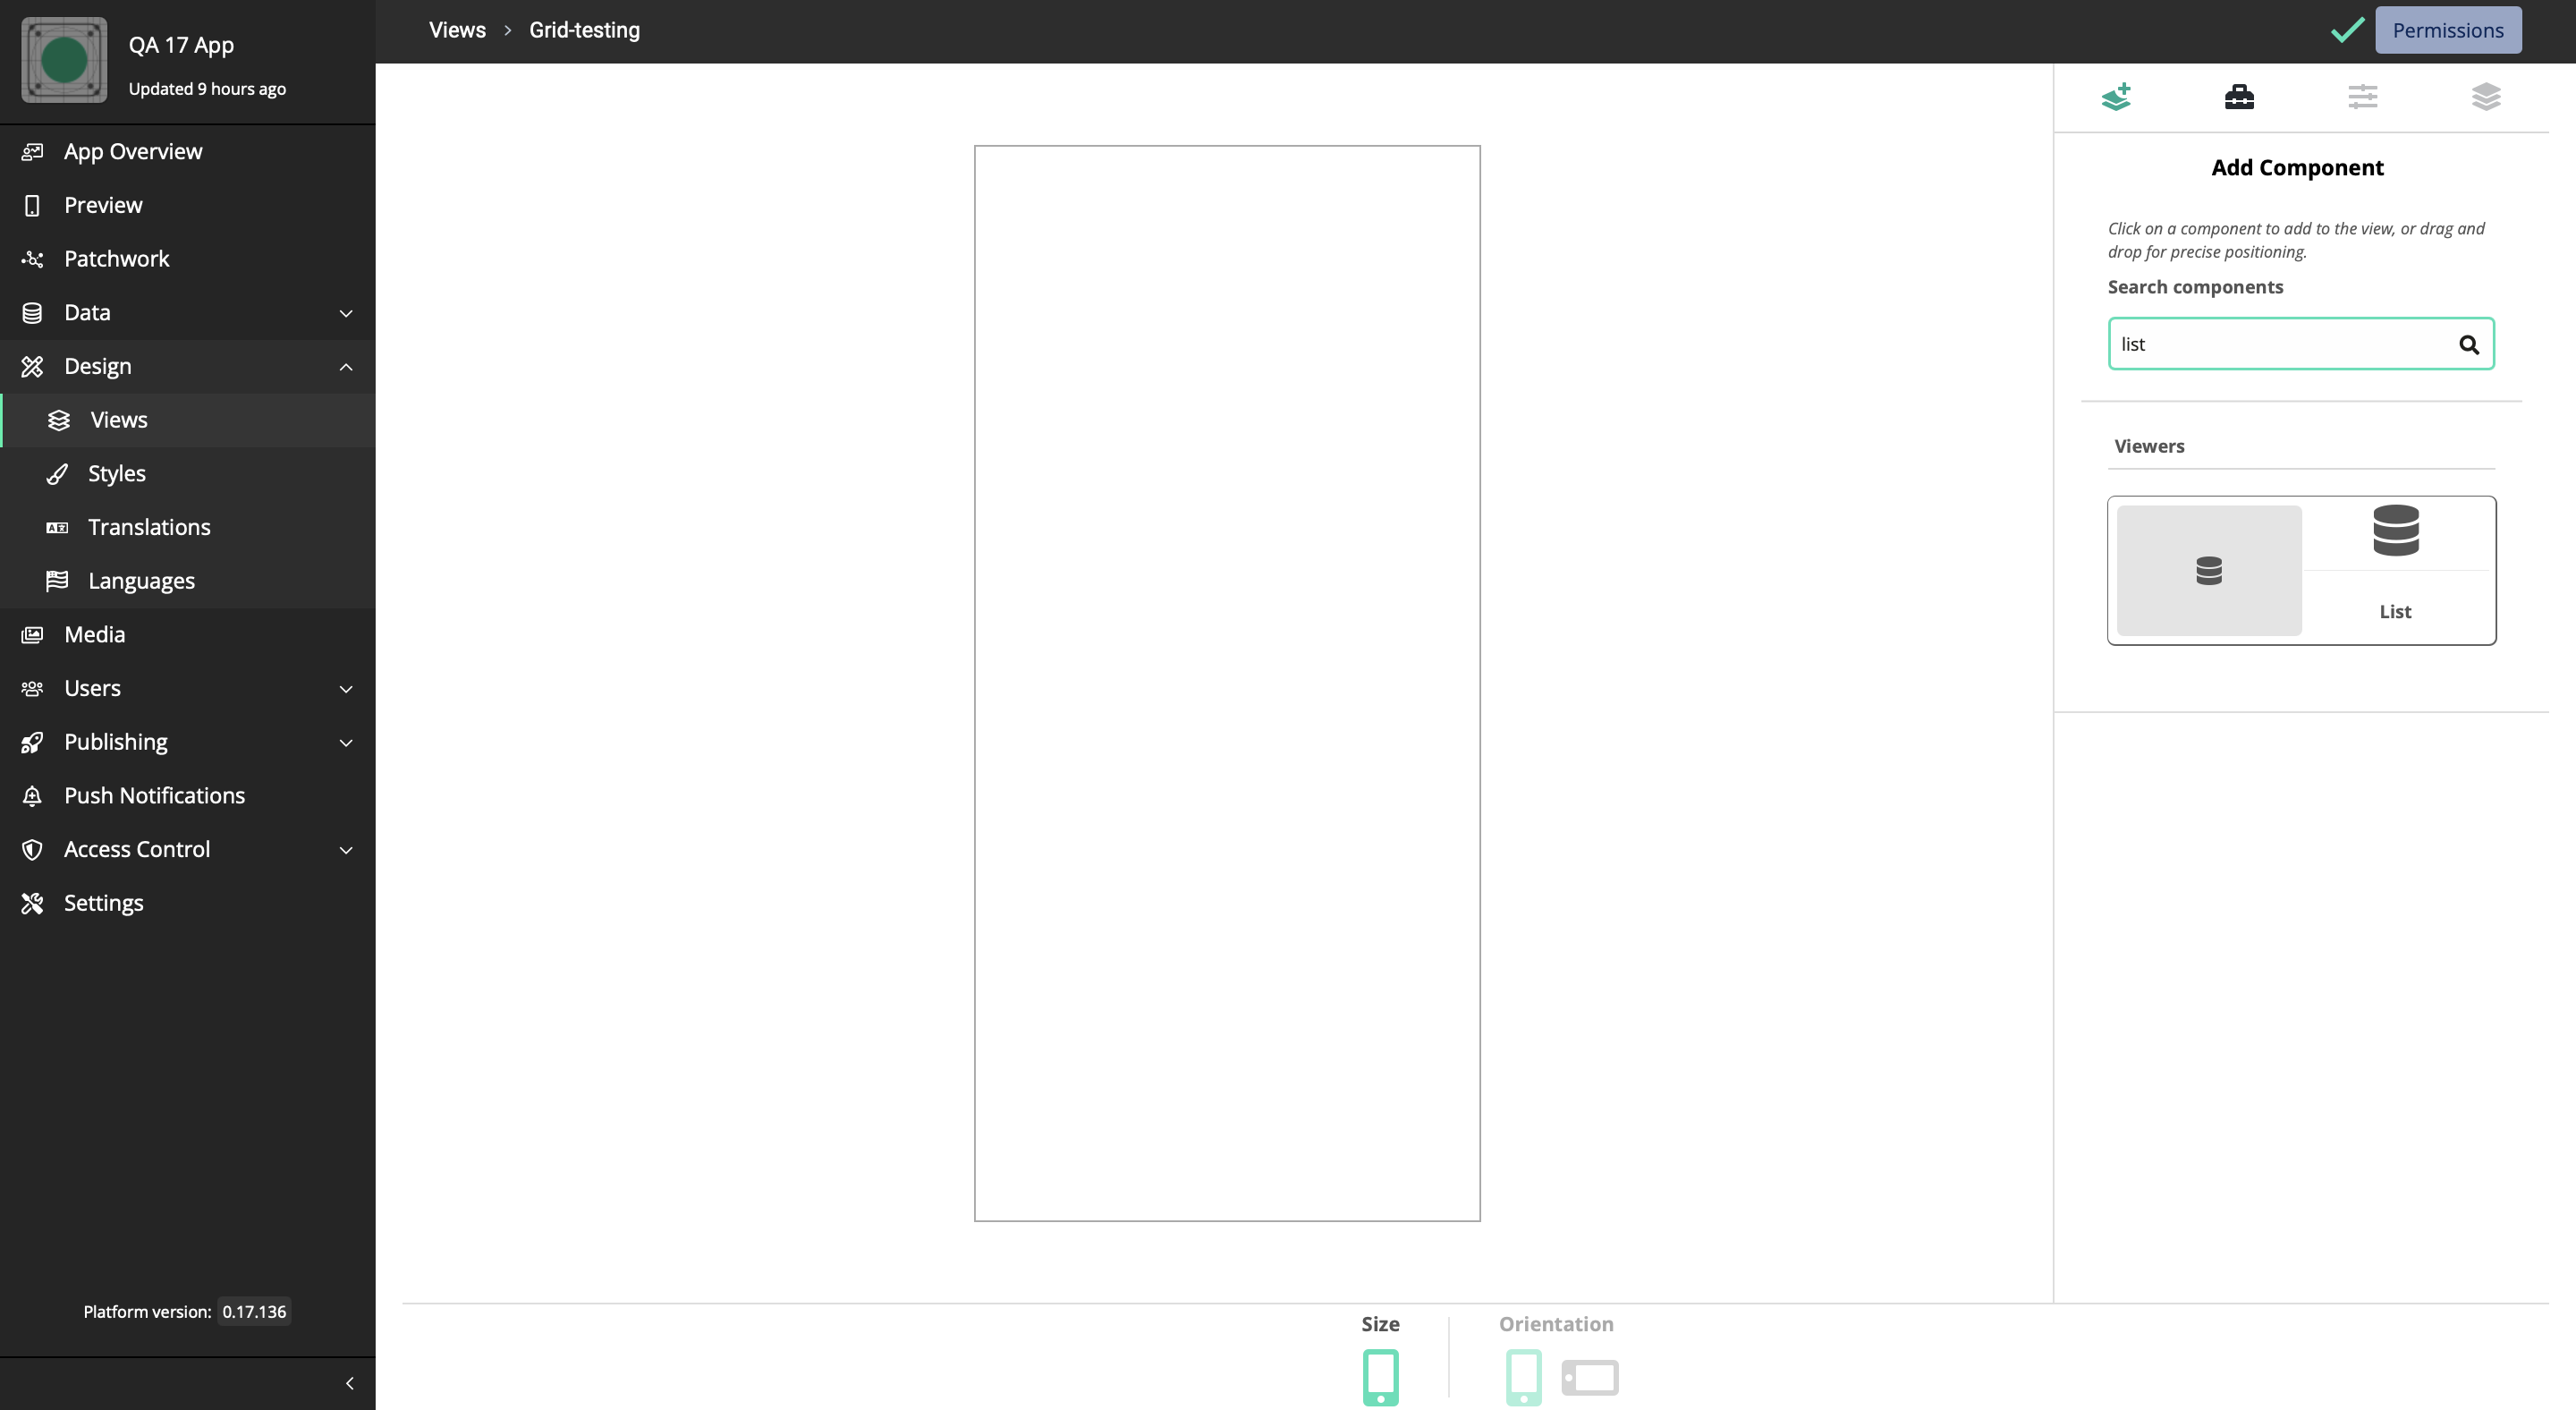
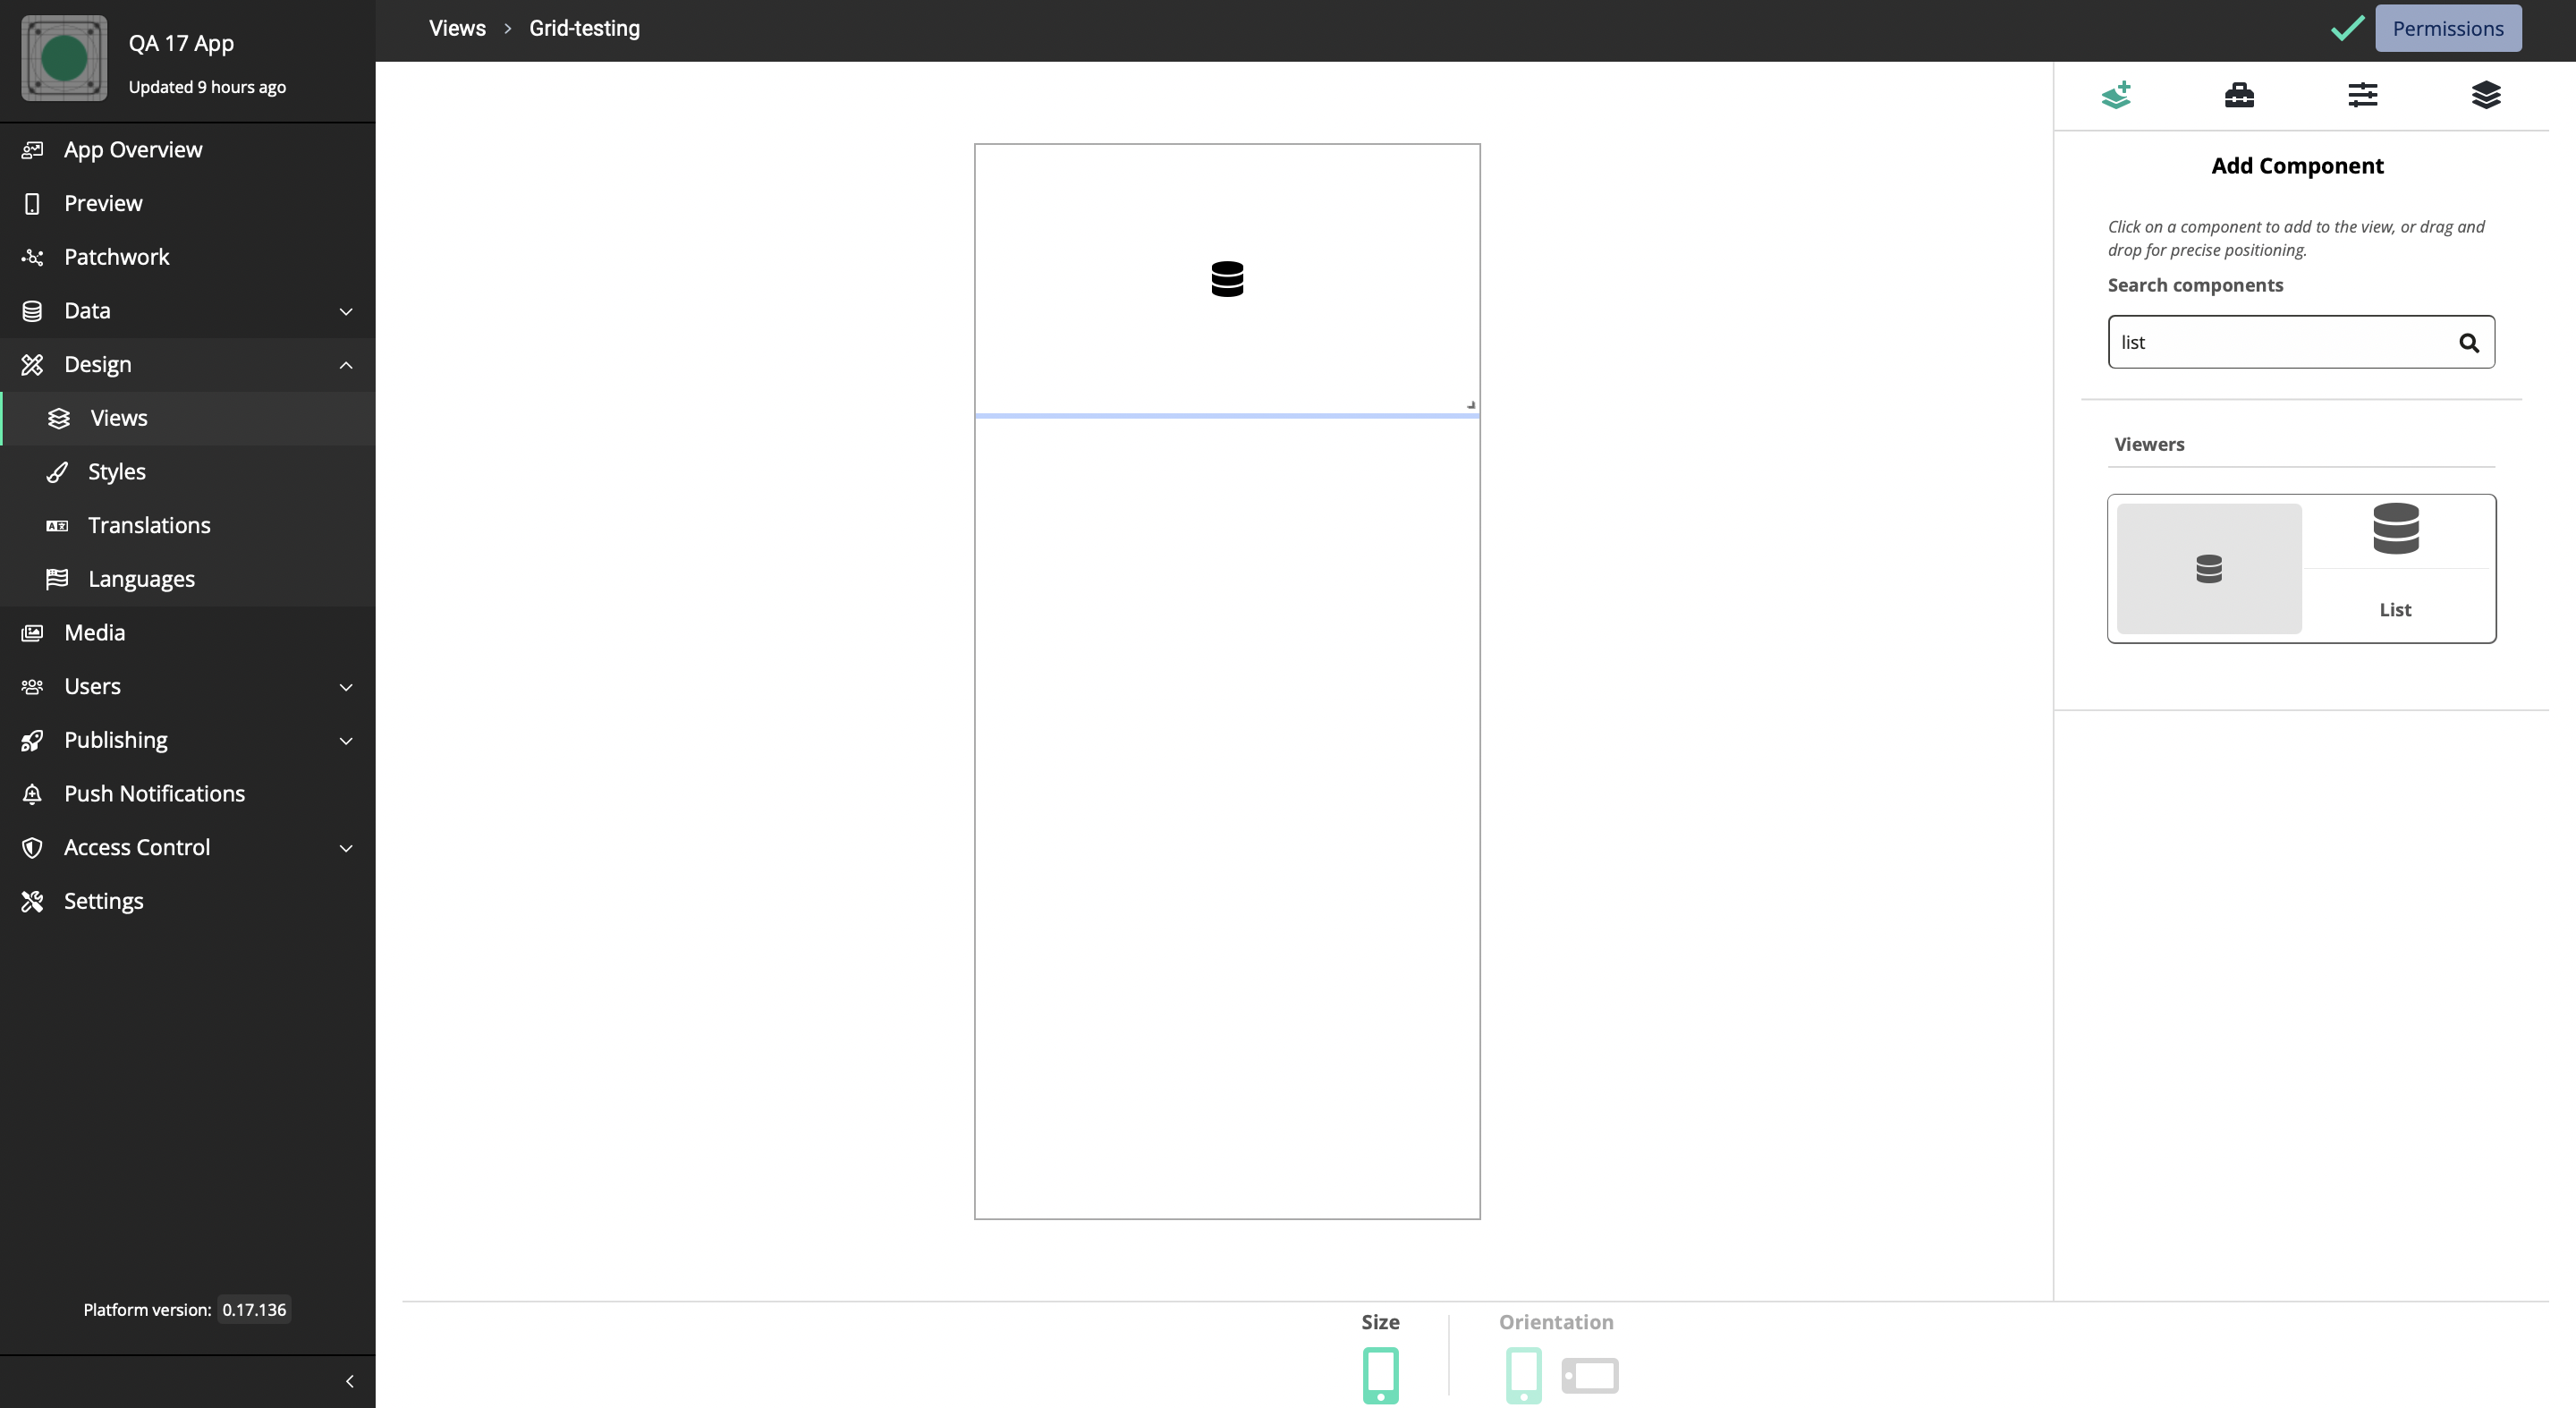
-
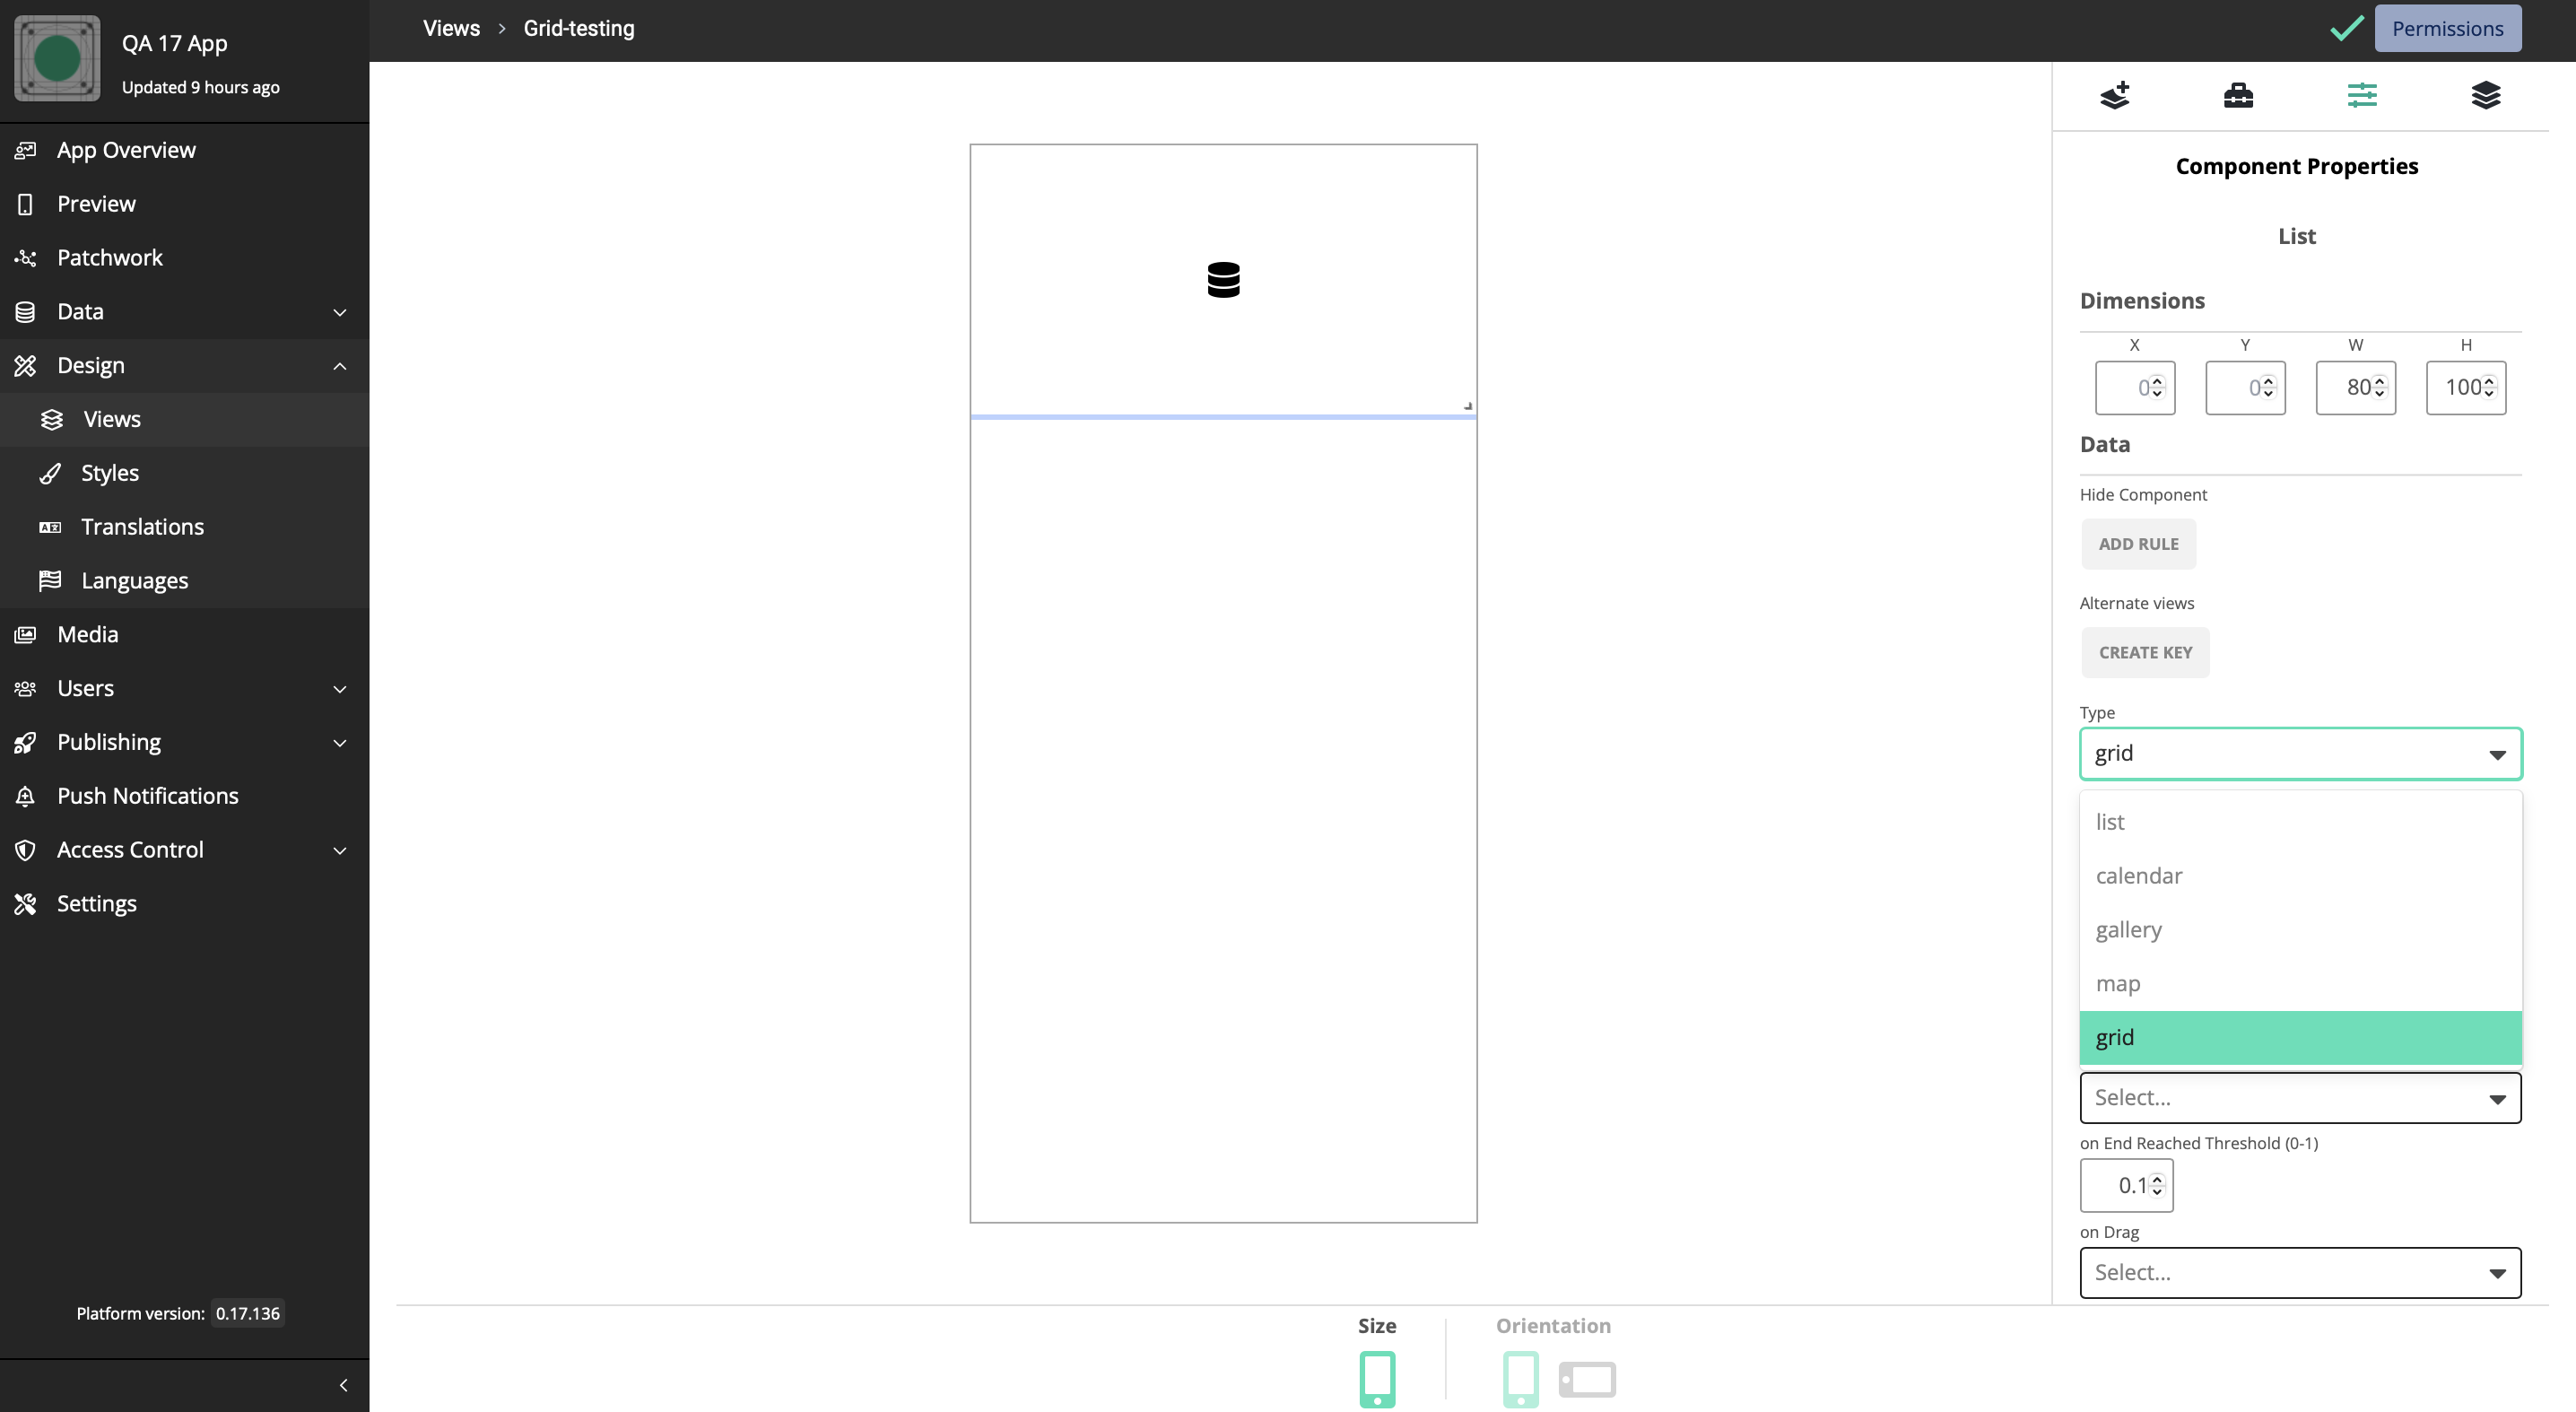
Click on Component Properties
-
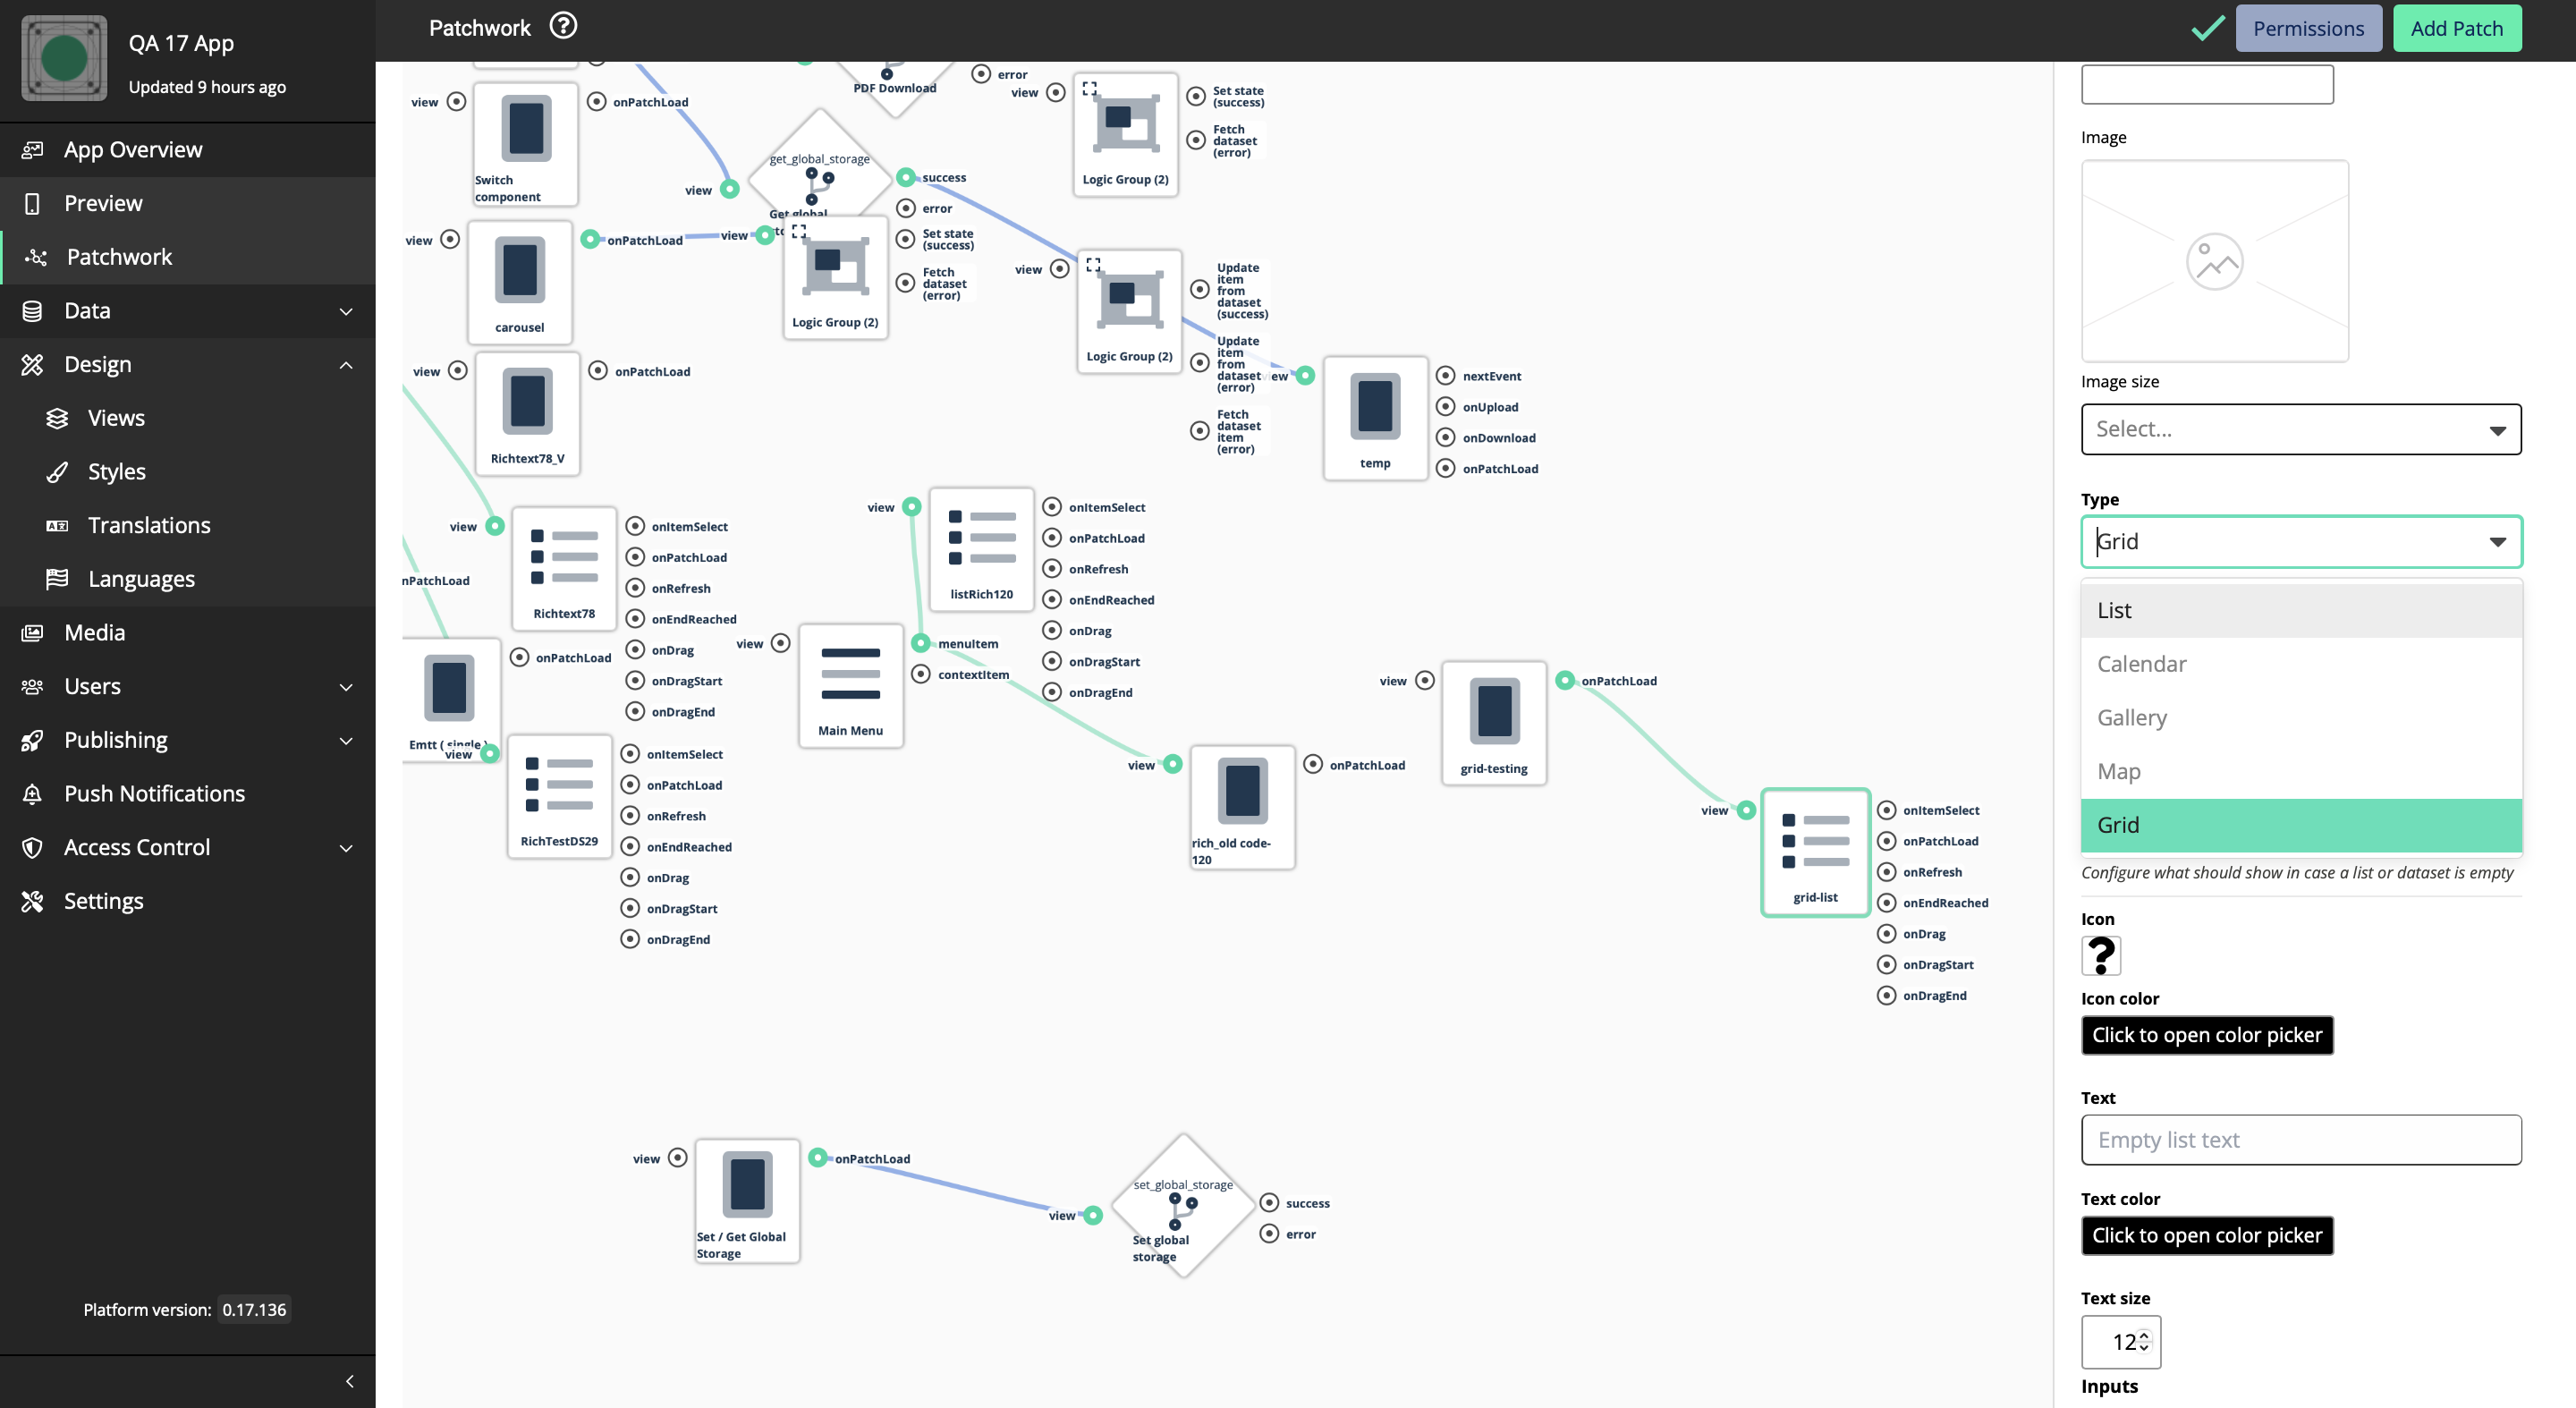
Select Grid from the Type dropdown menu
-
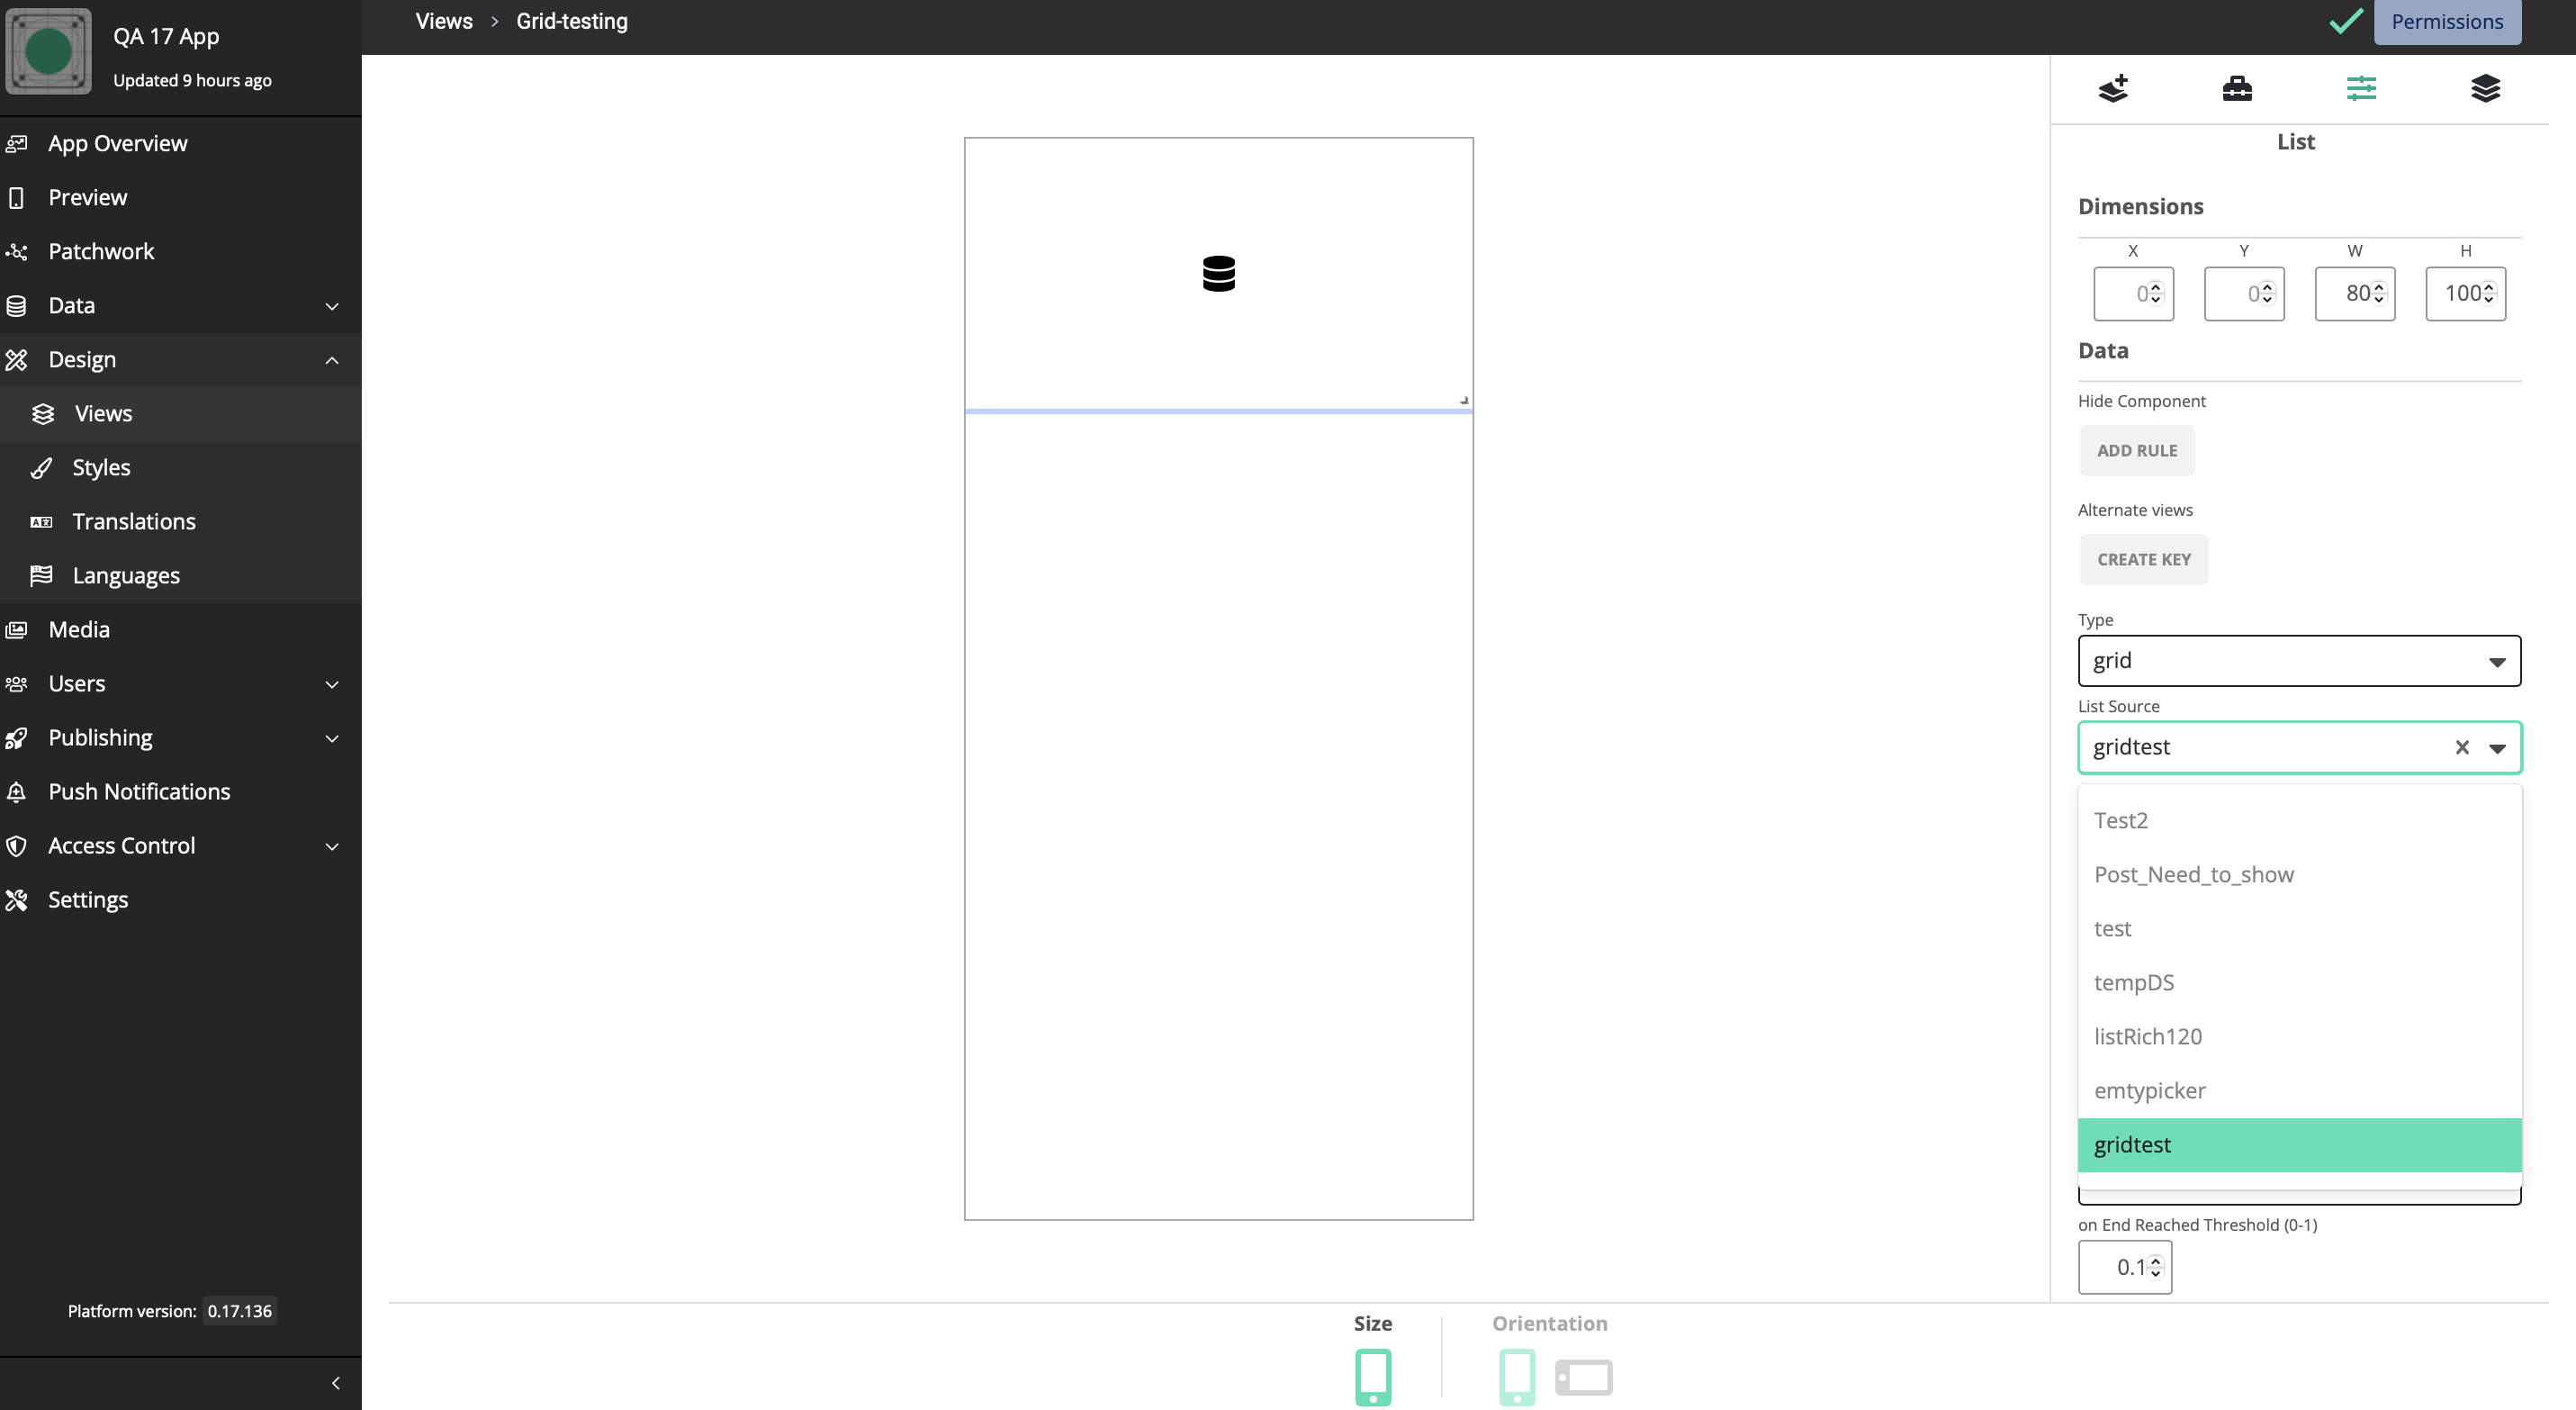
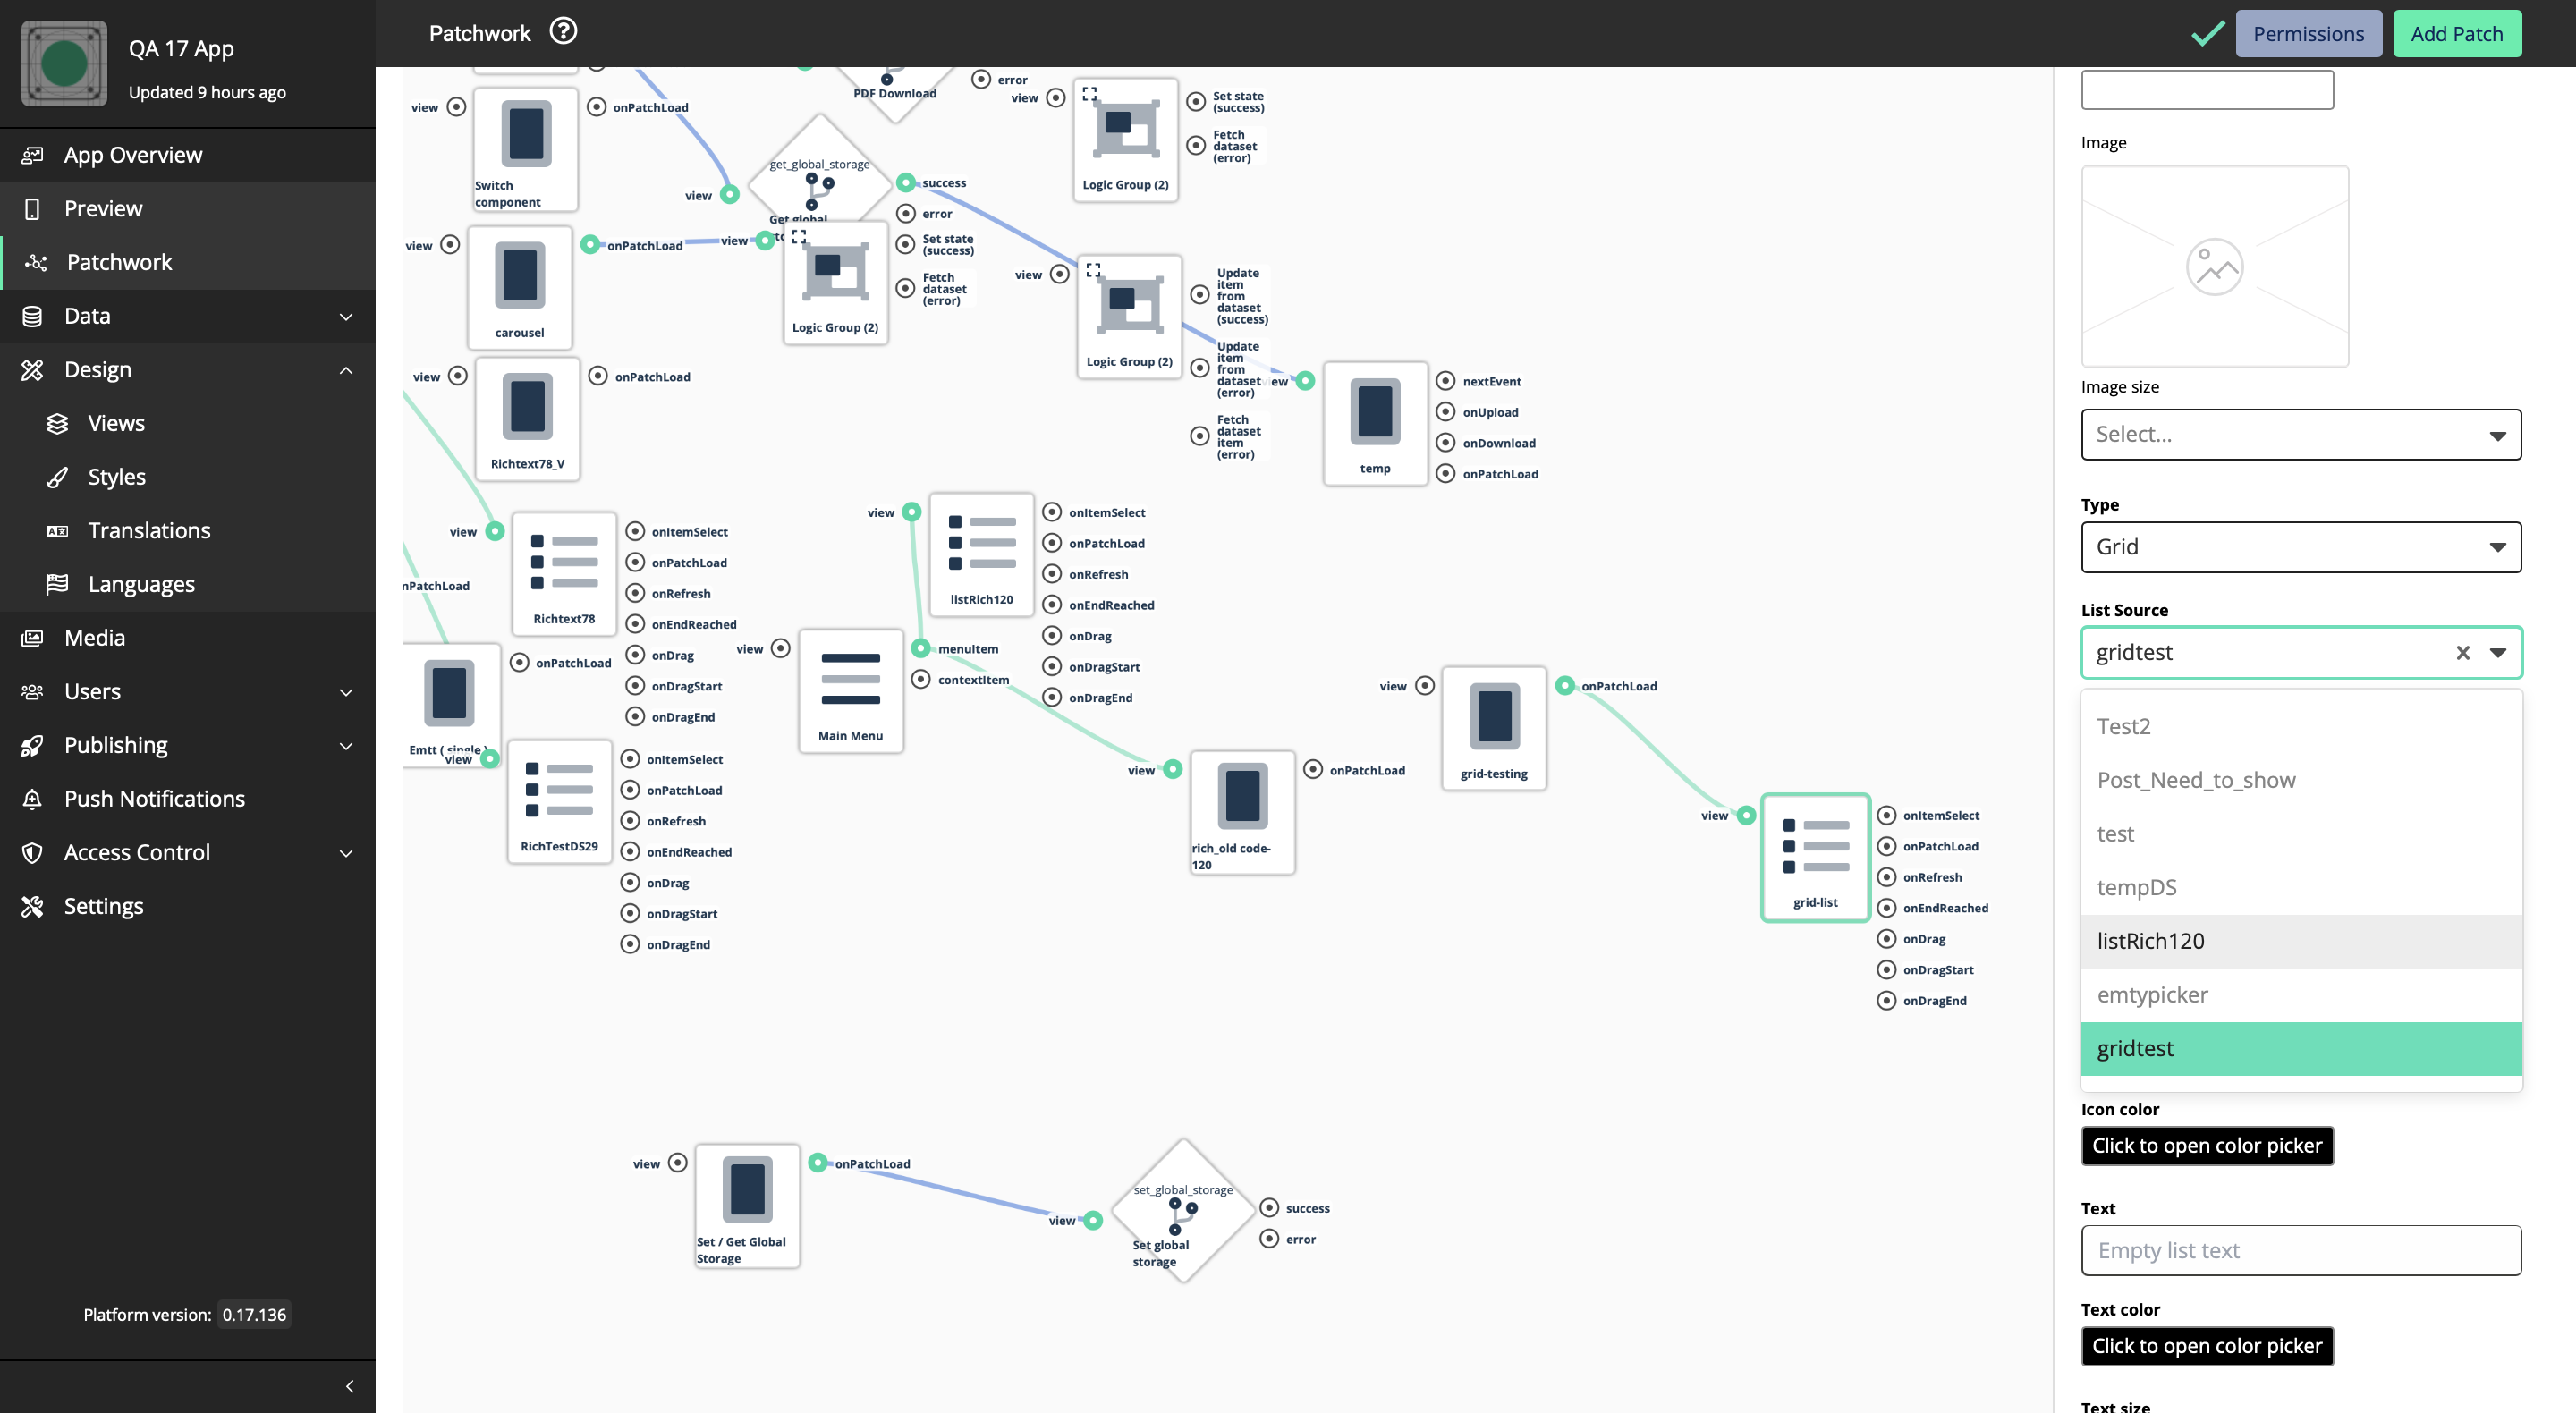
For the List Source, you can select from either State or Dataset
For this guide, we will select from Dataset - gridtest
-
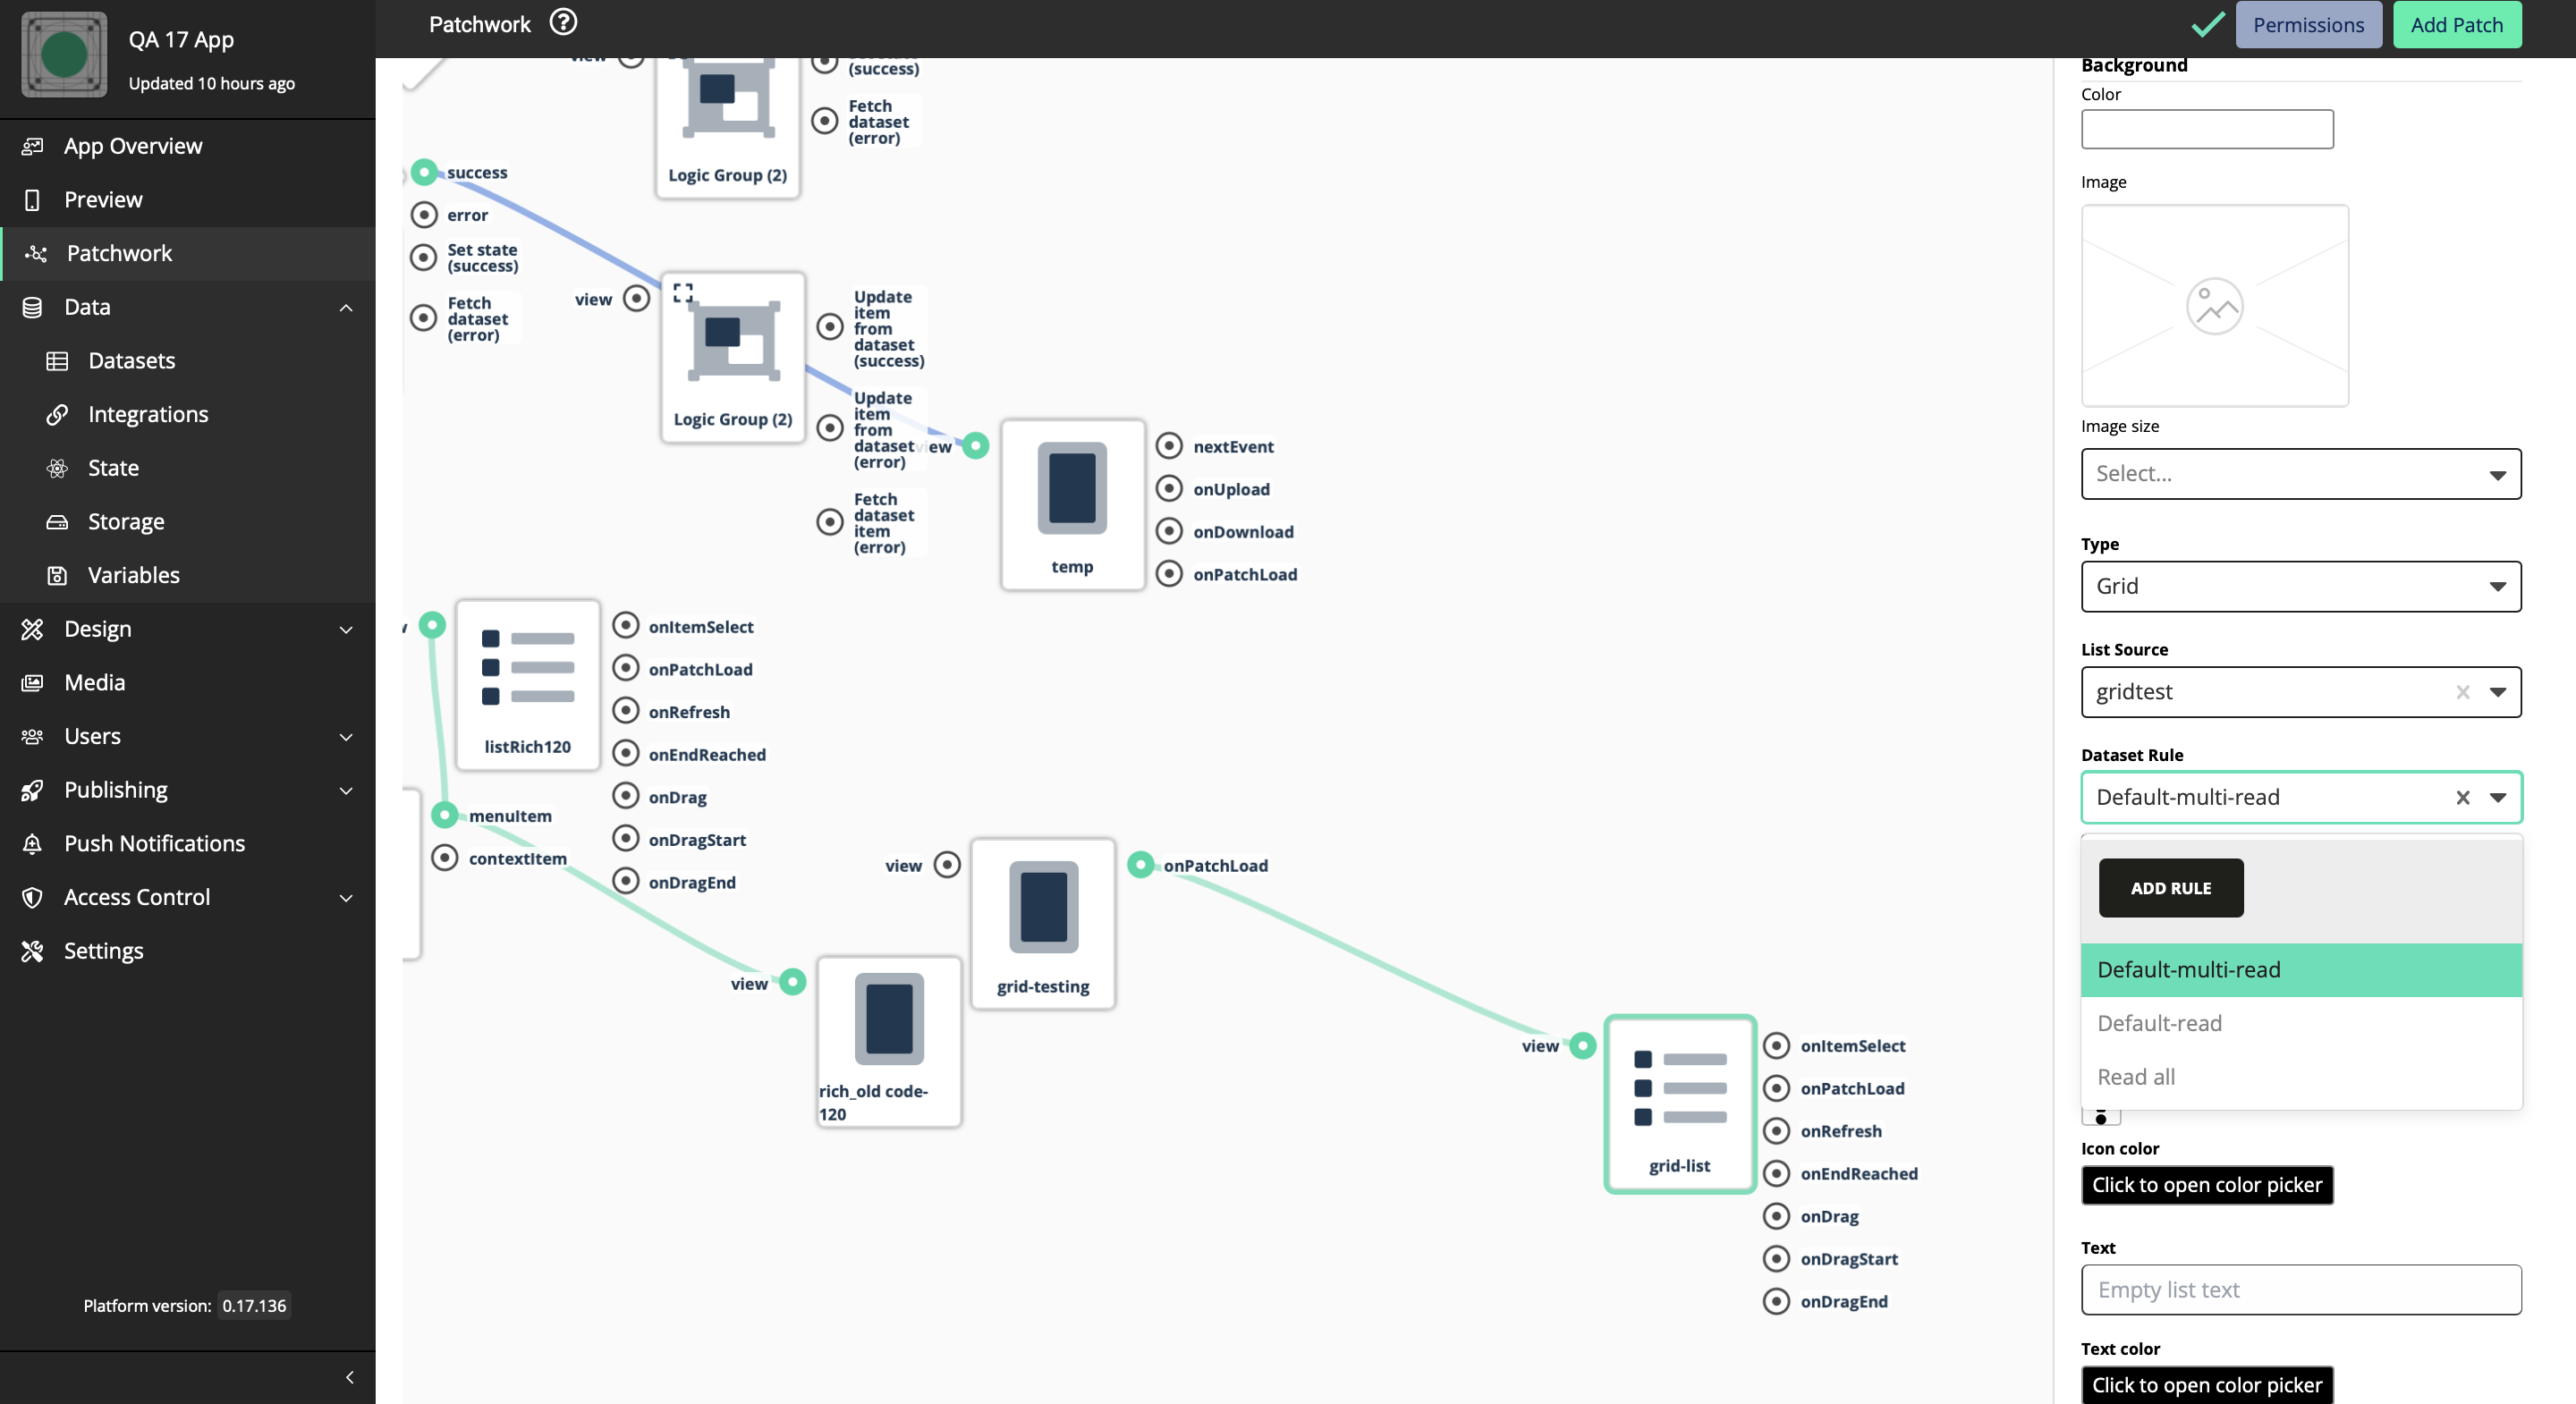
Add Dataset Rule - You can add the Dataset Rule according to your requirement
For this guide we will select Multi-Read as the Dataset Rule
-
Add the List View - For this you have to add a new List View that you have created.

Here, you can bind those two dataset items.
-
Navigate to Inputs
-
Click on New Input
-
Fill in the fields and click on Add
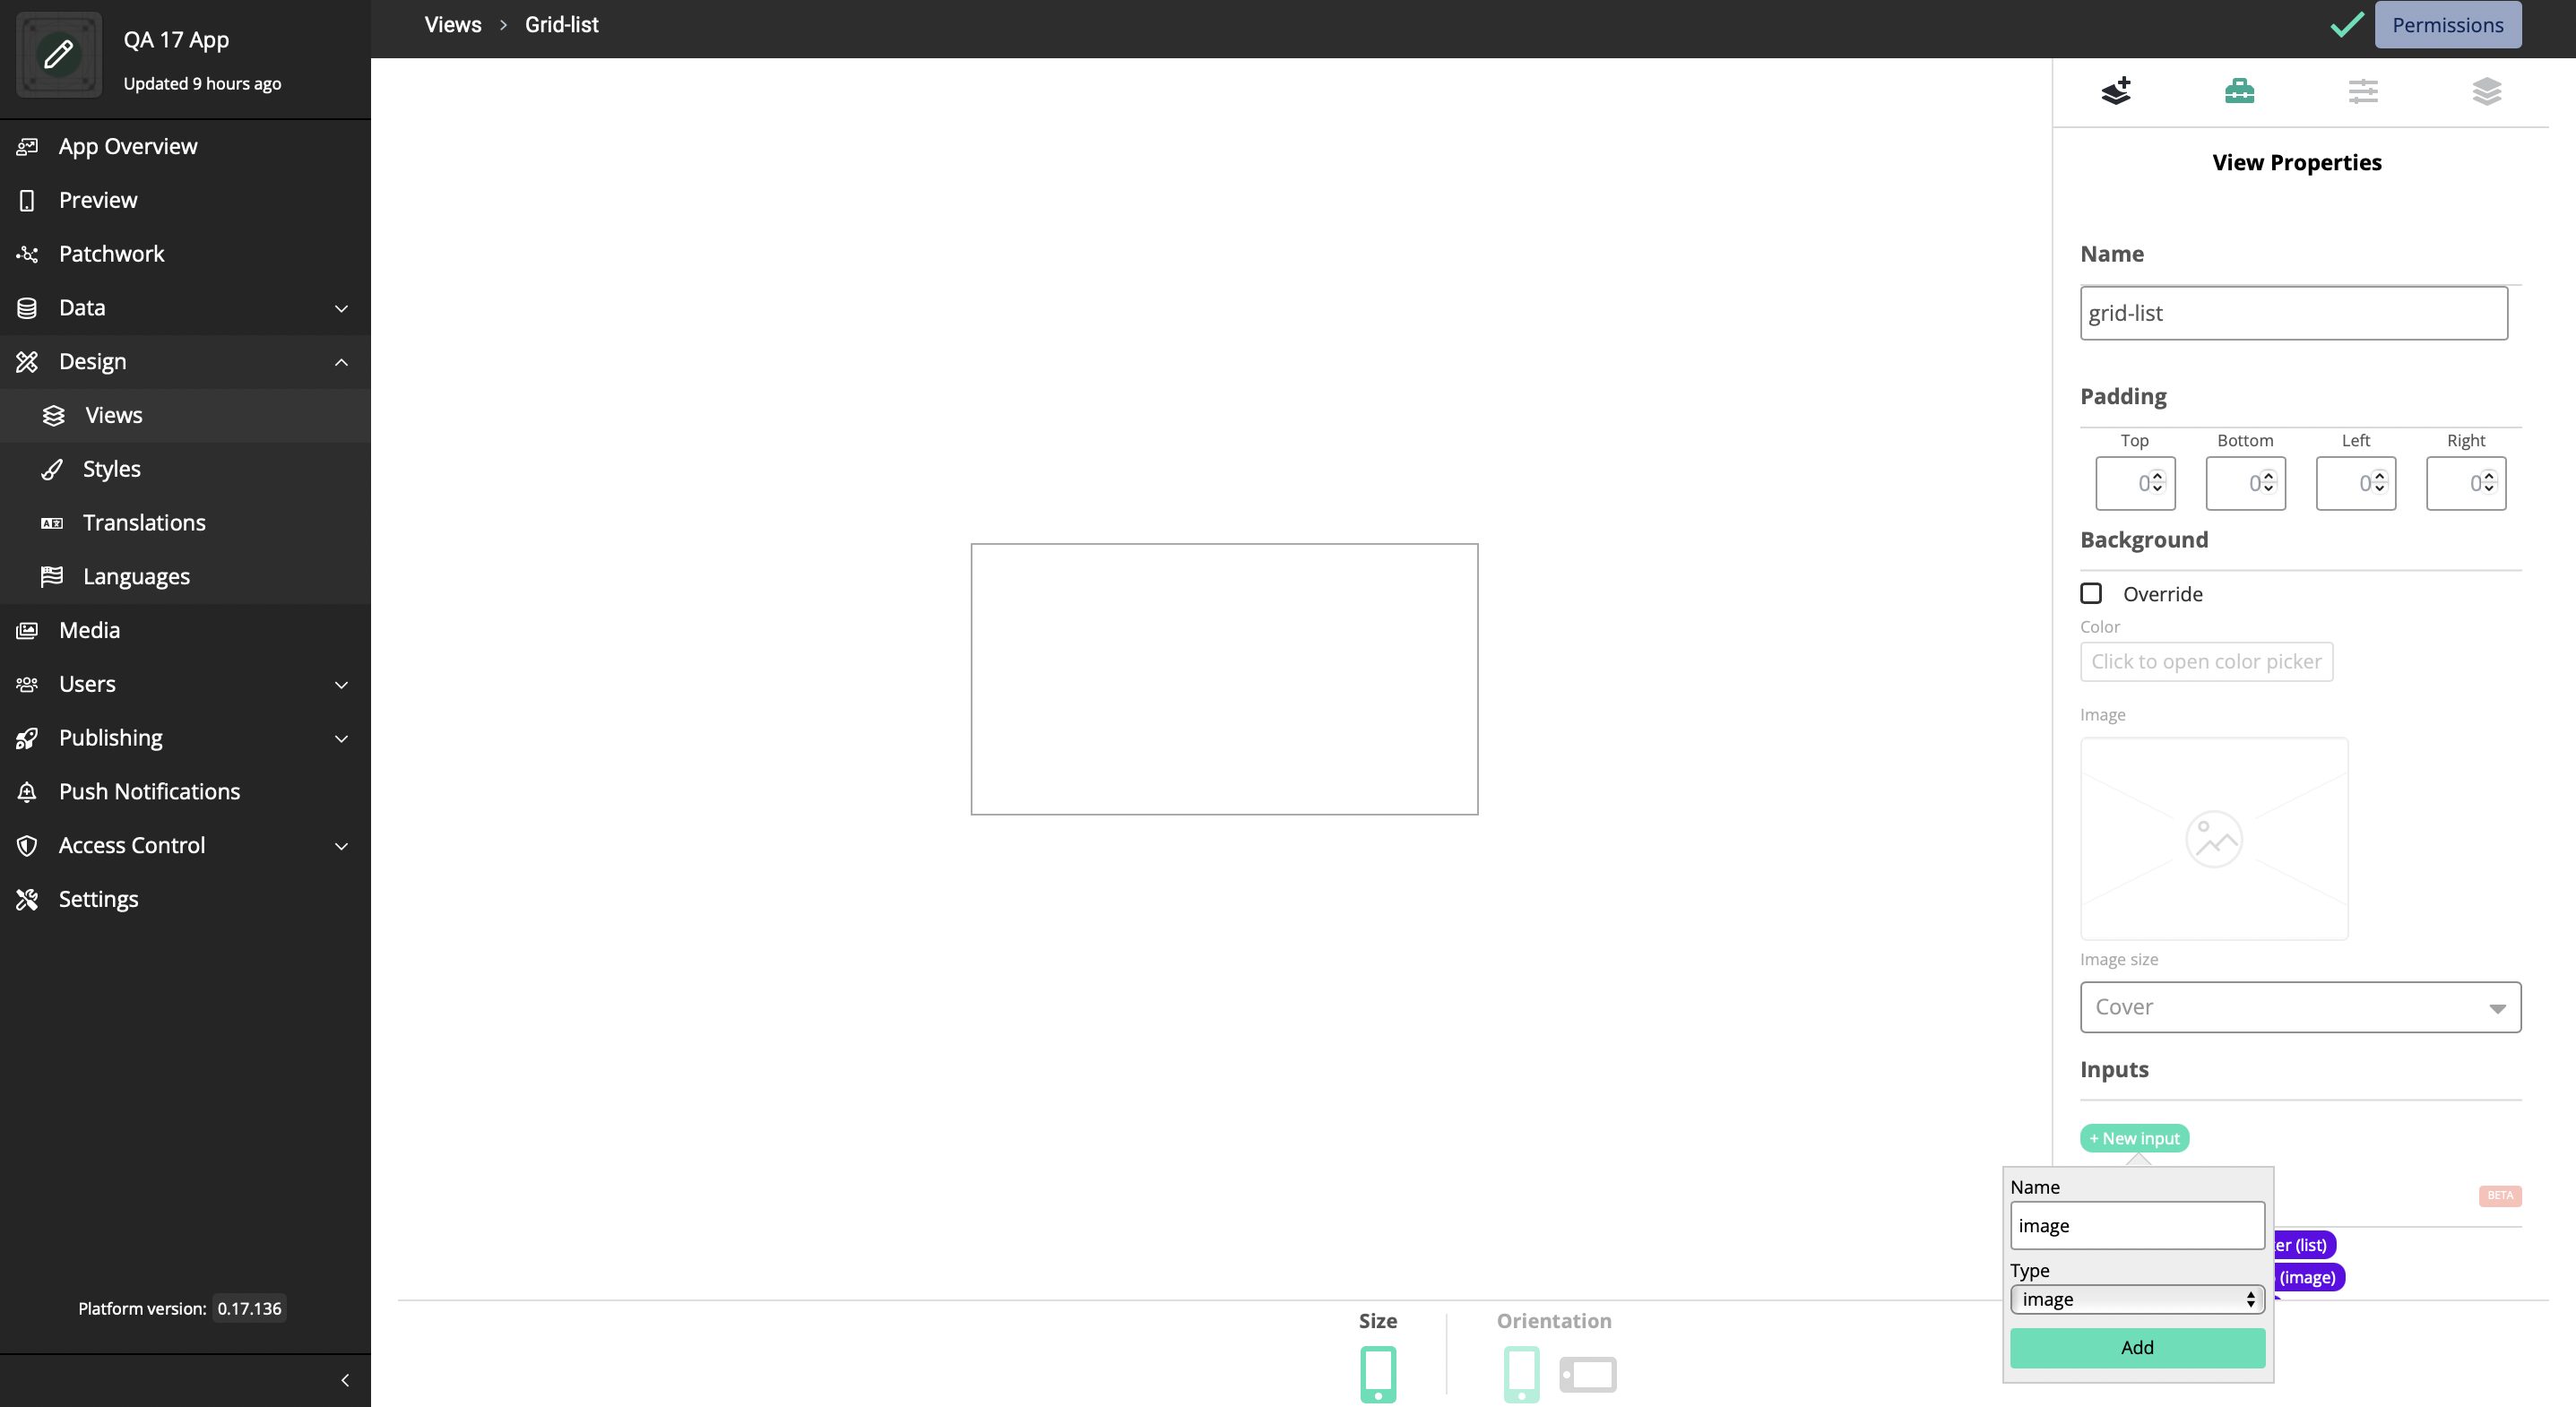
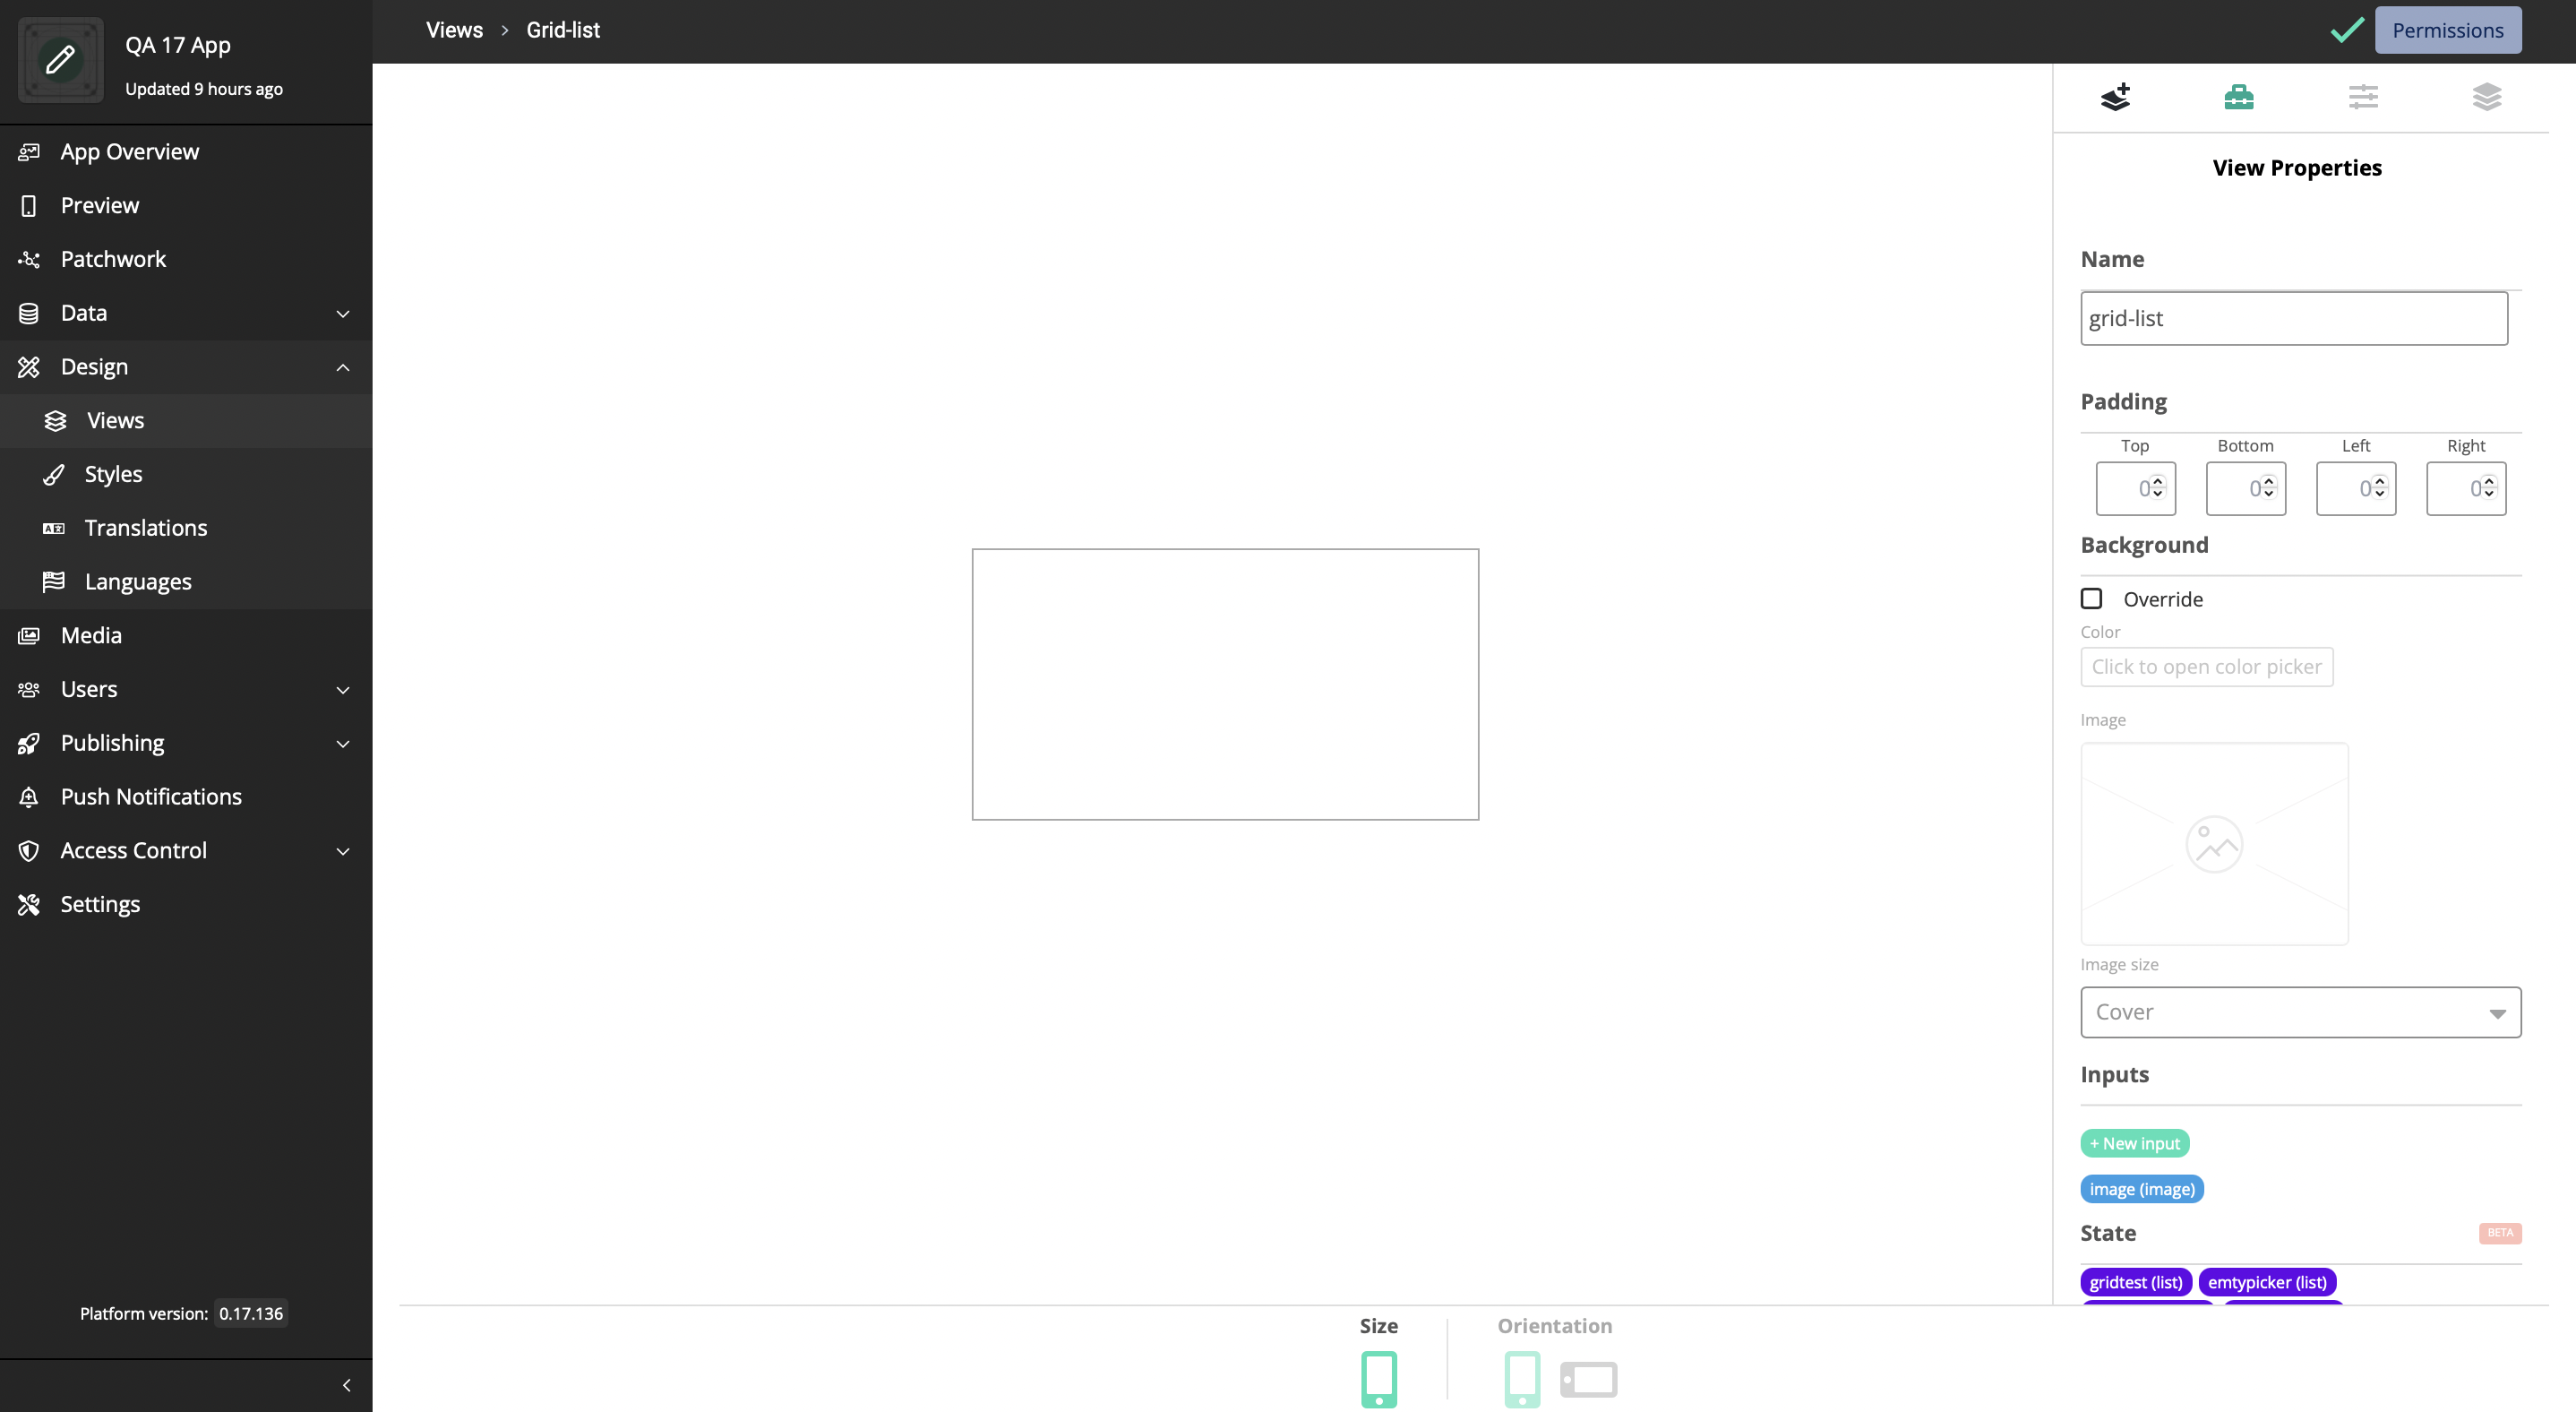
Note: Here we have added Image as an input as the name of the Dataset Item which we are regarding is ‘image’. You can change your input according to your dataset item/s.
-
Change the Grid Layout according to your requirement
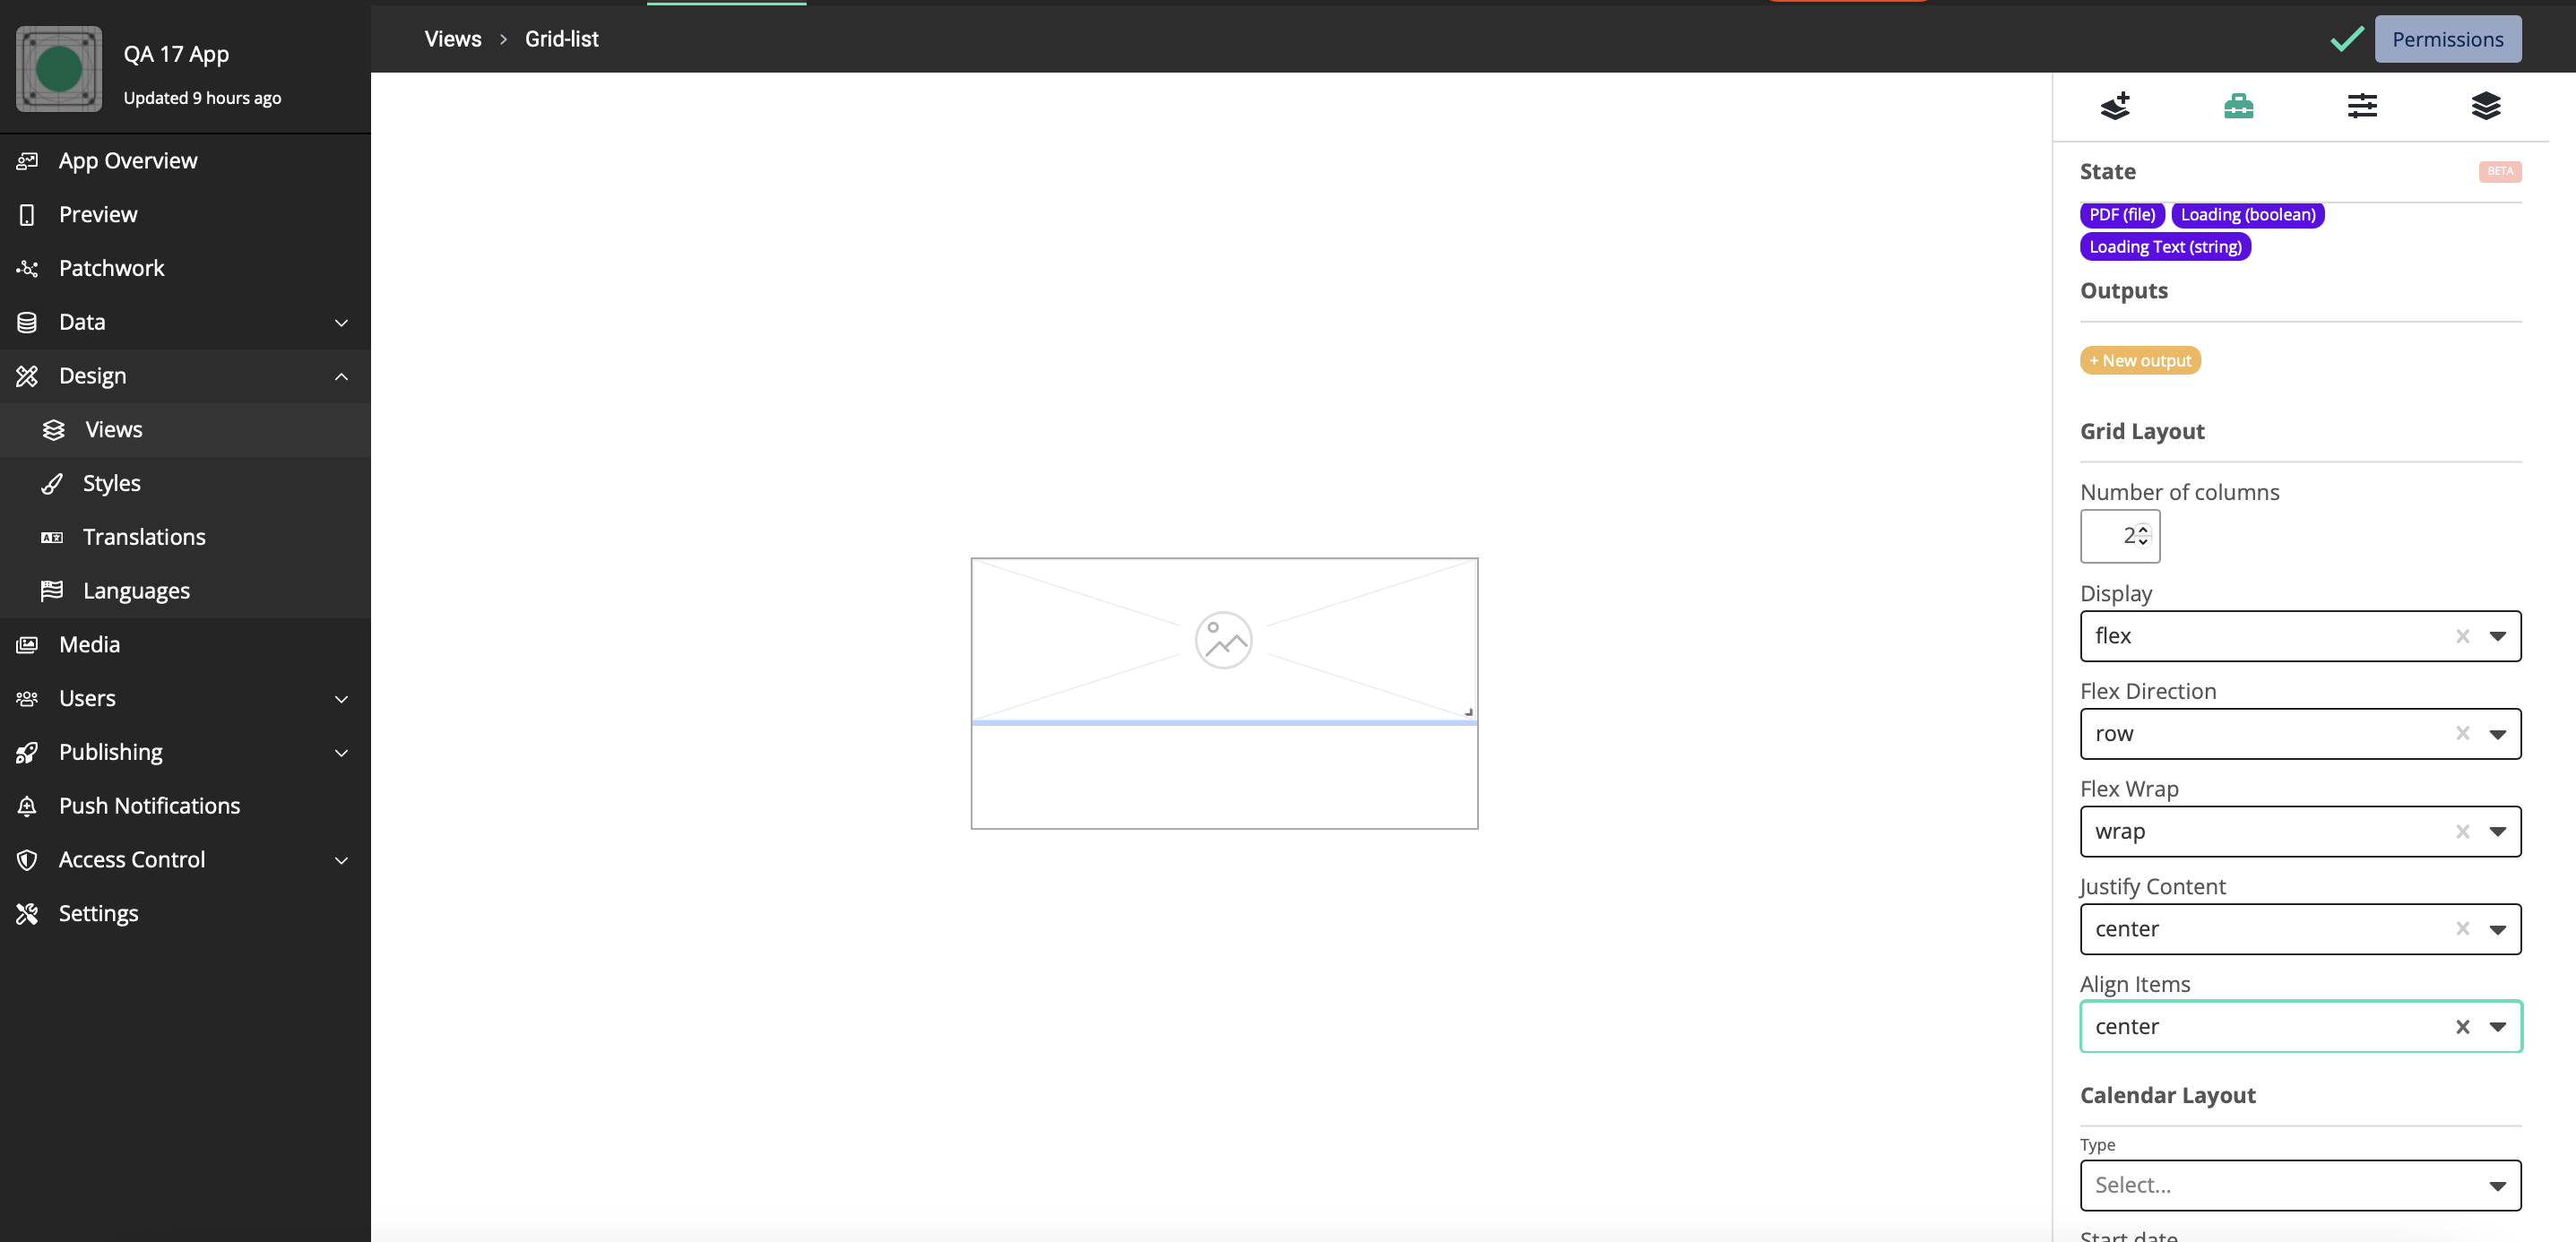
Display - Specifies the display behavior (the type of rendering box) of an element
Flex Direction - Defines how flex items are placed in the flex container defining the main axis and the direction
Flex Wrap - Defines whether the flex items are forced in a single line or can be flowed into multiple lines
-
You can add components to the List View
For this guide, we will add an image component to the view

-
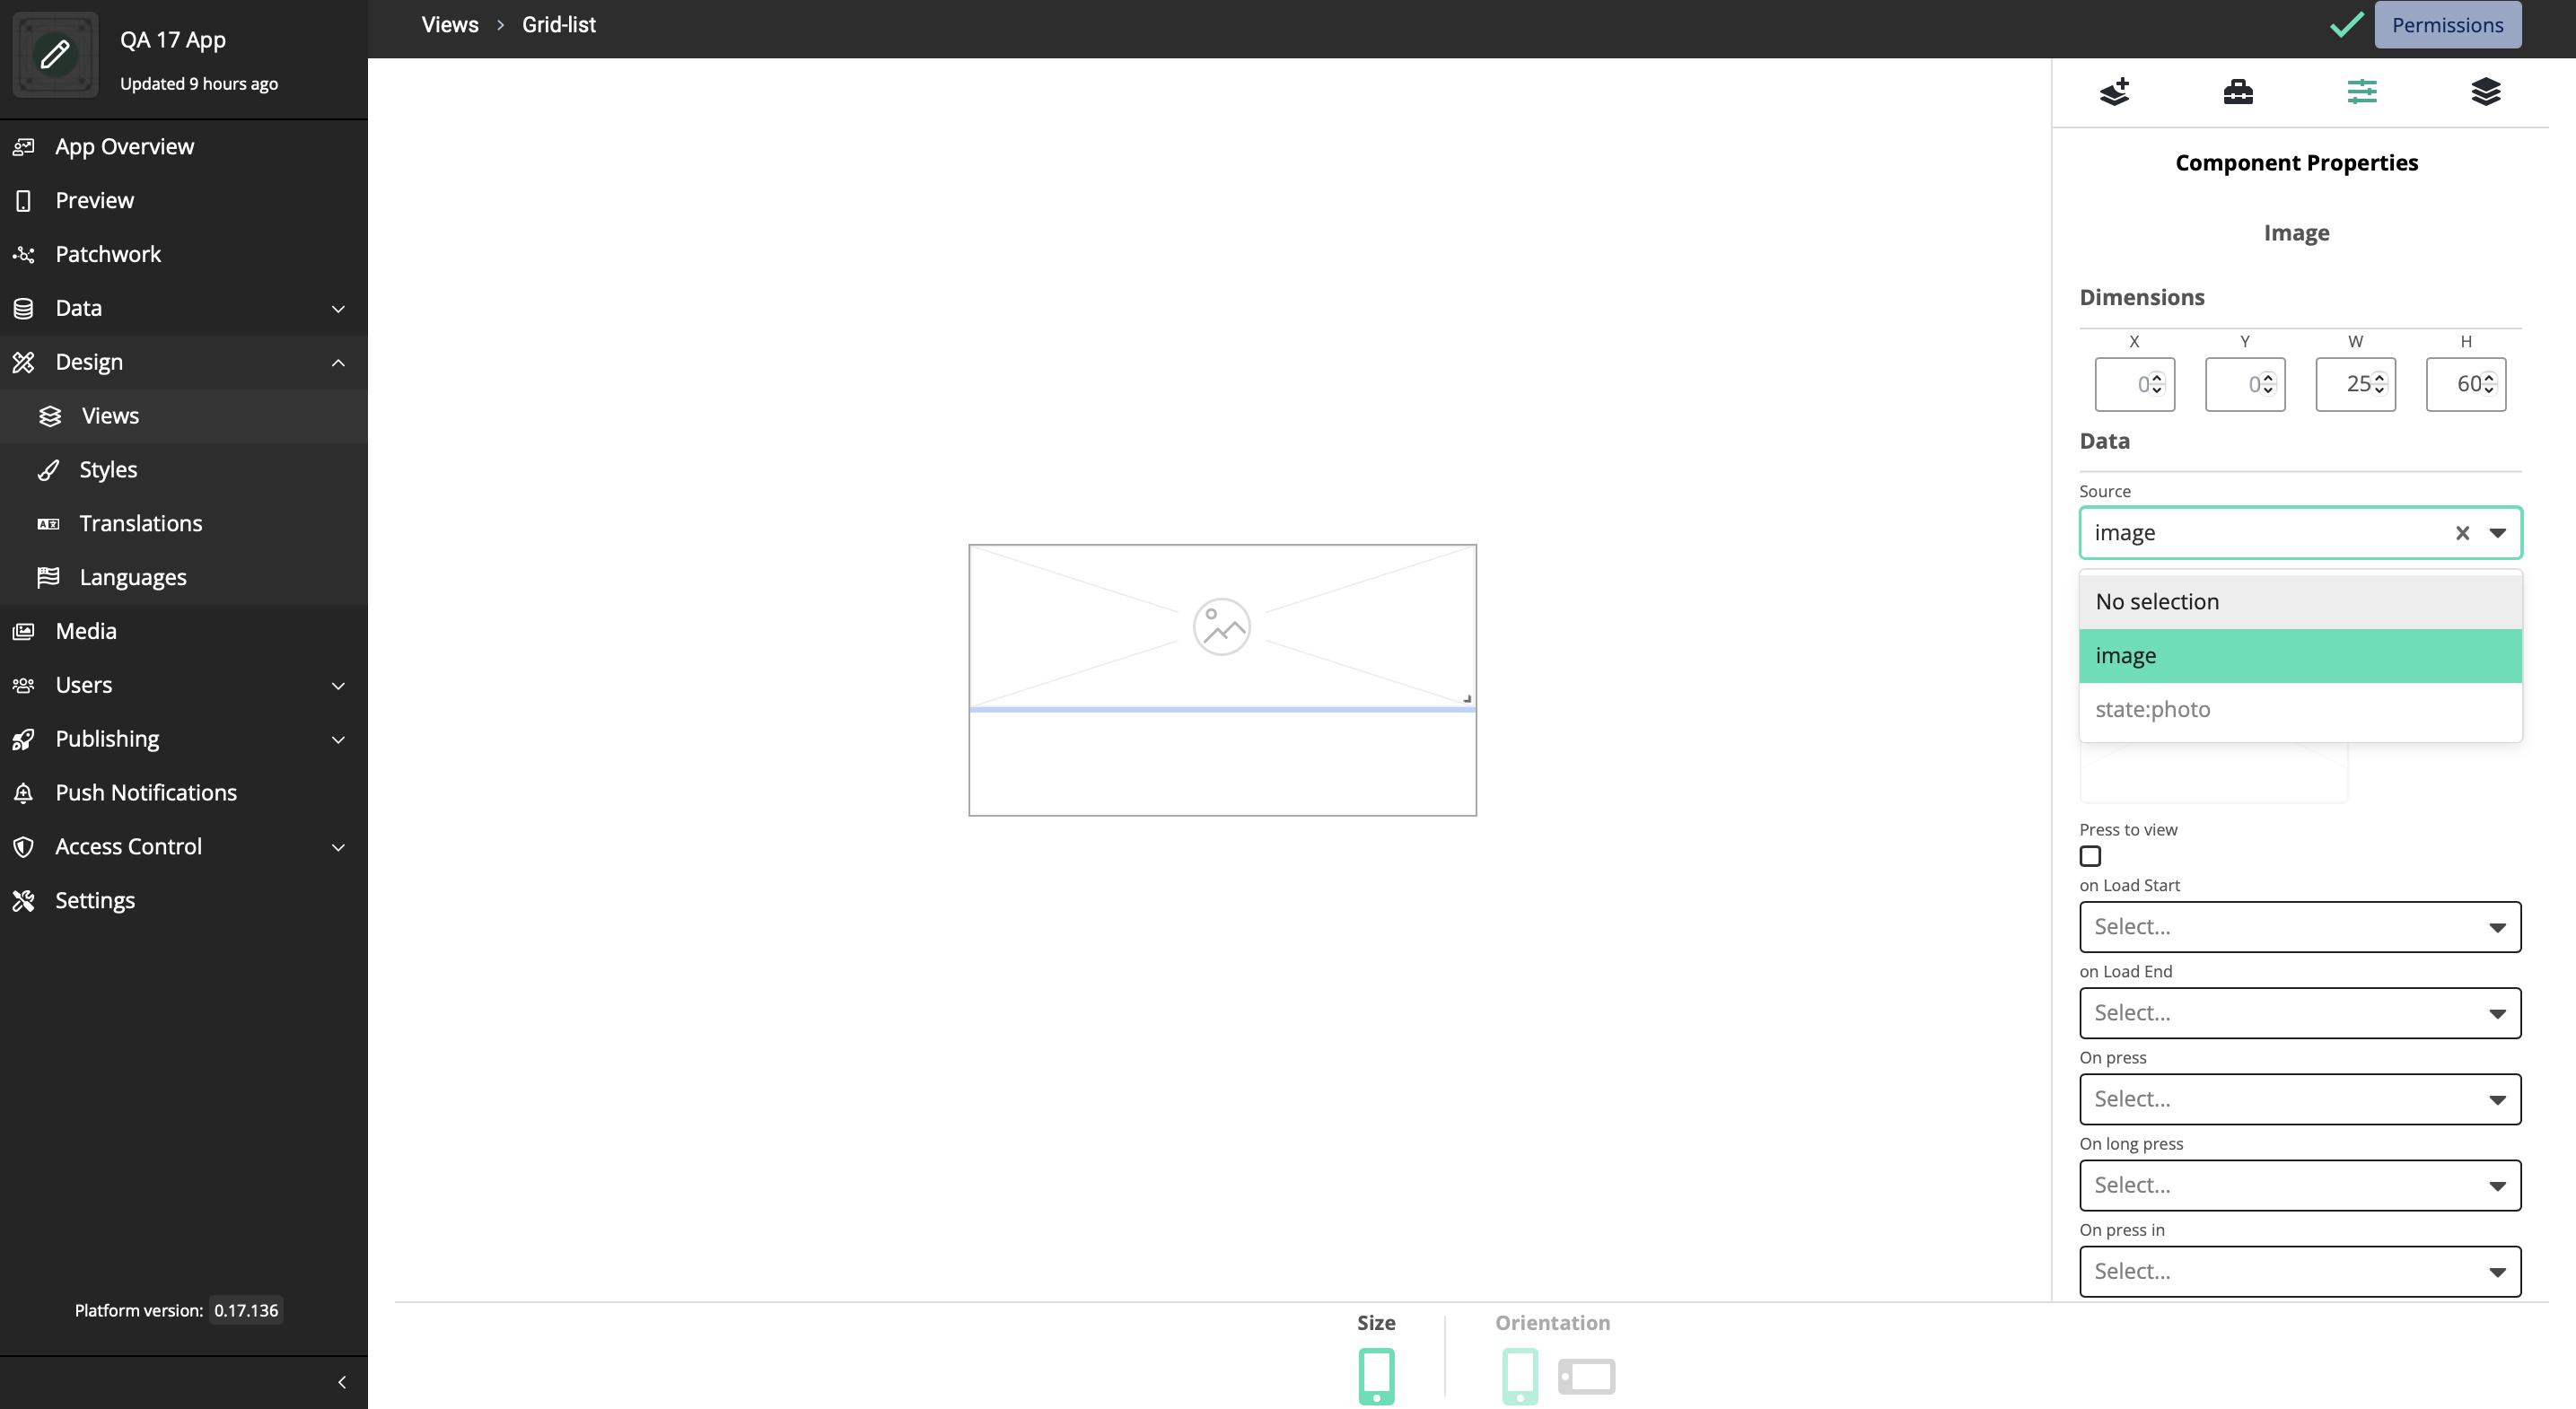
Navigate to Component Properties
-
Click on the Source dropdown menu and select the input that you have added (What we have added is image). This is done to combine the two dataset items.
-
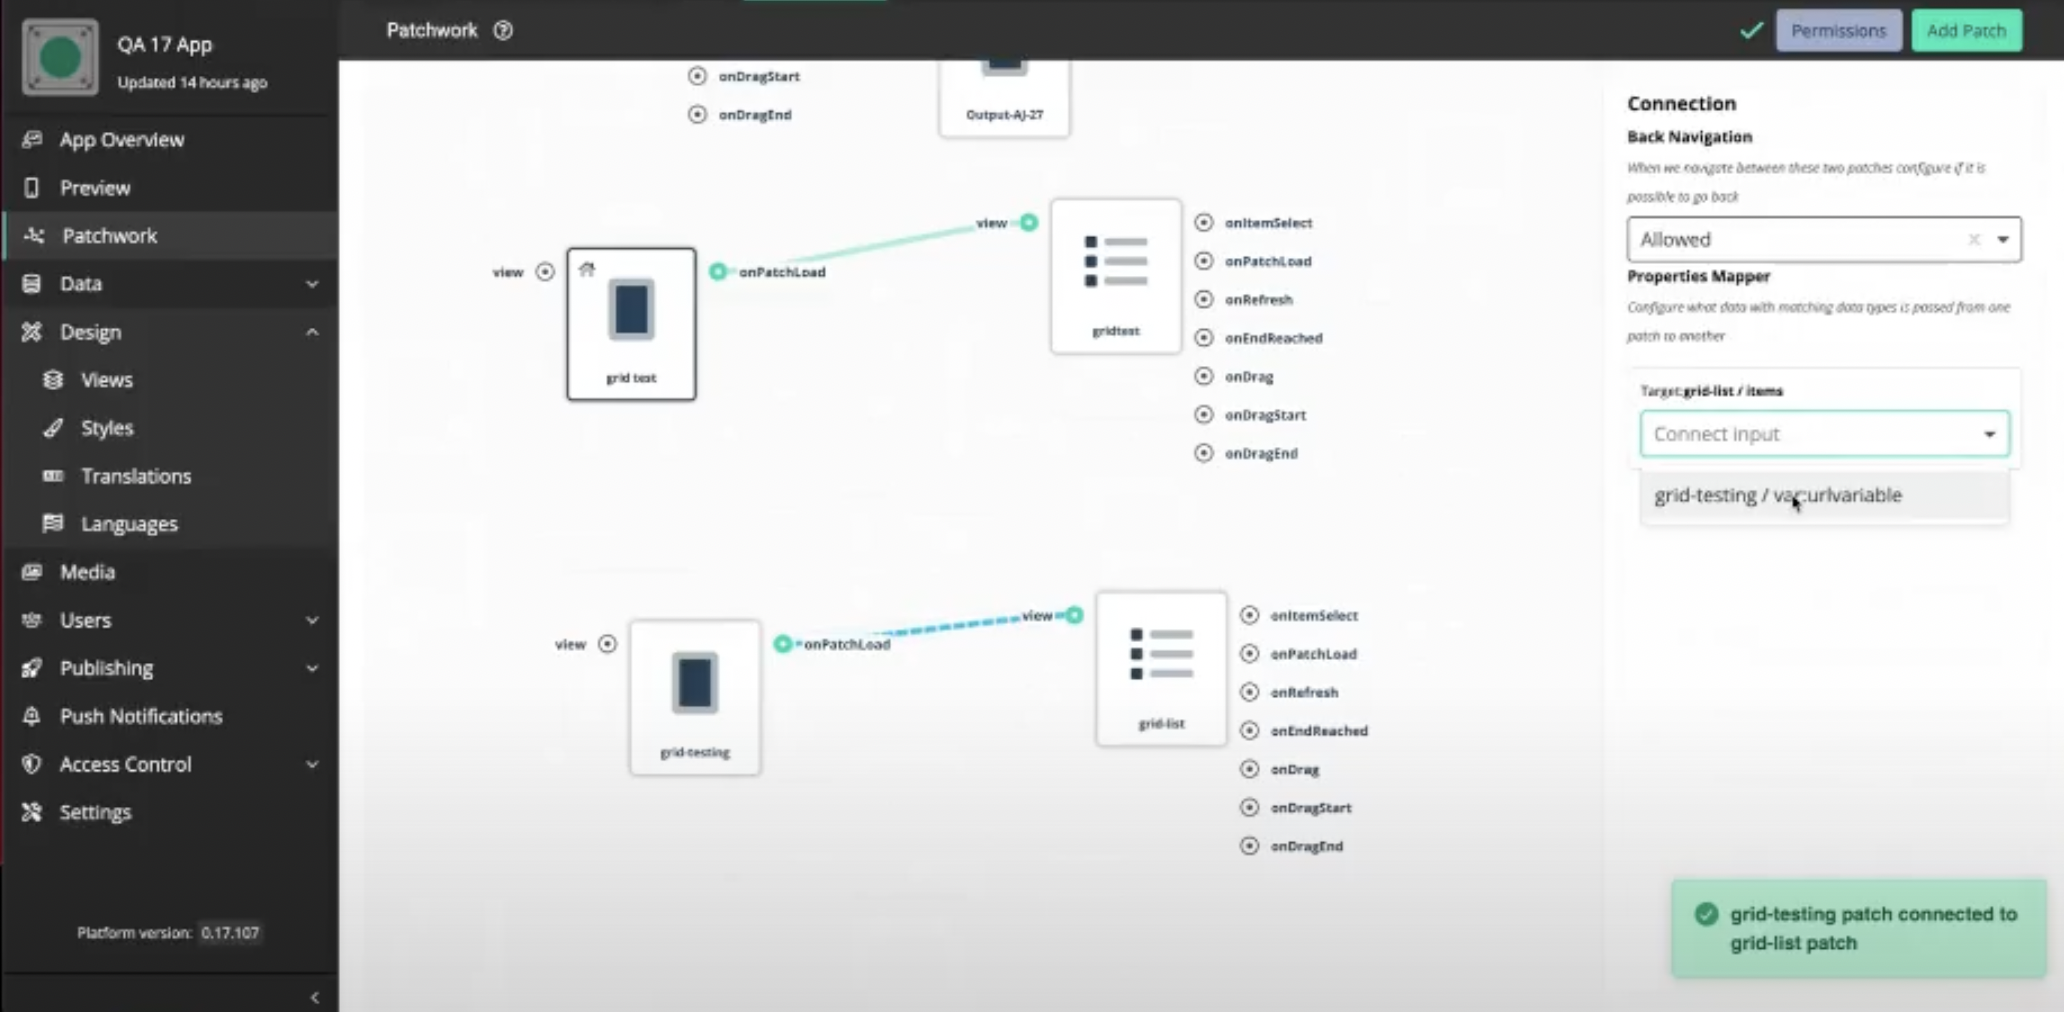
Open Patchwork
-
Add the Grid component
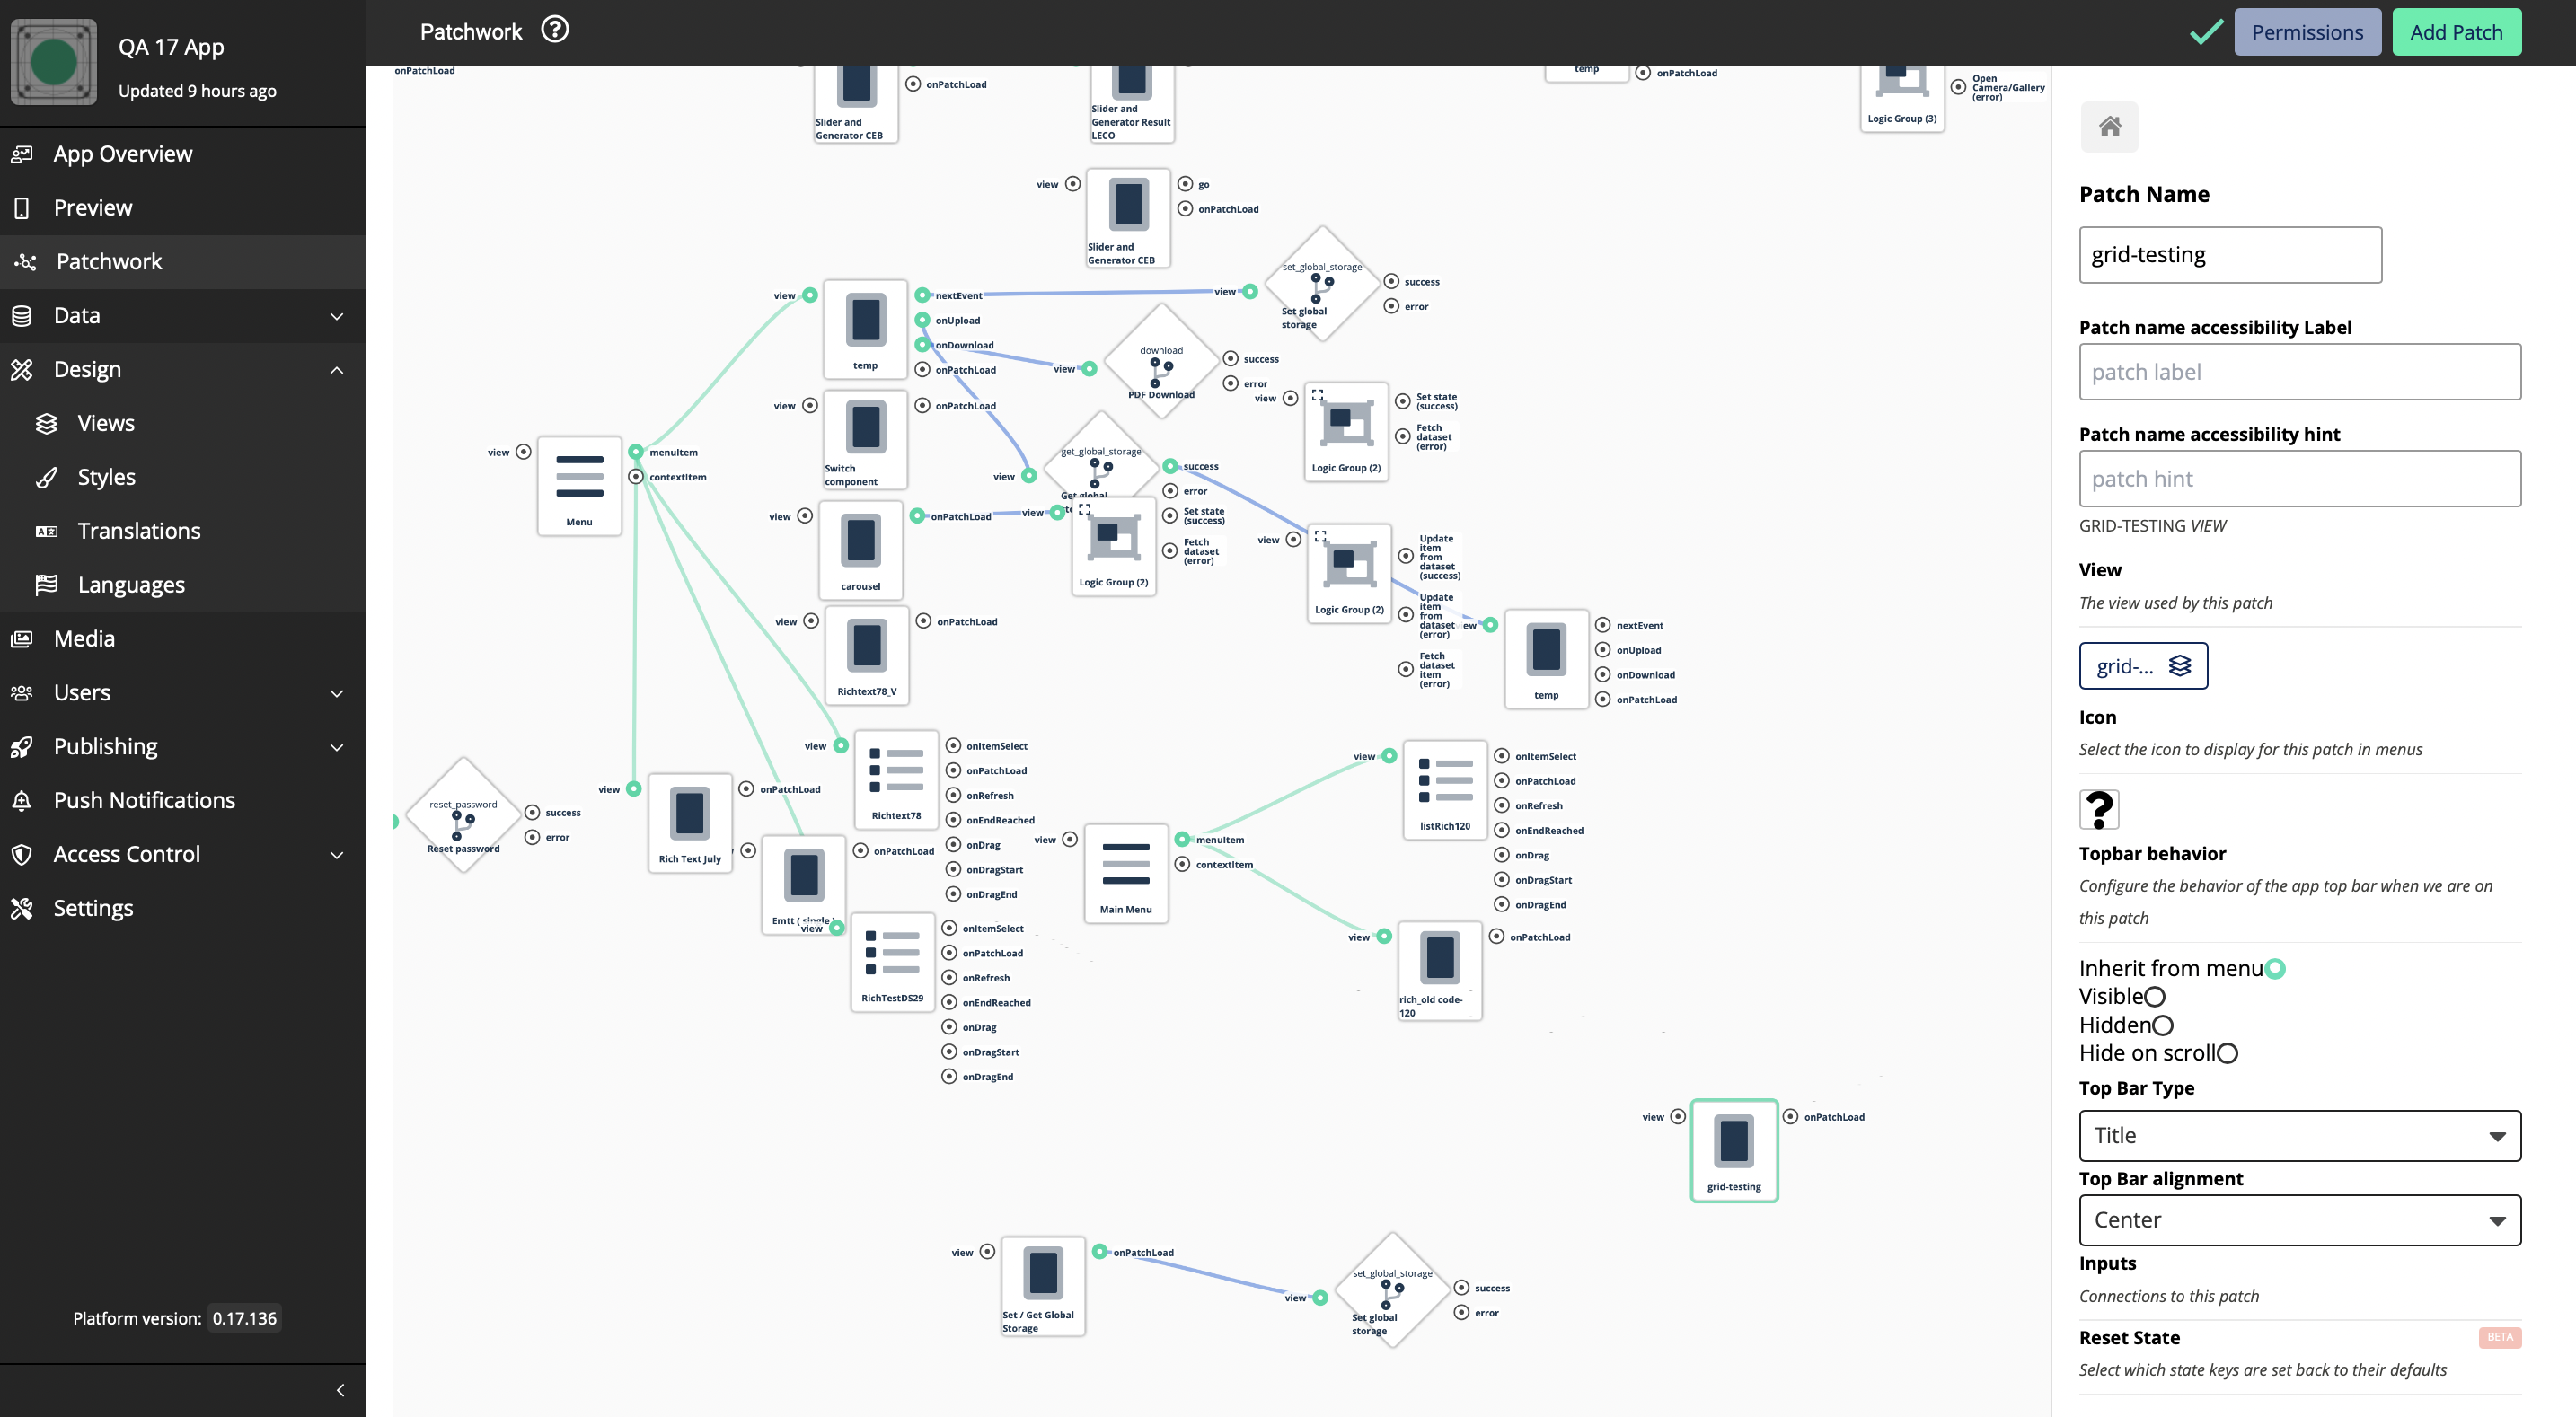
You have to add both View and the List
-
Click on the List Patch and navigate to the Type and change the type to Grid
-
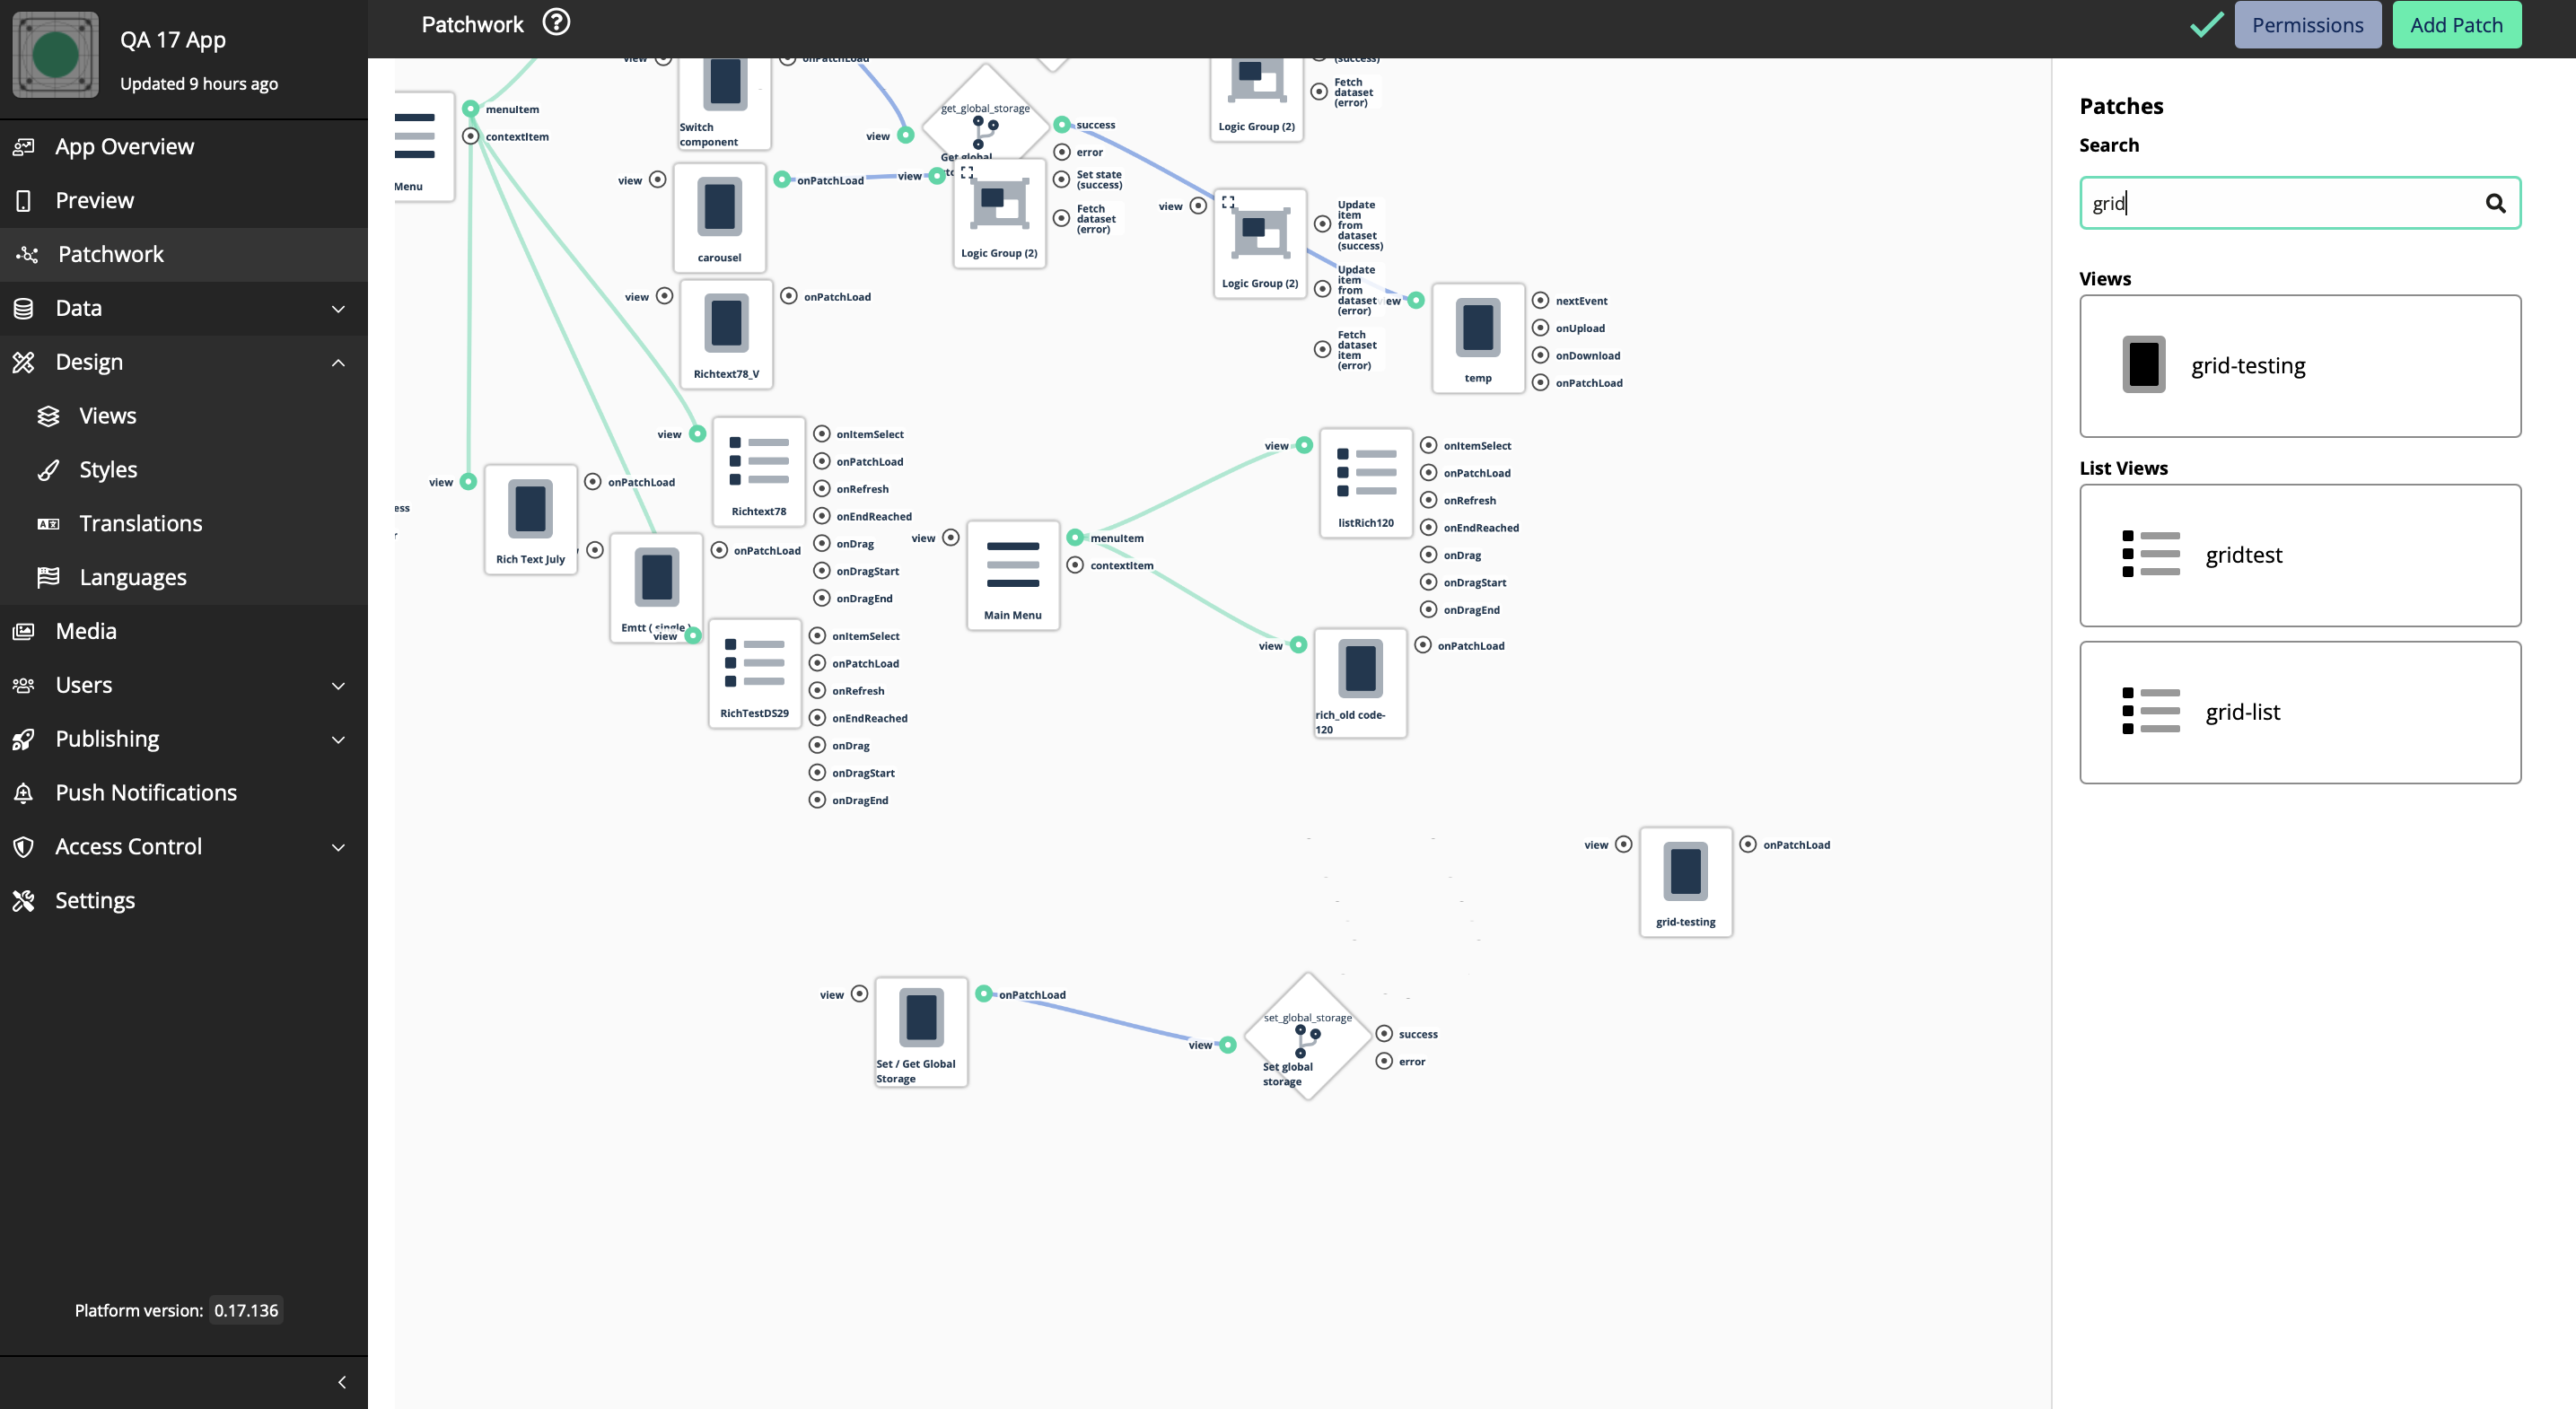
Click on List Source to Change the Source
-
Click on Dataset Rule to change Dataset Rules
-
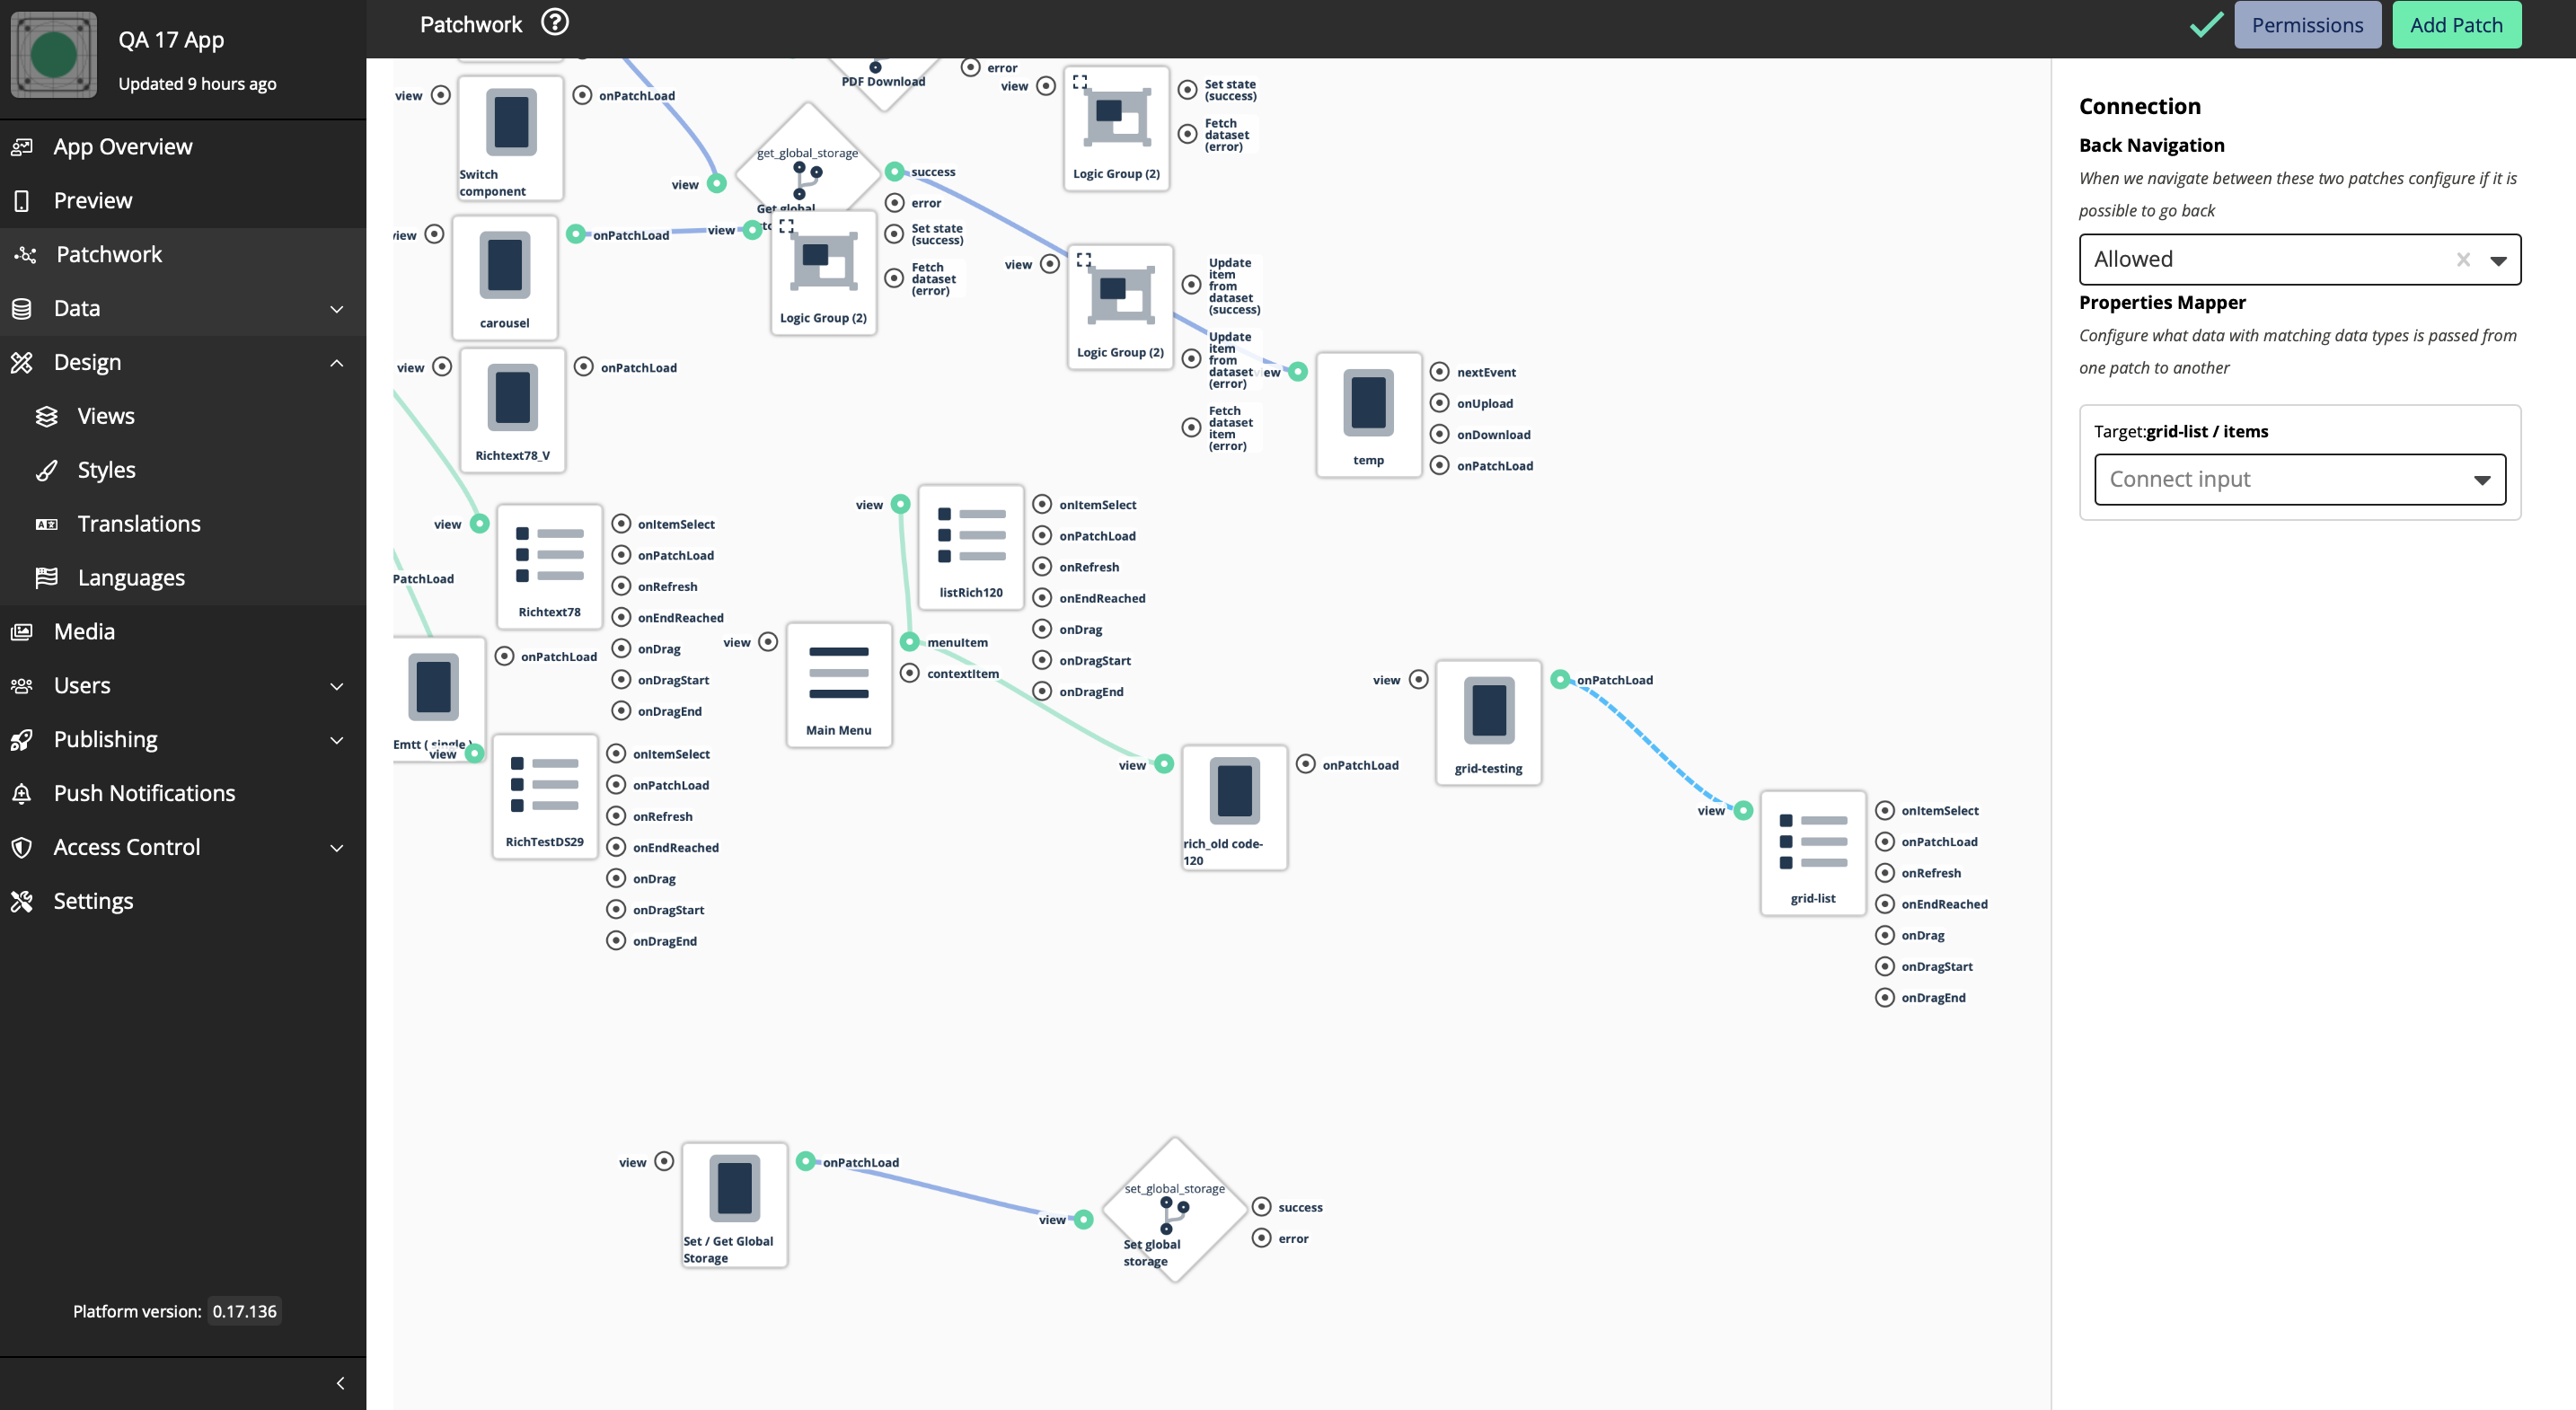
Connect the View, with the List
-
Pass the dataset Rules Value in Target
-
Click on the View and change it to the homepage
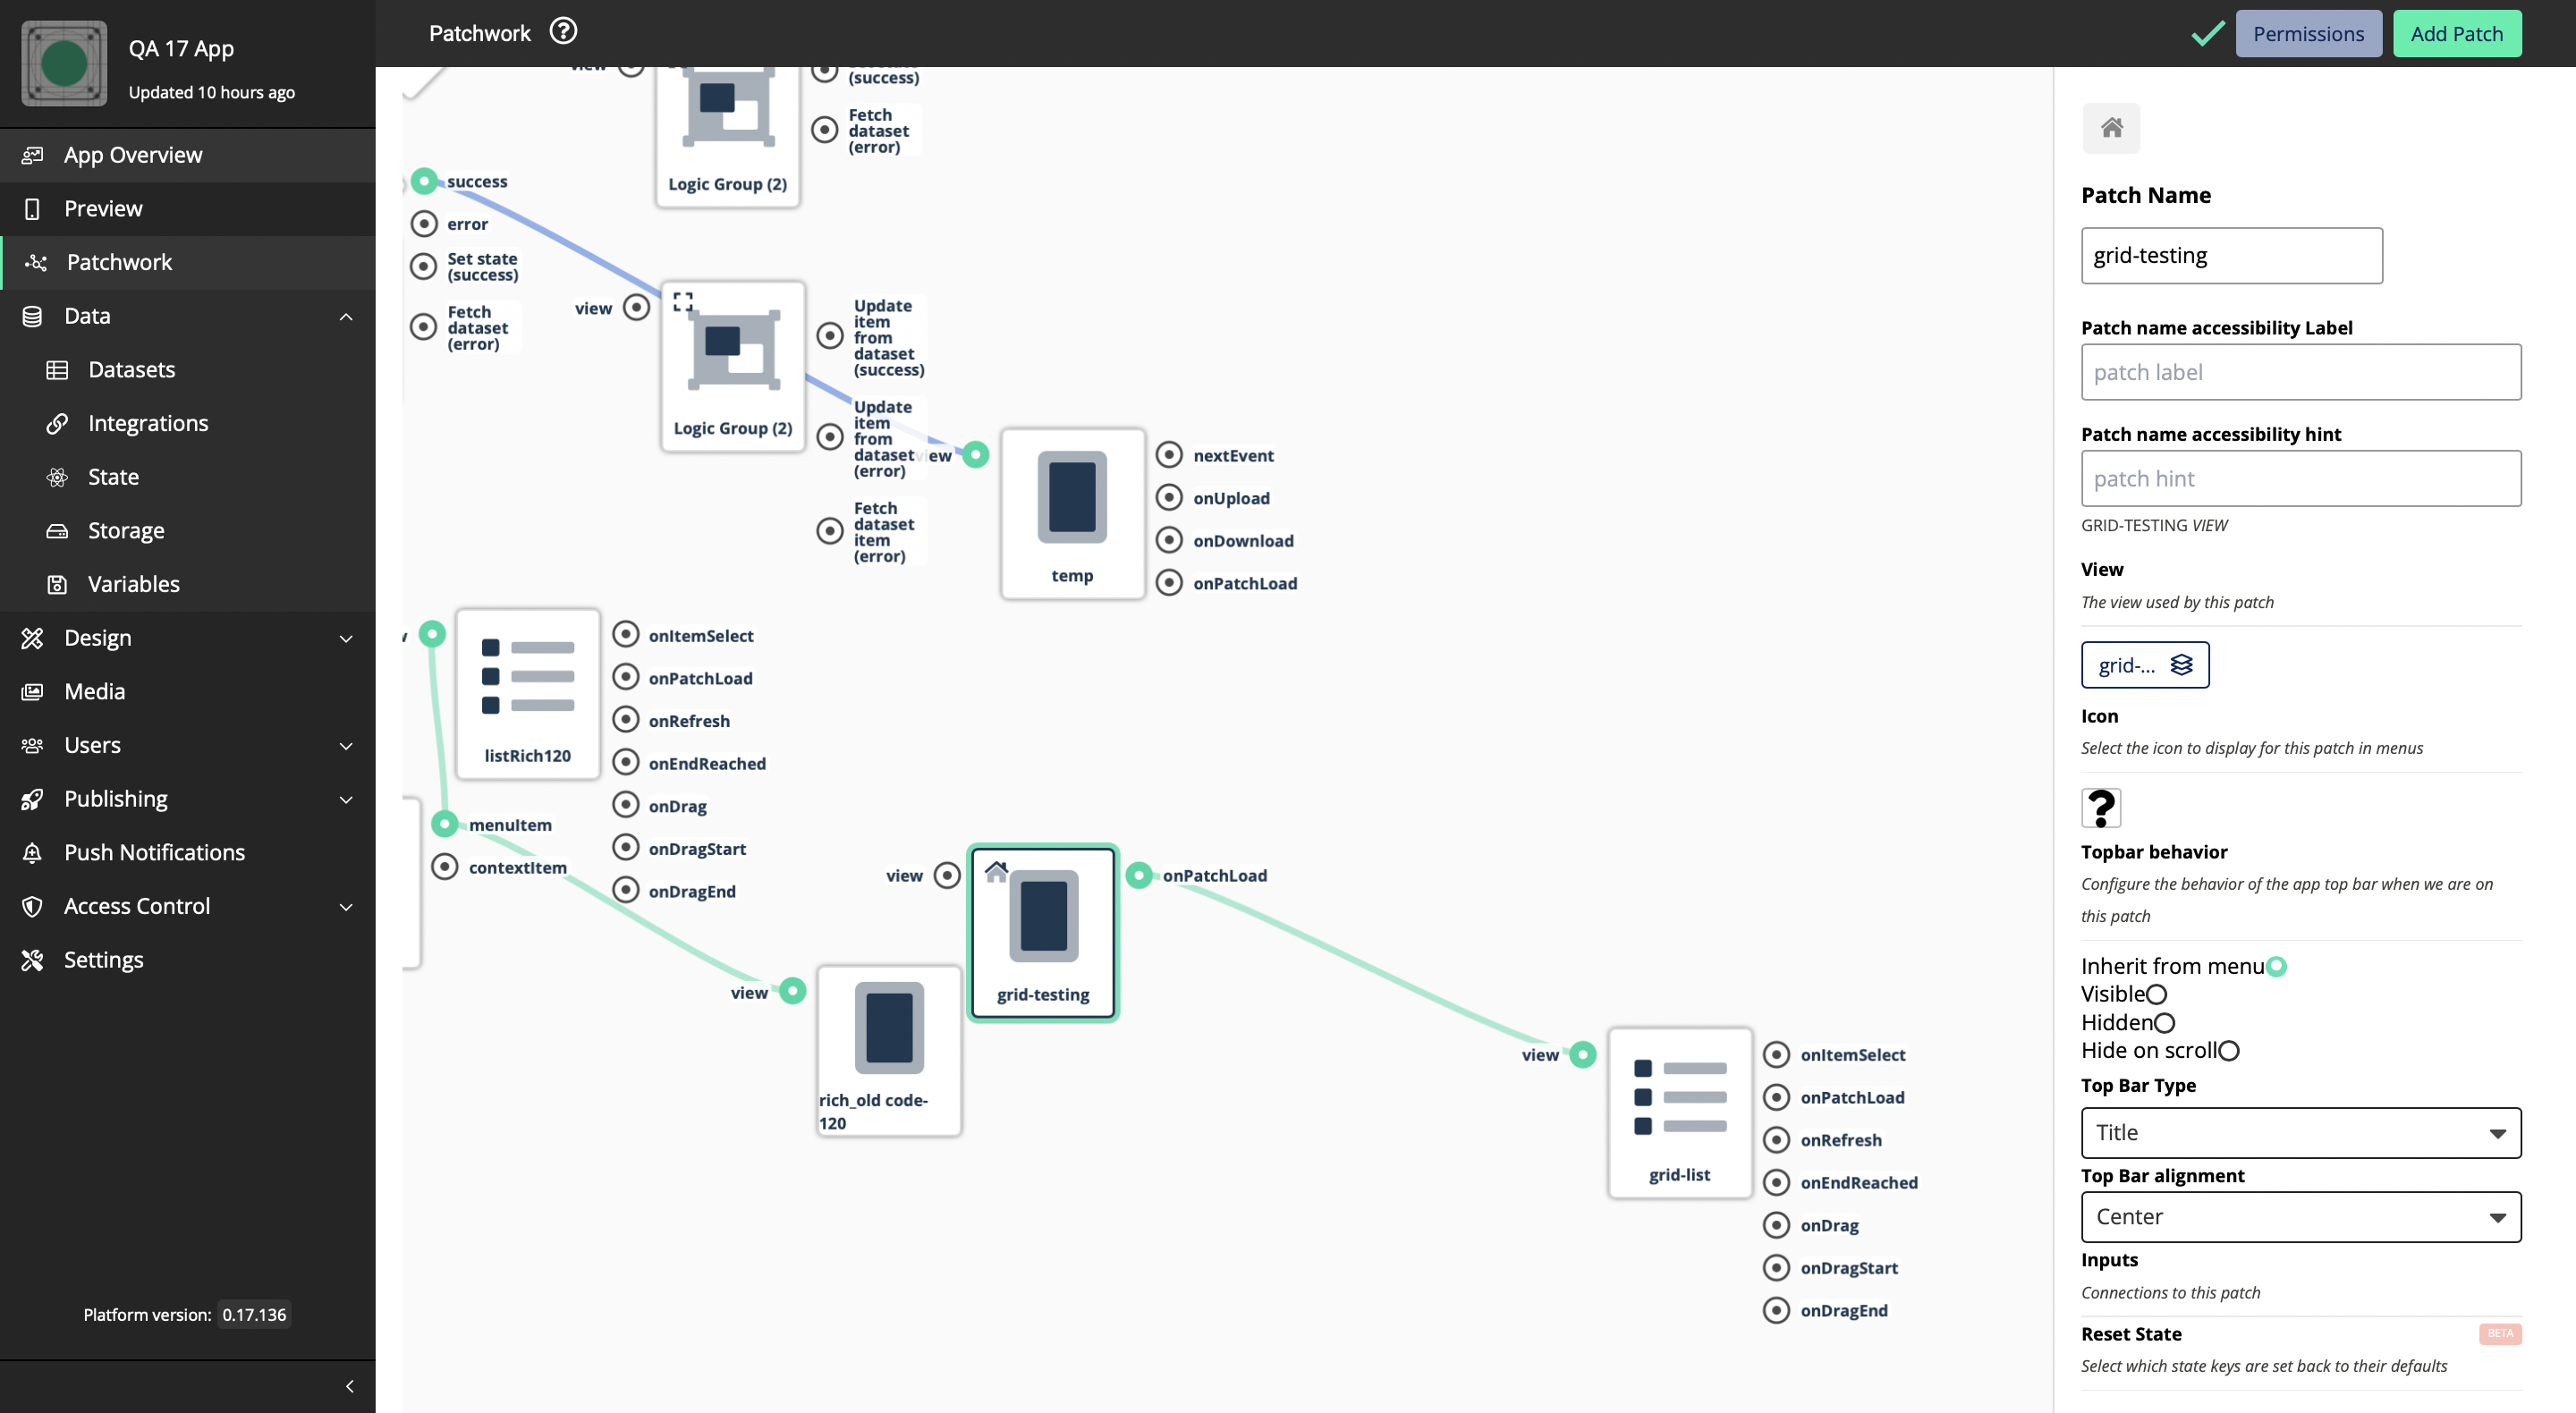
Once you have properly set all the settings you will be able to view the data you have added followed by the relevant grid settings (Flex Wrap, Number of Columns, alignments)